
Install an exhaust fan easily with this step-by-step guide. We’ll break down the process into simple actions, making it straightforward for beginners to vent moisture and improve air quality in any room. Get ready to tackle this DIY project with confidence!
Got a steamy bathroom or a kitchen that fills with cooking smells? An exhaust fan is your best friend for keeping these spaces fresh and dry. It’s not as complicated as it might seem, and with a little guidance, you can install one yourself. This guide breaks down the entire process, from choosing the right fan to making the final connections. We’ll ensure you feel confident and safe every step of the way. Let’s get started on your proven path to a better-ventilated home.
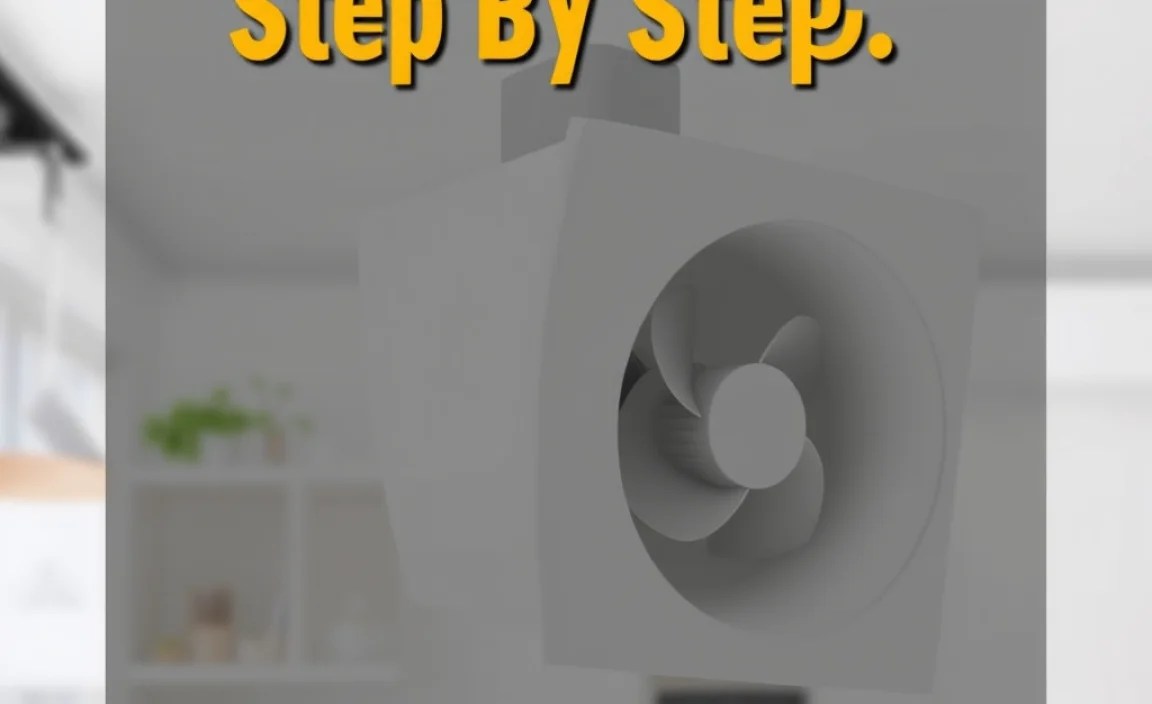
Why You Need an Exhaust Fan

Think of an exhaust fan as your home’s little superhero for air quality. It’s a simple device that makes a huge difference.
Battling Moisture: Bathrooms and kitchens are prime spots for moisture. Showers, baths, and cooking all release water vapor into the air. Without a way to remove it, this moisture can lead to mold and mildew growth. Mold isn’t just unsightly; it can also be bad for your health. An exhaust fan gently pulls this damp air out of the room, sending it outside.
Clearing Odors: Nobody likes lingering cooking smells or bathroom odors. An exhaust fan effectively whisks these away before they can become a problem. This keeps your home smelling fresh and pleasant for everyone.
Improving Air Quality: Beyond just moisture and smells, exhaust fans help remove airborne particles and pollutants. This can lead to a healthier indoor environment for you and your family.
Protecting Your Home: By reducing humidity, exhaust fans help protect your walls, ceilings, and fixtures from the damage that excess moisture can cause over time.
Choosing the Right Exhaust Fan

Before we grab our tools, let’s talk about picking the perfect fan. This decision impacts how well your fan will perform.
Types of Exhaust Fans
There are a few main types, each suited for different needs:
Ceiling Mount: These are the most common and are usually installed in bathrooms and kitchens. They vent directly through the ceiling and out the roof or a side wall.
Wall Mount: Less common for general ventilation, these might be used in specific situations where ceiling access is difficult.
Combination Units: Some fans come with built-in lights or heaters, offering multiple benefits in one package.
Key Features to Consider
CFM (Cubic Feet per Minute): This measures how much air the fan can move. Bigger rooms need higher CFM. A good rule of thumb from the ENERGY STAR program is to have at least 1 CFM for every square foot of bathroom space. So, a 100 sq ft bathroom needs a fan rated at 100 CFM or more.
Sones: This is a measure of how loud the fan is. Lower sone ratings mean a quieter fan. Look for fans with 1.0 sone or less for a more peaceful environment.
ENERGY STAR Certified: These fans are designed to be energy-efficient, saving you money on your electricity bills and helping the environment.
Ducting: Make sure the fan you choose matches the size of your ductwork (usually 4 inches).
What a Typical Exhaust Fan Kit Includes
When you buy an exhaust fan, you usually get:
The fan housing and motor
The fan grille (the part you see from the room)
Mounting hardware
Sometimes, a built-in light or heater
Installation instructions (always read these!)
Tools and Materials You’ll Need
Gathering your supplies beforehand makes the installation process much smoother. Here’s what you’ll likely need.
Essential Tools
Safety Gear:
Safety glasses: Protect your eyes from dust and debris.
Gloves: Keep your hands clean and protected.
Dust mask: Especially important when working in attics or cutting into ceilings.
Electrical Tools:
Voltage tester: Crucial for ensuring the power is off before you start.
Wire strippers/cutters: For preparing electrical wires.
Screwdrivers (Phillips and flathead): For removing old fixtures and installing the new fan.
Pliers: For gripping and bending wires.
Cutting and Measuring Tools:
Utility knife: For scoring drywall and making precise cuts.
Drywall saw or jigsaw: For cutting the opening for the fan housing.
Tape measure: For accurate placement.
Pencil: For marking.
Access and Support:
Ladder: A sturdy stepladder is essential.
Stud finder: To locate joists or studs for secure mounting.
Pry bar: For removing old vents or fixtures.
Materials
Your new exhaust fan unit
Duct tape (UL-approved for HVAC ducting)
Ducting pipe (flexible or rigid, typically 4-inch diameter)
Electrical wire (if you’re running new circuits or need longer runs – check local codes for requirements)
Wire nuts or connectors
Caulk (optional, for sealing around the exterior vent cap)
Exterior vent cap (if not included with your fan and if venting through a wall or roof)
Step-by-Step Installation Guide

Let’s break this down into manageable steps. Remember, safety first! Always turn off the power to the area you’re working in at the circuit breaker.
Step 1: Prepare the Area and Turn Off Power
1. Choose Your Fan Location: Decide where you want the fan to be. It should be near the center of the room for best air circulation, or directly over the main source of moisture (like a shower).
2. Locate Ceiling Joists: Use a stud finder to locate the ceiling joists. You’ll ideally want to mount the fan between two joists. If you have to cut into a joist, consult a professional.
3. Turn Off Power: Go to your home’s electrical panel and switch off the breaker that controls the power to the room where you’ll be installing the fan. Double-check that the power is off by trying to turn on a light or outlet in the area. Use your voltage tester to confirm there is no power at the existing fan or light fixture if you are replacing one.
Step 2: Remove the Old Fan or Create the Opening
If Replacing an Old Fan:
1. Remove the grille from the old fan.
2. Unscrew the housing from the ceiling.
3. Carefully disconnect the electrical wires.
4. Disconnect the ductwork.
5. Remove the old fan housing from the ceiling.
If Installing a New Fan:
1. Hold the new fan housing (or its template) up to the ceiling between the joists.
2. Trace the outline of the required opening onto the drywall with your pencil.
3. Using your drywall saw or jigsaw, carefully cut along your traced line. Be mindful of any wires or pipes that might be hidden above the drywall. If you hit something unexpected, stop and investigate.
Step 3: Install the New Fan Housing
1. Insert the Housing: Gently insert the new fan housing into the opening you cut. It should fit snugly between the ceiling joists.
2. Secure the Housing: Most fan housings have mounting brackets or screws that allow you to secure them to the joists. Use your screwdriver to fasten these in place. Ensure the housing is stable and flush with the ceiling surface.
Step 4: Connect the Ductwork
1. Attach Duct to Fan: Connect your ducting pipe to the collar on the fan housing. Use UL-approved duct tape to create a secure, airtight seal.
2. Route the Duct: Carefully route the ductwork from the fan housing to the exterior vent location. This might involve running it through the attic and out through the roof or a side wall. Use flexible ducting if you need to make turns around obstacles. Avoid kinks in the ductwork, as this can reduce airflow.
3. Connect to Exterior Vent: Attach the other end of the ductwork to your exterior vent cap. Ensure this connection is also well-sealed with duct tape. For roof vents, make sure they are properly flashed to prevent leaks. A good resource for exterior ventilation is found via sources like the Fine Homebuilding magazine’s articles on building science.
Step 5: Wire the Fan
This is a critical step. If you’re not comfortable with electrical work, it’s best to hire an electrician.
Safety Reminder: Ensure the power is OFF at the breaker before proceeding.
1. Identify Wires: In the ceiling space, you’ll find wires coming from your switch. Typically, you’ll see a black wire (hot), a white wire (neutral), and a bare copper or green wire (ground). Your new fan will have corresponding wires.
2. Connect Wires:
Connect the fan’s ground wire to the house ground wire using a wire nut.
Connect the fan’s neutral wire to the house neutral wire.
Connect the fan’s hot wire to the house hot wire coming from the switch.
If your fan has a separate light or heater, you’ll need to follow the specific wiring diagram provided with your fan, which may involve additional wires from the switch.
3. Secure Connections: Ensure all wire nuts are twisted on tightly and that no bare wire is exposed. Gently tug on each connection to confirm it’s secure.
4. Tuck Wires: Carefully tuck the connected wires back into the electrical box or junction point in the ceiling space.
Step 6: Install the Grille and Finish Up
1. Attach the Grille: Most fans have clips or screws that attach the grille to the fan housing. Align the grille and press it into place or secure it with screws.
2. Turn Power Back On: Go back to your breaker box and turn the power back on.
3. Test the Fan: Go to the switch and turn on the exhaust fan. Check that it’s running and that air is being drawn through the grille. If it has a light or heater, test those functions as well.
Troubleshooting Common Issues

Even with careful installation, you might run into a hiccup. Here are a few common issues and how to fix them.
| Problem | Possible Cause | Solution |
| Fan won’t turn on | No power / Loose wiring | Check the circuit breaker. Verify all wire connections are secure and correct. Ensure power is off before checking. |
| Fan is noisy | Loose housing / Impeller obstruction | Tighten fan housing screws. Check if anything is obstructing the fan blades. Ensure ductwork is not rubbing. |
| Airflow seems weak | Kinked or blocked ductwork / Undersized fan | Straighten ductwork. Clean out any debris. Ensure the fan CFM is appropriate for the room size. |
| Smells persist | Inadequate fan power / Poor venting | Consider a fan with higher CFM. Ensure the ducting leads directly to the outside and is not leaking. |
| Fan vibrates excessively | Imbalanced impeller / Loose mounting | Unplug the fan and inspect the impeller for damage. Ensure the fan housing is securely mounted to joists. |
Maintenance for Longevity
Once your exhaust fan is installed, a little regular care will keep it running smoothly for years.
Clean the Grille: The grille can accumulate dust and debris. Remove it periodically (usually by gently pulling or unsnapping it) and wash it with warm, soapy water. Rinse and let it dry completely before reattaching.
Check Ductwork: Once a year, especially before humid seasons, check your ductwork for any signs of damage, loose connections, or blockages. Clear any obstructions to maintain optimal airflow.
Inspect the Fan Motor: While less common, you can occasionally vacuum around the fan motor housing in the attic to remove dust buildup that could impede cooling.
* Test Regularly: Make it a habit to test the fan monthly to ensure it’s working correctly.
Conclusion
You’ve done it! Installing an exhaust fan might seem daunting, but by following these proven steps, you’ve successfully upgraded your home’s ventilation. You’ve learned how to choose the right fan, gather your tools, and tackle each stage of the installation safely and effectively. Remember, a well-ventilated home isn’t just about comfort; it’s about protecting your structure and ensuring a healthier living environment. Take pride in your work, and enjoy the fresh, dry air your new exhaust fan will provide. Keep up these DIY projects, and you’ll continue to build confidence and expertise in maintaining your home!
Frequently Asked Questions
Q1: How do I know what size exhaust fan I need?
You need to consider the room’s square footage. As a general rule of thumb, aim for at least 1 Cubic Foot per Minute (CFM) of airflow for every square foot of room area. So, a 100 sq ft bathroom would benefit from a fan with a rating of 100 CFM or higher. For kitchens, consider the cooking appliances you use, as higher CFM might be needed to handle intense cooking smells and grease.
Q2: Do I need an electrician to install an exhaust fan?
If you are comfortable and knowledgeable about electrical wiring and local building codes, you can likely install it yourself. However, if you have any doubts or if you’re dealing with complex wiring or adding new circuits, it is always safest to hire a qualified electrician. Incorrect electrical work can be dangerous and cause fire hazards.
Q3: Can I vent my exhaust fan into the attic?
No, you should never vent an exhaust fan into the attic. Attics are not designed for this moisture, and it can lead to condensation, mold growth, and structural damage to your roof and insulation. Exhaust fans must vent directly to the outside of your home.
Q4: How much louder is a fan with a higher sone rating?
Sone is a unit of perceived loudness. A fan with 2.0 sones is roughly twice as loud as a 1.0 sone fan to the human ear. For comparison, a quiet refrigerator might run at 0.5 to 1.0 sones, and a normal conversation is around 3.0 sones. Lower sones means a quieter fan, which is generally preferred for comfort.
Q5: What’s the difference between flexible and rigid ducting?
Flexible ducting is easier to maneuver around corners and obstacles. Rigid ducting is more durable, offers less airflow resistance, and can be more efficient for straight runs. For most home installations, a 4-inch flexible duct is common. Ensure it’s properly installed without kinks for maximum airflow. Always use UL-approved duct tape to seal connections regardless of the type of ducting used.
Q6: Can I install an exhaust fan in a room that doesn’t have an existing vent?
Yes, you can. This is often referred to as a “new install.” It will involve cutting an opening in the ceiling/wall, running new ductwork (possibly through the attic or crawl space), and running new electrical wiring from a switch to the fan location. This type of installation is more complex and might be a good candidate for hiring a professional, especially if running new electrical lines is involved.
