
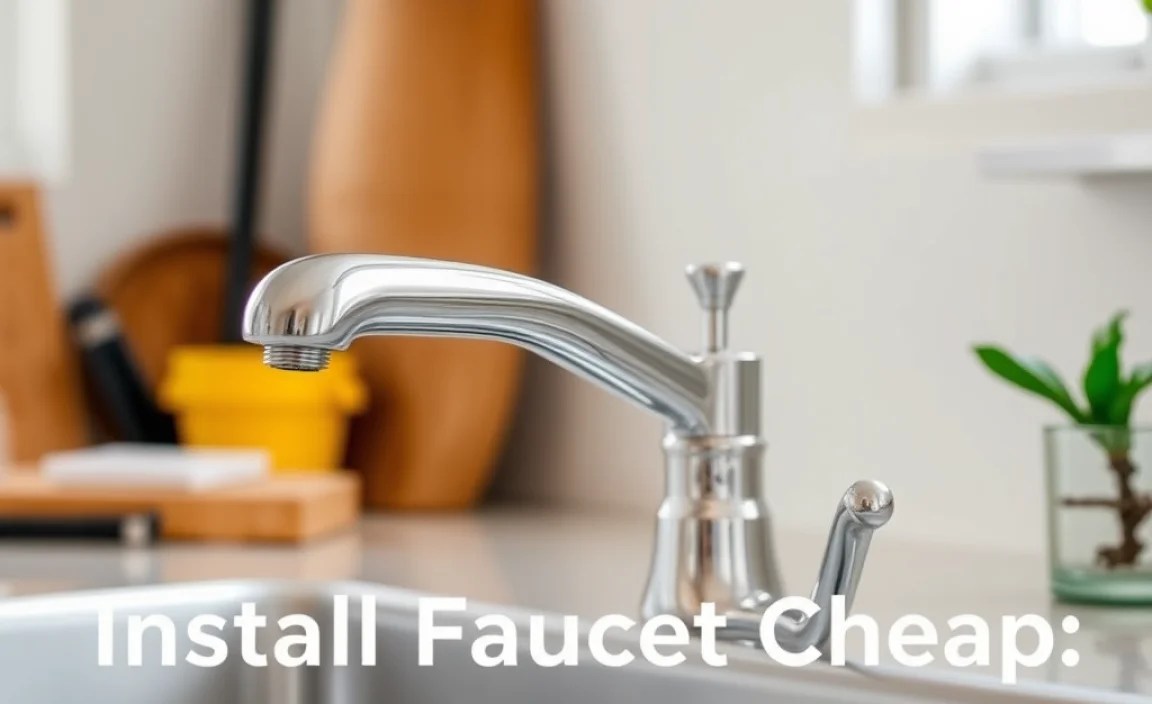
You can absolutely install a new faucet affordably and easily! This guide breaks down how to replace your old faucet with a budget-friendly option, covering essential tools, simple steps, and tips to save money and ensure a successful, leak-free DIY project, even for absolute beginners.
Leaky faucets are more than just annoying; they’re a drain on your wallet and a waste of precious water. But the thought of calling a plumber can be intimidating, especially when you’re watching every penny. The good news is that upgrading your faucet doesn’t have to cost a fortune or require a toolbox full of specialized gear. With a little guidance and the right approach, you can tackle this project yourself and save a significant amount of money. We’ll walk you through everything, from picking out a low-cost faucet to getting it installed and working perfectly. Get ready to gain a new skill!
Why Installing a Faucet Yourself is a Smart, Cheap Move

Replacing a faucet might sound complicated, but it’s one of the most accessible DIY plumbing tasks for homeowners. By doing it yourself, you’re not just saving on the plumber’s fee, which can often be hundreds of dollars, but you also gain the satisfaction of a job well done. Plus, choosing an affordable faucet doesn’t mean settling for poor quality. Many brands offer durable, stylish options at budget-friendly prices, especially when you catch a sale or opt for a simpler design. This guide focuses on making the process as straightforward as possible, ensuring you can install your faucet cheap and effectively.
Consider the cost savings. A professional plumber might charge upwards of $100-$300 for a faucet installation, not including the faucet itself. By DIYing, you’re cutting out that labor cost entirely. Add to that the ability to choose a faucet that fits your budget, and you’re looking at a project that could cost as little as $30-$100 for the entire replacement if you choose wisely and utilize existing supply lines.
Understanding Faucet Types and What “Cheap” Really Means

When we talk about installing a faucet cheap, it’s important to understand what goes into the faucet’s cost and what features are essential versus optional. Most budget-friendly faucets for kitchens and bathrooms will fall into a few common categories:
- Compression Faucets: These are the most basic and often cheapest. They have separate handles for hot and cold water, and use rubber washers to control the flow. They are reliable but can require more turns to shut off completely.
- Cartridge Faucets: These are very common and offer good durability. They use a removable cartridge to control water temperature and flow. They are generally easy to operate with a single lever that moves up/down for volume and left/right for temperature.
- Ball Faucets: Often found in kitchens, these use a single handle that moves over a rounded ball cap. They are relatively inexpensive but can sometimes be prone to leaks if not maintained.
- Ceramic Disc Faucets: While usually a bit more expensive, some entry-level ceramic disc faucets are now competitive in price. They use two durable ceramic discs that slide over each other to control flow and are known for longevity and leak resistance.
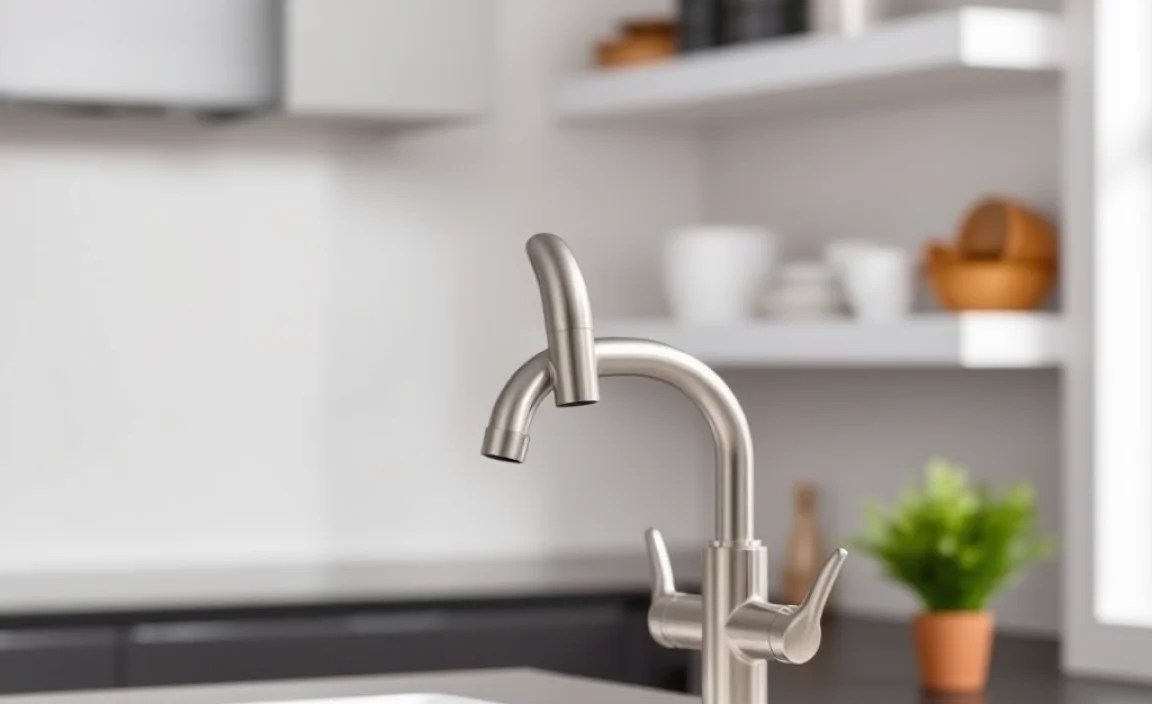
For the “cheap” installation, we’ll assume you’re opting for a standard two-handle or single-handle cartridge faucet, as these offer the best balance of cost, ease of installation, and modern functionality available at lower price points. High-end features like pull-down sprayers, touchless activation, or advanced filtration systems will significantly increase the faucet’s price and often the complexity of installation.
Tools and Materials You’ll Need
Gathering your tools beforehand is key to a smooth and efficient installation. You don’t need a professional plumbing toolkit, just a few common household items. This list focuses on what you’ll need to get your faucet cheap and cheerful.
Essential Tools:
- Adjustable Wrench (or two): This is your go-to for loosening and tightening nuts and fittings. Having two can be especially helpful for holding one part steady while turning another.
- Basin Wrench: This specialized tool is a lifesaver for reaching those awkward nuts underneath the sink that hold the faucet in place. It has a long shaft and a swiveling head. You can usually find an affordable one at any hardware store.
- Plumber’s Tape (PTFE Tape): This white, waxy tape is applied to threaded pipe connections to create a watertight seal. It’s very inexpensive and essential for preventing leaks.
- Pliers (Channel-lock style): Useful for gripping larger pipes or fittings.
- Bucket or Towels: To catch any residual water when you disconnect old pipes.
- Screwdriver Set: You might need a Phillips head or flathead screwdriver for some mounting brackets or handle screws.
- Safety Glasses: Always protect your eyes, especially when working under a sink with old pipes.
- Flashlight or Headlamp: It can be dark under there!
- Utility Knife or Scraper: To remove old putty or sealant.
Potential Materials (Often Included with New Faucets):
- New Faucet Assembly: Choose a model that fits your sink’s hole configuration (e.g., 4-inch center-set, 8-inch widespread, or single-hole).
- New Supply Lines: While sometimes you can reuse old ones, it’s often best to replace them, especially if they look worn. Many budget faucets don’t include these, so you’ll need to purchase them separately. Look for braided stainless steel lines as they are durable and flexible.
- Plumber’s Putty or Silicone Sealant: For creating a watertight seal between the faucet base and the sink surface. Check your new faucet’s instructions; some come with a rubber gasket that negates the need for putty.
When buying your faucet, take a quick peek at the box to see what’s included. Some cheaper faucets might skimp on things like supply lines or mounting hardware, so it’s good to be prepared.
Step-by-Step Guide: Uninstalling Your Old Faucet

Before we install the new, we’ve got to remove the old. Don’t worry; this part is usually messier than it is difficult. Safety and preparation are key to making this go smoothly.
- Turn Off the Water Supply: This is the most crucial step. Look for the shut-off valves under the sink. There should be one for hot water and one for cold. Turn the handles clockwise until they stop. If you don’t have shut-off valves under the sink or they don’t work, you’ll need to turn off the main water supply to your house. This valve is usually located where the water line enters your home, often in the basement, garage, or utility closet. A Federal Trade Commission guide on water damage prevention can remind you how critical water shut-off is.
- Relieve Water Pressure: Once the valves are off, turn on the old faucet to drain any remaining water in the pipes. Let it run until only a trickle comes out, then turn the faucet off.
- Place Bucket and Towels: Position your bucket directly under the water supply lines where they connect to the faucet. Lay out towels to catch any drips or spills.
- Disconnect Supply Lines: Using your adjustable wrench, carefully loosen the nuts connecting the water supply lines to the shut-off valves. Water will likely drip out, so be ready with that bucket! Once disconnected from the valves, you’ll have hoses dangling.
- Disconnect Faucet from Sink: This is where the basin wrench comes in handy. Look up under the sink where the faucet is mounted. You’ll see large nuts or a mounting bracket holding the faucet body to the sink or countertop. Use your basin wrench to loosen and remove these nuts. You might need to maneuver the wrench around pipes and the sink basin.
- Remove the Old Faucet: Once all connections and mounting nuts are off, the old faucet should be loose. You might need to gently wiggle it from above or push it up from under the sink. If it’s stuck, there might be old putty or sealant holding it. Use your utility knife or scraper to carefully cut through any old sealant around the base.
- Clean the Sink Surface: After removing the old faucet, clean the area where it sat on the sink or countertop. Scrape off any old putty, sealant, or mineral deposits. A clean, dry surface is essential for a good seal with the new faucet.
Take your time with this stage. If a nut is particularly stubborn, don’t force it too hard, as you could damage the pipes. A little penetrating oil might help, but usually, a good adjustable wrench and some patience do the trick.
Step-by-Step Guide: Installing Your New Faucet Cheap
Now for the rewarding part! Installing a new faucet is essentially reversing the removal process, with a few key sealing steps to ensure it’s leak-free. We’re focusing on keeping it cheap by using simple techniques and appropriate materials. Remember to refer to your new faucet’s specific installation manual for any unique requirements.
Preparing the New Faucet
- Check for Included Gaskets: Examine your new faucet. Many modern faucets come with a rubber gasket or a pre-applied seal on the base. If yours has this, you likely won’t need plumber’s putty for the base seal. If it doesn’t, you’ll need plumber’s putty.
- Apply Plumber’s Putty (If Needed): If your faucet requires it, take a small amount of plumber’s putty and roll it into a snake-like rope about 1/4 inch thick. Press this rope evenly around the underside of the faucet base or rim where it will meet the sink.
- Install Faucet onto Sink: Carefully place the new faucet through the holes in the sink or countertop. Ensure it’s positioned correctly, with handles facing forward and any spout directed appropriately. If you used putty, it will squeeze out slightly when you press down.
Connecting Water Lines
- Screw on Mounting Nuts: From underneath the sink, slide any included washers and then screw on the mounting nuts provided with your new faucet. Hand-tighten them first, ensuring the faucet is straight. Then, use your basin wrench and adjustable wrench to tighten them securely, but don’t overtighten, as this can crack porcelain sinks.
- Connect New Supply Lines: Attach your new (or carefully inspected old) water supply lines to the faucet shanks. These have threaded ends that screw directly into the faucet body. Hand-tighten them, then give them a quarter or half turn with an adjustable wrench.
- Connect Supply Lines to Shut-Off Valves: Now, connect the other end of the supply lines to the corresponding hot and cold shut-off valves. Again, hand-tighten, then use an adjustable wrench to snug them up about a quarter to a half turn past hand-tight. For compression fittings, it’s often recommended to use plumber’s tape on the threads of the shut-off valve, though many modern braided lines have rubber washers that create the seal without tape. If your supply line instructions recommend tape, apply it now, wrapping clockwise around the valve threads.
Testing for Leaks
- Slowly Turn Water Back On: Gently open the hot and cold shut-off valves under the sink (or the main valve if you used that). Turn them counter-clockwise slowly.
- Check All Connections: Immediately inspect all the points where you connected the supply lines to the faucet and the valves. Look and feel for any drips or moisture.
- Test the Faucet: Turn on the new faucet slowly to check the flow of hot and cold water. Listen for any unusual sounds.
- Final Leak Check: Turn off the faucet and do one last thorough check of all connections. If you see any small drips, try tightening the connection slightly (a quarter turn is usually enough). If a leak persists, you may need to disconnect, check the washer or seal, and re-apply plumber’s tape if necessary.
- Clean Up Excess Putty: If you used plumber’s putty, use a damp cloth or paper towel to wipe away any excess that squeezed out around the faucet base.
Congratulations! You’ve just installed a new faucet. The most common point of failure or leaks is usually at the connection points of the supply lines. Being thorough here prevents future headaches.
Tips for Finding Cheap Faucets and Saving Money
The “install faucet cheap” goal is about more than just DIY labor. Finding an affordable faucet is the first step. Here’s how to do it:
- Shop Sales and Clearance: Home improvement stores often have seasonal sales, holidays, and clearance sections. Check these regularly. You can find perfectly good faucets at a deep discount.
- Consider Older Plumbing Configurations: Faucets designed for older, more common sink hole patterns (like 4-inch center-set) are often manufactured in much higher volumes and are therefore less expensive than specialized or widespread designs.
- Look at Less Known but Reputable Brands: While names like Moen or Delta are popular, many other brands offer excellent quality at lower price points. Do a quick online search for reviews of budget faucet brands before buying.
- Basic Designs are Cheaper: Stick to faucets with fewer features. A simple single-handle or two-handle faucet without a sprayer, filtration, or unique finishes will be significantly cheaper. Chrome finishes are typically the most cost-effective.
- Buy Just the Faucet: Sometimes faucets are sold in kits that include matching soap dispensers or other accessories. Unless you need these, buying just the faucet itself can save money.
- Check Online Retailers: Major online retailers often have competitive pricing. However, be sure to read reviews carefully and check return policies.
- Inspect for Damage: If buying from a clearance or open-box section, carefully inspect the faucet for scratches, dents, or missing parts.
Don’t forget to factor in the cost of essential materials like supply lines and plumber’s tape if they aren’t included. These are small expenses that prevent big problems.
When to Splurge a Little (and When Not To)
While the goal is to install a faucet cheap, there are a few areas where spending just a little more might save you hassle or money in the long run:
Areas to Splurge Wisely:
- Supply Lines: While you can reuse old ones, investing in new, braided stainless steel supply lines ($10-$20 each) is a small price to pay for peace of mind and a guaranteed good seal. They are much more durable than rubber hoses.
- Ceramic Disc Faucets: If you can find a basic ceramic disc model within your budget, it’s often worth it. They are vastly more durable and leak-resistant than older compression or ball faucets, potentially saving you repair costs down the line.
- Reputable Brands (Even Budget Lines): A slightly higher cost for a faucet from a well-known brand (even their most basic model) often means better internal components and a more reliable cartridge, leading to a longer lifespan.
Areas to Save:
- Finishes: Chrome and brushed nickel are usually the cheapest and most common finishes. High-end finishes like oil-rubbed bronze or matte black will cost significantly more.
- Features: Unless you absolutely need it, skip fancy features like pull-down sprayers, touchless operation, or integrated water filters. These add to both the purchase price and potential complexity of installation and repair.
- Brand Name Recognition: Don’t pay a premium just for a logo. Many lesser-known brands offer excellent value for money.
- Installation Labor: This is the biggest saving. By doing it yourself, you’re already saving a significant amount.
Making smart choices here ensures your cheap faucet installation is also a reliable one.
Troubleshooting Common Issues After Installation
Even with the best intentions, sometimes minor issues crop up. Here’s how to fix them without calling the pros:
Issue: Slow Water Flow
- Possible Cause: Debris in the aerator or a partially closed shut-off valve.
- Solution: Unscrew the aerator (the part at the tip of the spout). Rinse it out and screw it back on. Ensure your shut-off valves are fully open. If the problem persists, it could be mineral buildup in the faucet body itself, which might require a more in-depth cleaning or even replacement of the faucet cartridge if it’s a more complex model.
Issue: Dripping from the Spout
- Possible Cause: The shut-off valves aren’t fully closed, or the cartridge/washer inside the faucet is faulty or not seated correctly.
- Solution: Double-check that the shut-off valves are fully open and then fully closed.
