
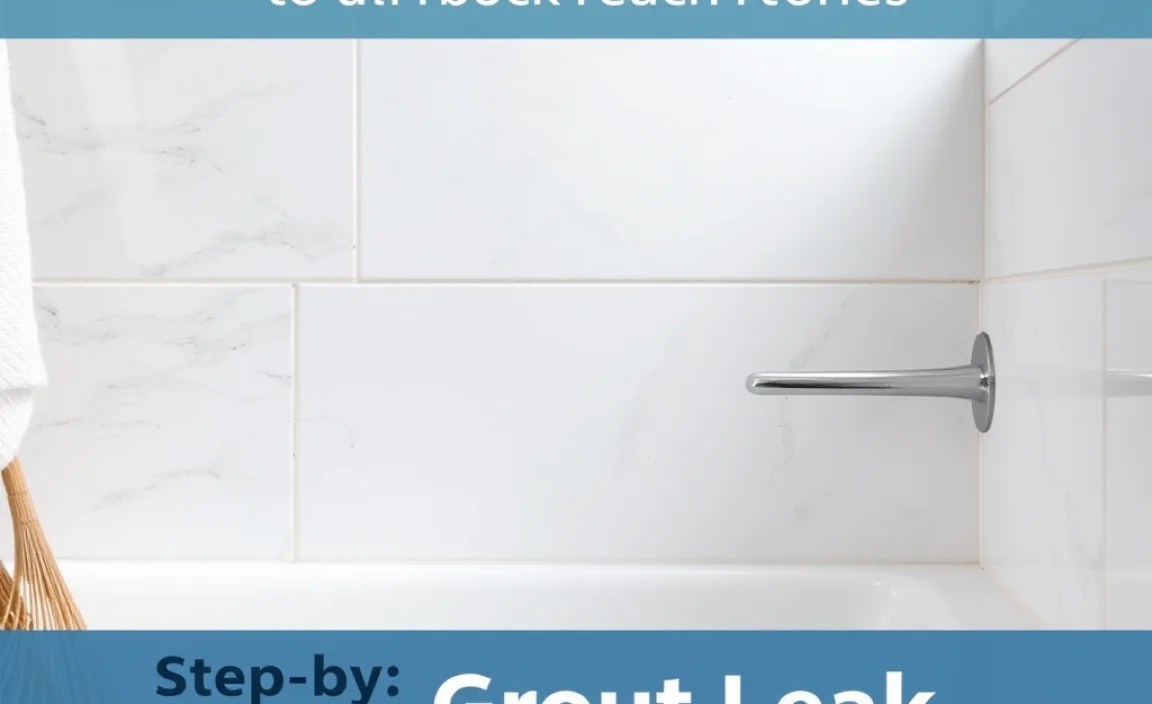
Installing a grout leak fix is straightforward. This guide offers a proven method to seal leaky grout, protecting your surfaces and preventing water damage. Follow these simple steps to achieve a professional, watertight seal.
We’ve all been there. You notice a small drip, a mysterious damp spot, or perhaps even a visible crack where water shouldn’t be. Often, the culprit is faulty grout, especially in areas like bathrooms and kitchens. Grout, when it’s not properly sealed or has degraded over time, can allow moisture to seep through, leading to bigger problems like mold, mildew, and even structural damage.
It can be a frustrating issue, but don’t worry! This guide is designed to make fixing grout leaks feel totally achievable. We’ll walk you through a proven method, step-by-step, so you can tackle this common home repair with confidence. Let’s get your leaky grout sealed up tight!
Understanding Grout Leaks: Why They Happen and Why It Matters

Grout is the mortar-like substance that fills the gaps between tiles. Its primary jobs are to hold tiles in place, provide a smooth surface for cleaning, and prevent moisture from getting behind your tiles. You’ll find it in showers, around bathtubs, on kitchen backsplashes, and, of course, on floors.
Over time, grout can weaken. This can happen due to several reasons:
- Wear and Tear: Constant exposure to water and cleaning can erode grout.
- Harsh Cleaning Products: Some cleaners can break down grout.
- Lack of Sealing: Grout is porous, meaning it can absorb liquids. If it’s not sealed, water can easily pass through. You can learn more about the importance of sealing grout on sites like BuildingGreen, which discusses material innovations.
- Aging: Like anything in your home, grout gets older and may need refreshing.
- Foundation Movement: In rare cases, shifting in a building’s foundation can cause grout to crack.
A grout leak isn’t just about a little water. If left unattended, this moisture can:
- Promote Mold and Mildew Growth: This is especially common in bathrooms and is bad for air quality and your health.
- Damage Subflooring or Wall Structures: Water seeping behind tiles can rot wood.
- Cause Tile Loosening: Persistent moisture can weaken the adhesive holding your tiles.
- Lead to Costly Repairs: Ignoring a small leak can turn into a major, expensive renovation.
The good news? Most grout leaks are preventable and repairable. The main solution involves ensuring your grout is properly sealed and, if necessary, repairing or replacing damaged sections. This guide focuses on the ‘how-to’ of fixing and sealing to prevent future leaks.
What You’ll Need: Your Grout Repair Toolkit

Before you dive in, let’s gather your supplies. Having everything ready makes the process smoother and safer. Think of this as your essential grout leak repair kit.
Essential Tools and Materials
- Safety Gear: Gloves (disposable nitrile or rubber are great) and safety glasses are a must to protect your skin and eyes from dust and chemicals.
- Grout Removal Tool: This could be a dedicated grout saw, a utility knife with a sharp blade, or even a small screwdriver for smaller areas.
- Vacuum Cleaner: A shop vac or a regular vacuum with a brush attachment is perfect for removing dust and debris.
- Stiff Brush or Old Toothbrush: For cleaning out dust and residue from grout lines.
- Sponge and Bucket: For cleaning and rinsing. Use a clean bucket and a new sponge.
- New Grout: Choose a grout that matches your existing color as closely as possible. Sanded grout is for wider joints (1/8 inch or more), while unsanded grout is for narrower joints (less than 1/8 inch). If you’re unsure, check the documentation for your tiles or ask at your local hardware store.
- Grout Float: This is a specialized tool with a firm, rubbery base for pressing grout into joints.
- Putty Knife or Margin Trowel: To mix and scoop grout.
- Water: For mixing grout and cleaning.
- Grout Sealer: A high-quality penetrating grout sealer.
- Applicator for Sealer: This could be a small brush, roller, or a spray bottle, depending on the sealer type.
- Clean Cloths or Rags: For wiping away excess grout and sealer.
Having the right tools makes all the difference. If you’re unsure about grout types, a quick visit to a reputable DIY store or a browse through resources like The Spruce’s guide on choosing grout can provide helpful context.
Step-by-Step: How to Install a Grout Leak Fix
This process will focus on repairing a section of damaged or missing grout that’s causing a leak. We’ll be removing the old, failing grout and replacing it with new, properly sealed grout.
Step 1: Assess the Damage and Prepare the Area
First, pinpoint where the leak is originating. Look for cracked, crumbling, or missing grout. Gently probe the area with a utility knife or a screwdriver. If the grout easily crumbles or falls out, it definitely needs replacing.
Clear away any items from the work area. Lay down a drop cloth or old towels if you’re working on a floor to catch any dust or spills.
Step 2: Remove the Old Grout
This is where your grout removal tool comes in handy. The goal is to carefully remove only the old grout, without damaging the tiles themselves.
Method:
- Start by carefully scraping along the grout line with your chosen tool.
- Work slowly and deliberately. If using a grout saw, its sharp edge is designed to fit into the grout lines. If using a utility knife or screwdriver, keep them at a low angle to the tile surface.
- Remove as much of the old grout as possible. You want to create a clean channel for the new grout.
- Use your stiff brush to dislodge any loose particles.
Safety Tip: Always wear your safety glasses during this step to protect your eyes from flying debris.
Step 3: Clean the Grout Lines Thoroughly
Once you’ve removed the bulk of the old grout, it’s crucial to get the area free of dust and debris. Any remaining particles will prevent the new grout from adhering properly.
- Use your vacuum cleaner with a brush attachment to suck up as much grout dust as possible. Get deep into the lines.
- For stubborn dust, slightly dampen a cloth or sponge and wipe down the grout lines. Be careful not to saturate the area if you are not immediately applying new grout.
- Ensure the grout lines are completely dry before proceeding to the next step.
Step 4: Mix Your New Grout
Grout typically comes in a powder form that you mix with water. Always follow the manufacturer’s instructions on the packaging carefully, as ratios can vary.
Mixing Process:
- Pour the required amount of grout powder into a clean mixing container (e.g., a plastic bucket or tub).
- Gradually add water, mixing as you go. Start with slightly less water than recommended, as you can always add more.
- Use a margin trowel or putty knife to mix until you achieve a smooth, consistent paste. The ideal consistency is often described as like peanut butter or thick toothpaste – it should hold its shape without being too stiff or too runny.
- Let the mixture sit for about 5-10 minutes (this is called “slaking”). This allows the chemicals in the grout to fully activate.
- Give it a final stir. Avoid overmixing, which can introduce air bubbles.
Step 5: Apply the New Grout
Now for the exciting part – filling those gaps! This is where the grout float shines.
Application Technique:
- Take a generous amount of grout onto your grout float.
- Hold the float at about a 45-degree angle to the tiles.
- Press the grout firmly into the cleaned grout lines, working in multiple directions (diagonally, vertically, horizontally) to ensure all voids are filled.
- Scrape off excess grout from the tile surface with the edge of the grout float, holding it at a steeper angle (almost 90 degrees) to avoid pulling grout out of the joints.
Work in manageable sections. If you have a large area, it’s better to grout a few square feet at a time.
Step 6: Clean Off Excess Grout
This step requires a bit of timing and a gentle touch. You want to clean the tiles before the grout fully hardens, but not so soon that you pull it out of the joints.
Cleaning Process:
- Wait about 10-15 minutes after applying the grout.
- Dampen a sponge in clean water and wring it out thoroughly until it’s almost dry.
- Gently wipe the tile surface in a floating motion, moving diagonally across the grout lines.
- Rinse your sponge frequently in the bucket of clean water, and wring it out well each time. Change the water often to avoid spreading grout haze.
- Your goal is to remove the grout film from the tiles without disturbing the freshly applied grout in the lines.
If you see grout haze (a faint cloudy film) remaining on the tiles after the first pass, wait another 15-20 minutes and repeat the damp-sponging process. You might need to do this a couple of times.
Step 7: Let the Grout Cure
Grout needs time to harden, or “cure.” The curing time will vary depending on the type of grout and humidity levels, but typically ranges from 24 to 72 hours.
- Follow the grout manufacturer’s recommendations for curing time.
- Avoid heavy traffic or getting the area wet during this period.
- You can gently buff the tiles with a clean, dry cloth after curing to remove any lingering haze.
Step 8: Apply Grout Sealer
This is the most critical step for preventing future leaks and stains. Sealing your grout creates a barrier against moisture and soiling.
Sealing Procedure:
- Ensure the grout is completely cured. This is usually at least 72 hours, but check your grout product’s instructions.
- Apply the grout sealer according to the product’s directions. This usually involves using a small brush or applicator to apply a thin, even coat directly to the grout lines.
- Some sealers are sprayed on, while others are brushed or rolled.
- Wipe off any excess sealer that gets on the tile surface immediately with a clean, damp cloth. If the sealer dries on the tile, it can leave a permanent mark or haze.
- Allow the sealer to dry and set, as per the manufacturer’s instructions. This can range from a few hours to a day.
Regular sealing (typically every 6-12 months, depending on traffic and exposure) is key to long-term grout health. You can find more detailed tips on sealing from organizations like the Tile Council of North America (TCN).
Understanding Grout Types: Sanded vs. Unsanded

Choosing the right grout is important for a successful repair. The two main types are sanded and unsanded, distinguished by the presence of fine sand particles.
| Grout Type | Composition | Use Case | Pros | Cons |
|---|---|---|---|---|
| Unsanded Grout | Fine cementitious powder without sand. | Grout joints 1/8 inch wide or smaller. Often used for delicate tiles like glass or metal. | Smooth finish, less likely to scratch delicate tiles, good for very narrow joints. | Can shrink and crack in wider joints, less durable for heavy-traffic areas. |
| Sanded Grout | Cementitious powder with fine sand added. | Grout joints 1/8 inch wide or larger. Suitable for most tile installations, floors, and walls. | Stronger, more durable, less prone to shrinking and cracking in wider joints. | Can scratch softer tiles like polished marble or glass, texture is less smooth. |
If you’re replacing a small section and can’t tell what type of grout was originally used, err on the side of caution. For joints around 1/8 inch or less, unsanded is safer. For anything wider, sanded is usually the way to go. Always check the manufacturer’s guidelines on the grout packaging.
When to Call a Professional

While fixing grout leaks is often a manageable DIY project, there are situations where it’s best to call in a professional:
- Extensive Damage: If you see widespread cracking, significant water stains, or suspect structural damage behind the tiles.
- Suspected Mold Infestation: If you see significant mold growth, it’s often an indication of deeper moisture issues that require professional mold remediation.
- Uncertainty About Tile Type: Some tiles are very delicate and require specialized handling.
- Lack of Time or Confidence: If you’re feeling overwhelmed or don’t have the time to dedicate to the repair.
- Persistent Leaks: If you’ve attempted repairs and the leak continues, there might be a more complex underlying issue.
A professional tile setter or a qualified contractor can accurately diagnose the problem and ensure a long-lasting, effective repair. They have the experience and specialized tools to handle complex situations.
Conclusion
Tackling grout leaks might seem daunting at first, but by understanding why they happen and following a proven method, you can successfully repair damaged grout and significantly protect your home. We’ve walked through preparing the area, removing old grout, mixing and applying new grout, cleaning, curing.
Frequently Asked Questions About Grout Leaks
Q1: How do I know if my grout is leaking?
A: You might notice damp spots on walls or floors, water stains, peeling paint near tiled areas, or a persistent musty smell. If you can poke a crack or crumbling section in the grout, it’s a prime candidate for leaking.
Q2: Can I just seal my grout to fix a leak?
A: Sealing is preventative maintenance. If the grout is already cracked or missing, sealing alone won’t fix the leak. You must first repair or replace the damaged grout and then seal it to prevent future leaks.
Q3: How long does new grout take to dry?
A: Grout needs to cure, not just dry. This typically takes 24-72 hours for initial hardness, but full curing can take up to a week or more. Avoid getting the area wet or using it heavily during this time.
Q4: What’s the difference between grout haze and a stain?
A: Grout haze is a powdery residue left on tiles after cleaning. Stains are discoloration within the grout or on the tile itself, often from liquids like wine, coffee, or mildew.
Q5: How often should I seal my grout?
A: It depends on usage, but generally, resealing is recommended every 6 to 12 months. You can test if your grout needs sealing by dripping a little water on it – if the water beads up, it’s sealed; if it soaks in, it’s time to reapply sealer.
Q6: Can I grout over old grout?
A: It’s not recommended. Grouting over old grout is a temporary fix that rarely holds and can lead to future problems. It’s best to remove the old grout for a proper, long-lasting repair.
Q7: My tiles are slightly loose. Is this related to a grout leak?
A: Possibly. If grout leaks have been happening for a while, moisture can weaken the tile adhesive. Loose tiles usually indicate a more significant issue that might require professional assessment to check the subfloor or substrate.
