
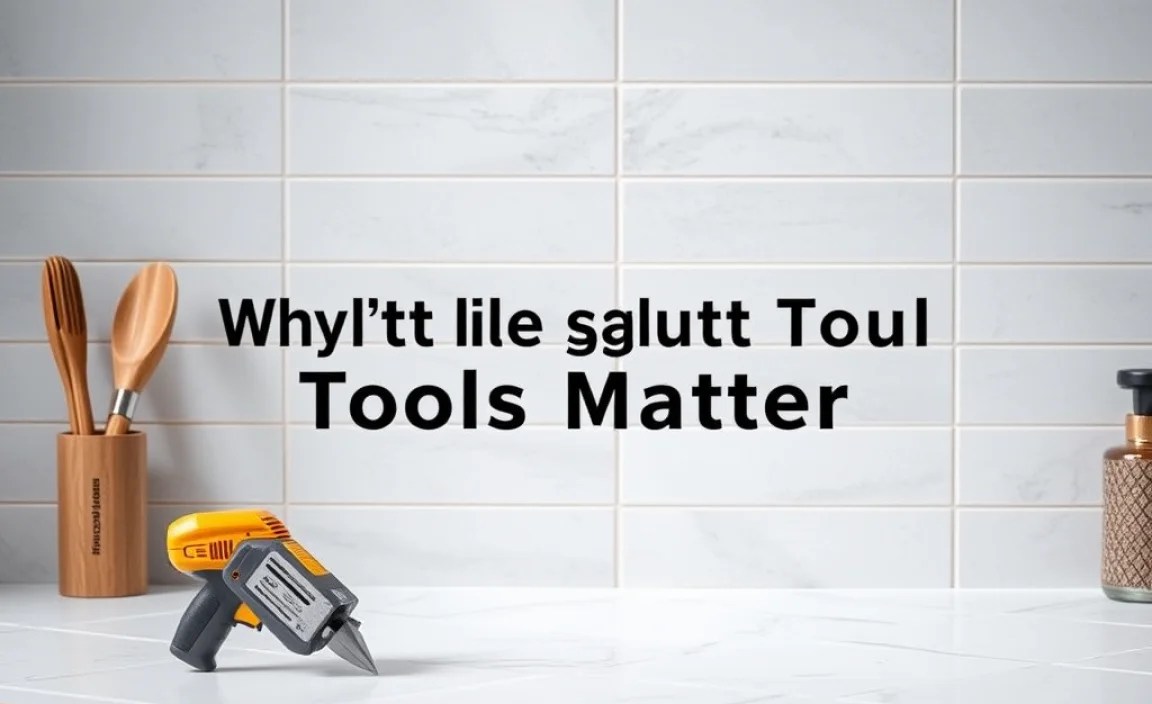
Essential grout tools are key for a professional, mess-free tile installation. This guide breaks down the genius tools you need, from trowels for spreading to floats for smoothing and sponges for cleanup, ensuring your DIY tiling project looks fantastic and lasts for years. We’ll cover what each tool does and how to use it effectively, even if you’re a complete beginner.
Tiling a floor or wall can seem daunting, but with the right tools, it becomes a manageable and even enjoyable DIY project. You might have picked out beautiful tiles, imagined the finished look, but then wondered, “What on earth do I need to actually install the grout?” Don’t worry; we’ve all been there!
The difference between a DIY job that looks amazing and one that makes you cringe often comes down to having the correct, and often surprisingly simple, grout installation tools. We’re here to demystify these essential companions. We’ll guide you through exactly which tools are a must-have and why. Get ready to tackle your tiling with confidence, transforming your space one grout line at a time!
Why the Right Grout Tools Matter
Installing grout is the finishing touch that truly makes a tiled surface look complete and professional. It’s not just about filling gaps; grout seals the spaces between tiles, protecting your wall or floor from moisture, dirt, and grime. When done correctly, it enhances the beauty of your chosen tiles. But when the wrong tools are used, or if you try to skip steps, you can end up with uneven grout lines, messy tiles, cracked grout, or worse, water getting behind your tiles, leading to bigger problems. The right tools make the process smoother, cleaner, and ensure a durable, beautiful result that you’ll be proud of.
Understanding Grout: A Quick Refresher

Before we dive into the tools, let’s quickly touch on grout itself. Grout is a cement-based or epoxy material used to fill the spaces (called grout lines) between tiles. It comes in two main types:
- Sanded Grout: Contains sand, which adds strength and prevents shrinkage. It’s best for wider grout lines (typically 1/8 inch or larger).
- Unsanded Grout: Does not contain sand. It’s used for narrower grout lines (less than 1/8 inch) and is often recommended for delicate tile materials like glass or metal that could be scratched by sand.
The type of grout you choose will slightly influence the tools you use, but the fundamental requirements remain consistent. You’ll also want to consider whether you’re using a pre-mixed grout or a powder that needs water added. Always check the manufacturer’s instructions for your specific grout.
The Genius Grout Installation Toolkit: Your Essential List

Don’t overthink this! Most of what you need are simple, often inexpensive, items that make a world of difference. Here’s what every DIYer needs for successful grout installation:
1. Grout Float
This is arguably the most critical tool for applying grout. A grout float is a flat, sturdy rubber or nylon pad attached to a handle. It’s designed to spread grout into the spaces between tiles evenly and efficiently.
- Why it’s genius: The firm but flexible surface presses the grout deep into the joints, ensuring full coverage and minimizing air pockets. The angled edges help scrape off excess grout from the tile surface without pulling it out of the joints.
- What to look for: A comfortable, ergonomic handle is a plus for long sessions. The rubber pad should be firm enough to spread grout but with enough give to conform to the tile surface.
2. Grout Sponge
Once the grout is applied, you need to clean up the excess. A grout sponge is not your average kitchen sponge. It’s larger, denser, and has rounded edges to prevent accidentally gouging out the freshly applied grout.
- Why it’s genius: Its high absorbency, combined with its durable construction, allows you to wipe away grout haze and smooth the grout lines without disturbing them. The rounded edges are crucial for keeping grout in the joints.
- What to look for: Heavy-duty, low-velour sponges are ideal. They hold more water and resist breaking down under constant use.
3. Buckets (Two!)
You’ll need at least two buckets: one for mixing your grout (if it’s not pre-mixed) and one for clean water to rinse your sponge. Having a dedicated bucket for your grout mix prevents you from contaminating your clean water with grout residue.
- Why it’s genius: Using two buckets is a simple but vital technique for keeping rinsing water clean. This ensures you’re cleaning tiles with fresh water, not dirty, gritty water, which helps achieve a cleaner finish.
- What to look for: Sturdy plastic buckets that are easy to clean. 5-gallon buckets are a good size.
4. Trowel (Margin Trowel or a Small Trowel)
While the grout float does the heavy lifting of spreading, a smaller trowel is incredibly useful for scooping grout out of the container and loading it onto the grout float. A margin trowel is a good option here.
- Why it’s genius: It makes transferring grout from your bucket to your float much cleaner and more efficient. It can also be useful for filling in any missed spots or very small areas.
- What to look for: A sturdy, stainless steel trowel with a comfortable grip.
5. Utility Knife or Grout Saw
Mistakes happen! If you get grout on a tile edge, in a corner, or you need to remove a bit of excess that the float missed, these tools are your best friends.
- Why it’s genius: They allow for precise removal of errant grout without significantly damaging the tile or the surrounding grout lines. A utility knife is good for fresh grout, while a dedicated grout saw is better for hardened grout or more intricate removal.
- What to look for: A sharp blade for the utility knife. For a grout saw, look for a comfortable handle and a blade designed to cut through cured grout.
6. Mixing Stick or Drill with Mixing Paddle
If your grout comes in powder form, you’ll need to mix it with water. A sturdy stick for small batches or a drill with a mixing paddle attachment for larger quantities ensures a smooth, lump-free consistency that’s crucial for proper application and strength.
- Why it’s genius: Proper mixing is non-negotiable for grout performance. A lump-free mixture spreads better, cures correctly, and results in a more durable installation.
- What to look for: A strong, clean mixing stick. For a drill, a low-speed drill is best to avoid splashing and over-mixing.
7. Safety Gear: Gloves and Goggles
This is non-negotiable. Grout, especially cementitious types, can irritate skin and eyes. Epoxy grouts can be more aggressive.
- Why it’s genius: Protecting your skin and eyes ensures a safe and healthy DIY experience. A simple precaution can prevent a lot of discomfort and potential injury. According to OSHA, protective eyewear can prevent thousands of eye injuries each year. Read more about eye safety.
- What to look for: Chemical-resistant gloves (like nitrile or rubber) and comfortable, snug-fitting safety goggles.
8. Drop Cloth or Plastic Sheeting
Protect your surrounding areas, especially floors, cabinets, and walls, from grout drips. It’s much easier to lay down protection than to scrub dried grout off surfaces.
- Why it’s genius: Prevents hours of scrubbing and potential damage to finished surfaces. A little preventative measure saves a lot of cleanup headache.
- What to look for: Durable plastic sheeting or canvas drop cloths.
9. Microfiber Cloths or Rags
Beyond the grout sponge, having a supply of clean microfiber cloths or soft rags is essential for buffing away the grout haze after the initial cleaning and for wiping down tile edges.
- Why it’s genius: Microfiber is excellent at picking up fine dust and haze without scratching. They are invaluable for that final polish.
- What to look for: Plenty of clean, lint-free cloths.
Step-by-Step: Installing Grout with Your New Tools
Now that you know your tools, let’s walk through the process. Remember to read your grout manufacturer’s instructions carefully, as timings and methods can vary slightly!
Preparation is Key
- Cleanliness is Crucial: Ensure your tiles are completely clean, dry, and free of any adhesive or debris. Any particles left behind can mar the grout.
- Protect Your Surroundings: Lay down drop cloths or plastic sheeting around the tiled area.
- Gather Your Tools: Have your grout float, sponges, buckets, trowel, gloves, goggles, mixing tools, and cloths all within easy reach. Prepare your two buckets: one for mixing grout (if needed) and one for clean rinse water.
- Wear Your Safety Gear: Put on your gloves and safety goggles.
Mixing the Grout (If Applicable)
If you’re not using pre-mixed grout, this is your first critical step.
- Measure Precisely: Follow the manufacturer’s instructions for the water-to-grout ratio. Too much water weakens the grout; too little makes it hard to work with.
- Mix Thoroughly: Gradually add water to the grout powder in your mixing bucket. Use your mixing stick or drill with a paddle to combine everything until it’s smooth and lump-free. Aim for a peanut butter-like consistency.
- Let it Slake: Most grouts need a short resting period (called “slaking”) after mixing, usually 5-10 minutes. This allows the chemicals to fully activate. Mix again briefly after slaking.
Applying the Grout
This is where your grout float shines.
- Load the Float: Scoop a generous amount of grout onto your grout float using your margin trowel or simply dip the float into a bucket of pre-mixed grout.
- Spread and Press: Hold the grout float at about a 45-degree angle to the tile surface. Spread the grout across the tiles, pressing firmly to push it into the grout lines. Work in small sections.
- Angle Matters: As you spread, use the edge of the float to scrape off excess grout from the tile faces. Hold the float at a steeper angle (closer to 90 degrees) to remove the bulk of the excess, being careful not to pull grout out of the lines.
- Diagonal Strokes: For best coverage, move the float diagonally to the grout lines. This helps fill the joints completely without digging them out.
Cleaning Up Excess Grout
This is a multi-stage process, and your grout sponge is essential.
- Initial Wipe-Down: After applying grout to an area, wait for it to set slightly (usually 5-15 minutes, check your grout product). Dip your grout sponge into the clean water bucket, wring it out thoroughly so it’s damp, not soaking.
- Gentle Cleaning: Using light, diagonal strokes, gently wipe the excess grout off the tile surface. Rinse your sponge frequently in the clean water bucket.
- Rinse, Rinse, Rinse: As your rinse water gets dirty, dump it and refill the bucket with fresh water. This is critical for avoiding “grout haze.”
- Second Pass: Once you’ve covered the area, go back over the tiles with a well-wrung-out sponge to smooth the grout lines and clean any remaining residue.
Hazing and Buffing
The final step to a clean finish.
- Allow to Haze: Let the grout cure for at least 2-4 hours (or as directed by the manufacturer). During this time, a dusty haze will form on the tile surface.
- Buffing: Use a clean, dry microfiber cloth or rag to buff out the haze. Work in a circular motion. This step reveals the true color of your grout and leaves your tiles looking sparkling clean.
- Final Inspection: Check for any missed spots or uneven areas. You can use a utility knife to carefully scrape away any stubborn dried grout residues if necessary.
Types of Grout and Tool Considerations

While the basic tools remain the same, there are subtle differences when working with various grout types. Here’s a quick rundown:
| Grout Type | Primary Tool Use | Key Tool Considerations |
|---|---|---|
| Cementitious Grout (Sanded/Unsanded) | Spreading, pressing, cleaning excess grout lines. | Requires a durable grout float and a rinse sponge. Sanded grout may require firmer pressure. Unsanded grout needs care not to smear excessively on delicate tiles. Two-bucket system is vital. |
| Epoxy Grout | Applying, cleaning excess grout, removing haze. | Epoxy is stickier and harder to clean. Use chemical-resistant gloves and goggles diligently. A dedicated, high-quality grout float and specialized epoxy grout sponges are recommended. Clean-up must be done more promptly as epoxy cures harder and faster. Always follow manufacturer’s specific cleanup instructions. Check resources on epoxy grout properties for detailed technical data. |
| Pre-Mixed Grout | Spreading, cleaning excess grout lines. | Consistency can vary. Ensure your float and sponges are suitable for the texture. May require slightly different drying/hazing times. |
Grout Tools: Pros and Cons
Every tool has its place and purpose. Let’s look at the advantages and disadvantages of the core grout installation tools.
| Tool | Pros | Cons |
|---|---|---|
| Grout Float | Excellent for evenly spreading and packing grout into joints. Efficiently removes surface excess. Durable and reusable. | Requires practice to master the technique for optimal results. Can be heavy if large areas are being grouted. |
| Grout Sponge | Ideal for cleaning and smoothing grout lines. High absorbency. Rounded edges prevent joint damage. Durable for repeated use. | Requires frequent rinsing to maintain effectiveness. Can become oversaturated if not wrung out properly. |
| Buckets (Two) | Essential for clean rinsing and proper grout consistency. Prevents contamination. | Take up space. Need to be cleaned thoroughly after use. |
| Margin Trowel | Great for scooping and transferring grout. Useful for small repairs or filling tight spots. | Not suitable for large grout spreading tasks. Can be messy if not used carefully. |
| Safety Gear (Gloves, Goggles) | Protects skin from irritation and eyes from dust/chemicals. Essential for health and safety. | Can sometimes feel cumbersome, but the protection is invaluable. Proper fit is key. |
Common Beginner Mistakes and How to Avoid Them
Even with the right tools, a few common slip-ups can happen. Being aware of them is half the battle.
- Using Too Much Water: This weakens the grout and can cause it to shrink or crack as it dries. Always follow the manufacturer’s recommended water ratio.
- Not Rinsing the Sponge Enough: Using a dirty sponge just pushes grout residue around, leading to a hazy, uneven finish that’s hard to remove later. Stick to the two-bucket system and rinse frequently.
- Cleaning Too Soon or Too Late: If you start cleaning before the grout has set a bit, you’ll pull it out of the joints. If you wait too long, it becomes very difficult to remove from the tile surface. Follow the manufacturer’s timing for curing before initial cleaning.
- Scrubbing Too Hard: Aggressively scrubbing with the sponge can dislodge fresh grout or create grooves in the lines, making them uneven. Use gentle, diagonal strokes.
- Not Protecting Surrounding Areas: Grout is messy! A few minutes spent covering floors and countertops can save hours of tough scrubbing later.
