
Installing a drain in plumbing is a straightforward DIY project when you follow the right steps. This guide covers everything from choosing the right drain to ensuring a watertight seal, making your plumbing project a success and preventing leaks.
Dealing with plumbing can sometimes feel like a puzzle, especially when it involves adding or replacing a drain. A new drain is essential for sinks, showers, and tubs, ensuring water flows away smoothly. If you’ve ever been frustrated by slow drainage or leaks, you know how important a properly installed drain is. This guide is designed to make the installation of a drain in plumbing simple and stress-free. We’ll walk you through each phase, from gathering your tools to the final clean-up, so you can confidently handle this task and enjoy a functional plumbing system.
Why Proper Drain Installation Matters
A well-installed drain isn’t just about aesthetics; it’s crucial for preventing a host of plumbing nightmares. Think about it: standing water, unpleasant odors, and even structural damage from persistent leaks all stem from a drain that wasn’t installed correctly. When water doesn’t drain properly, it can sit and become a breeding ground for mold and mildew, posing health risks. Beyond that, constant moisture seeping into cabinetry or flooring can lead to costly repairs and damage to your home’s foundation.
The good news is that with a bit of preparation and careful attention to detail, installing a drain is very achievable for most homeowners. Understanding the basics of how drains work and the materials involved will empower you to tackle this plumbing task with confidence. We’ll break down the process into easy-to-follow steps, ensuring you get it right the first time.
Choosing the Right Drain Type
Before you can begin the installation of a drain in plumbing, you need to select the right type of drain for your specific needs. Different fixtures require different drain assemblies. Understanding these options will help you make the best choice for your project.
Common Drain Types:
- Sink Drains: These are typically found in kitchens and bathrooms. They often include a stopper mechanism and can be fitted with strainers to catch debris. Common types include basket strainers and pop-up stoppers.
- Tub Drains: Bathtub drains come in various designs, including pop-up stoppers (opened by a lever or knob on the tub) and twist-and-pull stoppers. They connect to a drain shoe and overflow assembly.
- Shower Drains: Shower drains are designed for wet environments and need robust sealing. They often feature a drain cover that sits flush with the shower floor and can be made of various materials like brass, stainless steel, or plastic.
- Floor Drains: Commonly found in basements, garages, or utility rooms, floor drains are designed to handle accidental spills or floor washing. They usually have a grate to prevent large objects from entering the pipe.
Considerations When Choosing:
- Material: Drains come in plastic, brass, stainless steel, and chrome-plated brass. Brass and stainless steel are more durable and corrosion-resistant, making them ideal for areas with high moisture. Plastic is often more affordable.
- Finish: Match the drain finish to your existing fixtures (faucet, showerhead) for a cohesive look. Popular finishes include chrome, brushed nickel, oil-rubbed bronze, and matte black.
- Ease of Cleaning: Some drain types are easier to clean than others. Consider if you want a removable strainer or a stopper that can be easily lifted out.
- Compatibility: Ensure the drain assembly you choose is compatible with your existing plumbing pipes (PVC, ABS, copper).
Essential Tools and Materials
Gathering the right tools and materials before you start the installation of a drain in plumbing is key to a smooth and efficient process. Having everything on hand will prevent frustrating interruptions and ensure you can complete the job safely and effectively.
Tools You’ll Need:
- Plumber’s Putty or Silicone Caulk: For creating a watertight seal between the drain flange and the fixture.
- Pipe Wrench or Adjustable Wrench: To tighten or loosen pipe fittings.
- Channel Locks (Tongue-and-Groove Pliers): Useful for gripping various sizes of pipes and fittings.
- Screwdriver (Phillips and Flathead): For securing drain components.
- Measuring Tape: To ensure correct placement and fit.
- Utility Knife or Tubing Cutter: For trimming pipes if necessary.
- Bucket: To catch any residual water.
- Rags or Towels: For cleaning up excess putty, caulk, or water.
- Safety Glasses: To protect your eyes from debris and drips.
- Gloves: To protect your hands and improve grip.
- Hacksaw (if cutting PVC or ABS pipe): For making clean cuts on plastic pipes.
- Primer and Cement (for PVC/ABS pipes): If joining plastic pipes.
Materials You’ll Need:
- Drain Assembly Kit: This will include the drain flange, body, and stopper/strainer.
- Drain Tailpiece: A short pipe that connects the drain body to the P-trap.
- P-Trap Kit: Essential for preventing sewer gases from entering your home.
- Drain Pipe: The pipe that carries wastewater away from the fixture.
- Connectors and Couplings: For joining pipe sections.
- Thread Seal Tape (Teflon Tape): For sealing threaded pipe connections.
Step-by-Step Guide: Installing a Sink Drain
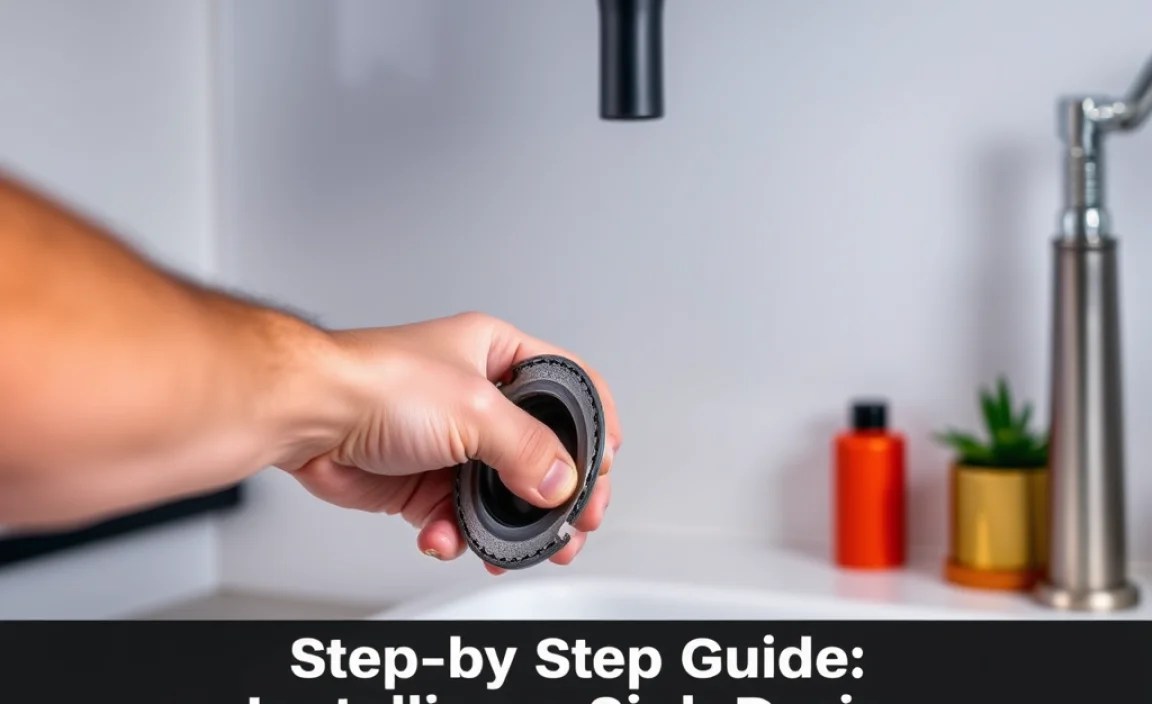
Installing a sink drain is a common DIY plumbing task. This guide is designed for straightforward installations, like replacing an old drain or adding a new one in a standard sink. Always refer to the manufacturer’s instructions for your specific drain kit.
Safety First: Before starting, turn off the water supply to the fixture you are working on. If you are working under a sink, place a bucket beneath the pipes to catch any draining water.
Step 1: Prepare the Sink
Clean the sink opening thoroughly. Remove any old plumber’s putty or caulk. Ensure the surface is dry and free of debris for a good seal.
Step 2: Apply Plumber’s Putty or Silicone
Apply a rope of plumber’s putty (or a bead of silicone caulk for certain applications, check your kit’s instructions) around the underside of the drain flange. This creates a watertight seal between the flange and the sink.
Step 3: Insert the Drain Flange
Press the drain flange firmly into the sink opening from the top side. Make sure it’s centered and sitting flush against the sink surface. Excess putty or caulk should squeeze out around the edge.
Step 4: Install the Gasket and Locknut
From underneath the sink, slide the rubber gasket over the drain body that protrudes through the sink. Next, slide on any washers or metal rings provided in the kit, followed by the large locknut. Hand-tighten the locknut onto the drain body.
Step 5: Tighten the Locknut
Use a pipe wrench or channel locks to tighten the locknut. Hold the drain flange in place from above the sink with your other hand or have a helper do it, to prevent it from spinning. Tighten the locknut snuggly, but avoid over-tightening, which can crack the sink or damage the drain body. Ensure the drain opening is facing the correct direction for your P-trap connection.
Step 6: Connect the Tailpiece and P-Trap
Attach the tailpiece (a short pipe) to the bottom of the drain body. Connect the P-trap to the tailpiece and then connect the other end of the P-trap to the drain pipe leading to your wall or floor. Use thread seal tape on any threaded connections and tighten them securely with a wrench, but again, don’t over-tighten. For PVC, ensure you’ve properly primed and cemented any joints if permanent connections are needed.
Step 7: Test for Leaks
Turn the water supply back on slowly. Run water into the sink and check all connections for leaks. Tighten any leaking fittings slightly. Clean up any excess plumber’s putty or caulk from the sink and surrounding areas.
Installing a Shower Drain: A Deeper Dive
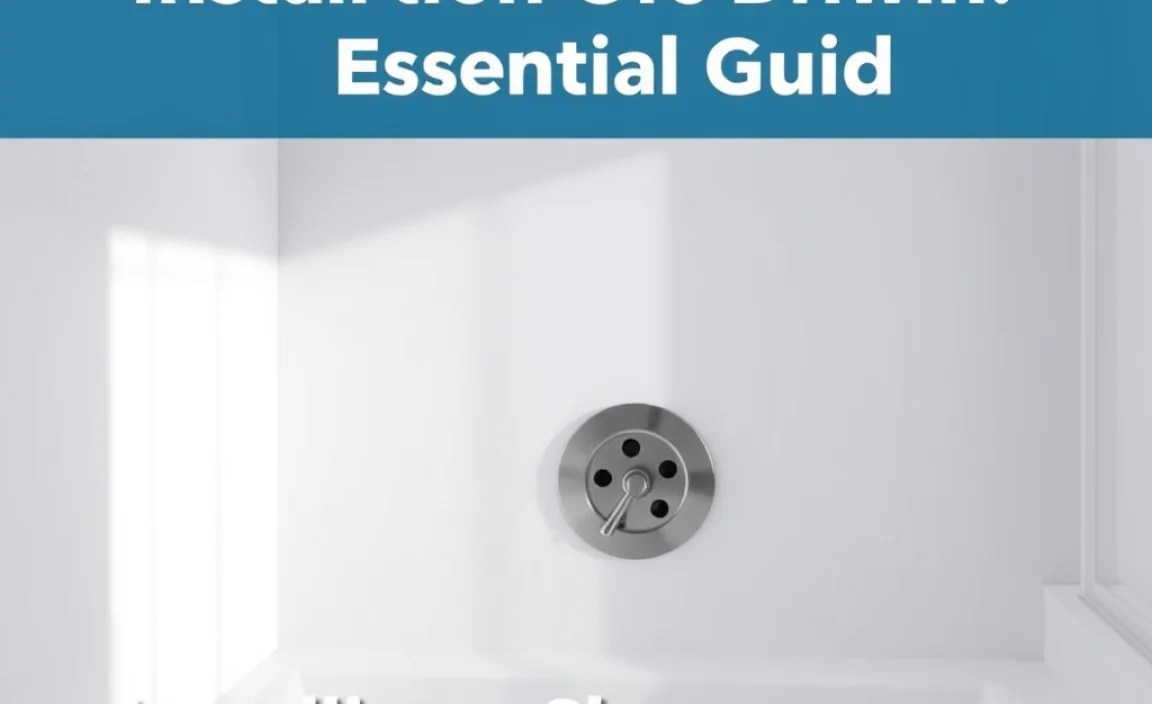
Shower drain installation typically involves more than just the drain assembly itself; it often includes setting the drain into the shower pan and ensuring a robust waterproof seal. This is critical to prevent water from seeping into your subfloor. For a shower, a good P-trap connection is absolutely vital.
Preparation is Key: Ensure your shower pan or subfloor is properly prepared, sloped towards the drain opening, and ready for waterproofing. Check local building codes for specific requirements on drain installation, especially regarding trap seals and ventilation. For example, the International Plumbing Code provides comprehensive guidelines.
Step 1: Position the Drain Body
Place the drain body into the prepared opening in the shower pan. The top of the drain body (where the strainer will sit) should be flush with the finished shower floor level. It needs to be positioned to allow for a slope from all sides towards the drain.
Step 2: Secure the Drain Body and Trap Connection
Connect the drain body to the P-trap assembly. Depending on your kit, this might involve threaded connections or solvent welding for plastic pipes. Ensure the P-trap is properly installed and has the necessary trap arm connection to your main drain line. A typical shower drain setup will utilize a drain shoe, which connects to the trap.
Step 3: Apply Sealing Compound
Apply plumber’s putty or a specialized drain sealant around the underside of the drain flange (the part that sits on top of the shower pan). For most shower installations, we recommend using a siliconized caulk specifically rated for wet areas or a plumber’s putty explicitly approved for this use.
Step 4: Insert the Drain Flange and Strainer
Carefully press the drain flange into the opening, ensuring it is centered and the underside contacts the sealant. Then, position the strainer or drain cover over the flange according to the manufacturer’s instructions. Screw it into place if applicable.
Step 5: Waterproofing and Grouting (Crucial Step)
This is where shower drain installation gets serious. You’ll need to apply waterproofing membranes over your subfloor and the flange, ensuring a continuous watertight barrier. Follow the weep holes in the drain assembly according to the manufacturer’s instructions if your drain has them. This step is vital for preventing leaks. Once cured, grout and tile the shower floor, taking care around the drain assembly.
Step 6: Final Connection and Testing
Connect the P-trap to the waste pipe. Turn on the water and run water through the drain for several minutes, checking for leaks at every connection point and around the base of the drain. Also, ensure the shower floor slopes correctly towards the drain to prevent standing water.
Understanding P-Traps: Your First Line of Defense
You might have noticed we’ve mentioned the P-trap several times. It’s a small but mighty component in your plumbing system, and understanding its role is key to appreciating a proper drain installation. The “P” in P-trap refers to its shape, resembling the letter ‘P’ when viewed from the side.
What Does a P-Trap Do?
- Blocks Sewer Gases: The primary function of a P-trap is to hold a small amount of water in its curved section. This water creates a seal, preventing unpleasant and potentially harmful sewer gases from rising up through the drain and entering your home.
- Catches Debris: The trap also acts as a barrier to larger debris, slowing it down and sometimes catching it before it can travel further into your drain pipes and cause a blockage.
P-Trap Installation and Maintenance
When you install a drain, you’re almost always connecting it to a P-trap. Ensure that the P-trap is installed correctly:
- It must be the correct type for your drain (e.g., specific shower P-traps are different from sink P-traps).
- It needs to be securely connected to both the drain tailpiece and the waste pipe.
- Ensure it has a slight downward slope towards the connecting waste pipe.
Regular maintenance, such as flushing your drains with hot water and vinegar occasionally, can help prevent buildup within the P-trap and the pipes leading to it.
For more detailed information on plumbing codes and best practices, resources like The International Code Council (ICC) offer building and plumbing codes that are adopted and enforced in many jurisdictions.
Troubleshooting Common Installation Issues
Even with the best preparation, you might encounter a hiccup during the installation of a drain in plumbing. Here are some common problems and how to fix them.
Problem: Leaking Connections
- Cause: Loose fittings, insufficient thread seal tape, damaged gaskets, or overtightened connections that crack plastic.
- Solution: First, identify the exact source of the leak. Gently tighten fittings if they are loose. If the leak persists, disassemble the connection, reapply thread seal tape (wrapping in the direction of the threads), or replace the gasket. For plastic pipes, ensure proper primer and cement application.
Problem: Drain Not Sealing Against the Sink/Tub
- Cause: Uneven surface on the fixture, insufficient plumber’s putty/sealant, or the drain components are misaligned.
- Solution: Ensure the fixture surface is smooth and clean. Apply an even bead of plumber’s putty or silicone around the entire underside of the drain flange. Make sure the flange is centered and pressed firmly.
Problem: Slow Draining After Installation
- Cause: Debris lodged in the P-trap, incorrect slope of the drain pipes, or a blockage further down the line.
- Solution: Check the P-trap for obstructions. Disassemble and clean it. Verify that the tailpiece and P-trap have a slight downward slope towards the waste pipe. If the problem isn’t in the trap, a plumber’s snake might be needed to clear blockages further down. Sometimes, a kinked or improperly glued pipe can cause issues.
Problem: Difficulty Tightening the Locknut
- Cause: The drain flange is spinning, or there’s not enough space to get a wrench on the locknut.
- Solution: Have someone hold the drain flange from above the sink to prevent it from spinning while you tighten the locknut from below. If space is tight, use a basin wrench, which is designed for reaching nuts in confined spaces under sinks.
Drain Installation Materials Comparison
Choosing the right materials for your drain installation can impact its longevity, appearance, and ease of installation. Here’s a quick comparison:
| Material | Pros | Cons | Best For |
|---|---|---|---|
| Plastic (PVC/ABS) |
|
|
Under-sink tailpieces, P-traps, hidden pipework where cost is a major factor. |
| Brass (Chrome-plated or unfinished) |
|
|
Visible drain flanges, strainers, shower drains, kitchen sinks where durability and appearance are important. |
| Stainless Steel |
|
|
High-traffic areas, modern bathrooms, showers, kitchen sinks, areas prone to harsh cleaning agents. |
Frequently Asked Questions (FAQs)
Q1: How do I know if I should use plumber’s putty or silicone caulk?
A: Most drain kits will specify what sealant to use. Generally, plumber’s putty is used for sealing drain flanges to porcelain or cast iron sinks and tubs. Silicone caulk is often recommended for certain materials like acrylic tubs and shower pans, or when the manufacturer advises it due to specific material compatibility. Always check your drain kit’s instructions.
Q2: What is the purpose of the P-trap again?
A: The P-trap is a U-shaped pipe under your sink or shower that holds water. This water acts as a barrier, preventing foul-smelling sewer gases from coming up.
