
Quick Summary: Installing an exhaust fan is a smart DIY move to improve bathroom air quality, but it involves pros like better ventilation and cons like electrical work. This guide breaks down the process, benefits, and drawbacks, empowering you to decide if it’s the right project for your home and skill level.
Is your bathroom feeling a little… damp? Do you notice a lingering musty smell or condensation on your mirrors after a steaming shower? You’re not alone! This is a common issue, and the good news is, it’s usually fixable with a simple home improvement: an exhaust fan. Installing one might sound a bit daunting, especially if you’re new to DIY projects. But don’t worry, I’m here to walk you through it! We’ll explore all the amazing benefits of having a well-functioning exhaust fan, as well as the potential downsides to consider. By the end, you’ll have a clear picture of whether this project is for you and how to tackle it safely and successfully.
Why You Need an Exhaust Fan: The Undeniable Benefits

Think of an exhaust fan as your bathroom’s personal air purifier. Its main job is to whisk away moist, humid air that builds up after showers or baths. This isn’t just about comfort; it’s about protecting your home. Without proper ventilation, that moisture can lead to some serious problems that are expensive and unpleasant to fix. Let’s dive into the key advantages of having an exhaust fan installed:
1. Mold and Mildew Prevention: Your Home’s Best Defense
This is arguably the biggest win. Bathrooms are prime real estate for mold and mildew because they’re consistently exposed to high levels of humidity. These microscopic organisms thrive in damp environments and can grow on walls, ceilings, and even in grout lines. Mold isn’t just unsightly; it can also cause allergic reactions, irritate the respiratory system, and generally make your home less healthy. An exhaust fan actively removes the moisture, making it much harder for mold and mildew to take root and grow. It’s a proactive step to keep your bathroom clean and healthy.
2. Eliminating Lingering Odors
Let’s be honest, bathrooms can sometimes have… unique aromas. An exhaust fan doesn’t just clear out humidity; it also helps to expel unpleasant odors. Whether it’s from toiletries, cleaning products, or just general bathroom use, the fan can quickly vent these smells outside, leaving your bathroom smelling fresher. You’ll notice a difference immediately after using the fan.
3. Protecting Your Home’s Structure
Persistent moisture isn’t just bad for your health; it’s terrible for your home’s structure. Wood can rot, paint can peel, and drywall can warp and become damaged when constantly exposed to humidity. These issues can lead to costly repairs down the line. By venting this moisture away, an exhaust fan helps preserve the integrity of your bathroom’s walls, ceiling, and any wooden elements, extending the lifespan of your home’s construction.
4. Improving Air Quality
Beyond just moisture and odors, exhaust fans contribute to overall better indoor air quality. They help circulate air and remove any airborne particles or pollutants that might be lingering. This is especially beneficial for anyone with respiratory sensitivities or allergies. Cleaner air means a more comfortable and healthier living environment for everyone in your home.
5. Preventing Mirror and Window Fogging
That frustrating fog that covers your bathroom mirror and windows after a hot shower? An exhaust fan is the solution. By clearing out the humid air, it prevents condensation from forming, giving you clear visibility and reducing those annoying water streaks that often lead to cleaning chores.
Installation of Exhaust Fan Pros and Cons: Making the Decision

While the benefits are clear, it’s essential to look at the whole picture. Installation of an exhaust fan comes with its own set of pros and cons. Understanding these will help you make an informed decision about whether this is a project you want to tackle yourself or if you should call in a professional.
Pros of Installing an Exhaust Fan
Let’s break down the upsides of getting an exhaust fan installed:
- Improved Home Health: As discussed, preventing mold, mildew, and improving air quality directly contributes to a healthier living space.
- Reduced Maintenance Costs: By preventing moisture damage, you’re saving money on potential repairs like repainting, fixing drywall, or dealing with structural rot. This proactive approach is cost-effective in the long run.
- Increased Home Value/Appeal: A well-ventilated bathroom is a desirable feature for potential homebuyers. It shows you’ve taken care of the property and addressed common issues.
- Enhanced Comfort: A less humid, odor-free bathroom is simply a more pleasant place to be.
- Long-Term Durability: Modern exhaust fans are built to last and perform reliably for many years when properly installed and maintained.
Cons of Installing an Exhaust Fan
Every project has its challenges. Here are the potential downsides to consider:
- Initial Cost: Purchasing the fan unit itself can range from $20 to $200 or more, depending on features like noise level, airflow capacity, and built-in lights or heaters.
- Installation Complexity: This is the main hurdle for DIYers. It involves working with electrical wiring, cutting into your ceiling, and properly venting the fan to the outside. If not done correctly, it can be unsafe or ineffective.
- Potential for Noise: Some exhaust fans can be quite noisy. The sound level is measured in “sones.” Lower sone ratings (e.g., 0.3-1.0) mean a quieter fan, but these often come at a higher price point.
- Requires Ventilation to the Exterior: The fan needs a clear path to exhaust air outside your home, usually through the roof or a side wall. If your attic or crawl space is inaccessible, or if routing the ductwork proves difficult, installation can be a major challenge.
- Electricity Usage: While generally not a significant drain, exhaust fans do consume electricity.
- Maintenance Needs: Over time, fans can accumulate dust and debris, reducing their efficiency. Cleaning the fan blades and grille is necessary maintenance.
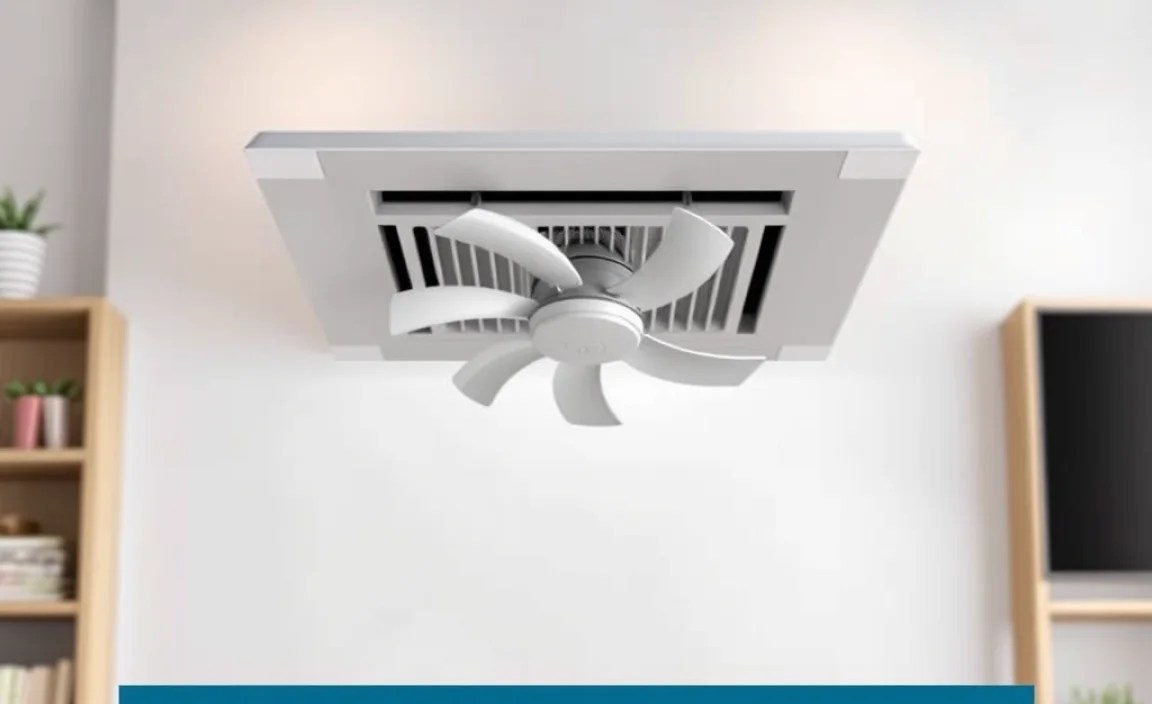
Types of Exhaust Fans: Finding the Right Fit

Not all exhaust fans are created equal. Different types offer different features and suit various bathroom sizes and needs. Understanding these options will help you choose the best fan for your situation before you even think about installation.
- Standard Exhaust Fans: These are the most common and affordable. They simply vent air out of the room.
- Exhaust Fans with Lights: These combine ventilation with a bathroom fixture light, saving you from installing a separate light. Some may even have a humidity sensor.
- Exhaust Fans with Heaters: Perfect for colder climates, these fans provide both ventilation and a burst of heat to warm up the bathroom quickly.
- Humidity-Sensing Fans: These fans automatically turn on when they detect a certain level of humidity in the air and shut off once the air is dry. They’re great for ensuring consistent ventilation without manual intervention.
- Smart Fans: Connect to your home’s Wi-Fi, allowing you to control them via an app or voice assistant, and often offering advanced scheduling and sensor capabilities.
When selecting a fan, pay attention to its CFM (Cubic Feet per Minute) rating. This indicates how much air the fan can move. For bathrooms, a general rule of thumb is 1 CFM for every square foot of bathroom area. For larger or more humid bathrooms, aim for a higher CFM rating. The U.S. Department of Energy offers further guidance on choosing efficient ventilation fans.
Essential Tools and Materials for Installation
Before you begin the installation process, gather all the necessary tools and materials. Having everything on hand will make the job smoother and safer. Trust me, running back to the hardware store mid-project is never fun!
Tools You’ll Need:
- Safety glasses
- Work gloves
- Drywall saw or utility knife
- Screwdriver set (Phillips and flathead)
- Wire strippers/cutters
- Voltage tester
- Tape measure
- Pencil
- Caulking gun
- Ductwork (flexible or rigid)
- Hose clamp or zip ties
- Ladder
- Stud finder
- Optional: Fish tape (for pulling wires through tight spaces)
Materials You’ll Need:
- Exhaust fan unit (including housing, fan, and grille)
- Duct tape (specialized foil tape is best for sealing ducts)
- Exterior vent cap
- Electrical wire (appropriate gauge for your circuit)
- Wire connectors (wire nuts)
- Exterior caulk
- Optional: Junction box
Step-by-Step Guide: Installing Your Exhaust Fan
Ready to get started? Remember, safety first! If you’re uncomfortable with electrical work or cutting into your ceiling, it’s always best to hire a qualified electrician. This guide assumes you have basic DIY skills and are comfortable following instructions. Always turn off the power to the circuit you’ll be working on at the breaker box before beginning!
Step 1: Choose the Location
Decide where you want to install the fan. It should be positioned centrally in the bathroom, ideally near the shower or tub, and away from any doors or windows that could interfere with its airflow. Use a stud finder to locate ceiling joists so you can plan your cuts. You’ll need enough clearance for the fan housing.
Step 2: Mark and Cut the Ceiling Opening
Most exhaust fan housings come with a template. Position this template on the ceiling where you want the fan and trace its outline with a pencil. Use a drywall saw or utility knife to carefully cut along the traced line. Don’t cut too large an area – you want the fan housing to have a secure fit.
Step 3: Install the Fan Housing
Feed the fan housing up through the opening you just cut. Secure it to the ceiling joists using screws. Make sure it’s firmly in place. Some housings are designed to be installed from inside the attic or crawl space, if accessible.
Step 4: Run the Ductwork
Connect your chosen ductwork to the fan housing’s exhaust port. You’ll need to route this duct to an exterior vent. This might involve running it through the ceiling, into the attic, and then out through a roof vent cap or a side wall vent. Ideally, keep the duct run as short and straight as possible to maximize efficiency. Secure the duct to the fan housing with a hose clamp or zip tie and seal any seams with foil tape. Consult local building codes; some may have specific requirements for duct routing and exterior venting for ventilation fans.
Important Note on Ducting: For optimal performance and to prevent condensation issues within the duct, it’s recommended to use rigid or semi-rigid metal ducting. If flexible ducting is necessary for navigating tight spots, ensure it’s not kinked or compressed and that it’s properly insulated if it runs through unconditioned spaces. The Fine Homebuilding website provides excellent insights into best practices for duct installation.
Step 5: Wire the Fan
This is the most critical step involving electrical work. Ensure the power to the circuit is OFF!
- Locate the nearest electrical junction box or run a new cable from your breaker box if necessary.
- Using wire strippers, expose the ends of the wires from the fan and the electrical source.
- Connect the wires according to the fan’s manual and local electrical codes (usually black-to-black for hot, white-to-white for neutral, and green or bare copper for ground). Use wire connectors (wire nuts) to secure the connections.
- If you’re replacing an old fan, you might be able to use the existing wiring. Always test with a voltage tester to confirm power is OFF before touching any wires.
- If you are not comfortable with electrical wiring, hire a licensed electrician. The Electrical Safety Foundation International (ESFI) offers valuable resources on electrical safety.
Step 6: Install the Exterior Vent Cap
On the exterior of your home (roof or wall), cut an opening for the vent cap. Ensure it’s properly sealed and flashed to prevent leaks. Connect the ductwork to the vent cap and secure it. This cap should have a backdraft damper to prevent outside air from entering your home when the fan is off.
Step 7: Install the Fan Grille and Trim
Once the fan housing, ductwork, and wiring are complete, attach the new grille to the fan. Some grilles simply clip into place, while others require screws. Ensure it’s snug against the ceiling.
Step 8: Test the Fan
Turn the power back on at the breaker box. Turn on your new exhaust fan and check that it’s running smoothly and venting air. Listen for any unusual noises and check the exterior vent to ensure air is being expelled.
Troubleshooting Common Installation Issues
DIY projects rarely go perfectly, and installing an exhaust fan can sometimes present challenges. Here are a few common issues and how to address them:
- Fan Not Turning On: Double-check that the power is on and that all wire connections are secure. Ensure the circuit breaker hasn’t tripped.
- Air Not Venting Effectively: Check for kinks or blockages in the ductwork. Ensure the duct is properly connected to both the fan and the exterior vent. Also, make sure the CFM rating of your fan is appropriate for the bathroom size.
- Noisy Fan: This could be due to loose parts, imbalanced fan blades, or the fan housing vibrating against the ceiling joists. Tighten any loose screws and consider adding some foam padding between the housing and the joists. If the noise persists, you might have a lower-quality or aging fan motor.
- Leaks Around the Exterior Vent: Ensure the vent cap was properly sealed and flashed during installation. Re-caulk around the edges if necessary.
- Condensation in Ductwork: This is more likely in colder climates or with long duct runs through unconditioned spaces. Ensure the ductwork is properly insulated and has a slight downward slope towards the exterior vent to allow any condensation to drain.
Maintenance for Longevity
To keep your new exhaust fan running efficiently for years to come, regular maintenance is key. It’s simple and doesn’t take much time:
Cleaning the Grille: Dust and lint can accumulate on the grille, restricting airflow. Periodically (every 3-6 months), remove the grille (usually clips or screws) and wash it with warm, soapy water. Ensure it’s dry before reattaching.
Cleaning the Fan Blades: With the power OFF, you can often reach up to gently wipe dust off the fan blades. For a more thorough cleaning, you might need to remove the fan motor assembly, which can be more involved and might require referring to your
