
Quick Summary
Proper installation of sealant in construction is essential for protecting structures from water damage. This guide provides simple, step-by-step instructions for beginners to effectively apply sealants, ensuring long-lasting protection and a professional finish. Learn the basic tools, preparation steps, and application techniques to tackle any sealing job with confidence.
Welcome, DIY friends! Bryan Lee here, ready to demystify another common, yet crucial, home maintenance task: using construction sealants. You know those lines where walls meet floors, or around windows and doors? Keeping those gaps sealed tight is super important. If they’re not, water, drafts, and creepy crawlies can sneak in, causing headaches and costing you money. It sounds technical, but it’s truly achievable for anyone with a little guidance. In this guide, I’ll walk you through everything you need to know, from choosing the right sealant to getting a smooth, professional-looking finish. Let’s get started and make your home more comfortable and protected!
Why Sealant is Your Home’s Unsung Hero

Sealant might not be the most glamorous part of construction, but it’s undeniably essential. Think of it as the unsung hero that keeps your building’s defenses up. Its primary job is to create a barrier against the elements and prevent unwanted intruders like water and air from getting into your home. When done correctly, sealant installation plays a vital role in maintaining structural integrity, improving energy efficiency, and enhancing the overall aesthetic of your property.
When construction projects are completed, tiny gaps and joints are almost always left behind. These spaces are natural weak points. Without a good sealant, water can seep in, leading to mold, rot, and even structural damage over time. This means costly repairs down the line. Furthermore, air leaks through unsealed gaps can make your home drafty, forcing your heating and cooling systems to work overtime, which increases your energy bills. By understanding and mastering the installation of sealant, you’re not just improving your home’s appearance; you’re actively protecting your investment and creating a more comfortable living environment.
Understanding Your Sealant Options

Before we get our hands dirty, it’s important to know that not all sealants are created equal. Different types are designed for specific jobs and environments. Choosing the right one is the first step towards a successful installation that lasts.
Common Sealant Types for Construction

- Acrylic Latex (Painter’s Caulk): This is a great all-around sealant for interior use. It’s easy to work with, cleans up with water, and can be painted over once dry. It’s perfect for gaps around trim, molding, and non-moving joints. It’s less flexible than silicone and may degrade faster in direct sunlight or extreme weather.
- Silicone Sealant: Known for its excellent flexibility and waterproof properties, silicone is ideal for high-moisture areas like bathrooms and kitchens, and for sealing around windows and doors that experience expansion and contraction. It’s generally not paintable. Ensure good ventilation when working with silicone as fumes can be strong.
- Polyurethane Sealant: This is a heavy-duty option offering superior durability, flexibility, and adhesion. It’s perfect for exterior applications, concrete joints, and areas that experience significant movement. Polyurethane sealants are often paintable and resistant to UV rays and harsh weather. They can be a bit trickier to work with and require mineral spirits for cleanup.
- Hybrid/Advanced Sealants (MS Polymers, etc.): These modern sealants aim to combine the best features of acrylics and silicones, offering good flexibility, adhesion, paintability, and often, better UV and weather resistance. They are a fantastic choice for many applications but can be more expensive.
Choosing the Best Sealant for Your Project
Consider these factors when selecting your sealant:
- Location: Is it for indoor or outdoor use? High-moisture areas or dry zones?
- Movement: Will the joint expand and contract significantly due to temperature changes or structural settling? If so, you need a flexible sealant like silicone or polyurethane.
- Paintability: Do you plan to paint over the sealant line? If yes, choose an acrylic latex or a paintable hybrid sealant.
- Durability: For areas exposed to extreme weather or heavy wear, a more durable option like polyurethane might be necessary.
Always read the product label carefully. It will tell you exactly what surfaces the sealant is suitable for, its performance characteristics, and any special application instructions. For guidance on general construction practices, the U.S. General Services Administration (GSA) provides useful resources on material standards and specifications.
Tools and Materials You’ll Need

Having the right tools makes any DIY job smoother and more successful. For sealing, you don’t need a huge arsenal, but a few key items will make a world of difference.
Essential Tools for Sealant Installation

- Caulking Gun: This tool holds the sealant tube (cartridge) and allows you to apply a consistent bead of sealant with controlled pressure. There are manual and electric versions. For most DIYers, a good-quality manual gun with a smooth trigger is perfect.
- Utility Knife or Caulk Removal Tool: For cutting the tip of the sealant tube and for removing old, degraded sealant.
- Putty Knife or Scraper: Useful for cleaning up excess sealant or prepping surfaces.
- Gloves: To protect your hands from sealant and any chemicals in it.
- Safety Glasses: Always a good idea when working with tools and sealants.
- Bucket of Water and Rags/Sponges: For cleaning up spills and smoothing the sealant bead. For non-water-based sealants, you might need mineral spirits.
- Painter’s Tape (Optional but Recommended): For creating clean, straight lines and crisp edges, especially for beginners.
- Backer Rod (For larger gaps): This is a flexible foam rope inserted into very wide gaps before sealing to control the depth of the sealant and ensure proper adhesion.
Sealant Cartridges

You’ll need the sealant cartridges that match your project needs. Make sure they are fresh and haven’t expired. Check the expiration date on the packaging.
Step-by-Step: Installing Sealant Like a Pro
Now that you’ve got your tools and chosen your sealant, let’s get to the actual installation. Follow these steps for a clean, effective seal that will last.
Step 1: Preparation is Key
This is arguably the most important step. A clean, dry surface ensures the sealant adheres properly.
- Remove Old Sealant: If you’re resealing an existing area, completely remove all traces of the old sealant. A utility knife, caulk removal tool, or putty knife works well for this. Scrape away any residue.
- Clean the Surface: Wipe down the area where you’ll be applying the sealant. Remove dust, dirt, grease, paint chips, or any other debris. A clean surface allows for maximum adhesion.
- Ensure Dryness: The surface must be completely dry before applying sealant. If you’ve cleaned the area, allow ample time for it to air dry. Moisture can severely compromise the sealant’s bond.
- Use Painter’s Tape (Optional): For a super neat finish, apply painter’s tape along both edges of the gap you’ll be sealing. This creates a guide and helps you achieve perfectly straight lines. Leave a gap between the tape lines that is slightly wider than the bead of sealant you plan to apply.
Step 2: Prepare the Sealant Cartridge
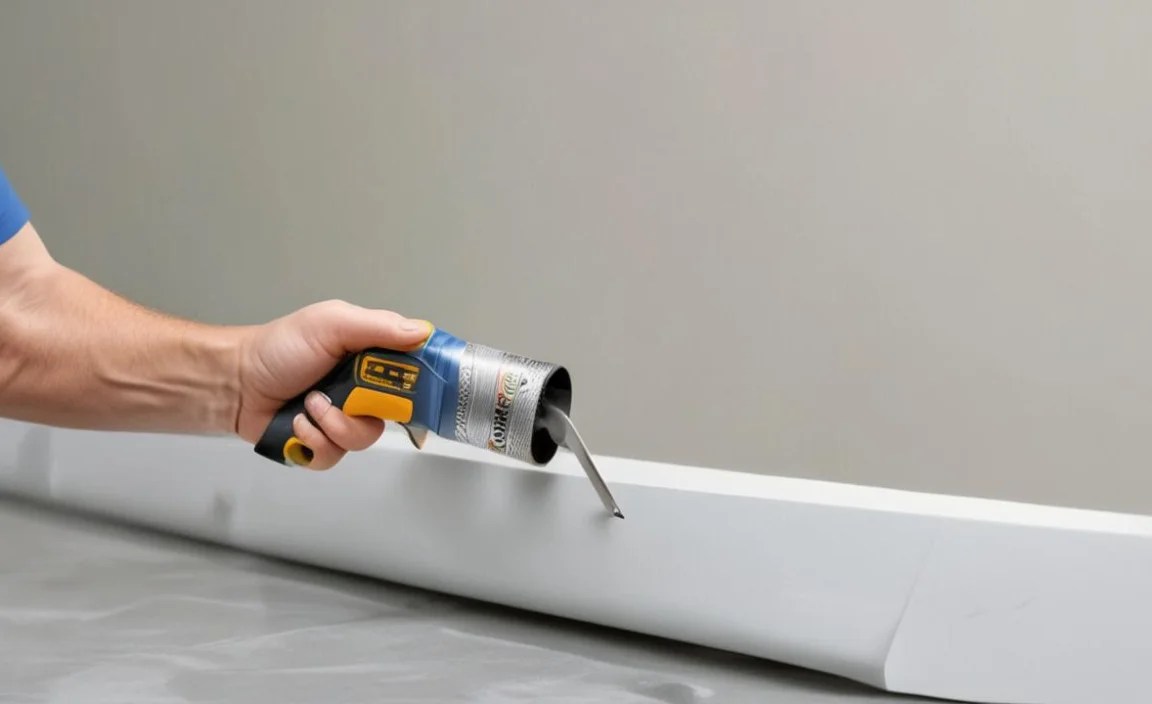
Getting the cartridge ready for the gun is simple.
- Cut the Nozzle Tip: Using your utility knife, cut the tip of the sealant nozzle at a 45-degree angle. Start by cutting off only a small portion. You can always cut more if you need a wider bead, but you can’t put it back! The opening size should match the width of the gap you are filling.
- Puncture the Inner Seal: Most sealant cartridges have an inner seal. There’s usually a long metal rod attached to the trigger mechanism of your caulking gun. Insert this rod into the cartridge opening and push it to puncture the inner seal. Some guns have a separate puncture tool.
Step 3: Load the Caulking Gun
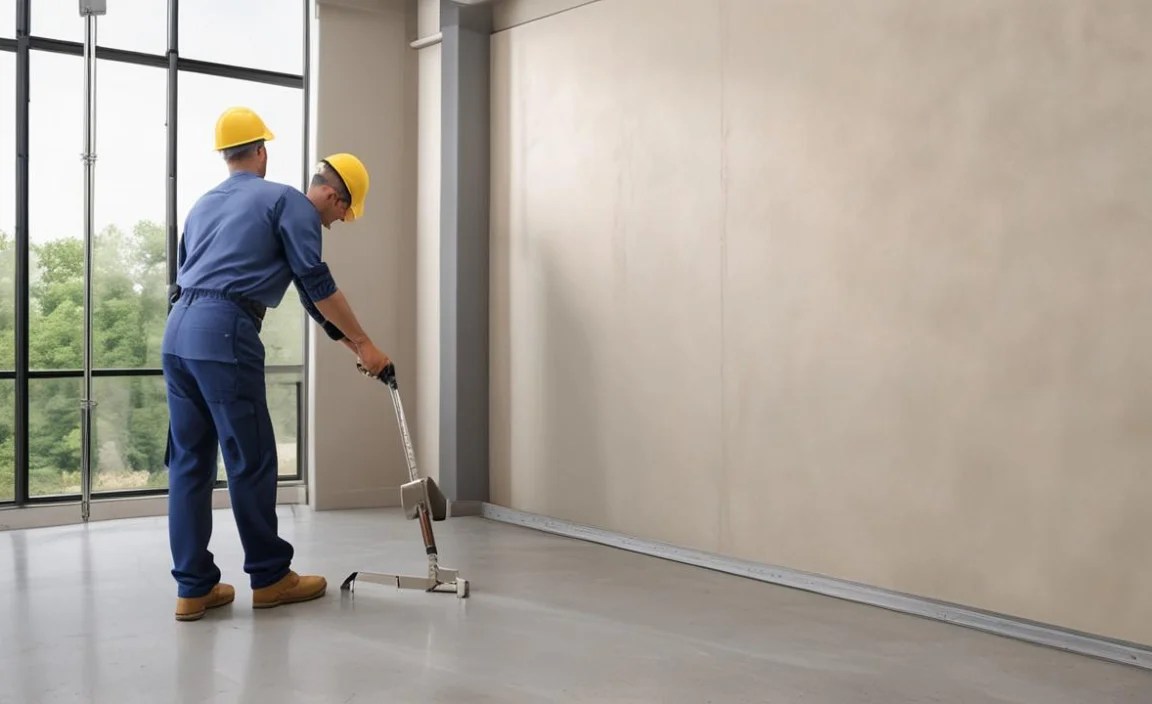
This is straightforward.
- Flip the Handle: Most caulking guns have a release lever or tab at the back. Pull this lever back to release the plunger.
- Insert Cartridge: Place the prepared sealant cartridge into the gun.
- Engage the Plunger: Press the release lever back in and squeeze the trigger gently until the plunger makes contact with the back of the cartridge. This removes any slack and readies the gun for application.
Step 4: Apply the Sealant
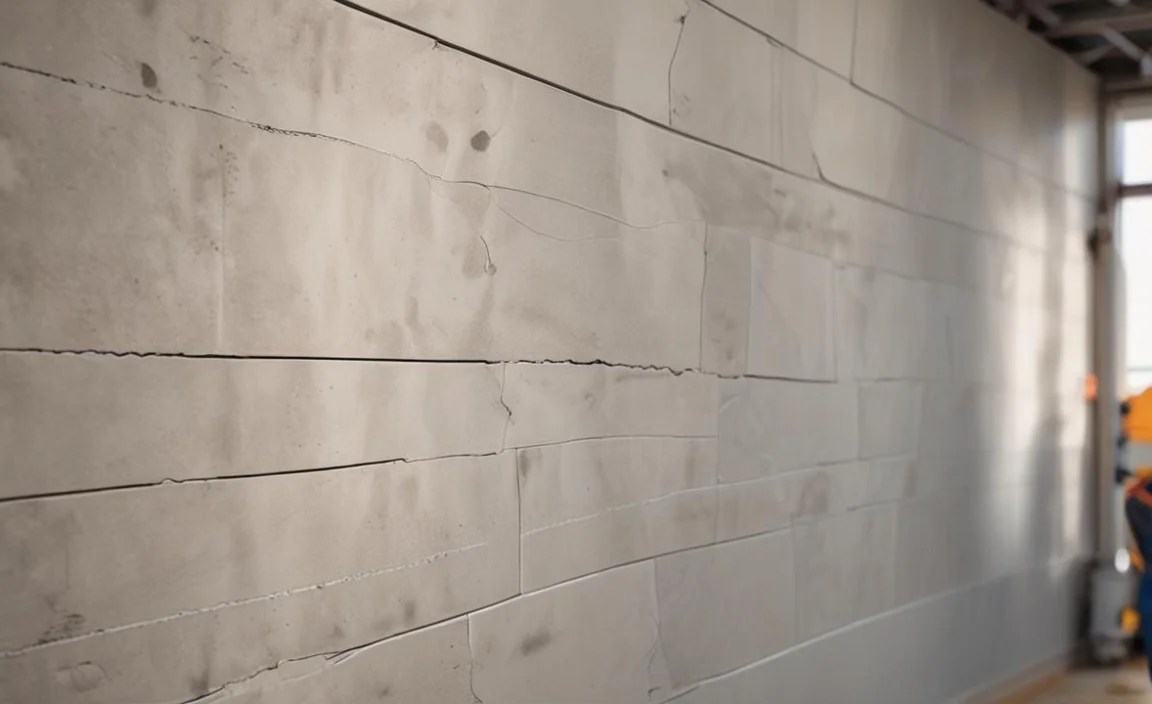
This is where practice makes perfect. The goal is a continuous, even bead.
- Position the Gun: Hold the caulking gun at a 45-degree angle to the gap. The cut tip of the nozzle should be aimed into the joint.
- Apply Steady Pressure: Gently squeeze the trigger of the caulking gun. Move the gun smoothly and steadily along the joint. Aim for a consistent bead of sealant that fills the gap without excessive overflow. It’s better to lay down a slightly thinner bead and go over it again if needed, rather than applying too much at once.
- Release Pressure: When you need to stop applying sealant (at the end of a run or if you make a mistake), release the trigger and flick the release lever on the back of the gun. This stops the flow of sealant, preventing it from oozing out.
- Fill Large Gaps: For gaps wider than 1/2 inch, you might need to use backer rod first. Insert the foam rod into the gap to about half its depth, then apply the sealant over it. This ensures the correct amount of sealant is used and it adheres properly to the sides of the gap, not just filling a void. Check out advice from the Building Science Corporation for in-depth technical details on building envelope performance and air sealing.
Step 5: Tooling and Smoothing

This step is crucial for a neat appearance and a good seal.
- Wet Your Finger (or Tool): Dip your gloved finger, a putty knife, or a damp sponge (depending on the sealant type and desired finish) into water (or mineral spirits for some sealants).
- Smooth the Bead: Gently run your wetted finger or tool along the freshly applied sealant bead. This pushes the sealant into the gap, ensuring good contact with both surfaces, and creates a smooth, concave finish. Remove excess sealant that accumulates on your finger or tool.
- Clean Up Excess: Immediately wipe away any excess sealant that got onto the surrounding surfaces or the painter’s tape using a damp rag or sponge. This is much easier to do before the sealant starts to skin over.
Step 6: Remove Painter’s Tape (If Used)
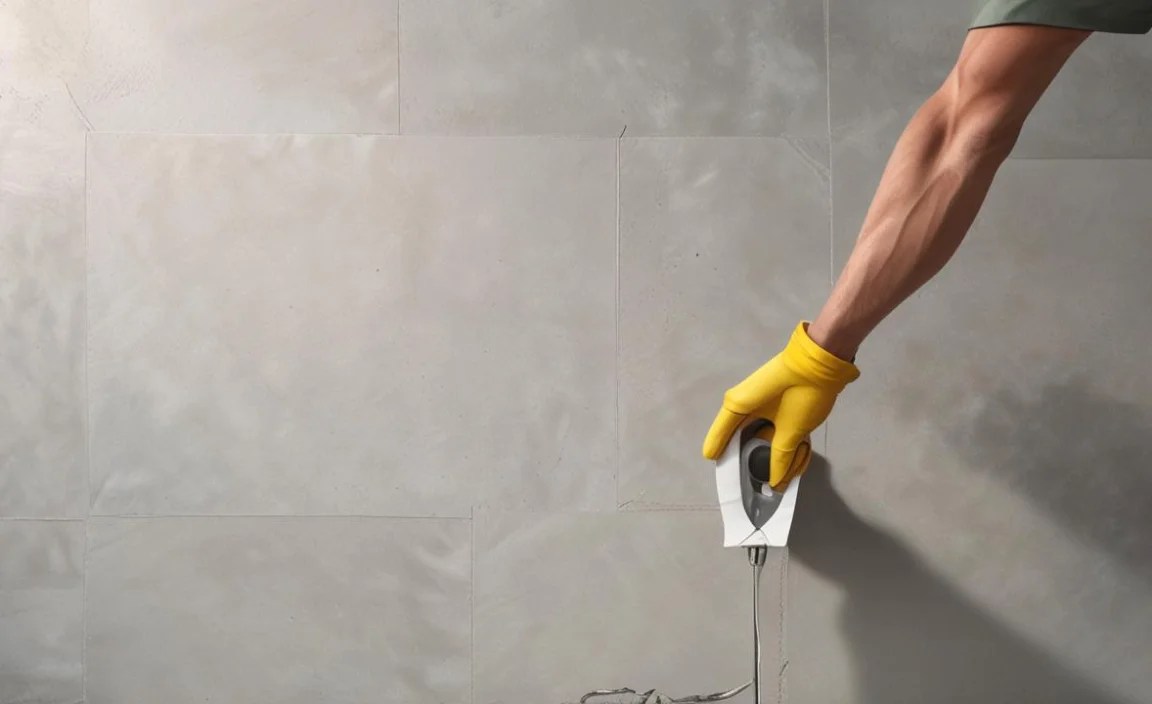
Don’t wait too long!
- Pull Gently: Carefully peel away the painter’s tape. It’s best to do this while the sealant is still wet or slightly tacky. Pull the tape away at an angle, away from the fresh sealant bead.
- Touch-Ups: If any small imperfections remain, you can carefully touch them up with a small amount of sealant using a small brush or your finger.
Step 7: Curing and Drying
Patience is a virtue here.
- Allow to Cure: Let the sealant dry and cure according to the manufacturer’s instructions. Drying time usually refers to when it’s safe to touch, while curing time refers to when it reaches its full strength and flexibility and is ready for exposure to the elements or painting (if applicable).
- Avoid Disturbing: Try not to disturb the newly sealed area during the curing process.
Congratulations, you’ve successfully installed sealant! By following these steps, you’ve secured your home against leaks and drafts, enhancing its comfort and durability.
Common Sealant Installation Pitfalls to Avoid

Even with the best intentions, a few common mistakes can derail your sealing project. Being aware of these pitfalls can help you achieve a perfect finish every time.
Key Mistakes and How to Prevent Them

- Wrong Sealant Choice: Using an interior caulk for exterior windows, or a product that can’t handle movement for an expansion joint. Prevention: Always read the product label and understand its intended use and properties.
- Poor Surface Preparation: Applying sealant over dust, dirt, mold, or old caulk. Prevention: Dedicate ample time to thorough cleaning and removal of old material.
- Surface Not Dry: Applying sealant to a wet surface. Prevention: Ensure surfaces are bone dry. Use a cloth to wipe them down and allow extra drying time, perhaps using a fan.
- Cutting the Nozzle Incorrectly: Cutting too big an opening means too much sealant; too small means it’s hard to get a good bead. Prevention: Start small with a 45-degree angle cut and gradually increase if needed. Practice on scrap material.
- Inconsistent Bead Application: Squeezing too hard in some spots and not enough in others, leading to uneven coverage or gaps. Prevention: Maintain a steady hand and consistent trigger pressure. Practice moving at a steady pace.
- Excessive Sealant: Applying too much sealant, creating a lumpy bead that’s hard to tool neatly. Prevention: Aim for a bead that just fills the gap. It’s easier to add more than to remove excess neatly.
- Forgetting to Tool: Skipping the smoothing step results in a lumpy, unprofessional-looking bead. Prevention: Always tool the bead immediately after application for a smooth, professional finish.
- Applying Sealant in Extreme Temperatures: Sealants have optimal application temperature ranges. Applying in freezing cold or scorching heat can affect performance. Prevention: Check the product’s temperature guidelines and work during temperate conditions.
Understanding these common issues and how to prevent them will significantly increase your confidence and the quality of your results. For more technical details on building envelope best practices, the National Institute of Building Sciences (NIBS) offers valuable information.
Maintenance and Longevity of Sealant

Once your sealant is installed, you can ensure it stays effective with a little attention.
- Regular Inspection: Periodically check your sealed areas, especially after harsh weather. Look for signs of cracking, peeling, shrinking, or mold growth.
- Gentle Cleaning: Clean sealed areas with mild soap and water. Avoid abrasive cleaners or harsh chemicals that can degrade the sealant.
- Prompt Repairs: If you notice any damage to the sealant, repair it promptly. Small cracks or gaps can quickly lead to larger problems if left unaddressed. Remove any damaged sealant and reapply a fresh bead following the steps outlined above.
By properly installing and maintaining your sealant, you can expect it to perform its protective duties for many years, keeping your home secure and comfortable.
FAQ: Your Sealant Questions Answered
Q1: How often should I replace sealant around my windows and doors?

A1: The lifespan of sealant varies greatly depending on the type of sealant used, climate conditions, and exposure to sunlight. Generally, you might need to reapply every 5-10 years, or sooner if you notice cracking, peeling, or shrinking. Regular inspection is key.
Q2: Can I apply new sealant over old sealant?

A2: It’s strongly recommended not to. Old sealant can be degraded, cracked, or not adhering well. Applying new sealant over it will not create a reliable, long-lasting seal and can lead to future problems. Always remove old sealant completely first.
Q3: What’s the difference between caulk and sealant?
A3: While often used interchangeably, “caulk” typically refers to a more basic filler, often acrylic latex, used for smaller interior gaps that don’t experience much movement. “Sealant” generally implies a more durable, flexible, and weather-resistant product designed for exterior use and areas with movement, such as silicones or polyurethanes.
Q4: My sealant application looks lumpy and uneven. What did I do wrong?

A4: This is usually due to inconsistent pressure on the caulking gun, an unevenly cut nozzle tip, or not tooling the bead promptly and smoothly. Try to maintain steady pressure, cut the tip for the right bead size, and always smooth the bead with a wet finger or tool immediately after application.
Q5: Can I paint over silicone sealant?

A5: Most standard silicone sealants cannot be painted. They have a waxy surface that repels paint. If you need to paint over the sealant line, choose an acrylic latex caulk or a paintable hybrid sealant specifically designed for this purpose. Always check the product label.
Q6: How do I clean up when I make a mistake?

A6: For most water-based sealants (like acrylic latex), use a damp rag or sponge immediately. For silicone or polyurethane, you often
