
Quick Summary: Safely and securely install a soap holder during construction by preparing the surface, choosing the right adhesive or fasteners, and following precise placement guidelines for a stable, long-lasting fixture. This guide simplifies the process for any DIYer.
Is your shower or bathtub missing a dedicated spot for soap? It’s a common frustration! Wet bar soap sliding around the tub ledge or a flimsy holder that just won’t stay put can dampen your bathroom experience. But don’t worry, adding a soap holder during the construction phase of your project, or even as a renovation, is simpler than you think. This guide will walk you through each step, making sure you achieve a professional-looking and sturdy result.
We’ll cover everything from picking the right type of soap holder to ensuring it’s perfectly placed and installed. Get ready to transform your bathroom into a more organized and functional space. Let’s dive in!
Why Proper Soap Holder Installation Matters
Installing a soap holder might seem like a small detail, but it plays a crucial role in the overall functionality and longevity of your bathroom. A well-installed soap holder not only keeps your soap tidy and easily accessible but also prevents water damage and mold growth that can occur when soap sits directly on surfaces. In a construction context, ensuring it’s installed correctly from the start saves you time and hassle down the line. A poorly installed holder can loosen, fall off, or even damage tiles and drywall, leading to costly repairs.
Think of it as setting the foundation for a smooth, hassle-free shower experience. When done right, it adds a touch of convenience that you’ll appreciate every single day. For a deeper understanding of bathroom construction standards and best practices, the National Association of Home Builders (NAHB) Building Science Resources offers comprehensive insights.
Types of Soap Holders and Their Installation Methods
Before you begin, it’s essential to know what kind of soap holder you’re working with. Different types require slightly different installation techniques. We’ll break down the most common options:
1. Suction Cup Soap Holders
These are the simplest and require no drilling. They rely on creating a vacuum seal against a smooth, non-porous surface like tile or glass. While easy to install and reposition, they can sometimes lose suction over time, especially in humid environments.
2. Adhesive Soap Holders
These holders use a strong adhesive backing, often a form of heavy-duty tape or epoxy. They offer a more permanent solution than suction cups and don’t require drilling. However, removing them can be challenging and may damage the surface.
3. Screw-In Soap Holders
The most secure option, these holders are permanently attached using screws. They are ideal for long-term durability and can hold heavier items. Installation requires drilling into the wall, so careful placement is key.
4. Corner Caddy Soap Holders
Typically installed in the corner of a shower, these can be tension-mounted (between the ceiling and tub or floor), screw-in, or adhesive. Tension-mounted ones are great for rentals as they leave no permanent marks.
5. Drip-Dish or Integrated Soap Dishes
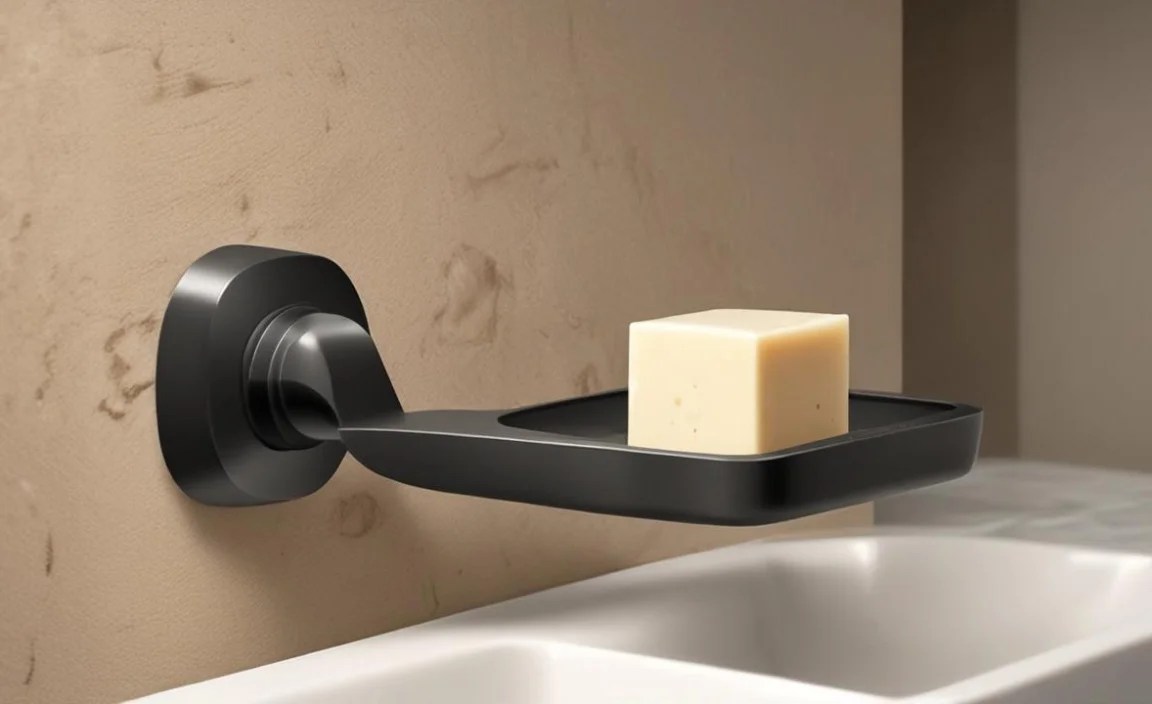
These are often built directly into the wall during construction, especially in custom tiling jobs. They are a seamless and permanent solution.
Tools and Materials You’ll Need
Having all your tools and materials ready before you start will make the installation process smooth and efficient. Here’s a helpful checklist:
- The soap holder you’ve chosen
- Measuring tape
- Pencil or marker
- Level
- Drill (if using screw-in holders)
- Drill bits (appropriate size for screws/anchors)
- Screwdriver (matching your screws)
- Wall anchors (if installing into drywall or areas without studs)
- Caulking gun and bathroom-grade silicone caulk (optional, for sealing around screw-in holders)
- Rubbing alcohol or cleaner
- Clean cloths or paper towels
- Safety glasses
- Gloves (optional)
Step-by-Step Guide for Installation
Let’s get to work! We’ll cover the most common installation methods. Always refer to the manufacturer’s specific instructions for your chosen soap holder, as variations exist.
Step 1: Choose the Right Location
This is perhaps the most critical step. Think about accessibility and practicality.
- Height: It should be easily reachable from the shower or tub without stretching too much. A good general height is around 40-48 inches from the shower floor.
- Drainage: Ensure the location allows for proper drainage so your soap can dry out between uses. Avoid placing it where water will constantly pool.
- Clearance: Make sure there’s enough space around the holder for a standard bar of soap.
- Wall Material: Identify what material your wall is made of (tile, drywall, cement board). This will determine which fasteners or adhesives are best. Tile and shower surround materials are ideal.
Step 2: Prepare the Surface
A clean and dry surface is essential for any type of holder to adhere properly.
- If using suction cups or adhesive: Clean the area thoroughly with rubbing alcohol or a household cleaner. Wipe it dry with a clean cloth. Ensure there’s no soap scum, dust, or moisture.
- If drilling: Mark your spot lightly with a pencil.
Step 3: Mark the Placement
Accuracy here prevents crooked or misplaced holders.
- Use your measuring tape and pencil to mark exactly where the holder will go.
- For screw-in holders: Use a level to ensure your marks are perfectly horizontal or vertical, depending on the holder’s design.
- Hold the soap holder in place against the wall at your marked spot to get a visual. Double-check that it’s at a convenient height and won’t interfere with showerheads or doors.
Step 4: Installation – Method-Specific Instructions
Installing Suction Cup Soap Holders:
These are the easiest!
- Ensure the wall surface is clean, dry, and smooth.
- Moisten the suction cups slightly with water.
- Press the suction cups firmly against the wall at your chosen spot.
- Engage any locking mechanisms (like levers or twist-locks) if your holder has them.
- Test the hold by gently pulling on the holder.
Installing Adhesive Soap Holders:
These offer a strong bond but require commitment.
- Ensure the wall surface is clean, dry, and free of dust or grease.
- Peel off the protective backing from the adhesive.
- Align the holder with your marked placement and press it firmly against the wall.
- Crucial Tip: Hold the holder in place for at least 30-60 seconds to ensure good contact and allow the adhesive to start bonding.
- Check the manufacturer’s instructions for the curing time before placing any weight or soap on it. This can range from a few hours to 24 hours.
Installing Screw-In Soap Holders:
This is the most robust method for permanent installation.
- Locating Studs (Ideal): If possible, use a stud finder to locate a wall stud behind your marked spot. Installing directly into a stud provides the strongest support. If a stud isn’t in your ideal location, you’ll need wall anchors.
- Drilling Pilot Holes:
- If drilling into a stud: Use a drill bit slightly smaller than your screws to create pilot holes at your marked locations.
- If using wall anchors: Drill holes of the appropriate size for your chosen anchors (check anchor packaging).
- Installing Wall Anchors (if needed): Insert the wall anchors into the drilled holes. You might need to tap them gently with a hammer to seat them flush with the wall surface.
- Attaching the Holder:
- Align the soap holder’s mounting bracket with the drilled holes or anchors.
- Insert the screws and tighten them securely with a screwdriver. Do not overtighten, especially if drilling into drywall without anchors, as it can strip the hole.
- For particularly heavy-duty holders or to enhance water resistance, you can apply a bead of bathroom-grade silicone caulk around the edge of the holder where it meets the wall after installation. This helps prevent water from seeping behind the fixture.
- Final Check: Ensure the holder is firmly attached and doesn’t wobble.
Step 5: Final Touches and Testing
Once installed, give your new soap holder a gentle tug to ensure it’s secure. If you used silicone caulk, allow it to cure fully according to the product instructions before exposing it to water.
Maintenance and Longevity
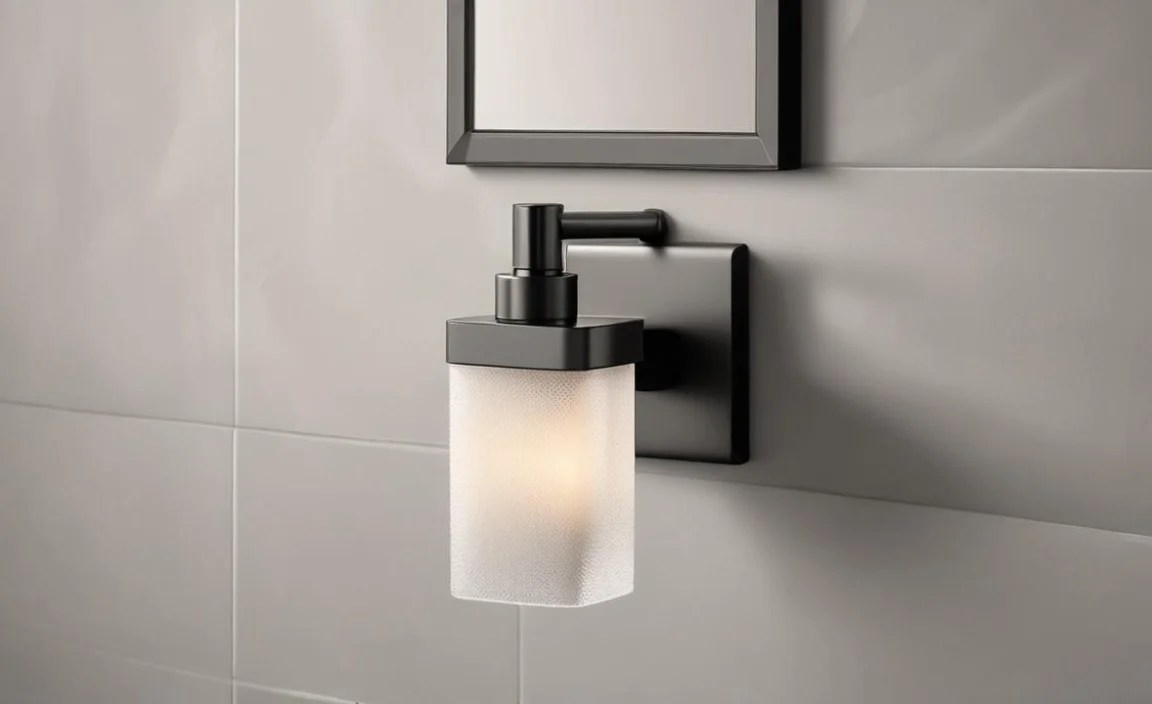
To keep your soap holder looking great and functioning perfectly for years to come:
- Regular Cleaning: Wipe it down regularly with a damp cloth and mild soap to prevent buildup of soap scum and hard water stains.
- Check for Looseness: Periodically check if screw-in holders are still tight. Tighten screws if necessary.
- Suction Cup Care: If you have a suction cup holder that’s losing its grip, remove it, clean both the cup and the wall surface, and reapply, ensuring a good seal. Sometimes, warming the suction cup slightly with a hairdryer can help it mold better to the surface.
- Avoid Harsh Chemicals: Steer clear of abrasive cleaners or harsh chemicals that can damage the finish of the soap holder or the surrounding surface.
Troubleshooting Common Issues
Even with careful installation, you might encounter a hiccup. Here are solutions for common problems:
Suction Cup Won’t Stick
Causes: Dirty surface, porous surface, damaged suction cup, temperature fluctuations.
Solutions: Clean the surface thoroughly with alcohol. Try a different, smoother spot on the tile. Inspect the suction cup for tears or warping; replace if damaged. Humid environments can also reduce effectiveness.
Adhesive Holder Fell Off
Causes: Surface not properly prepped, not enough pressure applied during installation, applied to a textured surface, moisture intrusion, insufficient curing time.
Solutions: Clean the wall and the back of the holder. Use a stronger adhesive specifically designed for bathroom environments or a two-part epoxy. Ensure you hold it firmly for the recommended time and let it cure fully before use. A hairdryer on a low setting can help some adhesives bond better.
Screw-In Holder Feels Loose
Causes: Screws not fully tightened, stripped screw hole, improper anchor usage, drywall crumbling.
Solutions: Try tightening the screws again. If the hole is stripped, you might need to use a slightly larger screw, or fill the hole with wood filler or anchor repair compound, let it dry, and then re-drill a pilot hole. If installing into drywall without a stud, ensure you are using appropriate anchors rated for the holder’s weight. For severe issues, you may need to patch the drywall and re-install.
When to Call a Professional
While most soap holder installations are straightforward DIY projects, there are times when it’s best to call in a pro:
- You’re unsure about drilling into your specific wall material (e.g., delicate cultured marble or natural stone).
- You want to integrate a soap niche or built-in shelf as part of a larger tile or renovation project.
- You’ve had issues with multiple attempts at installation and want a guaranteed, sturdy result.
- You’re dealing with specialized materials or complex plumbing nearby.
- You’re not comfortable using power tools or correctly handling wall anchors.
A professional plumber or experienced tile setter can ensure your soap holder is installed safely, securely, and to code.
Frequently Asked Questions About Soap Holder Installation
Q1: What is the best height to install a soap holder?

A: A good rule of thumb for placement is around 40-48 inches from the shower floor, making it easily accessible without being too high.
Q2: Can I install a soap holder directly onto tiles?

A: Yes, tiles are a great surface. For suction cup or adhesive holders, ensure the tile is glazed and smooth. For screw-in holders, drill carefully through the tile and into the backer board or stud, using a diamond-tipped drill bit for tile if needed. Make sure to seal around screw-in holders to prevent water damage behind the tile.
Q3: How do I know if I hit a stud when installing a screw-in holder?

A: Use a stud finder. If you don’t have one, you can tap the wall – a stud sounds more solid. When drilling the pilot hole, if you feel significant resistance and the drill bit stops easily without going through, you’re likely in a stud.
Q4: What kind of adhesive is best for a bathroom soap holder?

A: Look for heavy-duty, waterproof adhesives or mounting tapes specifically designed for bathrooms. Products like 3M Command strips (for lighter items) or strong construction adhesives are often suitable. Always check the product’s suitability for your wall material and its weight-bearing capacity.
Q5: Will a suction cup soap holder work on a textured shower wall?

A: Generally, no. Suction cups rely on a smooth, non-porous surface to create a vacuum seal. Textured surfaces prevent a proper seal, causing them to fall off. For textured walls, an adhesive or screw-in option is much more reliable.
Q6: How long do I need to wait before using an adhesive soap holder?

A: Always follow the manufacturer’s instructions, as curing times vary. Commonly, you’ll need to wait at least 24 hours after installation before putting soap or any weight on the holder to ensure the adhesive has fully bonded.
Q7: Should I caulk around my screw-in soap holder?

A: It’s often a good idea, especially in wet areas like showers. A bead of bathroom-grade silicone caulk around the edge where the holder meets the wall can create a watertight seal, preventing moisture from seeping behind the fixture and potentially causing damage to the wall behind it.
Conclusion: Your Sturdy, Stylish Soap Solution
You’ve now got the essential knowledge to confidently install a soap holder during your construction project or upgrade. Whether you opted for the simplicity of suction cups, the reliability of adhesive, or the ultimate security of screws, each step ensures your new fixture will stand the test of time and daily use. Remember that careful planning, surface preparation, and precise execution are your best tools for a successful installation.
A well-placed and securely mounted soap holder is more than just a convenience; it’s a small but significant improvement to your bathroom’s functionality and overall appeal. Enjoy the organized and clutter-free experience your new soap holder provides. Happy building!
