
Quick Summary: Learn how to install tiles like a pro with this beginner-friendly guide! We break down every step, from choosing the right tools to the final grout, making tile installation achievable and rewarding for any DIYer. Get ready to transform your space with beautiful new tiles!
Tiling a floor or wall can seem a bit daunting at first. You might look at a perfectly laid tiled surface and think, “There’s no way I could do that!” Many people feel the same way. But with the right guidance and a little patience, you absolutely can achieve a fantastic result. This guide is here to show you exactly how to tackle the installation of tiles for beginners, making sure you feel confident and prepared every step of the way.
We’ll walk through everything you need to know, from picking your tiles and tools to cutting, setting, and finishing. Forget complicated jargon and overwhelming instructions; we’re keeping it simple and effective. Ready to create a beautiful, tiled masterpiece in your home? Let’s get started!
Why Learn Tile Installation?
Learning to install tiles yourself is a fantastic DIY skill that can save you a considerable amount of money on renovation projects. Many homeowners underestimate the cost of professional tiling, which can add a significant chunk to a bathroom remodel or kitchen backsplash update. By understanding the process, you gain control over your project timeline and budget.
Beyond the savings, there’s a deep satisfaction in completing a project with your own hands. You get to choose the exact style and pattern, and seeing your vision come to life can be incredibly rewarding. Plus, it’s a skill that’s always useful around the house. A well-tiled area not only looks great but also adds value to your home.
Getting Started: What You’ll Need

Before you even think about laying the first tile, it’s crucial to have the right tools and materials. Gathering everything beforehand makes the installation process much smoother and prevents frustrating trips to the hardware store mid-project. Don’t cut corners here; having quality tools makes a huge difference.
Essential Tools for Tile Installation
Here’s a list of the must-have tools for any beginner tiling job. We’ll explain what each is for as we go through the steps, but it’s good to have them ready:
- Tape Measure: For accurate measurements and layout.
- Pencil: To mark tiles and layout lines.
- Level (2-foot or 4-foot): To ensure tiles are laid straight and even.
- Chalk Line & Chalk: To snap straight layout lines on the floor or wall.
- Tile Nippers or Diagonal Cutters: for small cuts or edge adjustments.
- Wet Saw or Manual Tile Cutter: For making straight cuts through tiles. A wet saw is more efficient for larger or harder tiles. For beginner projects with ceramic tiles, a manual cutter can often suffice.
- Notched Trowel: To spread adhesive evenly and create ridges. The size of the notches depends on the tile size.
- Grout Float: To spread grout into the tile joints.
- Sponges: For cleaning excess grout and adhesive.
- Buckets: At least two – one for clean water, one for mixing adhesive or grout if applicable.
- Utility Knife: For cutting backer board or other prep materials.
- Safety Glasses: Absolutely essential to protect your eyes from debris.
- Work Gloves: To protect your hands from chemicals and rough edges.
- Knee Pads: If you’re tiling a floor, these are a lifesaver for comfort.
- Painter’s Tape: For masking edges and protecting surfaces.
- Tile Spacers: To ensure consistent gaps between tiles for grout.
Materials You’ll Need
- Tiles: Your chosen tiles! Consider the type (ceramic, porcelain, natural stone) and size.
- Tile Adhesive (Thin-set Mortar): The glue that holds your tiles down. Choose one suitable for your tile type and the application area (e.g., wet areas like bathrooms need specific types).
- Grout: To fill the spaces between tiles. Available in sanded (for wider joints) and unsanded (for very narrow joints).
- Backer Board (e.g., Cement Board): For floors and walls, especially in wet areas. It provides a stable, moisture-resistant base for tiling.
- Screws: Specifically designed for attaching backer board.
- Silicon Caulk: For sealing expansion joints and areas that meet walls or fixtures.
Step 1: Planning Your Tile Layout

A well-planned layout is the secret to a professional-looking tile job. Rushing this step often leads to awkward cuts and uneven gaps, especially at the edges of the room. Taking the time to plan will make the actual installation much easier and the final result much more satisfying.
Start by measuring your room. You want to avoid having very small or thin cuts of tile at the most visible edges. It’s generally better to have two wider cuts than one very thin one, or to center the pattern so that visible edges get full tiles or symmetrical cuts.
For floors, the best way to do this is to lay out some tiles dry in the center of the room, working outwards. This allows you to see how the pattern will look and where the cuts will fall. You can use a chalk line to mark your main working lines. For walls, you might start from a central point or a prominent corner. Remember to account for grout lines when measuring!
A good resource for understanding different layout patterns and how to plan them is Building Science Information, which often touches on best practices for wall and floor assemblies where tiling is concerned.
Step 2: Preparing the Surface
This is arguably the most critical step. A perfectly tiled surface will fail if laid on a weak, uneven, or wet substrate. Think of it as building a house – a strong foundation is key!
For Floors:
- Ensure the subfloor is clean, dry, and free of any debris, old adhesive, or paint.
- The subfloor must be rigid and stable. If you can twist or flex it easily, you might need to add more support underneath.
- Install cement board (backer board) over the subfloor. This provides a stable, moisture-resistant base that tiles adhere to well. Follow the manufacturer’s instructions carefully for attaching it with screws, ensuring screw heads are slightly countersunk below the surface.
- Tape and mud the seams of the backer board using appropriate compound, feathering it flat. This creates a unified, stable surface.
For Walls:
- The wall surface needs to be clean and structurally sound. Drywall is common, but in very wet areas (like shower stalls), you should use cement board or a specialized waterproofing membrane system.
- Ensure the wall is plumb (perfectly vertical) and flat.
- If using drywall, you’ll want to use a tile-specific adhesive or a waterproofing membrane for areas exposed to moisture, such as behind shower tiles.
A clean, flat, and stable surface ensures your tiles will stay put and look great for years to come. For more on preparing surfaces, resources like The National Park Service’s preservation brief on historic flooring, while focused on preservation, offers excellent insights into substrate requirements that are universally applicable to good tile installation.
Step 3: Mixing and Applying Tile Adhesive
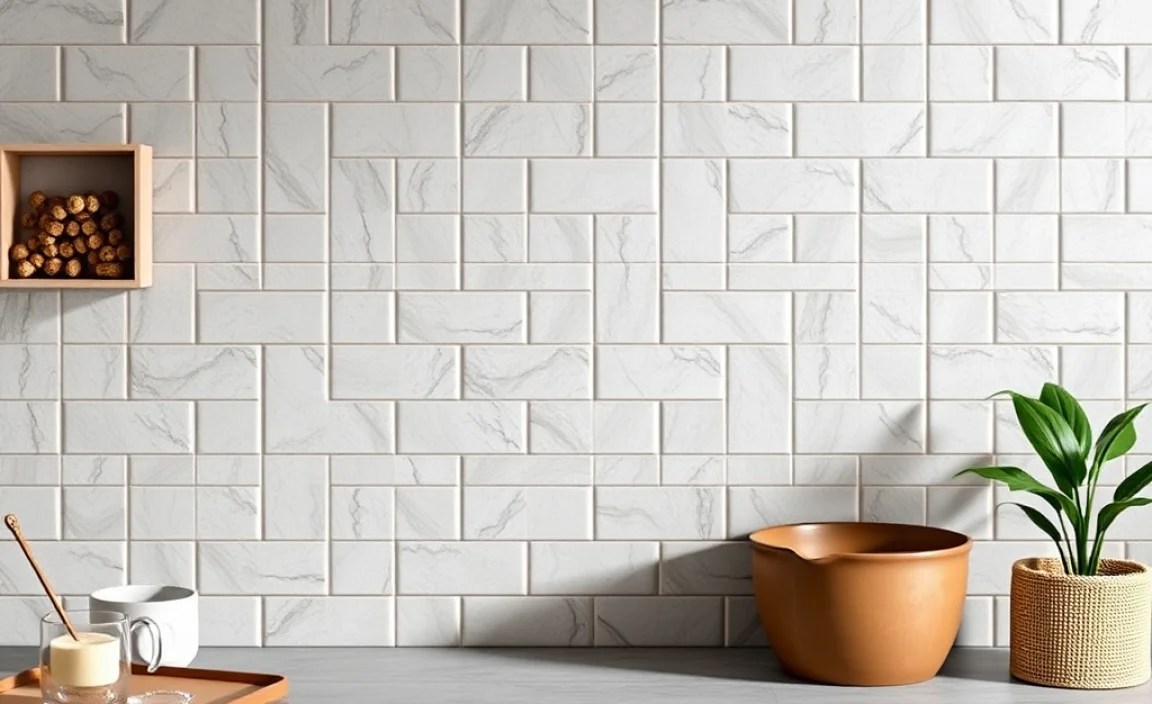
Most tiles are installed using a thin-set mortar, which is a cement-based adhesive. It’s mixed with water to a specific consistency. Reading the manufacturer’s instructions on the bag is crucial, as mixing ratios and water amounts can vary.
Mixing Thin-set:
- Pour the recommended amount of clean water into a bucket.
- Gradually add the thin-set powder, mixing as you go.
- Use a drill with a mixing paddle attachment for best results; it makes mixing much easier and ensures a lump-free consistency. For small batches, a sturdy mixing stick will work.
- Mix until the consistency is like smooth peanut butter or thick toothpaste. It should hold its shape and not be too runny.
- Let the mixture “slake” (rest) for about 5-10 minutes as per the product’s instructions, then give it a final quick remix. This allows the chemicals to activate properly.
Applying Thin-set:
- Start in the area you planned in Step 1.
- Using the flat side of your trowel, spread a thin, even layer of adhesive onto the surface. This is called “keying in” the adhesive.
- Then, hold the trowel at about a 45-degree angle and use the notched side to comb ridges into the adhesive. Ensure the ridges are consistent and all point in the same direction. This creates channels for air to escape and provides consistent support for the tile.
- Only spread enough adhesive for a few tiles at a time (about 10-15 minutes of work). Thin-set starts to skin over and lose its tackiness, which affects the bond.
Step 4: Setting the Tiles
This is where your beautiful tiles start to take shape! Accuracy and a gentle touch are your best friends here.
- Start laying tiles along your planned lines. Place the first tile firmly into the adhesive.
- With a slight twisting motion, press the tile into the adhesive. This ensures good contact and helps to embed the tile into the ridges of the mortar.
- Use your level to check that the tile is perfectly flat and in line with adjacent tiles.
- Insert tile spacers between the tiles to maintain a consistent gap for your grout lines. The size of the spacer determines the grout joint width.
- Continue laying tiles, working outwards from your starting point. Periodically check that your rows are straight and your tiles are level with each other.
- For subsequent tiles, press them into the adhesive and against the spacers. Ensure the tops of adjacent tiles are flush.
- As you work, occasionally lift a tile to check for coverage. You want to see good adhesion; ideally, 90% of the tile’s back should be covered with adhesive, especially for floor tiles or in wet areas. If coverage is poor, you may need to adjust your trowel size or technique.
If you get adhesive on the tile faces, wipe it off immediately with a damp sponge. Once it dries, it’s much harder to remove and can damage the tile’s finish.
Step 5: Cutting Tiles
Very few tiling jobs are completed without needing to cut tiles, especially around edges, corners, and fixtures. This is where your tile nippers and wet saw or manual cutter come in handy.
Measuring and Marking:
- Measure the space where the cut tile needs to go. Remember to measure from the edge of the last full tile and account for the grout line.
- Transfer this measurement to a tile, marking the cutting line with a pencil.
- For simple straight cuts, especially on ceramic or porcelain tiles, a manual tile cutter is effective. You score the surface and then snap it.
- For intricate cuts (like curves or around pipes) or for harder materials (like natural stone), a wet saw is usually necessary. Always follow the manufacturer’s safety instructions for your wet saw.
Using a Manual Tile Cutter:
- Place the tile on the cutter and align your mark with the scoring wheel.
- Apply firm, steady pressure to score a straight line across the tile surface.
- Position the tile on the break bar and apply downward pressure to snap the tile cleanly along the scored line.
Using a Wet Saw:
- Ensure the water reservoir is full and the blade is properly seated.
- Mark your tile.
- Carefully guide the tile through the saw blade, letting the saw do the work.
- Always wear safety glasses and keep your hands away from the blade.
After cutting, lay the cut tile in place to ensure a good fit, accounting for the grout spacing. You can use tile nippers to make small adjustments if needed.
Step 6: Grouting the Tiles
Once all tiles are set and the adhesive has cured completely (check the adhesive’s instructions – usually 24 hours), it’s time for grout!
Mixing Grout:
- Similar to thin-set, you’ll mix grout powder with water. Follow the manufacturer’s instructions precisely regarding water amounts.
- Mix to a smooth, paste-like consistency, similar to peanut butter. Avoid making it too watery, or it will be difficult to work with and may wash out of the joints.
- Let the grout slake for about 5 minutes, then remix briefly.
Applying Grout:
- Load your grout float with a generous amount of grout.
- Hold the float at about a 45-degree angle to the tiles and spread the grout, forcing it into the joints. Work diagonally across the tiles to avoid pulling the grout out of the joints. Cover a manageable area at a time.
- Go over the tiled surface multiple times, ensuring all joints are completely filled.
- Scrape off excess grout from the tile surfaces with the edge of the float, again working diagonally.
Step 7: Cleaning and Finishing
This is the phase where your hard work really starts to shine! Proper cleaning is essential for a professional finish.
Initial Cleaning:
- After the grout has set slightly (usually 15-30 minutes, depending on temperature and humidity – it should feel firm to the touch and not be easily smudged), use a damp (not wet!) sponge to gently wipe away the excess grout from the tile surface.
- Rinse your sponge frequently in a clean bucket of water. This is why having two buckets is so important – one for rinsing the dirty sponge, and one with clean water to periodically refill your sponge.
- Work diagonally across the tiles to avoid dragging grout out of the joints. The goal is to remove the grout haze and bulk material from the tile face.
Final Haze Removal:
- Once the grout has dried for several hours (or as recommended by the grout manufacturer), you might notice a light haze on the tiles.
- This haze is grout residue that hardens as it dries. You can remove it by buffing the tiles with a soft, dry cloth or a microfiber towel.
- For stubborn haze, a specialized grout haze remover can be used, but always test it in an inconspicuous area first.
Sealing:
- Allow the grout to cure completely according to the manufacturer’s instructions (this can take several days).
- For most types of grout, it’s recommended to seal it to protect it from stains and moisture. Use a quality grout sealer and apply it with a small brush or applicator.
- Wipe off any excess sealer that gets on the tiles.
Caulking:
- Finally, seal any expansion joints or areas where the tile meets a different surface (like countertops, walls, or baseboards) with a flexible siliconized caulk designed for kitchens and bathrooms. This prevents cracking due to movement and seals against moisture.
Tile Types and Their Installation Differences
While the general process for installation of tiles for beginners remains similar, different tile materials have nuances you should be aware of. Understanding these can prevent common mistakes and ensure a better, longer-lasting result.
| Tile Type | Characteristics | Installation Considerations | Beginner Friendliness |
|---|---|---|---|
| Ceramic Tile | Glazed, porous clay base. Wide variety of designs, colors, and finishes. Generally durable and easy to clean. | Easy to cut. Adhesive needs to be suitable for porous surfaces. | Very High. Widely recommended for beginners. |
| Porcelain Tile | Denser, less porous clay than ceramic, fired at higher temperatures. Very durable, water-resistant, and stain-resistant. Can mimic stone, wood, etc. | Harder to cut than ceramic, requires a good quality blade on a wet saw. Use a specific porcelain |
