Quick Summary: Installing a plumbing trap correctly is crucial for preventing sewer gases and odors from entering your home, ensuring a safe and healthy living environment. This guide offers simple, step-by-step instructions for DIYers to confidently install or replace a trap, making the process straightforward and effective.
Ever noticed a funny smell coming from a sink or drain? Chances are, the little curved pipe underneath, called a trap, might be the culprit if it’s not working right. It’s a simple part of your plumbing, but its job is super important! It holds water to create a seal that blocks nasty sewer gases from wafting back up into your home. Don’t worry if you’ve never done this before. This guide will walk you through everything you need to know, step-by-step, so you can get your trap properly installed and keep those smells away for good.
Why Plumbing Traps Are Essential for Your Home

Plumbing traps, often called P-traps because of their shape, are a silent guardian in your home’s plumbing system. Their primary function is to prevent sewer gases, which are not only unpleasant smelling but can also be harmful, from entering your living space through your drains. They achieve this by always holding a small amount of water in their U-bend. This water acts as a barrier, a liquid seal that stops gases from escaping the wastewater pipes.
Without a properly functioning trap, your bathrooms, kitchen, and laundry areas could become quite unpleasant. Imagine the smell of sewage every time you use your sink! Beyond odor, these gases can contain methane and other volatile compounds that are unhealthy to breathe in large quantities. So, ensuring your traps are correctly installed and maintained is a key aspect of home hygiene and safety.
This guide will demystify the process of installing a trap. We’ll break down what you need, the steps involved, and some common pitfalls to avoid. By the end, you’ll have the knowledge and confidence to tackle this essential home maintenance task yourself, saving you time and money while ensuring your home remains fresh and safe.
Understanding Different Types of Plumbing Traps
Before you start, it’s helpful to know that not all traps are identical. The most common type you’ll encounter under sinks and tubs is the P-trap. However, there are a few variations and related components that serve similar purposes:
- P-Trap: This is the classic U-shaped pipe found under most sinks and tubs. It’s designed to catch water and create a water seal. They can be made of PVC (plastic) or metal (like brass or stainless steel).
- S-Trap: Less common in modern plumbing due to venting issues, an S-trap has a more elongated S-shape. It’s important to note that S-traps can be more prone to siphoning (where the water seal is lost), so if you have one, you might consider upgrading to a P-trap.
- Drum Trap: These are larger, cylindrical traps that were more common in older homes. They can hold more water but are harder to clean if they get clogged.
- Bottle Trap: Often seen in conjunction with pedestal sinks, bottle traps are more compact and aesthetically pleasing, designed to be more visible. They function similarly to P-traps.
For most DIY installations under sinks, you’ll be working with a standard P-trap. The installation principles discussed in this guide will largely apply to all these types, with minor adjustments for specific designs.
Tools and Materials You’ll Need
Gathering the right tools and materials before you begin will make the installation process much smoother. Here’s a checklist to ensure you have everything you need:
Essential Tools:
- Adjustable Wrench (or two): For tightening and loosening slip-nut connections. Having two can be helpful to hold one part steady while turning another.
- Plumbing Pliers (Channel Locks): These offer a strong grip and are useful for various pipe fittings.
- Bucket: To catch any residual water from the existing trap or pipes.
- Teflon Tape (Pipe thread tape): For sealing threaded pipe connections if your trap uses them (though most P-traps use compression seals).
- Rag or Old Towels: For cleaning up spills and wiping components.
- Safety Glasses: To protect your eyes from debris or water.
- Work Gloves: Optional, but can provide a better grip and protect your hands.
Materials (Your New Trap Assembly):
When purchasing a new trap, ensure it’s the correct size and material for your application. Most DIYers will need a standard PVC P-trap kit, which typically includes:
- Trap Arm: The horizontal pipe that connects the trap to the drainpipe in the wall.
- P-Trap Body: The U-shaped section.
- Wall Flange/Tailpiece Adapter: The piece that connects to the sink’s drainpipe (tailpiece).
- Slip Nuts and Washers: These are crucial for creating a watertight seal without overtightening. Most kits come with these.
Important Note: Always check the trap assembly you purchase. Some kits are more comprehensive than others. Make sure it includes all the necessary pieces for your specific drain setup.
Step-by-Step Guide to Installing a Plumbing Trap
Let’s get your new trap installed! Before you begin, ensure you’re working in a well-lit area. If you’re replacing an old trap, have your bucket ready to catch any leftover water.
Step 1: Prepare the Work Area and Remove the Old Trap (If Applicable)
Place your bucket directly underneath the existing trap assembly. This will catch any stagnant water that’s trapped in the U-bend. If you are installing a new plumbing system where no trap was present, you can skip to Step 2.
Using an adjustable wrench or plumbing pliers, loosen the slip nuts on both ends of the old trap. These are the large plastic or metal nuts that connect the trap arms to the pipes. Turn them counter-clockwise (lefty-loosey). Be prepared for water to drain out as you loosen them further.
Once the nuts are loose enough, gently detach the trap. It might be a bit sticky from old debris, so give it a slight wiggle if needed. Clean up any spilled water with your rags.
Inspect the exposed pipes for any damage or buildup. If the old trap was removed because of frequent clogs or leaks, now is a good time to clear out the drainpipe opening as best you can.
Step 2: Assemble the New Trap Components
Lay out your new trap assembly parts. Most modern traps, especially PVC ones, are designed for easy assembly. They use slip-nut connections that don’t require glue or solvent cement for standard installations.
Start by attaching the tailpiece adapter (the piece that connects to the sink’s drainpipe) to the P-trap body. Slide a slip nut onto the tailpiece, followed by a washer (cone-shaped, with the cone facing the direction of the fitting it will seal). Then, thread the tailpiece into the P-trap body. Hand-tighten the slip nut.
Next, connect the trap arm (the longer, horizontal pipe) to the other end of the P-trap body. Again, slide a slip nut onto the trap arm, followed by a washer (cone facing the fitting). Then, thread the trap arm into the P-trap body. Hand-tighten the slip nut.
Step 3: Connect the Trap to the Drainpipe
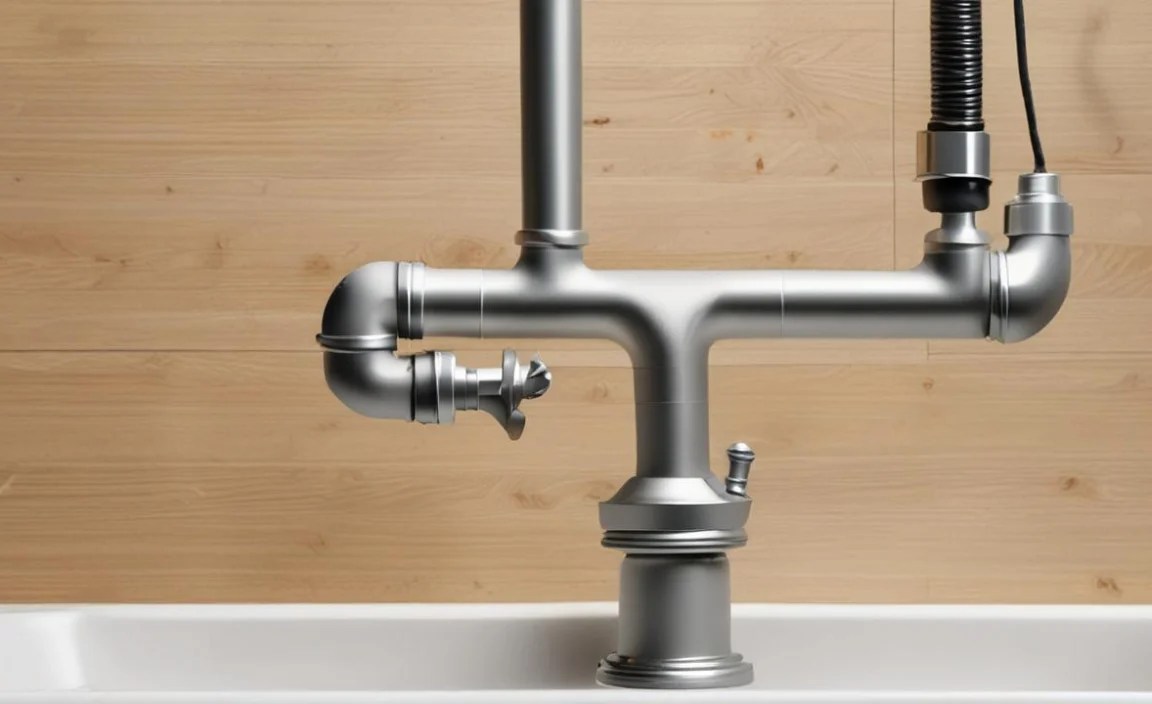
Now, you need to connect the assembled trap to your existing waste pipe (the pipe leading to your sewer or septic system). This connection is usually made at the wall.
Carefully position the trap. The tailpiece adapter end should be aligned with the sink’s drainpipe (the tailpiece coming down from the sink strainer), and the trap arm should be aligned with the drainpipe opening in the wall.
If you’re using a connection that requires a threaded fitting, apply Teflon tape to the threads of the pipe or fitting you are connecting to. Wrap the tape clockwise around the threads three to four times. For slip-joint connections, this is not usually necessary.
Slide a slip nut and washer onto the end of the trap arm that will connect to the drainpipe in the wall. Ensure the washer is properly seated. Connect the trap arm to the drainpipe fitting and hand-tighten the slip nut.
Now, connect the tailpiece adapter to the tailpiece coming from the sink. Slide a slip nut and washer onto the sink tailpiece, if it’s not already there, and connect it to the trap’s tailpiece adapter. Hand-tighten the slip nut.
Step 4: Tighten the Slip Nuts
Once everything is hand-tight, it’s time to tighten the slip nuts. Use your adjustable wrench or plumbing pliers to snug them up. You want them to be tight enough to create a watertight seal, but not so tight that you crack the plastic or strip the threads.
A good rule of thumb for PVC traps is to tighten about a quarter to a half turn past hand-tight. For metal traps, be a bit more cautious to avoid damage. It’s better to tighten them a little and then test for leaks.
Pro Tip: If you have two wrenches, use one to hold the fitting steady and the other to turn the slip nut. This prevents unnecessary stress on the pipes.
Step 5: Test for Leaks
This is a crucial step! With everything connected and tightened, run water into the sink or drain. Fill it up a bit, then let it drain. While the water is running and after it has drained, carefully inspect all the connections you made.
Look and feel for any drips or moisture. Pay close attention to the slip-nut connections. If you find a leak:
- Turn off the water.
- Slightly tighten the offending slip nut (about an eighth of a turn).
- Run water again and re-check.
- If it still leaks, you might need to loosen the nut, check that the washer is correctly seated and not damaged, and then re-tighten.
Continue this process until you are confident there are no leaks whatsoever.
Step 6: Final Checks and Clean Up
Once you’ve confirmed there are no leaks, give the area a final wipe-down. Remove your bucket and tools. You’re done!
It’s a good idea to check for leaks again after a few hours or after the next time you use the fixture, just to be absolutely sure everything has settled tight.
Troubleshooting Common Trap Installation Issues
Even with careful work, you might run into a few snags. Here are some common issues and how to fix them:
| Problem | Possible Cause | Solution |
|---|---|---|
| Leaking Slip Nuts | Loose nut or improperly seated/damaged washer. | Tighten the nut slightly. If it persists, disassemble, check washer for cracks or debris, reassemble, and tighten. Ensure the cone of the washer faces the fitting it seals. |
| Bad Odors After Installation | Water seal lost (siphoning) or not enough water in the trap. | Ensure the trap arm has a proper downward slope (about 1/4 inch per foot towards the wall) and adequate venting. If it’s a new install, check venting. If it’s an old fixture, the trap may be evaporating too quickly due to poor venting or infrequent use. Consider installing an Air Admittance Valve (AAV) if venting is an issue. Venting is critical for traps to function correctly. |
| Trap Won’t Fit Correctly | Incorrect trap size or configuration for the existing pipes (tailpiece is too high or too low, trap arm is too long or too short). | You may need to adjust the height of the sink tailpiece or trim the trap arm to fit. Some trap arms are adjustable or can be cut to size. Ensure you have the correct type of trap (e.g., right angle for specific sink depths). Consult a plumbing supply store or a professional if unsure. |
| Cracked PVC Fittings | Overtightened slip nut, dropping a tool on the fitting, or using excessive force. | Replace the cracked fitting. Be gentle when tightening plastic slip nuts. Aim for snug, not maximally tight. |
Maintaining Your Plumbing Trap
Once your trap is correctly installed, a little regular maintenance can prevent future issues:
- Regular Flushing: Run hot water down the drain for a minute or two at least once a week to help flush away any grease, soap scum, or debris that might be accumulating. This is especially important for infrequently used drains.
- Avoid Pouring Grease Down the Drain: Never pour cooking grease, oil, or fat down any drain. These substances solidify and can clog pipes, leading to backups and potential trap issues.
- Use Drain Cleaners Sparingly: Chemical drain cleaners can be harsh and may damage PVC pipes over time. If you have a clog, try a plunger or a plumber’s snake first. If you must use a chemical cleaner, choose one specifically marked as safe for your pipe type.
- Check for Leaks Periodically: Make it part of your routine to glance under sinks and check for any signs of moisture or dripping. Early detection of leaks can prevent water damage.
- Deep Cleaning: For kitchen sinks, periodically (e.g., every few months), remove the trap and clean out any accumulated gunk. For bathroom sinks, this might be less frequent unless you notice slow draining or odors.
Proper maintenance ensures your trap continues to function as intended, protecting your home from sewer gases and preventing costly plumbing problems.
When to Call a Professional
While installing a P-trap is a manageable DIY project for many homeowners, there are times when it’s best to call in the experts:
- Complex Venting Issues: If you suspect your plumbing system has inadequate venting, or if you’re dealing with persistent siphoning problems that you can’t resolve, a plumber can diagnose and fix the venting system. Proper plumbing codes emphasize the importance of correct venting for all traps.
- Unusual Pipe Materials or Connections: If your existing plumbing uses old or uncommon materials (like lead pipes, which require specialized handling) or has non-standard fittings, it might be safer to let a professional handle the installation.
- Multiple Leaks or Persistent Problems: If you’ve tried tightening connections and checking washers, but leaks persist, or if you’re experiencing recurring blockages or sewer gas issues, there might be a larger problem within your plumbing system that requires expert diagnosis.
- Lack of Confidence or Time: If you’re uncomfortable with the process, don’t have the right tools, or simply don’t have the time, hiring a plumber is a wise investment to ensure the job is done correctly and safely.
Remember, safety is always the top priority. If at any point you feel unsure or the task seems beyond your comfort level, don’t hesitate to seek professional help.
Frequently Asked Questions (FAQ)
1. How do I know if my plumbing trap needs replacing?
You should consider replacing your trap if you notice persistent sewer odors, frequent clogs, slow draining, or visible signs of damage like cracks or corrosion. Leaks around the trap connections are also a clear indicator that it might need replacement or adjustment.
2. Can I use glue or sealant on slip nut connections?

Generally, slip nut connections are designed to be watertight without glue or permanent sealants. The plastic or rubber washer inside creates the seal. Using glue can make future maintenance or repairs much more difficult. Only use Teflon tape on threaded connections if they are not slip joints.
3. What’s the difference between a P-trap and a J-bend?
A P-trap is the U-shaped component that holds water to prevent sewer gas from entering your home. A J-bend is a straight piece of pipe that connects the P-trap to the waste line in the wall. The P-trap and J-bend together form the functional trap assembly.
4. How tight should I make the slip nuts?
Slip nuts on PVC traps should be tightened until snug, then an additional quarter to half turn. You want them tight enough to create a seal but not so tight that you crack the plastic. If you’re unsure, it’s better to tighten slightly less and check for leaks, then tighten a bit more if needed.
5. Why do I still smell sewer