
Swift Summary: Installing a bathroom vanity offers a complete, integrated solution, providing ample storage and a cohesive look. Alternatives like wall-mounted sinks or console sinks can save space and offer a minimalist aesthetic, but may require more creative storage solutions. Choose based on your bathroom size, storage needs, and desired style.
Hey there, fellow DIYers and homeowners! Bryan Lee here, ready to tackle another home improvement puzzle. Ever stood in your bathroom, staring at that old sink or a lack of storage, and wondered what your options are? You’re not alone! Many of us face the common frustration of wanting a stylish, functional bathroom without the overwhelming jargon and complex steps that seem to come with renovations.
The decision between installing a traditional vanity versus exploring more alternative solutions might even feel a bit daunting. But let’s break it down together. My goal is to make this process as clear and confidence-building as possible for you. We’ll walk through everything from what a vanity really is to what creative alternatives are out there, and how you can approach their installation. Get ready to transform your space with simple, achievable guidance.
What is a Bathroom Vanity, Anyway?
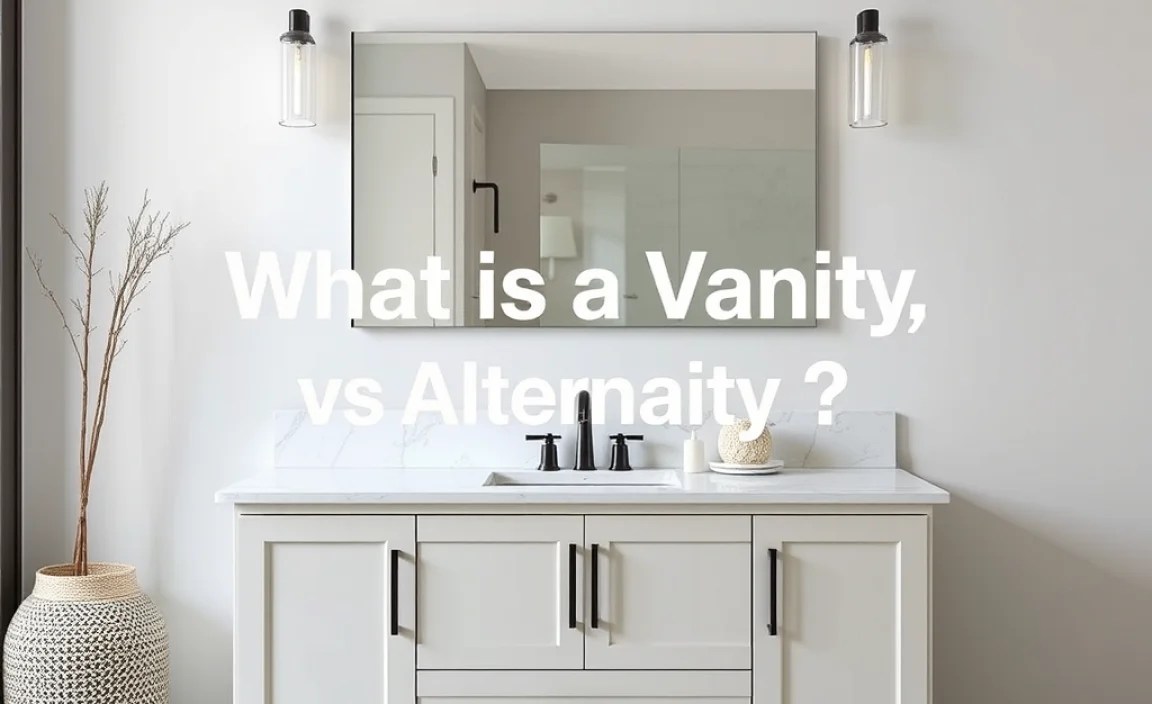
Before we dive into the “vs.,” let’s get on the same page about what a bathroom vanity typically is. Think of a vanity as a bathroom furniture piece. It’s essentially a cabinet that houses your sink, with a countertop on top. Most vanities also come with drawers and doors, offering a generous amount of storage space – perfect for stashing toiletries, cleaning supplies, extra towels, and anything else you need to keep your bathroom tidy.
They come in a vast array of styles, from classic wood cabinets with granite countertops to modern, sleek designs with integrated sinks. The beauty of a vanity lies in its all-in-one nature. It’s a single unit that addresses both the plumbing fixture (the sink) and the storage need, creating a unified and often polished look for your bathroom.
Key Features of a Standard Vanity:
- Integrated Countertop and Sink: This is usually a single piece or two pieces that fit together seamlessly.
- Cabinet Base: Provides storage with shelves and/or drawers.
- Plumbing Concealment: Hides unsightly pipes and water connections.
- Variety of Styles and Sizes: From single-sink vanities for powder rooms to double-sink vanities for larger bathrooms.
The Installation Process for a Vanity

Installing a bathroom vanity, while a bit more involved than just swapping out a sink, is a very achievable DIY project. It typically involves a few key stages:
Step 1: Preparation is Key
This is arguably the most crucial step for a smooth installation. You’ll need to measure your space precisely! Ensure the new vanity will fit comfortably, allowing for door swings and walking clearance. Check the location of existing water supply lines and drain pipes. If they aren’t in the right spot for your new vanity, you might need a plumber to relocate them. It’s also a good idea to turn off the main water supply to your bathroom before you begin to avoid any accidental leaks.
Tools you’ll likely need:
- Tape measure
- Level
- Pliers
- Adjustable wrench
- Screwdriver set (Philips and flathead)
- Stud finder
- Safety glasses
- Gloves
- Caulk gun and caulk
- Drill and drill bits
- Putty knife
- Bucket
Step 2: Removing the Old Fixture
First, disconnect the water supply lines from the shut-off valves. Have a bucket ready to catch any residual water. Next, unscrew the p-trap (the U-shaped pipe under the drain) and let any water drain into the bucket. Once everything is disconnected, you can detach the old sink and countertop from the wall. If you have an older vanity, you might need to cut through caulk or remove mounting screws. Gently lift the old unit out.
Step 3: Fitting the New Vanity
Many vanities come pre-assembled, which simplifies this step. Position the new vanity in its designated spot. Use a level to ensure it’s sitting evenly. If your floor is uneven, you might need to shim the vanity to make it level. This is crucial for proper door alignment and to prevent stress on the countertop and sink.
Step 4: Securing the Vanity
Most vanities need to be secured to the wall for stability, especially to prevent tipping. Locate wall studs using a stud finder behind where the vanity will be. Mark the stud locations. You may need to drill through the back of the vanity cabinet to drive screws through it and into the studs. This step is vital for safety.
Step 5: Installing the Sink and Faucet
If your vanity didn’t come with an integrated sink and faucet, this is where you’ll install them. Follow the manufacturer’s instructions for seating the sink onto the countertop (often with clips and caulk) and installing the faucet. Make sure to apply plumber’s putty or silicone sealant around the drain and faucet bases to prevent leaks.
Step 6: Connecting the Plumbing
Now for the crucial part: connecting the pipes. Reconnect the water supply lines to your newly installed faucet. Hand-tighten first, then use an adjustable wrench to snug them up – don’t overtighten, as this can damage the fittings. Connect the drain assembly (the p-trap) to the sink drain and the waste pipe in the wall. Again, hand-tighten and then gently snug with pliers.
Step 7: Testing for Leaks
Slowly turn the main water supply back on. Turn on the faucet and let the water run for a minute or two. While the water is running and after you turn it off, carefully check all your connections for any drips. Use a dry paper towel to wipe down each connection; it makes even small leaks easier to spot. If you find any leaks, gently tighten the connection a quarter turn at a time until the leak stops. If you still have trouble, you might need to disassemble and reapply plumber’s putty or sealant.
Step 8: Finishing Touches
Once you’re confident there are no leaks, apply a bead of caulk around the seam where the countertop meets the wall. This seals out moisture and gives a clean, finished look. Install any drawer pulls or door handles if they weren’t pre-attached. Clean up your work area, and admire your new vanity!
What Are Alternatives to a Bathroom Vanity?

While vanities are popular for good reason, sometimes space limitations, a desire for a different aesthetic, or specific needs call for alternatives. These can range from simple sinks mounted to the wall to more elaborate furniture hacks.
Wall-Mounted Sinks
These are exactly what they sound like: sinks that are attached directly to the wall without a cabinet underneath. They are a fantastic space-saver, offering a very open and airy feel to a bathroom. They are also exceptionally easy to clean around because there’s nothing on the floor.
Pros:
- Excellent for small bathrooms.
- Easy to clean around.
- Provides a modern, minimalist look.
- Can be installed at custom heights (good for accessibility).
Cons:
- Very limited storage space (you’ll need shelves or other storage solutions).
- Plumbing is often exposed, which some people find unsightly (though decorative covers can be used).
- Requires strong wall support for secure mounting.
Console Sinks
Console sinks are a bit of a hybrid. They typically consist of a sink basin mounted on four legs (often made of metal like chrome or brass), with open space underneath. They offer a more elegant, sometimes vintage feel compared to wall-mounted sinks, while still providing an open look.
Pros:
- Aesthetic appeal, often with a more decorative, furniture-like quality.
- Still feels open and airy, less bulky than a full vanity.
- Plumbing is typically more accessible for maintenance.
Cons:
- Limited storage – usually none directly under the sink, though some might have a lower shelf.
- Exposed plumbing may still be a concern for some.
- Require secure mounting to the wall for stability, in addition to the legs.
Pedestal Sinks
These are a classic bathroom fixture. A pedestal sink has a basin that sits atop a slender pedestal base, which hides the drain pipe. They are a common choice for smaller bathrooms or powder rooms.
Pros:
- Takes up less floor space than a vanity.
- Classic and traditional look.
- The pedestal hides the drain pipe.
Cons:
- Virtually no storage space.
- Can feel a bit dated if not styled carefully.
- Installation can be tricky as they are heavy and require precise wall mounting and floor support for the pedestal.
Furniture Hacks or Custom Solutions
This is where creativity shines! Some DIYers transform antique dressers, cabinets, or other furniture pieces into unique bathroom vanities. This usually involves cutting holes in the top for a sink basin, sealing the wood, and connecting the plumbing.
Pros:
- Unique, one-of-a-kind look.
- Can provide ample storage if a suitable piece of furniture is chosen.
- Potentially cost-effective if you find a good piece secondhand.
Cons:
- Requires significant DIY skill and creativity.
- Wood needs to be properly sealed to withstand bathroom humidity and water splashes.
- Plumbing connections can be more complex depending on the furniture’s structure.
- Not for beginners unless they have significant help or are tackling a very simple modification.
Comparative Analysis: Installation vs. Alternatives

To help you decide, let’s look at a direct comparison. The primary differences lie in storage, aesthetics, installation complexity, and cost.
| Feature | Standard Vanity | Wall-Mounted Sink | Console Sink | Pedestal Sink | Furniture Hack |
|---|---|---|---|---|---|
| Storage Capacity | High (drawers, cabinets) | Very Low (requires external solutions) | Very Low (open space) | None | Variable (depends on furniture used) |
| Aesthetics | Versatile (traditional to modern) | Minimalist, airy, modern | Elegant, vintage, or modern | Classic, traditional, simple | Unique, custom, eclectic |
| Installation Complexity | Moderate DIY (plumbing, securing) | Moderate DIY (secure wall mounting) | Moderate DIY (secure wall mounting, leg assembly) | Moderate (heavy, requires precise mounting) | High (requires modification, sealing, plumbing) |
| Space Footprint | Largest (full cabinet base) | Smallest (minimal footprint) | Small to Moderate (legs take up less space than a cabinet) | Small (basin + pedestal) | Variable (depends on furniture size) |
| Plumbing Visibility | Hidden | Exposed (can be covered) | Exposed (can be decorative) | Mostly hidden by pedestal | Mostly hidden, but can be complex to route |
| Typical Cost (DIY Friendly) | $$ – $$$$ (pre-made units) | $ – $$ | $$ – $$$ | $ – $$ | $ – $$$ (depends on furniture source and modifications) |
What to Consider When Choosing
When you’re standing at this crossroads, ask yourself:
- Bathroom Size: Is your bathroom tiny, or do you have ample room? A small bathroom might benefit greatly from a wall-mounted sink or a slim console, while a larger bathroom can easily accommodate a double-vanity.
- Storage Needs: How much “stuff” do you need to store in your bathroom? If you have a lot of toiletries, spare toilet paper rolls, or cleaning supplies, a vanity with built-in storage is likely your best bet. If you prefer a minimalist approach and have other storage solutions (like linen closets or wall shelves), an open alternative might work.
- Aesthetic Style: What look are you going for? Modern and sleek? Vintage and charming? Minimalist and airy? Your choice of fixture will heavily influence the overall feel of the room.
- Your DIY Skill Level: Be honest about your comfort with plumbing and carpentry. Installing a standard vanity or a simple wall-mounted sink is generally manageable for most DIYers. A furniture hack, however, requires a higher level of skill and problem-solving.
- Budget: Costs can vary wildly. Pre-made vanities offer a wide range of prices. While some alternatives might seem cheaper initially, factoring in the cost of separate storage solutions or specialized parts can balance things out.
Resources for Your Project
To ensure you’re working with reliable information and best practices, especially concerning plumbing, it’s always good to consult authoritative sources. For instance, the EPA’s WaterSense program offers tips on water-efficient fixtures, which is relevant even when choosing the type of sink. For detailed plumbing codes and best practices in your region, consulting your local International Code Council (ICC) resources or contacting your local building department is highly recommended.
FAQs: A Quick Guide
Q1: Is it harder to install an alternative sink than a vanity?
Generally, a simple wall-mounted sink or pedestal sink installation can be less involved than a full vanity installation because you’re not dealing with a large cabinet unit that needs to be secured and leveled. However, the complexity depends on the specific design and whether plumbing needs to be adjusted. Furniture hacks can be significantly more complex.
Q2: Do I need special tools for vanity installation?
You’ll need standard DIY tools like a level, adjustable wrench, pliers, and screwdrivers. A stud finder is crucial for securing the vanity to the wall. While no single “special” tool is always required, having a good quality caulk gun and potentially a drill will make the job much smoother.
Q3: What is the easiest alternative to a bathroom vanity?
For ease of installation and space-saving, a wall-mounted sink is often considered one of the simplest alternatives. It requires secure mounting to the wall and connecting standard plumbing, but there’s no heavy cabinet to maneuver or level.
Q4: Can I install a sink without a vanity in a small bathroom?
Absolutely! Small bathrooms are where alternatives like wall-mounted sinks, pedestal sinks, and slim console.
