
Quick Summary:
Installing a wet room in construction involves careful waterproofing and drainage planning. This guide provides essential steps for a successful wet room installation, ensuring a leak-free, long-lasting, and stylish bathroom. Get ready to create your dream, functional wet room with confidence.
Hello there! So, you’re thinking about adding a wet room to your home or a new construction project? That’s a fantastic idea for a modern, spa-like bathroom that also happens to be incredibly practical. Wet rooms are essentially bathrooms where the shower area isn’t enclosed by a cubicle, but is instead part of the overall room. This means everything needs to be properly waterproofed and drained. While it might sound intimidating, I’m here to break down the process so you can tackle it with ease. We’ll go through everything step-by-step, ensuring you create a beautiful and, most importantly, watertight space you’ll love.
What Exactly is a Wet Room and Why Choose One?

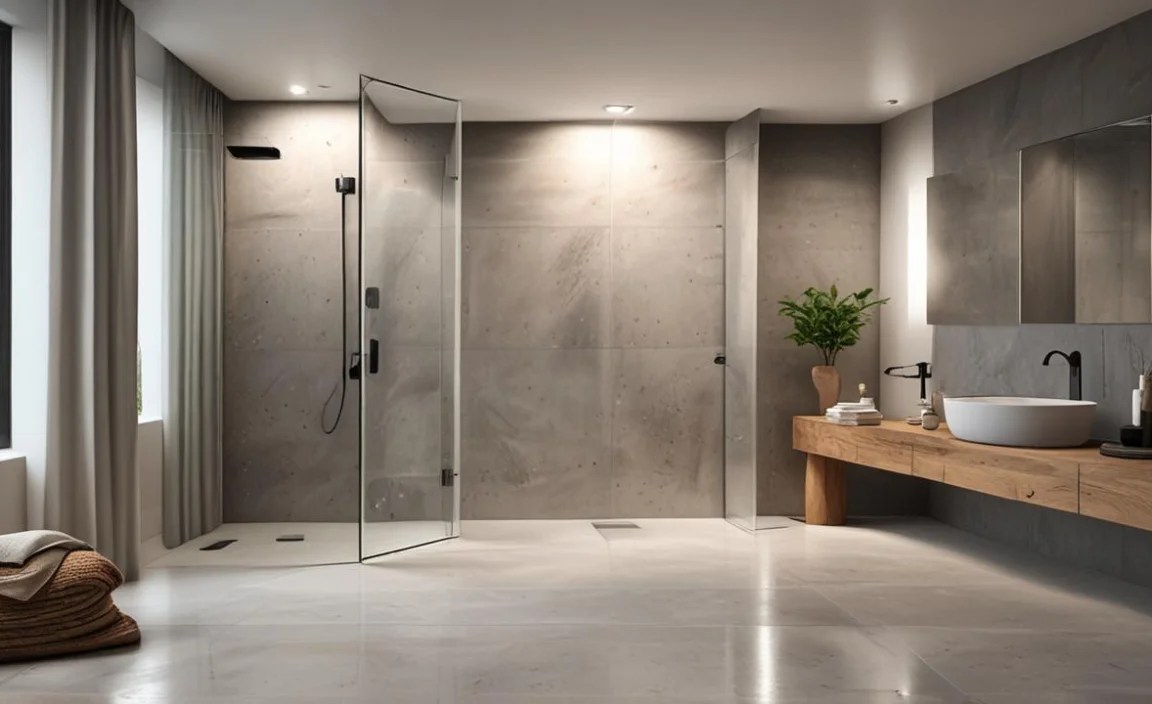
A wet room is a bathroom designed to be completely waterproof. Unlike a traditional bathroom with a separate shower enclosure or bathtub, the entire room, or at least a designated shower area, is designed to get wet. This typically involves a shower head (often a rainfall shower or a hand-held one), a floor drain, and walls and floors that are fully waterproofed. The absence of a traditional shower tray or cubicle gives a sleek, minimalist look and can make smaller bathrooms feel much more spacious.
The main appeal of a wet room lies in its:
- Accessibility: With no raised trays or doors, wet rooms are ideal for individuals with mobility issues, children, and the elderly, offering a safe and easy-to-navigate showering experience.
- Space-Saving Design: They can make even the smallest bathrooms feel larger by eliminating bulky shower enclosures.
- Modern Aesthetic: The seamless, minimalist look of a wet room is very on-trend and can add significant value to a property.
- Easy Cleaning: With fewer crevices and no shower doors to scrub, cleaning a wet room is generally much simpler.
Understanding the Essential Components of a Wet Room Installation

Before we dive into the actual installation steps, it’s crucial to understand the key components that make a wet room work safely and effectively. These are the unsung heroes of your watertight haven.
- Waterproof Membrane: This is the absolute cornerstone of your wet room. It’s a specialized material applied to all surfaces that will come into contact with water – floors, walls, and even up to a certain height on non-shower walls. Its job is to prevent any moisture from seeping into your subfloor or wall structure, which could lead to serious damage like rot and mold.
- Drainage System: Proper drainage is non-negotiable. This includes a floor drain strategically placed within the wet room zone. Many modern wet rooms use linear drains, which are long and slim, offering a more contemporary aesthetic and efficient water flow. The floor must also be sloped correctly towards the drain.
- Substrate Preparation: The surfaces you’re working on (the floor and walls) need to be sound, stable, and dry before you start applying membranes and tiles.
- Waterproofing Adhesives and Sealants: These are used to bond membranes, seal joints, and ensure there are no tiny gaps where water can escape.
- Tiles and Grout: While tiles themselves aren’t waterproof, they protect the underlying waterproof membrane. The grout used between tiles is also important; fully vitrified or epoxy grouts are often recommended for their superior water resistance.
- Shower System: This includes your shower head, pipework, and any controls.
Pre-Installation: Planning and Preparation are Key
You wouldn’t build a house without a blueprint, and you shouldn’t build a wet room without a solid plan. This stage is where we prevent future headaches.
1. Design and Layou
t
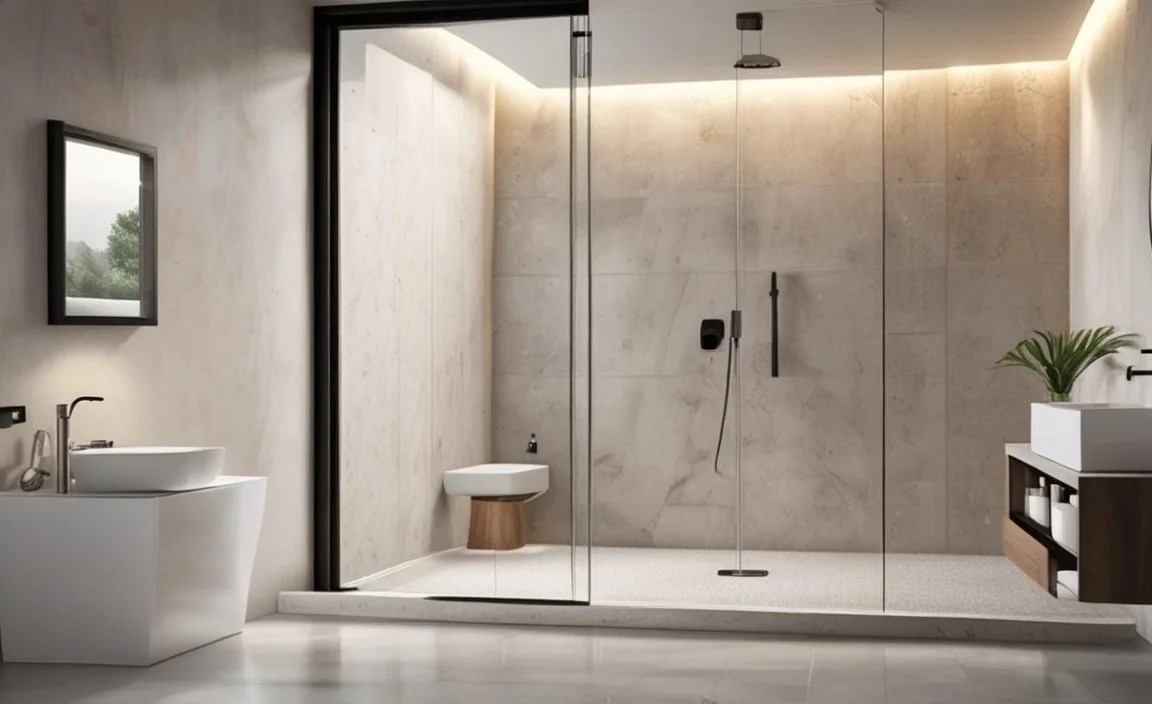
Think about how you’ll use the space. Where will the showerhead be? Where should the drain go? A good rule of thumb is to have the drain in the lowest point of the showering area. Consider the size of your room and how much of it you want to designate as the “wet zone.” Often, the entire bathroom is treated as a wet room, with the shower area slightly sloped towards the central drain.
Tip: For maximum efficiency and a sleek look, consider a linear drain. These run along one wall or in the middle of the showering area and can handle a high volume of water.
2. Material Selection
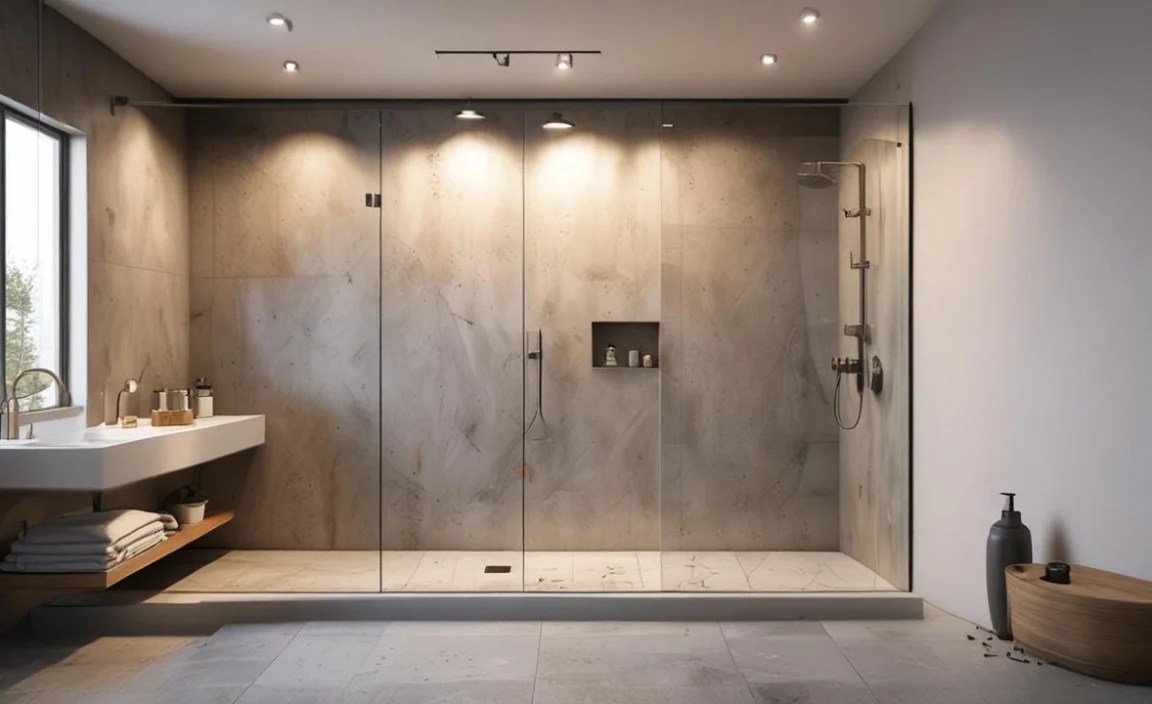
Choosing the right materials is vital. You’ll need:
- A robust waterproof membrane system (liquid-applied or sheet membrane).
- Appropriate substrate board (if needed, like cement board for wet areas).
- Waterproof adhesives and sealants.
- Sloping compound (if your subfloor isn’t already sloped).
- Tiles: Non-slip tiles are essential for safety in a wet room.
- Grout: Water-resistant grout or epoxy grout is recommended.
- Floor drain: Choose one suitable for your membrane system.
Always check that the products you choose are compatible with each other, especially the membrane, adhesives, and tiles. Reputable brands often offer complete systems.
3. Subfloor and Wall Preparation
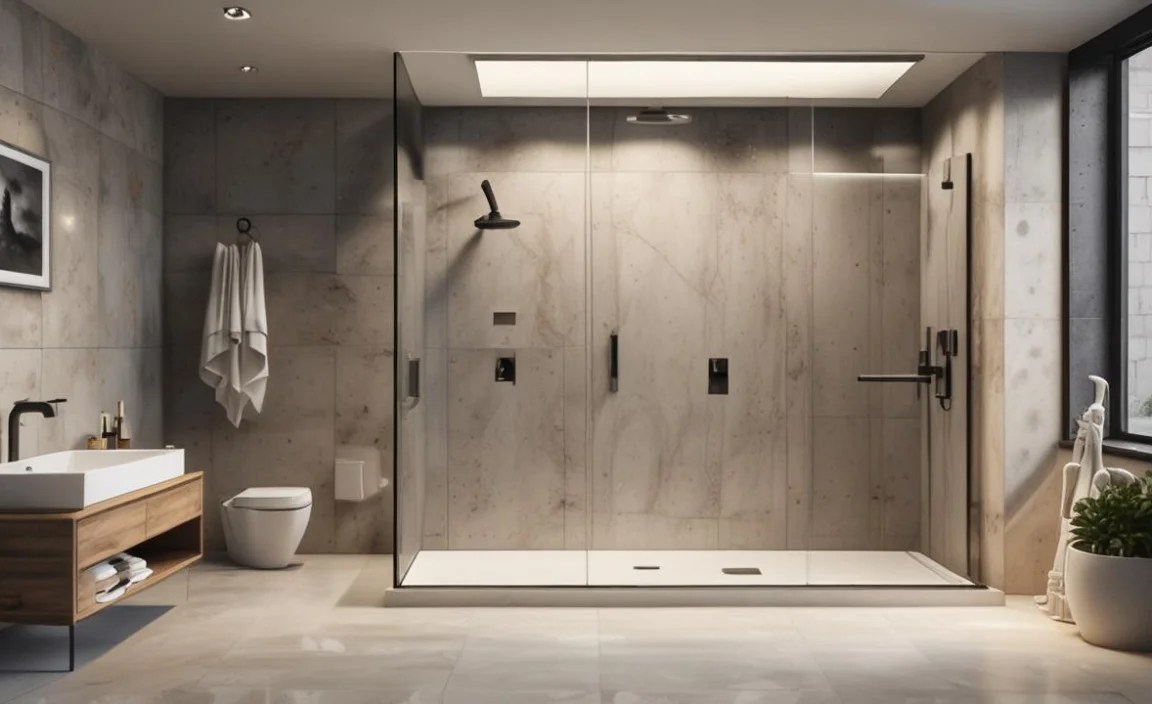
The existing surface is crucial. For floors, you’ll likely be working with concrete or a robust subfloor. Ensure it’s clean, dry, and structurally sound. If you’re installing in a wooden subfloor, you might need to add a layer of cement board or a suitable marine plywood to provide a stable base that won’t flex, which can cause membranes to crack over time.
For walls, the same applies. Plasterboard is generally not suitable for direct tiling in a wet room. You’ll likely need to install cement board or specialized waterproof panels over the existing studs. Areas around pipes and waste outlets need particular attention to ensure they are sealed thoroughly.
4. Ventilation is Non-Negotiable
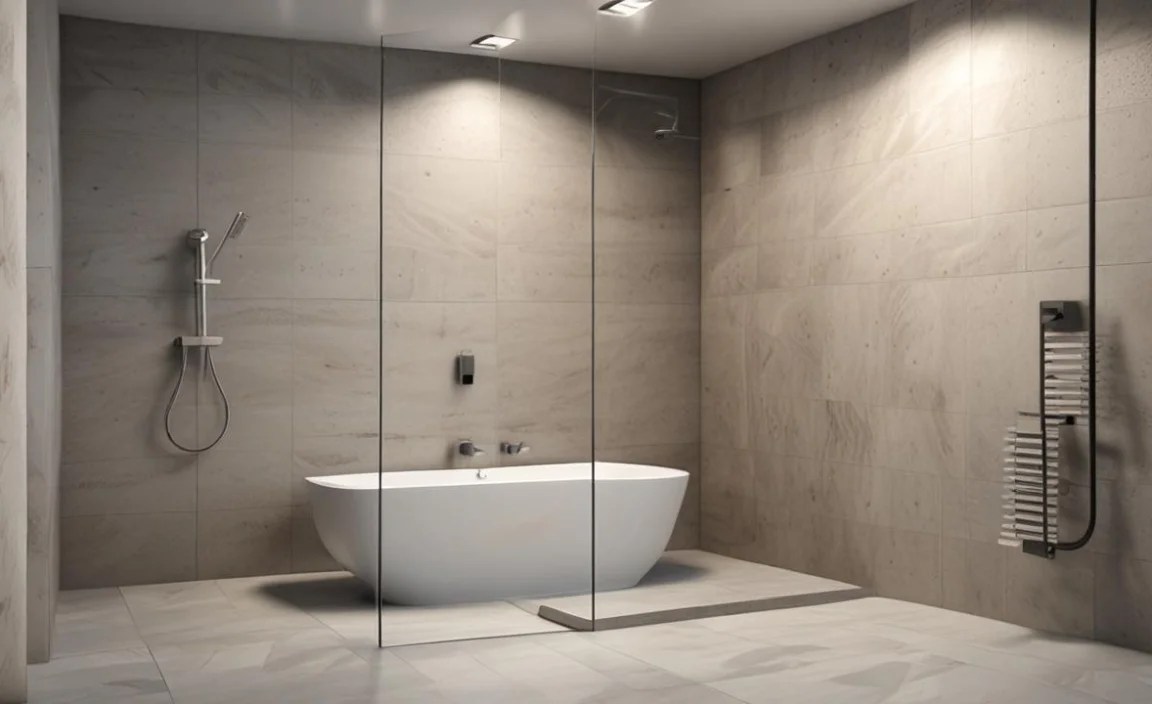
Moisture is the enemy of any bathroom, especially a wet room. Excellent ventilation is paramount to prevent mold and mildew growth. This means a powerful extractor fan, ideally connected to an external vent, is a must. A timer switch or humidity sensor for the fan is a great addition to ensure it runs long enough after showering.
For more information on ventilation, building regulations often provide guidance. You can find useful resources on the UK government’s Building Regulations pages, which covers ventilation requirements for homes.
Step-by-Step Installation Guide: Building Your Waterproof Haven
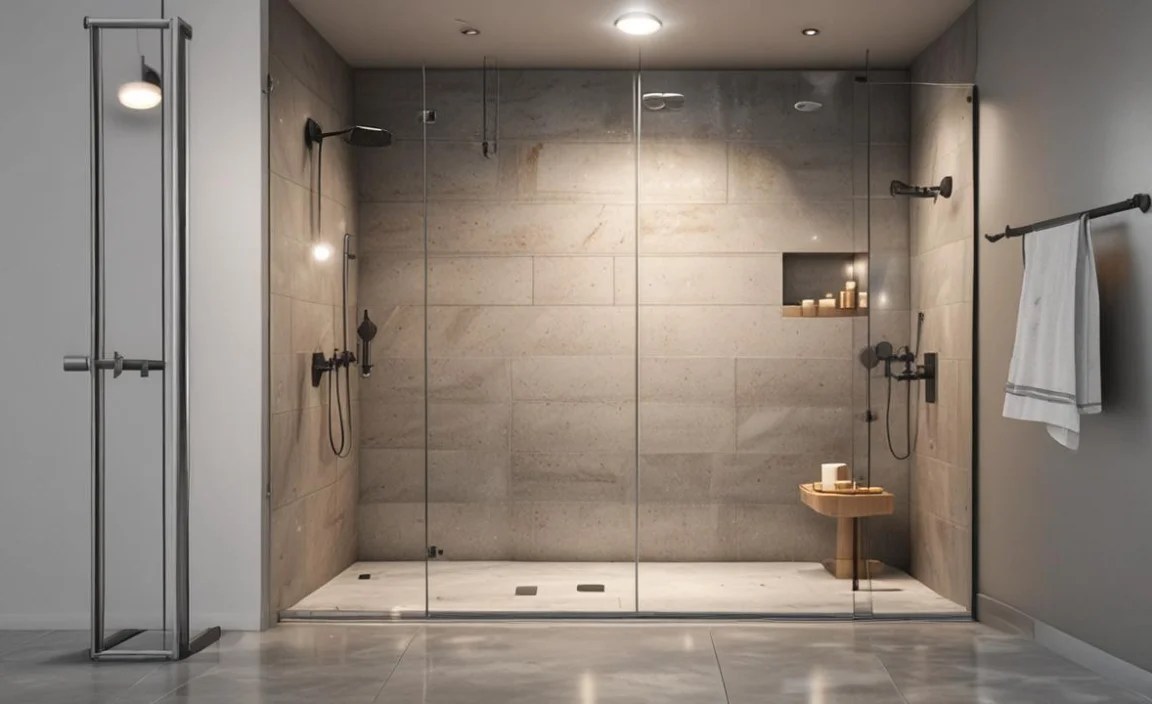
Now that the planning is done and the materials are ready, it’s time to get hands-on. Remember, patience and attention to detail are your best friends here!
Step 1: Install the Floor Drain
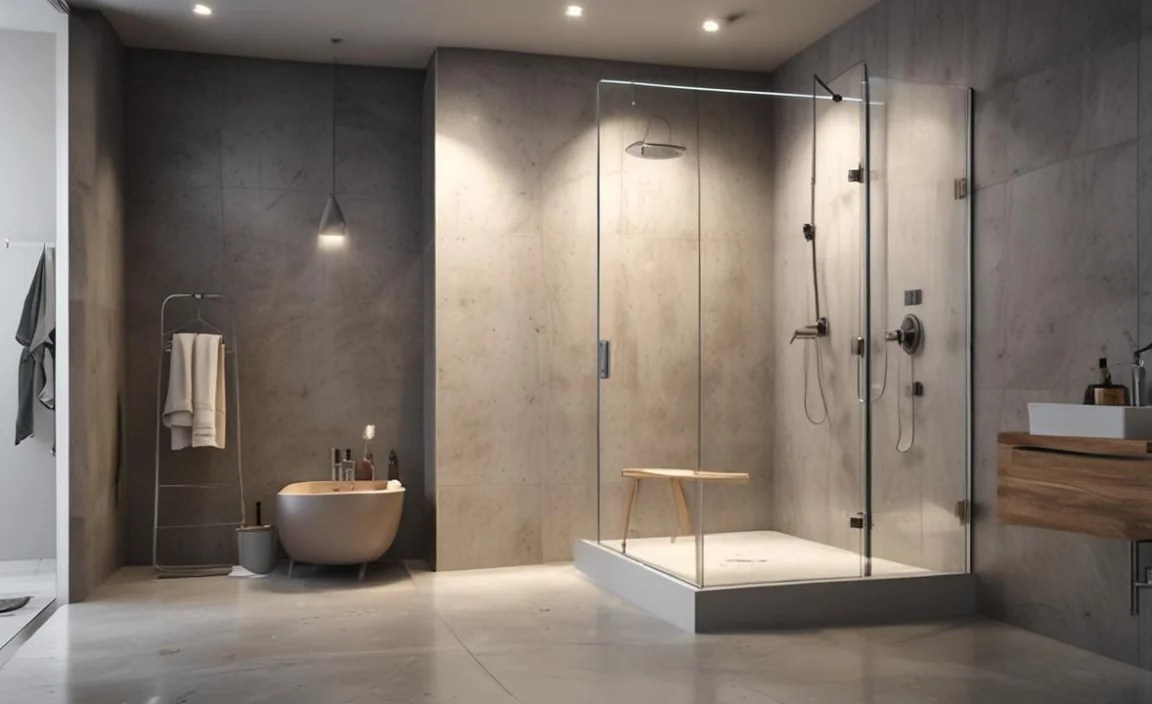
This is often one of the first things to go in. The drain assembly needs to be perfectly flush with the intended finished floor level and securely fixed. If you’re using a sloped screed, the drain acts as the lowest point around which the screed will be formed.
Important: Ensure the drain has a built-in flange or a suitable collar system for connecting to your waterproof membrane. This connection point is critical for preventing leaks.
Step 2: Create the Floor Slope
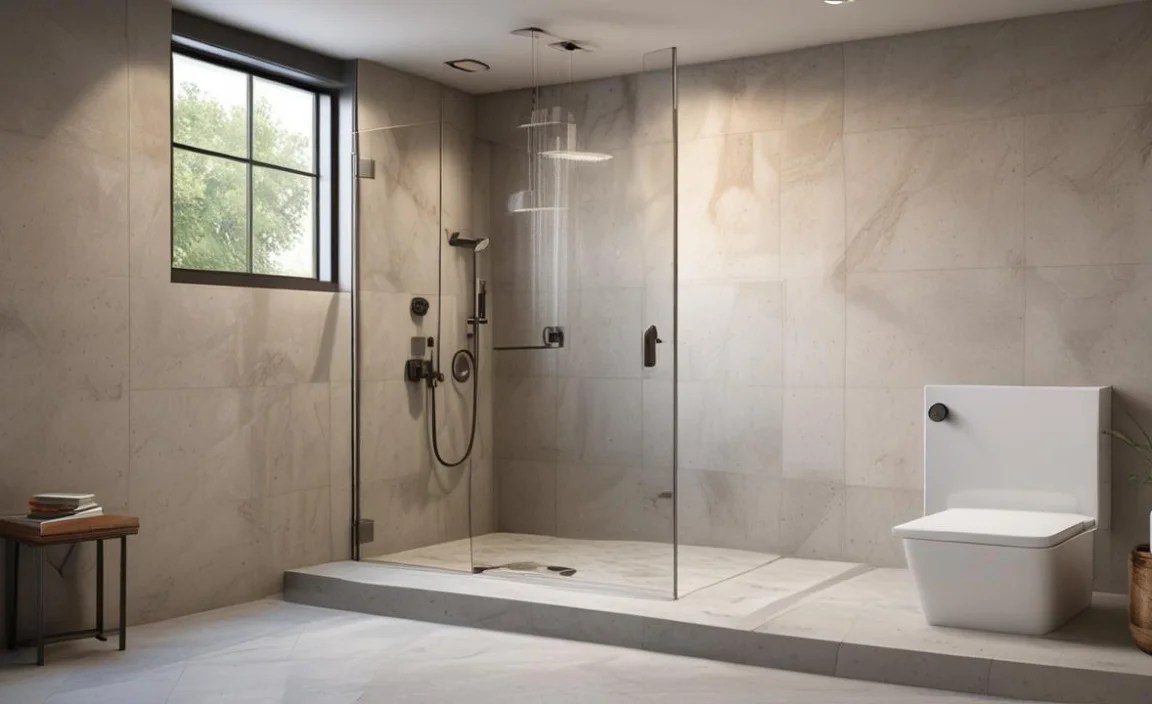
This is a crucial step for effective drainage. The floor within the shower area (and potentially the whole room) needs to slope towards the drain. This slope is typically around 1:80 or 1:100, meaning for every 80 or 100 units of horizontal distance, there’s a 1 unit drop.
This can be achieved in a few ways:
- With a pre-fabricated showering former (a tray designed to be tiled over and pre-sloped).
- By applying a self-leveling screed or a cementitious leveling compound.
If you’re using a screed, the drain will be integrated into this process, ensuring a smooth, angled surface.
Step 3: Install Wall and Floor Substrate Boards (If Required)
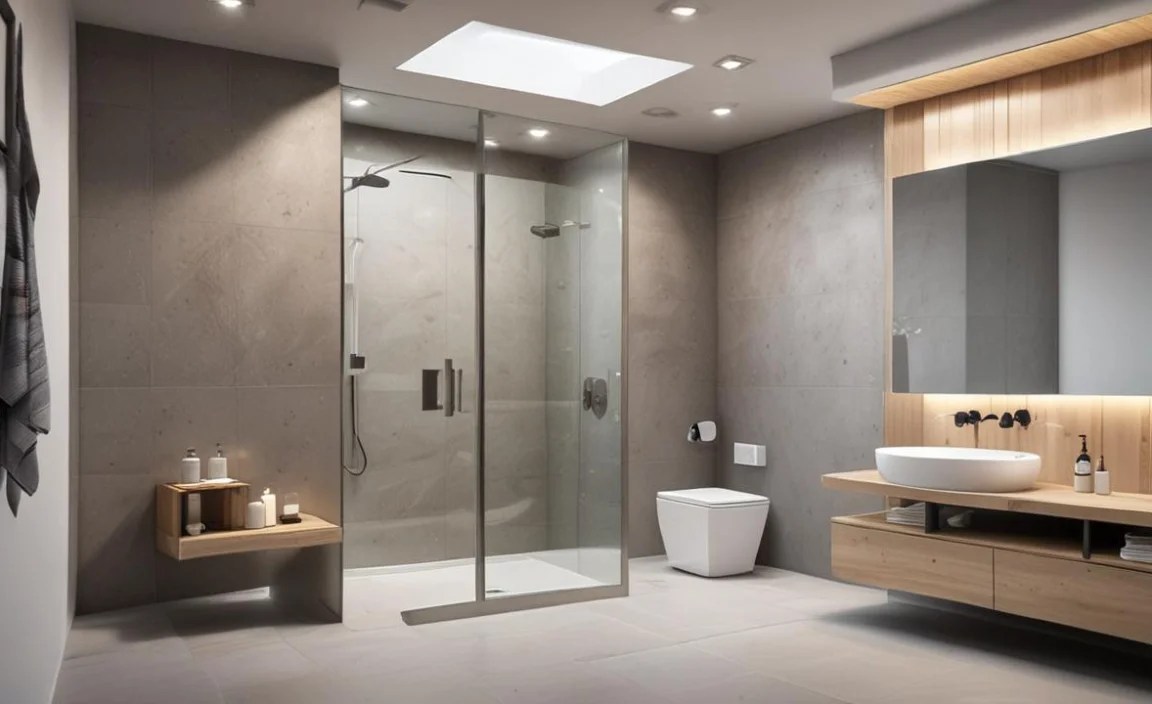
If your existing walls are not suitable for waterproofing directly (e.g., standard plasterboard), now is the time to install your substrate. Cement boards or specialized waterproof boards are excellent choices.
Ensure these boards are securely screwed to the wall studs, with no gaps between them. Pay close attention to fitting them around pipes and in corners.
Step 4: Apply the Waterproof Membrane
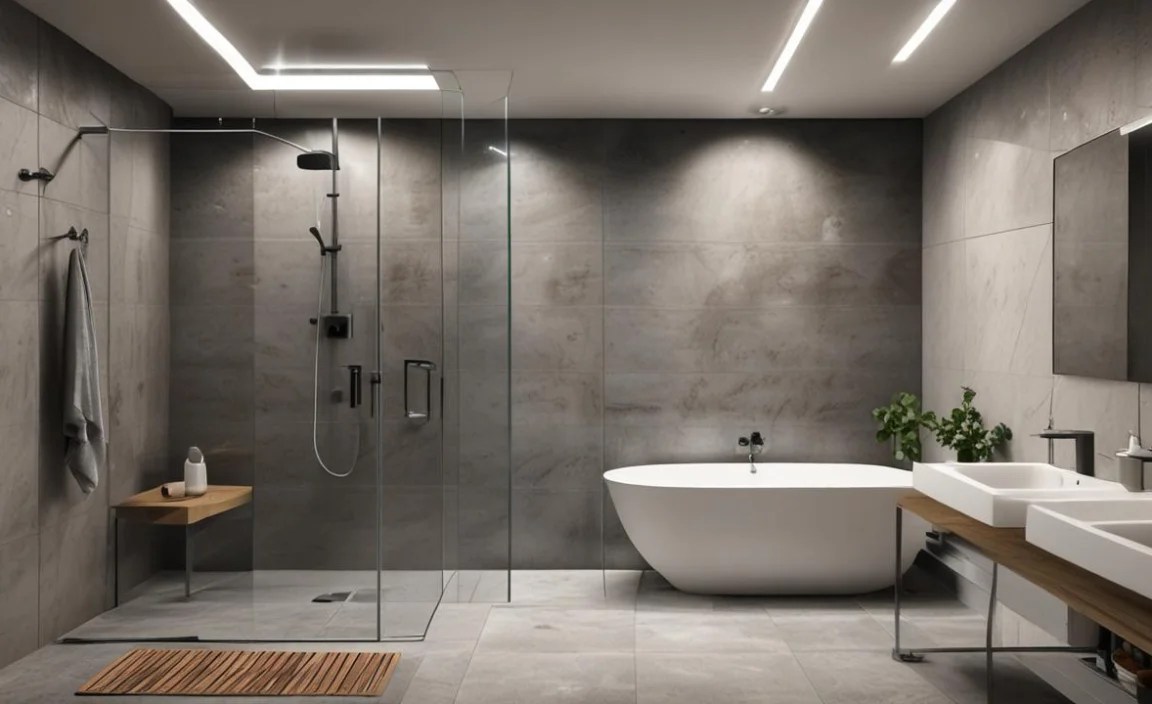
This is the heart of your wet room installation. Follow the manufacturer’s instructions meticulously, as different products have slightly different application methods (e.g., liquid-applied or sheet membranes).
For Liquid-Applied Membranes:
- Apply the first coat evenly over the entire floor and up the walls to a designated height (often at least 150mm above the finished floor, and much higher on shower walls).
- Allow the first coat to dry completely as per the product instructions.
- Apply a second coat, usually at a right angle to the first, to ensure full coverage and no weak spots.
- Pay extra attention to corners, edges, and around the drain. These areas often require reinforcing with a flexible joint tape embedded within the membrane.
For Sheet Membranes:
- These are usually large rolls of material, similar to a heavy-duty plastic or rubber.
- They are cut to size and adhered to the substrate using specialized waterproof adhesives.
- Seams between sheets, edges, and penetrations (like pipes) are critically important and require careful sealing and overlapping according to the manufacturer’s guidelines.
Key Areas to Watch:
- Corners: Internal and external corners are high-risk areas. Use reinforcing tape specifically designed for your membrane system.
- Wall-to-Floor Junctions: This is where water is most likely to find a way through if not sealed. Ensure the membrane runs up the wall sufficiently and is seamlessly integrated with the floor membrane.
- Pipe Penetrations: Use specialized sealing collars or membranes designed to fit around pipes.
A Quick Table of Waterproofing Essentials
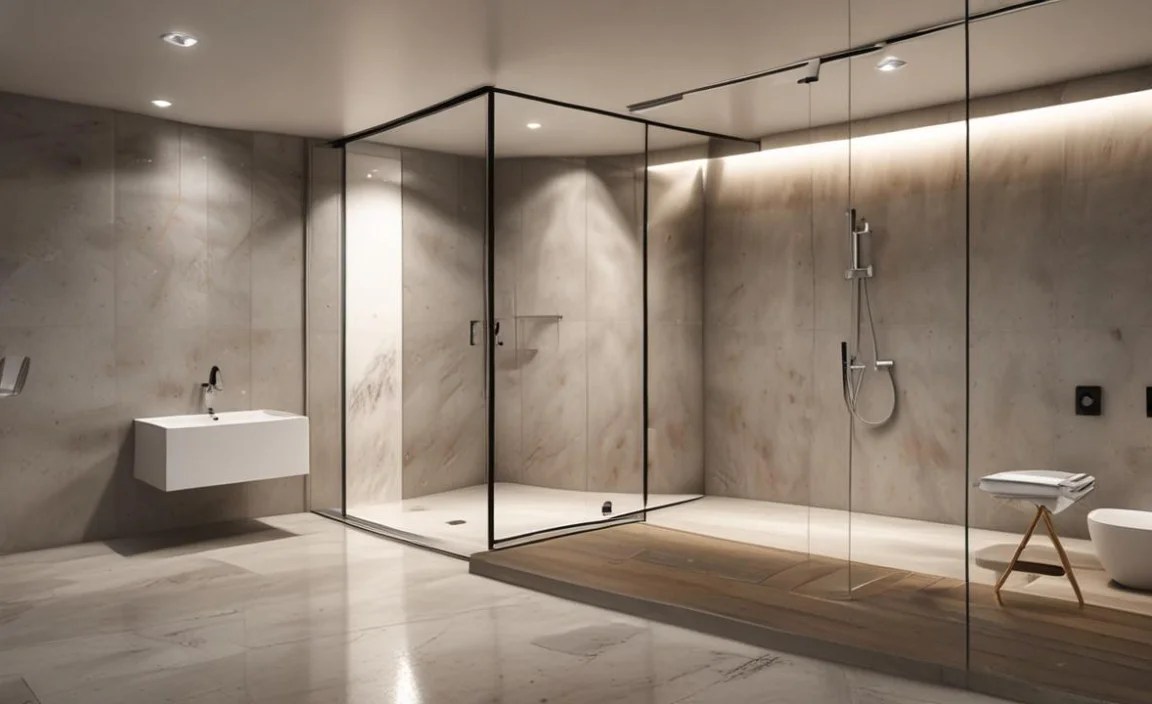
To help you visualize the critical elements of waterproofing:
| Component | Purpose | Key Considerations |
|---|---|---|
| Waterproof Membrane | Creates a watertight barrier. | Full coverage, correct application thickness, compatible with substrate and adhesives. |
| Joints & Corners | Prevent water ingress at transitions. | Use reinforcing tape, ensure sufficient overlap, proper sealing. |
| Drain Connection | Securely seal the drain point. | Use specialized flanges/collars, ensure a watertight seal between membrane and drain body. |
| Pipe Penetrations | Seal around any pipes entering walls or floor. | Use sealing grommets, cuffs, or specialized membrane details. |
Step 5: Install Tiles
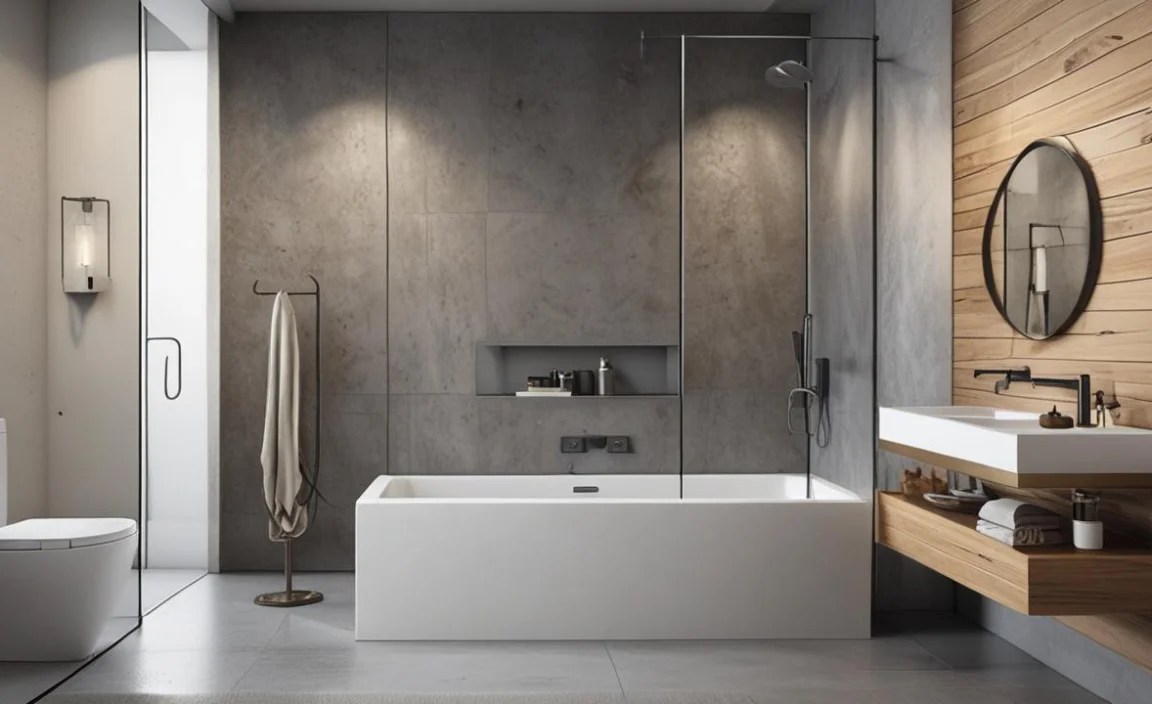
Once the waterproof membrane is fully cured and tested (a simple water test can be done before tiling if you haven’t yet installed the final plumbing fixtures), you can start tiling. Use a tile adhesive suitable for wet areas and compatible with your waterproof membrane.
Ensure the tiles are laid with a consistent, narrow grout gap – large gaps are harder to seal and can be prone to mildew. As mentioned, consider using non-slip tiles for safety underfoot. You can find helpful guides on tiling techniques from reputable DIY resources like This Old House.
Step 6: Grout and Seal
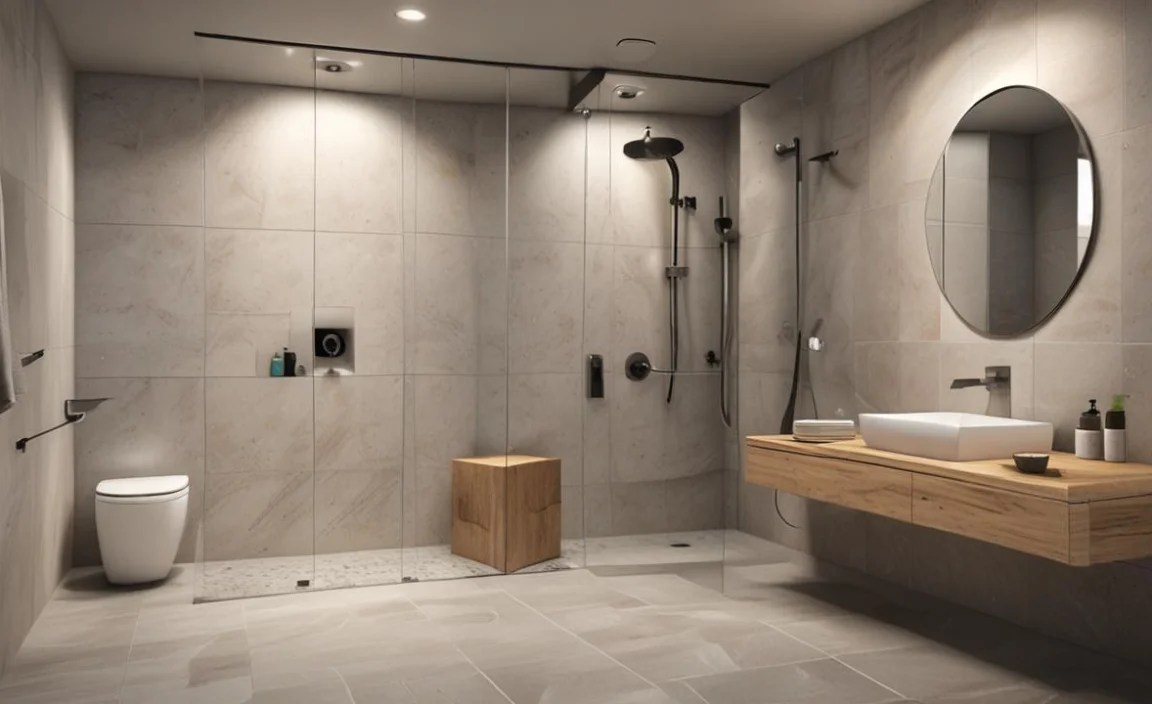
After the tile adhesive has set, it’s time to grout. Use a good quality, water-resistant grout. Apply it thoroughly, ensuring it fills all the gaps between the tiles completely. Use a grout float to press the grout in firmly.
Once the grout has dried (again, follow the manufacturer’s instructions), you’ll need to seal the grout lines with a penetrating grout sealer. This adds an extra layer of protection against stains and moisture.
Finally, use a flexible, waterproof sealant (silicone is common) to seal the edges where the tiled area meets any fixtures, such as the shower screen (if you have one), walls, or built-in furniture. Also, seal around any exposed pipework that comes through the tile.
Step 7: Install Shower Fixtures and Final Touches
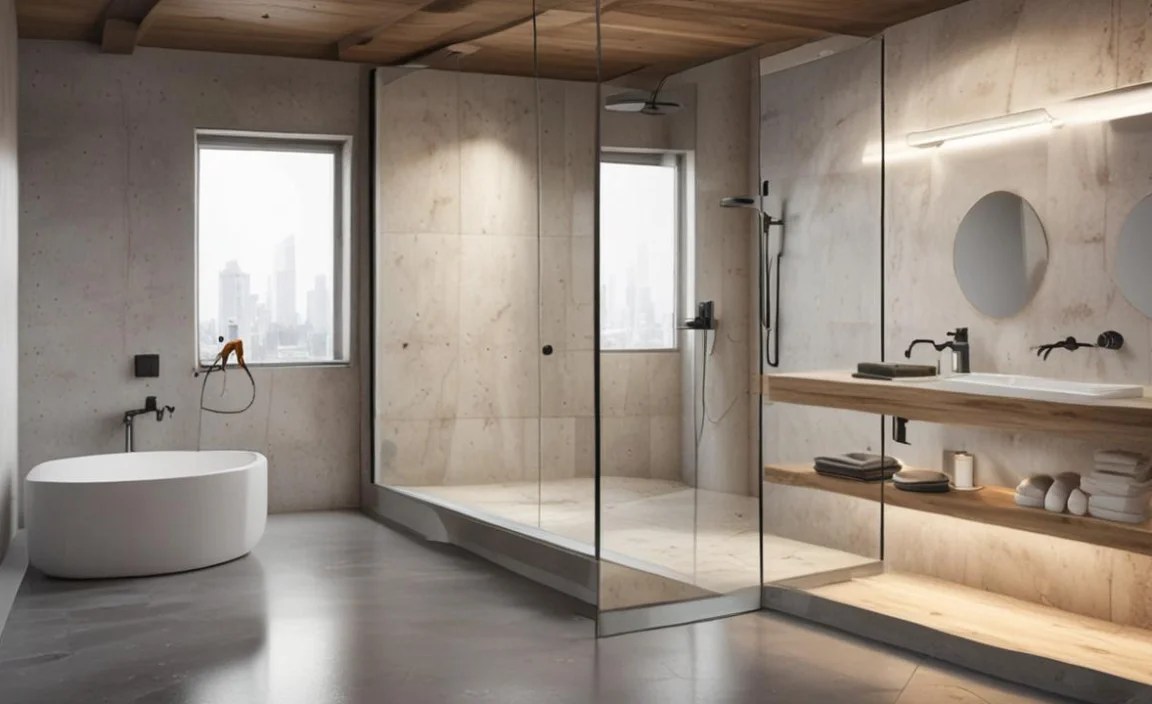
With the tiling and sealing complete, you can now install your chosen shower system. This includes mounting the shower head, controls, and connecting them to the water supply. Ensure all connections are secure and watertight.
Install any other accessories like shelves, grab bars, or a shower screen if you’ve opted for one. Remember to seal around any fittings that penetrate the tiled surface.
Common Mistakes to Avoid During Installation
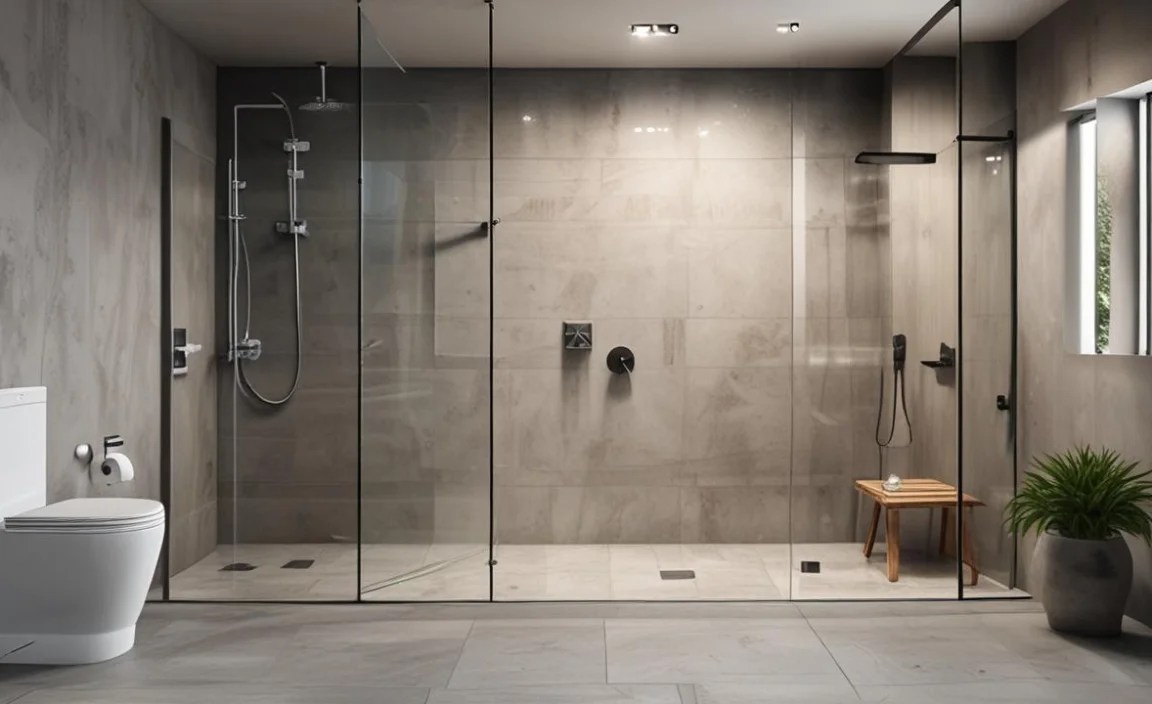
Even with the best intentions, easy-to-make mistakes can turn your dream wet room into a leaky nightmare. Here are a few pitfalls to steer clear of:
- Inadequate Waterproofing: Not applying membrane to sufficient height on walls, skipping corners, or using the wrong product.
- Incorrect Floor Slope: Water pooling on the floor because the slope isn’t steep enough or is in the wrong direction.
- Poorly Sealed Joints: The connection between the floor drain and the membrane, or wall-to-floor junctions, must be perfect.
- Using the Wrong Materials: Using standard plasterboard or vinyl-backed tiles not suited for constant moisture.
- Lack of Ventilation: Overlooking the need for a powerful extractor fan, leading to condensation and mold issues.
- Skipping Curing Times: Rushing the process and tiling over a membrane that hasn’t fully cured or sealed.
Frequently Asked Questions (FAQ)
How much does it cost to install a wet room?

The cost can vary significantly. Basic wet rooms might start from around £1,000 to £3,000 for DIY installation of materials, while professional installation can range from £3,000 to £10,000+ for a full renovation project, depending on the size, complexity, and quality of materials chosen.
Can I install a wet room on a wooden floor?

Yes, but it requires careful preparation. You must use a sturdy tiled-over shower former or a rigid substrate board like cement board or marine-grade plywood to prevent flexing. The entire area then needs robust waterproofing.
Do I need a professional to install a wet room?

While it’s possible for an experienced DIYer to install a wet room, it’s a high-risk job. Errors in waterproofing can lead to severe structural damage. For peace of mind and a guaranteed watertight finish, hiring a professional wet room specialist or a qualified bathroom installer is often recommended.
What kind of tiles are best for a wet room?
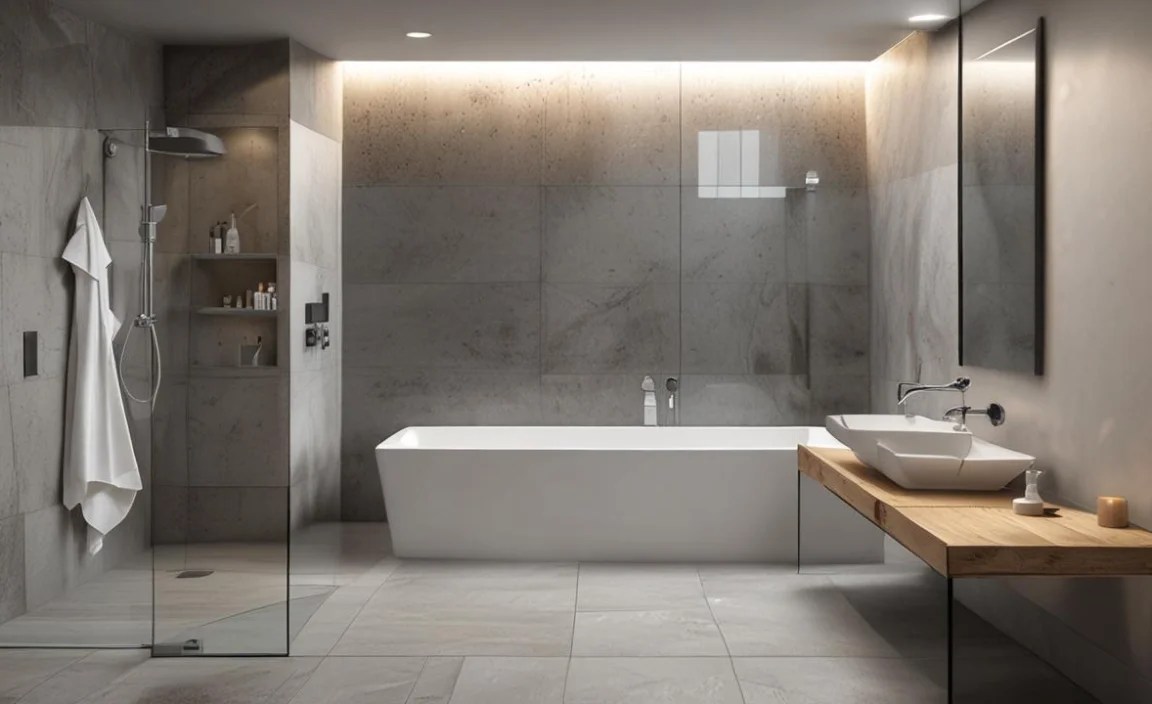
You need tiles with a good slip-resistance rating (look for R10, R11, or higher). Porcelain tiles are excellent as they are very dense, absorb little water, and are durable. Avoid highly polished or very smooth tiles. Small mosaic tiles can also work well, as they offer more grout lines, which can improve grip.
How long does a wet room installation take?

This depends on whether you’re doing it yourself or hiring professionals, and the scope of the work. A simple wet room installation could take 3-7 days. If it involves structural changes, plumbing rerouting, or complete bathroom refurbishment, it could take several weeks.
What is the minimum slope required for a wet room floor?

The general recommendation for effective drainage is a slope of between 1:80 and 1:100. This means for every 80cm or 100cm of floor length, there should be a 1cm drop towards the drain.
Is a wet room always completely open or can it have a screen?
A wet room can be fully open, or you can opt for a frameless glass screen. The screen doesn’t need to be fully enclosed; it’s primarily there to direct water spray and keep the rest of the bathroom drier, rather than forming a complete barrier.
Conclusion
Creating a wet room is a rewarding project that can bring a touch of luxury and incredible functionality to your home. While it demands precision, particularly in its waterproofing and drainage stages, by understanding the essential components and following a methodical step-by-step approach, you can achieve a professional-quality result. Remember, thorough planning, selecting the right materials, and meticulous execution are your keys to success. Invest the time to prepare properly, and you’ll be rewarded with a beautiful, durable, and watertight wet room that you can enjoy for years to come. Happy building!
