
Quick Summary: Master wet room construction terms like ‘former’, ‘waterproofing’, and ‘drainage’ with this beginner’s guide to essential jargon, ensuring a safe, leak-free, and beautiful waterproof bathroom.
Building a wet room can feel like stepping into a new language, especially with all the specialized terms construction pros use. It’s easy to get lost in words like ‘former’ or ‘waterproofing membrane’. But don’t worry! This guide is here to demystify that jargon. We’ll break down the essential terms so you can confidently talk about your project, understand quotes, and ensure everything is done right. Get ready to understand your wet room like an expert, even if you’re a DIY beginner. Next, we’ll dive into the key components and their meanings.
Understanding Wet Room Basics: Why the Jargon?
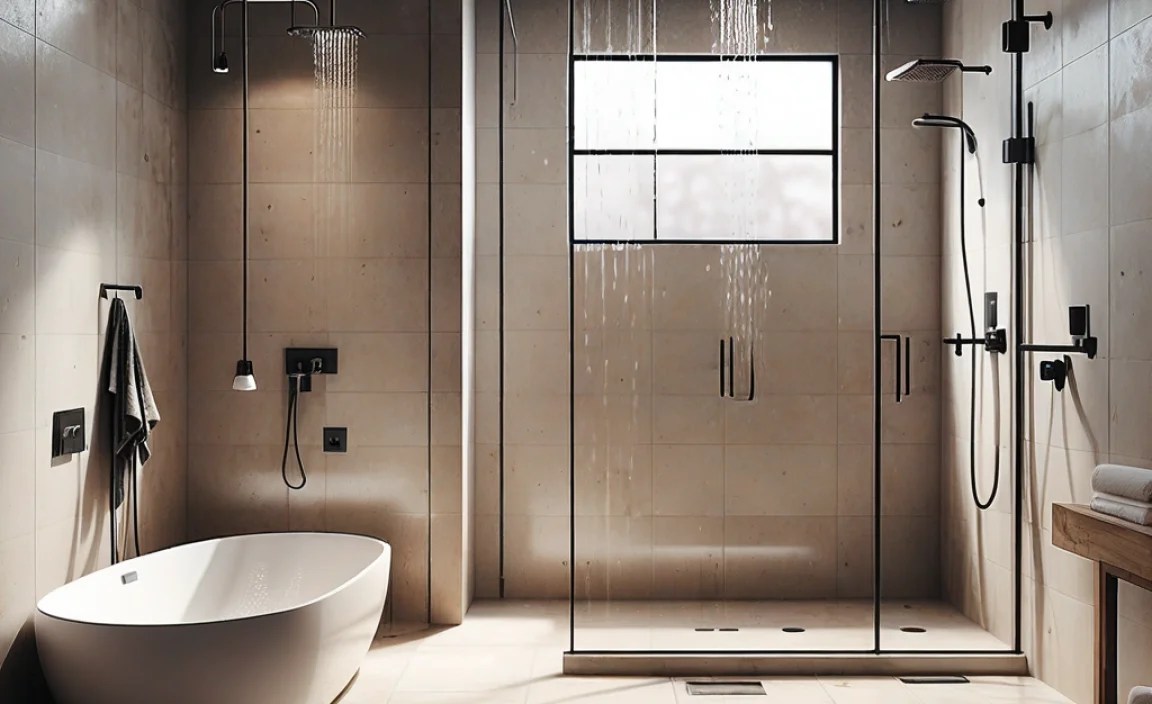
Wet rooms are becoming incredibly popular for their sleek look and accessibility benefits. They’re essentially bathrooms where the entire space is designed to get wet, with a fully waterproofed enclosure. Because of this unique design, specific terms are used to describe the materials and processes that keep them leak-free and functional. Understanding this “wet room jargon” isn’t just about sounding knowledgeable; it’s crucial for safety, ensuring longevity, and avoiding costly mistakes.
When you’re discussing plans with a contractor, ordering materials, or even just watching a DIY tutorial, knowing these terms will help you communicate effectively. It ensures everyone is on the same page about what needs to be done and how. This guide will cover everything from the foundational elements to the finishing touches, making the process much clearer for you.
Key Wet Room Jargon You Need to Know

Let’s break down the most important terms you’ll encounter when dealing with wet room construction. We’ll cover the essential components and what they mean for your project.
1. The Former (or Wet Room Tray)
This is the foundation of your actual shower area within the wet room. A former, also known as a wet room tray or former tray, is a pre-formed, watertight unit that sits on the subfloor. Its primary job is to collect and direct water towards the drain.
- Material: Formers are typically made from robust, waterproof materials like high-density polystyrene or other composite materials.
- Drainage Integration: They come with a built-in slope and a pre-cut hole for a drain. This slope is crucial! It ensures water runs away efficiently, preventing pooling.
- Types: You’ll find them in various shapes and sizes to fit different bathroom layouts and shower areas. Some are flat to be tiled over, others have a slight recess.
Think of the former as the waterproof backbone of your shower. Without a properly installed former, leaks are almost a certainty.
2. Waterproofing Membrane
This is the unsung hero of any wet room. A waterproofing membrane is a sheet or liquid-applied layer that creates a continuous, impermeable barrier against water. It’s applied to the subfloor, walls, and any area that could be exposed to moisture.
- Purpose: It prevents water from seeping through tiles, grout, and into the building structure, which could cause serious damage like rot and mold.
- Application: Membranes can be sheet materials (like chlorinated polyethylene or rubber) that are bonded together, or liquid-applied coatings that cure to form a seamless skin.
- Importance: The entire wet room area, even outside the immediate shower zone, often requires waterproofing to a certain height, especially on walls.
Reputable sources like the This Old House guide on shower waterproofing highlight the critical role these membranes play in preventing long-term damage.
3. Drainage
This refers to the system that removes water from your wet room. In a wet room, proper drainage is paramount, and it’s often more sophisticated than in a standard bathroom.
- Gullies/Channels: These are linear drainage channels, often installed flush with the floor, that collect water and direct it to a waste pipe. They are very common in wet rooms for a sleek, modern look.
- Floor Drains (Traps): This is the point where water leaves the former or the tiled floor and enters the waste pipe system. Wet room drains are specifically designed for high water flow and often include traps to prevent sewer gases from entering the room.
- Slope: As mentioned with formers, a gentle slope (usually 1:40 or 2.5 cm per meter) is essential for water to drain away effectively. This slope needs to be present in screed or created by the former.
When choosing a drain, consider flow rate and ease of cleaning. Some modern drains are designed with hair traps to make maintenance much simpler.
4. Screed
Screed is a mixture of sand, cement, and water, often with additives, used to create a level, smooth surface. In wet room construction, it’s frequently used to establish the necessary drainage slope before the waterproofing membrane is applied.
- Purpose: It forms the base for your tiles and ensures the correct gradient towards the drain.
- Types: You might hear about ‘bonded screed’ (applied to a strong base), ‘unbonded screed’ (laid on a separating layer), or ‘floating screed’ (laid on an insulating layer). For wet rooms, a bonded or floating screed is common.
- Drying Time: Screed needs adequate time to dry and cure before waterproofing and tiling can begin, which is a crucial factor in project timelines.
5. Tanking
This is a more general term that encompasses the entire process of making an area waterproof. It involves applying waterproofing membranes and sealants to all surfaces that will be exposed to water.
- Scope: Tanking in a wet room goes beyond just the shower area. It typically covers the entire bathroom floor and the lower sections of the walls to create a complete waterproof enclosure.
- Materials: This can involve liquid membranes, sheet membranes, or specific tanking tapes used at joints and corners for extra security.
6. Falls
In construction, “falls” refer to the slope or gradient created in a floor or surface to ensure water drains away properly. You’ll hear this term frequently when discussing drainage slopes.
- Requirement: As mentioned, a minimum fall of 1:40 (about 2.5 cm per meter or 1 inch per yard) is standard for wet room floors and showers to prevent water from standing. Sometimes, a slightly steeper fall might be incorporated for faster drainage.
- Achieved by: Falls can be created using the shaping of a wet room former, by applying a sloped screed mix, or by using specially designed tapered insulation boards.
7. Grout and Sealant
While not exclusive to wet rooms, their role is critical. Grout fills the gaps between tiles, and sealant (often silicone) is used at edges, corners, and where tiles meet fixtures.
- Grout in Wet Rooms: Use waterproof and mould-resistant grout. Unglazed or porous grout can absorb water, leading to issues even with a good membrane.
- Sealant in Wet Rooms: High-quality, flexible, mould-resistant silicone sealant is essential for sealing expansion joints and edges. It creates a flexible watertight seal that can accommodate slight movements.
8. Ventilation
Crucial for any bathroom, but especially a wet room where humidity levels can rise quickly. Good ventilation removes moist air, preventing condensation, mold growth, and structural damage.
- Types: This can range from simple extractor fans to more complex mechanical ventilation systems like Positive Input Ventilation (PIV) or Mechanical Ventilation with Heat Recovery (MVHR).
- Regulations: Building regulations often specify ventilation requirements, particularly regarding air changes per hour, to ensure a healthy indoor environment. You can find more information on ventilation requirements from official sources like the UK Government’s Planning Portal (for UK readers, adjust for your local authority if elsewhere).
Materials and Components Glossary
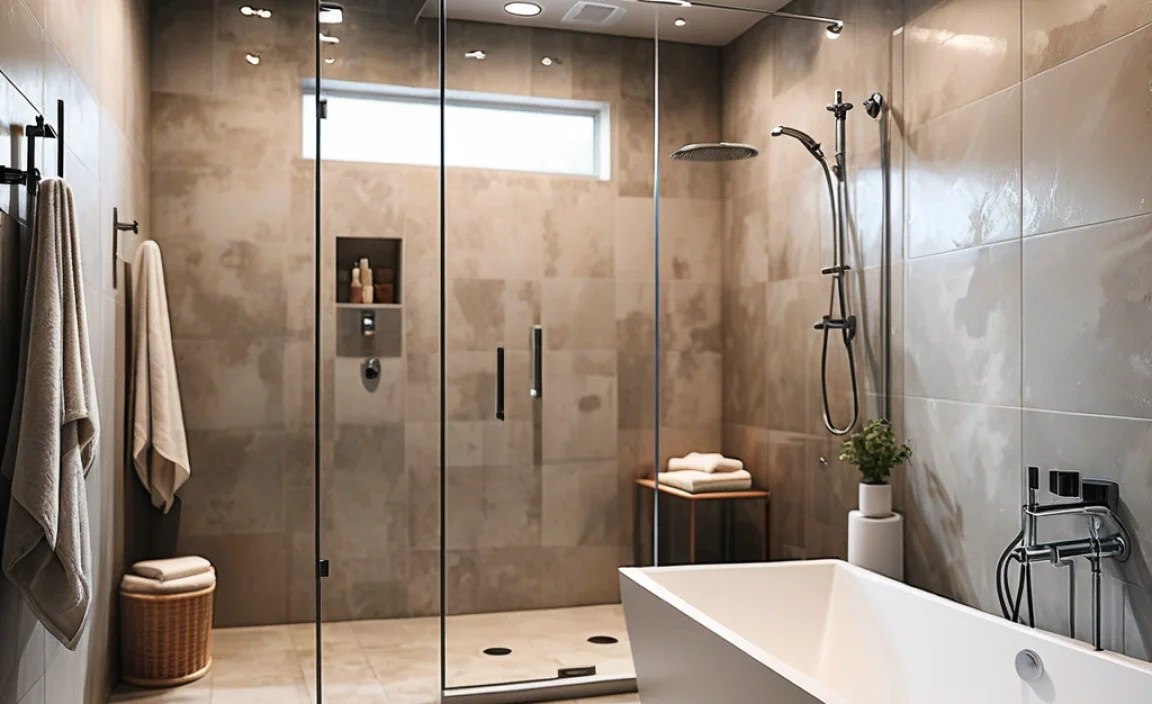
Beyond the processes and concepts, understanding the specific materials used in wet room construction is also key. Here’s a breakdown of common terms:
| Term | Meaning | Importance in Wet Rooms |
|---|---|---|
| Waterproof Adhesives | Specialized glues designed to bond tiles or membranes without degrading when exposed to moisture. | Essential for securing tiles and membranes in a wet environment. Prevents tiles from detaching and membranes from delaminating. |
| Aquapanel/Cement Board | Rigid panels made from cement, often used as a tile backing. They are highly resistant to moisture and mould. | Provides a stable, water-resistant substrate for tiling, particularly on walls and floors, before waterproofing membranes are applied. |
| Underlayment | A layer applied between the subfloor and the finished flooring (in this case, the membrane/screed). | Can provide thermal insulation, soundproofing, or a stable base for screeding. |
| Backer Board | Similar to cement board, these are rigid boards designed to be tiled over. | Offers a stable, waterproof surface for tiling, especially in shower areas. |
| Primers | Applied before membranes or screeds to improve adhesion and seal porous surfaces. | Crucial for ensuring membranes and screeds bond effectively, preventing delamination and improving the overall waterproofing integrity. |
| Sealant Corners & Tapes | Reinforced tapes and flexible corner pieces used at wall-to-wall and wall-to-floor junctions. | Strengthens these critical high-movement areas, creating a robust seal that the waterproofing membrane alone might not achieve. |
Tools of the Trade: What You Might Hear About

When discussing a wet room project, contractors might mention specific tools. Knowing these can help you understand the process better:
- Trowels: Various types (notched, straight) are used for applying screed, adhesives, and membranes.
- Spirit Level: Essential for checking and establishing the correct drainage falls.
- Screed Pump: For larger jobs, used to mix and pump screed into place efficiently.
- Tile Saw/Cutter: For precise cutting of tiles to fit the area.
- Caulking Gun: For applying silicone sealant.
Construction Process Jargon
Here’s a look at some terms describing the actual building steps:
1. Subfloor Preparation
This is the initial stage where the existing floor structure is assessed, cleaned, and made ready for building up the wet room system. Any old flooring or debris is removed.
2. Priming
Applying a primer to seal porous surfaces (like concrete or plywood) and improve adhesion for subsequent layers such as screed or waterproofing membranes.
3. Installing the Former
Positioning and fixing the wet room tray securely to the subfloor, ensuring it’s level and has the correct fall towards the drain outlet.
4. Applying Waterproofing Membrane
This is done painstakingly. Liquid membranes are painted on in multiple coats, ensuring complete coverage. Sheet membranes are laid and sealed at joints. All corners and edges are usually reinforced with tapes and sealants.
5. Installing Drainage
Connecting the drain assembly to the former/floor and ensuring it’s properly sealed to prevent leaks into the subfloor. This often involves working from underneath the floor joists if accessible.
6. Tiling
Once waterproofing is fully cured, tiles are laid using waterproof adhesives, paying attention to maintaining the floor falls and ensuring a neat finish.
7. Grouting and Sealing
Filling tile joints with mould-resistant grout and then applying silicone sealant to all necessary expansion joints and perimeters.
Common Pitfalls and Their Jargon Solutions
Even with the best intentions, mistakes can happen. Understanding the terms associated with these pitfalls can help you spot them:
- Pooling Water: This is often due to an insufficient “fall” or a poorly installed “former.”
- Leaks: Usually caused by a failure in the “waterproofing membrane” or inadequate “tanking” at critical junctions.
- Mold Growth: A sign of poor “ventilation” or moisture ingress through faulty “grout” or “sealant.”
- Cracking Tiles/Grout: Can happen if the subfloor is not stable, if there’s excessive movement, or if the “screed” hasn’t cured properly.
Addressing these issues requires understanding the specific component that failed. For instance, a persistent leak might require re-tanking a specific area or replacing a faulty drain seal.
Benefits of a Well-Constructed Wet Room
Understanding the jargon isn’t just academic; it leads to a better result:
- Enhanced Accessibility: No raised thresholds make it ideal for all ages and mobility levels.
- Space-Saving Design: Can make smaller bathrooms feel more open.
- Modern Aesthetics: Offers a sleek, minimalist look.
- Ease of Cleaning: Fewer nooks and crannies for dirt to hide.
- Durability: When built correctly with proper materials and techniques, a wet room is incredibly long-lasting.
When to Call a Professional
While DIY is rewarding, some aspects of wet room construction are best left to the experts. If you encounter terms or processes that feel overwhelming, or if you’re dealing with complex plumbing or structural issues, don’t hesitate to consult a qualified professional. This is especially true for ensuring:
- Correct “fall” on the floor.
- Proper installation of the “waterproofing membrane.”
- Integration with existing plumbing and drainage systems.
- Compliance with local building codes.
You can often find recommended professionals through trade associations or reliable local directories.
Frequently Asked Questions (FAQs)
What is the most important part of a wet room?
The most critical element is a flawless waterproofing system, comprising a properly installed former, continuous waterproofing membrane, and correct drainage with adequate falls. This ensures no water escapes into the building structure.
Do I need to waterproof the whole bathroom in a wet room?
Yes, generally you need to waterproof the entire floor and at least the lower section of the walls (often up to 1.5-2 meters) within the wet room area. This is part of the comprehensive tanking process to prevent moisture damage.
What does “fall” mean in wet room construction?
“Falls” refer to the slope or gradient created in the floor (typically 1:40 or 2.5 cm per meter) that directs water efficiently towards the drain. It’s essential to prevent water pooling.
Can I tile directly over a wet room former?
It depends. Some formers are designed to be tiled directly over, while others are designed to be set into a screed or have tiles laid directly onto them after a specific preparation. Always follow the manufacturer’s installation guide for the specific former.
How do I choose a wet room drain?
Consider the flow rate (how quickly it can drain water), the style (linear channel or point drain), and the ease of maintenance (like a removable hair trap). Ensure it’s designed for use with your chosen waterproofing system or former.
What kind of grout and sealant should I use?
You must use waterproof, mould-resistant grout and high-quality, flexible, mould-resistant silicone sealant. These are vital for maintaining the integrity of the tiled surface and preventing moisture ingress.
Is a wet room suitable for hardwood floors?
No. Hardwood floors are not suitable for wet rooms. The constant exposure to moisture would cause them to warp, swell, and degrade rapidly. Tiles are the standard and most appropriate finish.
Conclusion
Navigating the jargon of wet room construction might seem daunting at first, but by understanding terms like former, waterproofing membrane, drainage, falls, and tanking, you’re already well on your way to feeling confident. This guide has aimed to demystify these essential phrases, empowering you to communicate clearly, make informed decisions, and supervise your project effectively. Remember, a well-built wet room is a
