
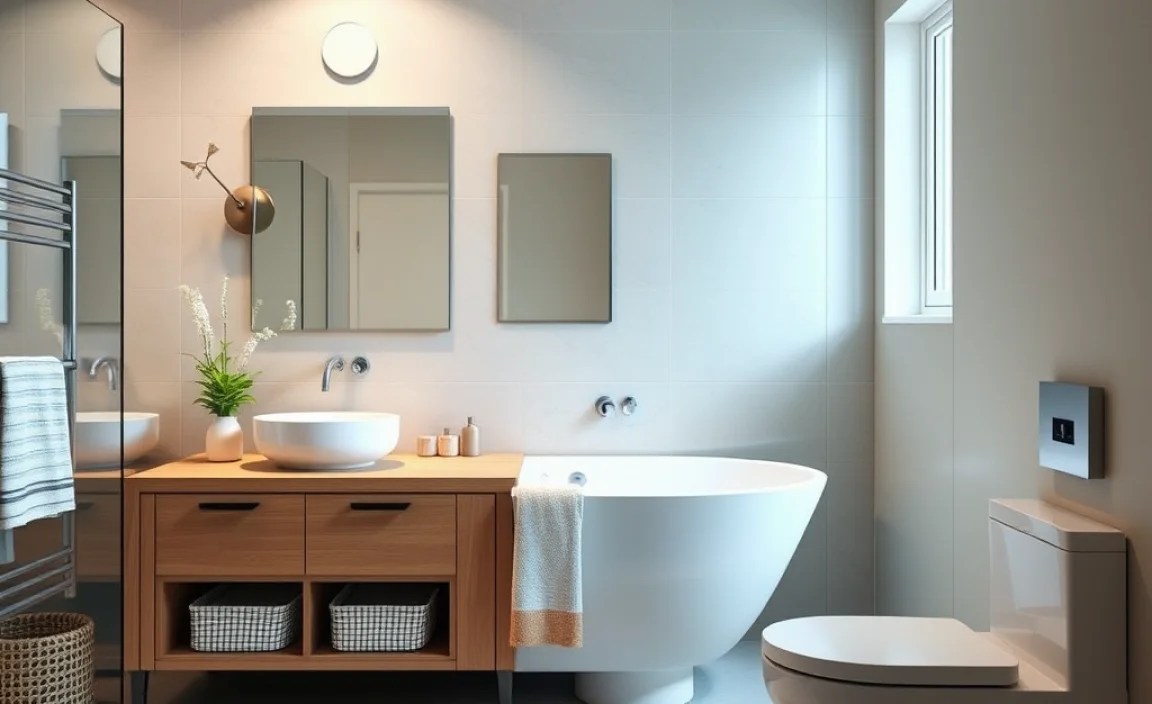
Understanding bathroom layout options is essential for maximizing space, functionality, and aesthetics. This guide breaks down standard layouts versus creative alternatives, helping you choose the perfect setup for your home, big or small, ensuring comfort and ease of use for everyone.
Ever walked into a bathroom and felt cramped, or wished there was just a little more elbow room? You’re not alone! The way your bathroom is laid out – where the sink, toilet, and shower are placed – makes a huge difference. It’s like arranging furniture in a small living room; a good layout makes everything feel bigger and work better. Sometimes, the standard way of doing things just doesn’t fit our needs or our space. But don’t worry, there are smart ways to arrange your bathroom that can be both practical and stylish. This guide will help you explore the best layout options and alternatives, so you can create a bathroom that feels just right for you and your family.
Understanding Your Bathroom’s Blueprint: Standard Layouts Explained

When we talk about bathroom layouts, we’re essentially discussing the arrangement of its core fixtures: the toilet, sink (vanity), and shower or bathtub. These aren’t just random placements; they often follow tried-and-true designs that work well in most spaces. Knowing these standard layouts is your first step to understanding what’s possible and what might need a creative tweak.
The Classic One-Wall Layout
This is the simplest and most space-efficient layout. All your fixtures are lined up along a single wall. It’s often found in smaller bathrooms, powder rooms, or apartments where space is at a premium. Think of it like a galley kitchen, but for your bathroom.
- Pros: Excellent for narrow spaces, simple plumbing, cost-effective to install.
- Cons: Can feel a bit linear, limited counter space, potential for traffic jams if multiple people need to use it at once.
The Popular L-Shape Layout
This layout uses two adjacent walls, creating an “L” shape. Typically, the sink and vanity might be on one wall, and the toilet and shower/tub combination on the other. This often allows for a bit more room to maneuver than a one-wall setup.
- Pros: Better flow and separation of fixtures, can accommodate slightly larger vanities, good balance of space and functionality.
- Cons: Requires more wall space than a one-wall layout, might not be ideal for very tight corners.
The Efficient Pocket Layout
Similar to the L-shape but often emphasizing maximizing square footage, the pocket layout strategically places fixtures to avoid hindering movement. You might see the toilet tucked away slightly, or the vanity placed to create a clear path to the shower.
- Pros: Maximizes usable space and perceived openness, good for maximizing room for a larger shower or tub.
- Cons: Can sometimes feel a little compartmentalized if not planned carefully.
The Spacious Two-Wall (Galley) Layout
This layout places fixtures along two parallel walls, much like a kitchen galley. It’s common in longer, narrower bathrooms. You might have the vanity and toilet on one side, and the bath or shower on the opposite wall.
- Pros: Efficient use of long, narrow spaces, good separation of wet and dry areas, allows for generous vanity space.
- Cons: Can feel a bit like a hallway if not wide enough, may limit opportunities for natural light if windows are only on one end.
The Full Four-Wall Layout
This is the traditional arrangement where fixtures are spread across all four walls, or a combination that utilizes multiple walls to create distinct zones. This often allows for the most spacious feel and separate areas for the toilet, sink, and bathing.
- Pros: Offers the most space and separation, best for larger bathrooms, allows for luxurious features like double vanities or separate tubs and showers.
- Cons: Requires a larger room, can be more complex and costly to plumb.
Beyond the Basics: Exploring Bathroom Layout Alternatives
Standard layouts are great, but what if your bathroom is an unusual shape, or you have a specific need that a typical arrangement doesn’t meet? That’s where alternative layouts come in. They’re about thinking outside the box to make your bathroom work for you.
The Corner Savvy Layout
This is a clever way to use often-awkward corner spaces. A corner sink, toilet, or even a corner shower can free up valuable wall space and increase the sense of openness. This is particularly effective in smaller bathrooms or ones with angled walls.
- Pros: Maximizes space in rooms with challenging layouts, can make small bathrooms feel larger, creates visual interest.
- Cons: Corner fixtures might offer less usable space than standard ones, plumbing can sometimes be trickier.
The Open Concept Flow
This isn’t about no walls, but about creating a seamless flow between zones. Imagine a large vanity area with no obstructive cabinets, a walk-in shower with a clear glass door, and the toilet discreetly placed. The emphasis is on clear pathways and integrated design, making the room feel as expansive as possible.
- Pros: Creates a luxurious, spa-like feel, enhances the sense of space, modern and sleek aesthetic.
- Cons: Requires careful planning to ensure privacy for the toilet, may not be suitable for all homeowners or shared bathrooms.
The Wet Room Wonder
A wet room is a bathroom where the shower area isn’t enclosed by a separate cubicle but is instead integrated into the main room. The entire space is waterproofed, and a central drain is used. It’s a bold design choice that can be incredibly practical, especially for smaller spaces or for accessibility.
- Pros: Maximizes space by eliminating shower curtains or doors, ultra-modern and minimalist, excellent for accessibility needs (zero-threshold entry), easy to clean.
- Cons: Requires professional waterproofing and drainage installation, can be susceptible to water splashing if not designed carefully, potential for humidity issues if ventilation isn’t adequate. Consult resources like those from the CDC on safe water practices to ensure proper installation.
The Multi-Functional Space: Shower-Tub Combo Variations
While a shower-tub combo is standard, variations can change the feel. Imagine a deep soaking tub with a slim, modern shower overhead, or a spacious walk-in shower with a small, built-in bench that doubles as a seat. The key is how the elements are integrated.
- Pros: Versatile for different user needs (bathing children, quick showers), can be space-saving.
- Cons: Can be a compromise if you want both a large shower and a deep tub, cleaning within a combo unit can be challenging.
The Vanity-Centric Design
In this approach, the vanity is treated as the focal point. This could mean a double vanity in a modestly sized bathroom, or a very stylish, prominent single vanity. The toilet and shower are then arranged to complement, rather than compete with, the vanity area, creating a more furniture-like feel.
- Pros: Prioritizes aesthetics and user comfort at the vanity, can make the bathroom feel more like a dressing area.
- Cons: Might require compromises in shower or toilet space, can be more expensive if opting for high-end vanity units.
Essential Considerations When Planning Your Layout

Choosing the right layout isn’t just about where things can go, but where they should go to make your bathroom functional, safe, and comfortable. Several factors play a crucial role in this decision.
Space and Dimensions
This is the most obvious factor. Measure your bathroom meticulously. How long is it? How wide? Are there any awkward nooks or indentations? Knowing your exact dimensions is the first step to working within your limits. Tools like a measuring tape and a notepad are your best friends here. For complex spaces, creating a floor plan on paper or using an online tool can be incredibly helpful.
Plumbing and Electrical
Where are your existing water pipes and main drain located? Moving plumbing can be expensive and complex. Likewise, consider electrical outlets for lighting, fans, and appliances like hairdryers. A layout that works with your existing plumbing infrastructure will be significantly more budget-friendly.
Traffic Flow and Ergonomics
Think about how people will move through the bathroom. Is there enough space to open the door fully? Can you comfortably dry off after a shower without bumping into the toilet or vanity? Good ergonomics means that daily tasks, from brushing your teeth to using the toilet, are easy and comfortable. Aim for at least 24-30 inches of clear space in front of fixtures.
Natural Light and Ventilation
Where are your windows? Maximizing natural light can make even a small bathroom feel more open and inviting. Good ventilation, usually through an exhaust fan and an opening window, is crucial for preventing mold and mildew and keeping the air fresh. The EPA provides excellent resources on indoor air quality, which is vital for bathrooms.
Accessibility and Future Needs
Consider if the layout will work for people of all ages and abilities. This might mean wider doorways, grab bars, or a curbless shower. Planning for future needs, such as aging in place or accommodating family members with mobility challenges, is a smart long-term investment.
Aesthetics and Personal Style
Finally, what look are you going for? A sleek, modern spa? A cozy, traditional powder room? The layout directly impacts the overall feel and style of your bathroom. Choose a layout that supports your desired aesthetic. For inspiration, browse design magazines or online platforms like Pinterest.
Comparing Layouts: A Practical Decision Guide
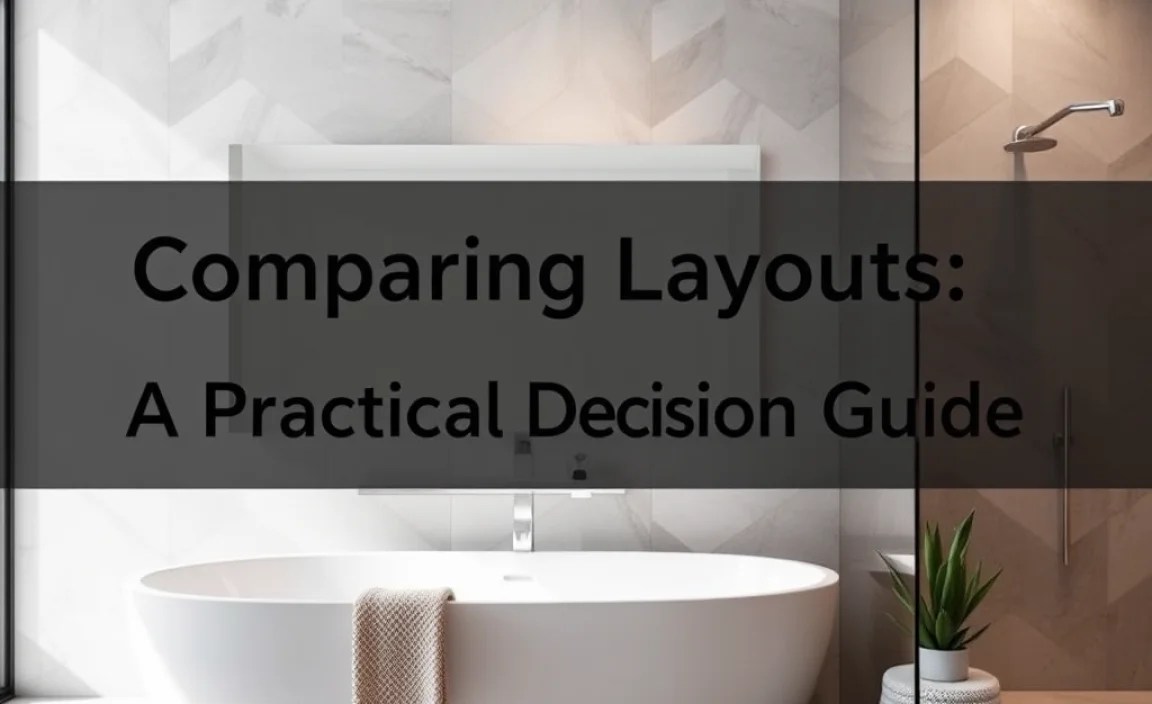
To help you weigh your options, let’s look at a comparative table. This will highlight key differences between a standard layout and some popular alternatives, focusing on factors that matter most to homeowners.
| Layout Type | Average Space Needed (sq ft) | Cost to Implement (relative) | Pros | Cons | Best For |
|---|---|---|---|---|---|
| One-Wall (Standard) | 30-50 | Low | Space-saving, simple plumbing. | Limited counter space, can feel cramped. | Small bathrooms, powder rooms. |
| L-Shape (Standard) | 50-70 | Medium | Good flow, better separation, more vanity space. | Requires corner space, can be tight if not planned. | Average-sized bathrooms. |
| Two-Wall / Galley (Standard) | 60-90 | Medium | Efficient for long, narrow rooms, good zoning. | Can feel like a hallway if too narrow. | Long, narrow bathrooms. |
| Wet Room (Alternative) | 40-60 (can feel larger) | High (due to waterproofing) | Maximizes space, modern, accessible, easy to clean. | Professional install required, potential for splashing. | Small bathrooms, accessible design, modern homes. |
| Corner Fixtures (Alternative) | 30-50 | Medium | Utilizes awkward spaces, frees up wall space. | Can reduce fixture size/usability, complex plumbing. | Bathrooms with challenging angles or small areas. |
Step-by-Step Guide: Planning Your New Bathroom Layout
Ready to tackle your bathroom layout? Follow these simple steps to make the process smooth and successful.
Step 1: Measure and Map It Out
Grab your measuring tape. Measure the length, width, and height of your bathroom. Note the location of windows, doors, and any existing plumbing hooks (where water comes in and drains out). Sketch a rough floor plan on paper, including all measurements. You want to create an accurate picture of your space.
Step 2: Identify Your Needs and Priorities
What’s most important to you? Do you need more counter space? A larger shower? Better accessibility? More storage? Make a list of your must-haves and nice-to-haves. Think about who uses the bathroom and how they use it. For instance, a family with young children might prioritize a bathtub over a walk-in shower.
Step 3: Explore Layout Options (Standard & Alternative)
Based on your measurements and priorities, start sketching different layout ideas. Use your paper floor plan and cut out simple shapes representing a toilet, sink, and shower/tub. Move them around. Consider standard layouts like one-wall or L-shape, and then explore alternatives like using corner fixtures or even a wet room concept if space genuinely allows. Don’t be afraid to try unusual arrangements.
Step 4: Consider Plumbing, Electrical, and Ventilation
Look at your existing plumbing. Can you arrange fixtures near existing pipes to save money? Where will you need new electrical outlets for lights or a fan? Ensure there’s adequate ventilation to prevent moisture buildup. If you’re unsure, consult a professional plumber or electrician at this stage. Websites like Homebuilding.co.uk often have guides on common plumbing considerations, but always verify with a local expert.
Step 5: Visualize the Flow and Functionality
Imagine yourself using the bathroom in each potential layout. Can you open the vanity drawers fully? Is there enough space to stand comfortably at the sink? Can two people easily pass each other if needed? Pay attention to practical details that make a big difference in day-to-day use.
Step 6: Factor in Budget and Complexity
Some layouts are more expensive than others, especially if they involve moving plumbing or electrical lines. Be realistic about your budget. A simpler remodel that works with existing infrastructure will likely be more affordable. Factor in the cost of fixtures, materials, and labor.
Step 7: Make Your Choice and Plan the Next Steps
Once you’ve settled on a layout that balances your needs, budget, and space, finalize your plan. You might want to create a more detailed drawing. If you’re doing the work yourself, start gathering tools and materials. If hiring professionals, get quotes and schedule the work. This is where your planning pays off!
Common Beginner Challenges and How to Overcome Them
When embarking on a bathroom layout project, beginners might run into a few common hurdles. Knowing these beforehand can help you navigate them with confidence.
- Underestimating Space: It’s easy to think a fixture will fit without truly visualizing the clearances. Always allow more space than you think you need for movement and door swings.
- Ignoring Plumbing Costs: Relocating plumbing is often the most expensive part of a bathroom renovation. Assess your existing setup and try to plan around it where possible.
- Poor Ventilation Planning: Failing to install adequate ventilation can lead to mold, mildew, and structural damage. Always include a good quality exhaust fan.
- Over-Complicating Small Spaces: Sometimes, the simplest layout is best for a small bathroom. Don’t try to cram too much in. Focus on functionality and clean lines.
- DIY Overwhelm: If a task feels too complex, like significant electrical work or intricate tiling, don’t hesitate to call a professional. It’s better to get it done right than to risk safety or costly mistakes.
- Not Considering Lighting from Diverse Sources: Beyond overhead lighting, think about task lighting at the vanity. This is crucial for functionality.
Frequently Asked Questions (FAQ)
Q1: What is the most important factor when choosing a bathroom layout?
The most important factor is balancing functionality for your needs with the physical constraints of your bathroom space. This includes how you’ll use the room daily, the available square footage, and your budget.
Q2: Can I put a toilet next to a shower?
Yes, you generally can, but you need to ensure there’s adequate clearance. Building codes often specify minimum distances between fixtures and walls. A standard toilet requires about 15 inches from the center of the bowl to any obstruction (like a vanity or shower wall) and about 30 inches of width. Check with local building codes for exact requirements.
Q3: How much space do I need for a walk-in shower?
A comfortable walk-in shower typically needs to be at least 30 inches wide, but 36-48 inches is much more comfortable. The length can vary, but at least 60 inches is ideal to allow for turning space and prevent water from splashing out. Curbless showers.
