
The essential design for the layout of a bidet in construction involves careful planning for plumbing connections (hot and cold water supply, drainage), electrical needs for powered models, adequate clearance around the fixture, and sufficient lighting. Proper placement ensures user comfort and functional integration within the bathroom space.
Thinking about adding a bidet to your bathroom during construction or a renovation? It’s a fantastic way to boost hygiene and comfort! Sometimes, planning where this new fixture goes can feel a bit tricky, leaving you wondering about pipes, space, and even where the electricity might come from. But don’t worry! We’ll walk through exactly how to set up the perfect bidet layout, making sure it’s functional, comfortable, and fits right into your bathroom’s design. Get ready to transform your bathroom experience with simple, clear steps that even a beginner can follow.
Why Bidet Placement Matters in Construction

During the construction phase, laying out a bidet isn’t just about finding a spot on the floor; it’s about establishing a foundation for convenience and proper function. Getting the placement right from the start means avoiding costly and messy rework later. It ensures that the bidet integrates seamlessly with your bathroom’s existing plumbing, electrical systems (if applicable), and overall flow. A well-planned bidet layout contributes to a more comfortable, hygienic, and user-friendly bathroom environment for years to come.
Understanding Bidet Types and Their Layout Needs
Before we dive into the construction layout, it’s crucial to understand the different types of bidets available. Each type has slightly different requirements for installation, which directly impacts their placement within your bathroom design.
- Standalone Bidets: These are the classic European-style bidets that look much like a low sink next to your toilet. They require dedicated hot and cold water supply lines and a separate drainpipe. Their placement is usually parallel or perpendicular to the toilet, allowing for easy access.
- Bidet Seats/Covers: These are the most popular modern options. They replace your existing toilet seat and connect to the toilet’s existing water supply. Some advanced models offer heated water and air dryers, which might require a nearby electrical outlet. Their layout is dictated by the toilet’s existing position.
- Bidet Attachments: These are the simplest and most budget-friendly. They fit underneath your existing toilet seat and usually tap into the toilet’s cold water supply. They require minimal layout consideration beyond ensuring space for the attachment itself.
- Integrated Bidet Toilets: These are toilets with a bidet function built directly into the fixture. They look just like a regular toilet but offer advanced bidet features. Their layout needs are similar to a standard toilet but may include electrical requirements for advanced models.
The choice of bidet will heavily influence the “layout of bidet in construction” decisions, so knowing your preference upfront is key.
Essential Plumbing Considerations for Bidet Layout
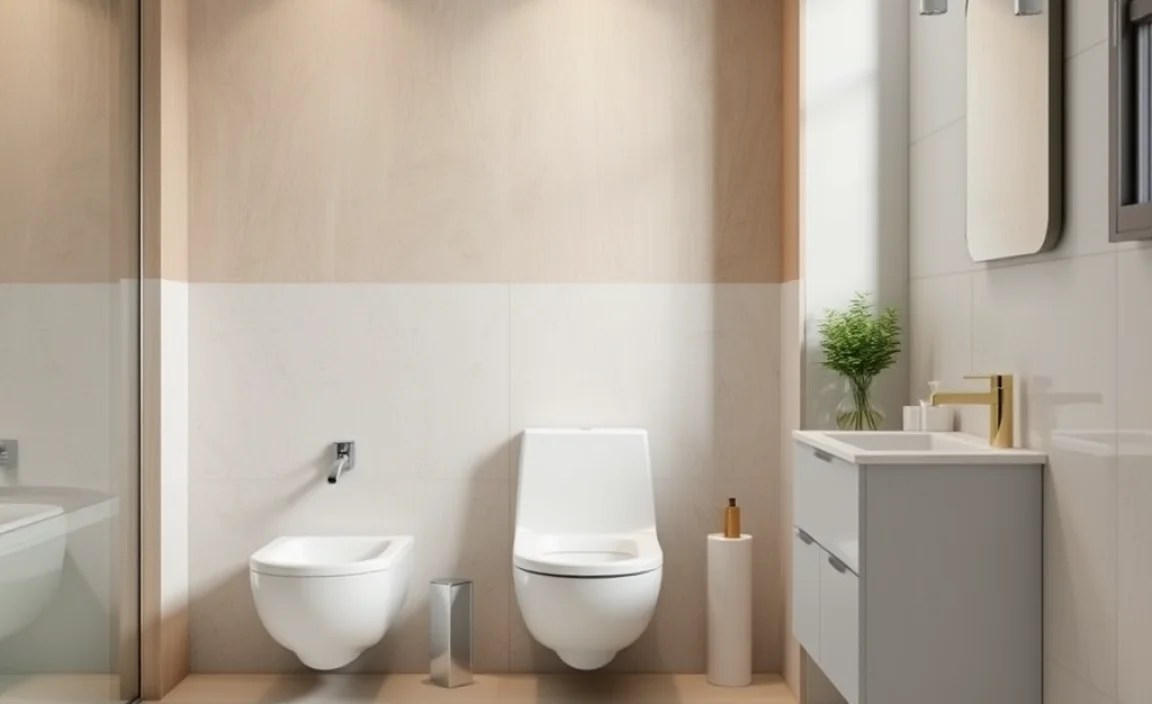
Plumbing is arguably the most critical aspect of any bidet installation during construction. Proper planning here ensures your bidet works efficiently and without leaks.
Water Supply Lines
Every bidet needs a water source. The type of bidet and your desired features will determine the complexity of the water supply setup.
- Cold Water Only: Basic bidet attachments and some bidet seats only require a connection to the toilet’s existing cold water shut-off valve. This is the simplest setup. You’ll need to ensure there’s clear access to this valve.
- Hot and Cold Water: Standalone bidets and advanced bidet seats that offer warm water spray require both hot and cold water lines. During construction, this means running supply pipes specifically for the bidet location from your main water lines. If placing next to the toilet, you might tee off the hot water line going to a nearby sink or shower. For dedicated standalone units, dedicated runs are essential.
Tip for Construction: It’s far easier and more cost-effective to run new supply lines before walls and flooring are finished. Consider using flexible PEX tubing, which is easier to route than traditional copper pipes.
Drainage Requirements
Proper drainage is vital to prevent water buildup and ensure hygiene. The requirements vary slightly by bidet type.
- Toilet-Integrated Bidets & Bidet Seats/Attachments: These systems drain directly into the toilet’s existing drain. No special drain planning is usually required beyond ensuring the toilet is correctly plumbed for drainage to the main sewer line.
- Standalone Bidets: These fixtures require their own dedicated drain connection to the waste pipe. Similar to a sink or toilet, this drain must meet local plumbing codes for slope and venting to ensure proper waste removal and prevent sewer gas from entering the bathroom.
Construction Note: When planning the floor layout, remember that standalone bidets will need a floor drain connection that aligns with the fixture’s position and the nearest waste pipe. Building codes will dictate the type and height of this connection.
Electrical Needs for Modern Bidets
Many modern bidets, especially bidet seats and integrated units, offer features that require electricity. Planning for this during construction can save a lot of hassle later.
Powering Your Bidet
Features like heated water, heated seats, and air dryers all need a power source. For these types of bidets, you’ll need a Ground Fault Circuit Interrupter (GFCI) outlet.
- GFCI Outlet: These outlets are crucial in bathrooms for safety, as they quickly shut off power if they detect an electrical fault. Your bidet outlet must be a GFCI outlet.
- Proximity: The outlet should be conveniently located near the toilet, typically within a few feet, but not so close that it poses a splash hazard. Building codes often specify minimum distances for electrical outlets from water sources. Check with your local building department or a qualified electrician.
- Dedicated Circuit (Recommended): While not always mandatory for a single bidet, it’s good practice during construction to consider running the bidet outlet on its own circuit or sharing one with minimal other high-draw bathroom appliances to prevent overloading.
During Construction Advantage: Installing an electrical outlet is significantly easier and much cleaner while the walls are open. You can have an electrician run the necessary wiring directly to the ideal spot for your bidet. Trying to add an outlet later often involves surface-mounted conduits or cutting into finished walls.
You can find more information on electrical safety in wet locations from the U.S. Consumer Product Safety Commission (CPSC).
Spatial Planning and Clearance: The User Experience
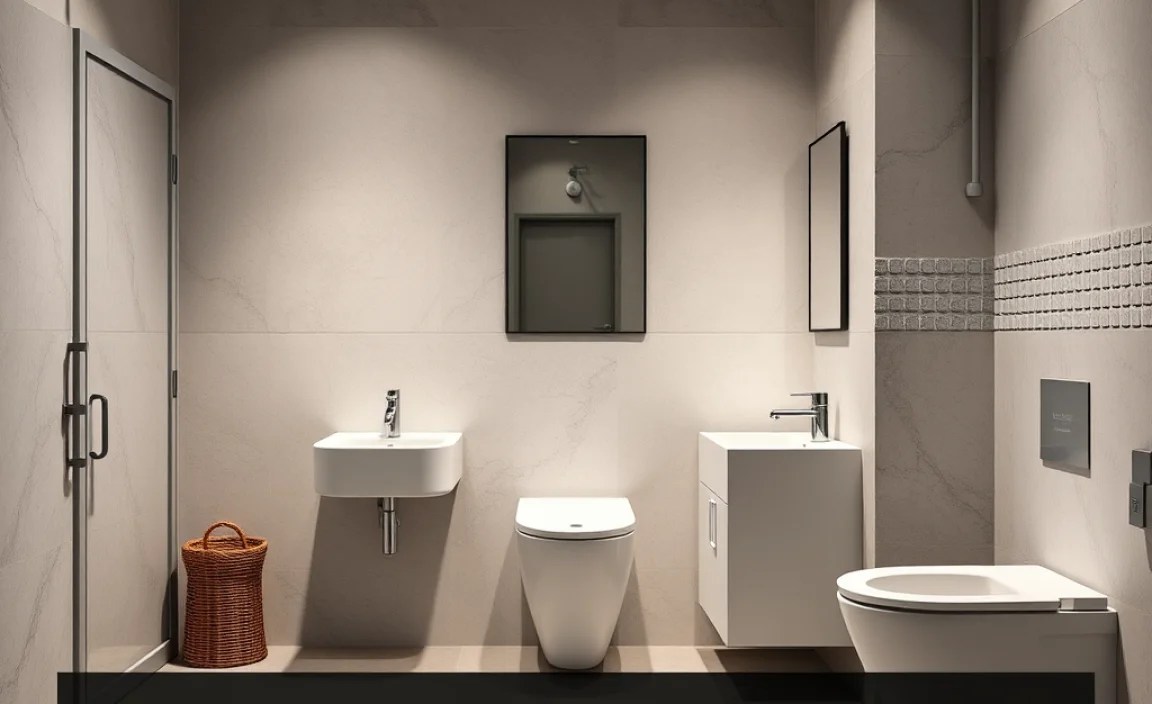
Beyond plumbing and electricity, the physical space around the bidet is key to its usability and your bathroom’s overall comfort.
Adequate Clearance
The “layout of bidet in construction” must prioritize user comfort and accessibility. This means ensuring enough space to use the bidet comfortably and to allow for easy cleaning around the fixture.
- Toilet Clearance: If the bidet is part of a bidet seat or attachment, it’s attached to your toilet. Ensure there’s enough legroom between the toilet and any adjacent vanity or wall. A common recommendation is at least 15 inches (38 cm) from the center of the toilet to any side obstruction and 21 inches (53 cm) in front of the toilet for comfortable use.
- Standalone Bidet Clearance: For standalone bidets, consider the space needed to stand or sit comfortably in front of it. Allow at least 24 inches (61 cm) of clear space in front of the fixture. Ensure it doesn’t obstruct the primary path of movement through the bathroom.
- Door Swing: Make sure the bidet’s location doesn’t interfere with the bathroom door’s swing.
Accessibility
Consider accessibility for all users, including those with mobility challenges. Wider clearances and easy-to-reach controls are important. For integrated bidets or high-end seats, controls can often be remote, which can add flexibility to placement, as long as the electrical is nearby.
Lighting Requirements
Good lighting is essential for any bathroom fixture, and bidets are no exception. Proper lighting enhances both functionality and aesthetics.
Task and Ambient Lighting
- Task Lighting: Direct light over or near the bidet area can be very helpful, especially for cleaning and precise use. This could be integrated into vanity lighting or a dedicated sconce.
- Ambient Lighting: General room lighting should be sufficient to navigate the bathroom safely.
Construction Tip: When planning your lighting, consider dimmable options for added ambiance and adjustability.
Step-by-Step Construction Layout Guide
Here’s a simplified guide to incorporating a bidet into your construction plans. This assumes you’re building or significantly renovating.
Step 1: Choose Your Bidet Type
Decide which bidet you want. This will dictate your plumbing and electrical needs. Refer to “Understanding Bidet Types” above.
Step 2: Select the Bidet’s Location
Determine the ideal spot in your bathroom layout. Consider:
- Proximity to the toilet (if using a seat or attachment).
- Access to existing or planned plumbing lines.
- Distance to a GFCI electrical outlet (if needed).
- Adequate clearance for use and cleaning.
- Flow of traffic in the bathroom.
- Aesthetics – does it fit the overall bathroom design?
Step 3: Plan Plumbing Connections
For Bidet Seats/Attachments:
- Locate the toilet’s cold water shut-off valve.
- If warm water is desired, plan to run a hot water line from the nearest source. This often involves tapping into the hot water supply for a nearby sink or shower.
For Standalone Bidets:
- Mark the precise location for the floor drain connection.
- Plan the route for both hot and cold water supply lines to this specific fixture. This might require running new pipes within the wall or under the floor.
Important: Consult with a licensed plumber at this stage. They will ensure all connections meet local building codes and are installed correctly.
Step 4: Plan Electrical Connections (If Applicable)
For Electric Bidets:
- Identify a suitable location for a GFCI outlet within safe proximity to the bidet.
- Coordinate with an electrician to run the necessary wiring.
Step 5: Rough-in Plumbing and Electrical
During the rough-in phase of construction (before drywall is installed), have your plumber and electrician install all the necessary pipes and wires according to your plan.
Step 6: Install Fixtures and Finish
Once the walls and flooring are complete, finish the plumbing connections and install the bidet, toilet, or toilet seat.
Bidet Installation Layout: A Comparison Table
To help visualize the differences, here’s a table comparing the typical layout considerations for various bidet types during construction.
| Bidet Type | Plumb. – Water Supply | Plumb. – Drainage | Electrical | Spatial Needs | Typical Installation Phase |
|---|---|---|---|---|---|
| Bidet Attachment | Taps into toilet’s cold water supply. Option to add hot water line. | Drains through toilet. | None required. | Minimal extra space needed around toilet. | Finishing (after drywall). |
| Bidet Seat (Basic) | Taps into toilet’s cold water supply. | Drains through toilet. | None required. | Minimal extra space needed around toilet. | Finishing (after drywall). |
| Bidet Seat (Electric) | Taps into toilet’s cold water supply. Option to add hot water line. | Drains through toilet. | GFCI outlet needed. | Minimal extra space needed around toilet; GFCI outlet proximity. | Rough-in Electrical; Finishing. |
| Standalone Bidet | Dedicated hot & cold water supply lines. | Dedicated floor drain connection. | None required (unless it’s a non-water washing model, which is rare). | Requires dedicated space equivalent to a small sink; clearance for use. | Rough-in Plumbing; Finishing. |
| Integrated Bidet Toilet | Connects to toilet’s cold water supply. May require hot water tap. | Drains through toilet. | GFCI outlet needed for most models. | Same as standard toilet, plus GFCI outlet proximity. | Rough-in Electrical; Finishing. |
This table highlights how the “layout of bidet in construction” simplifies significantly for simpler models and requires more advanced planning for standalone or feature-rich electric options.
Common Layout Mistakes to Avoid
Even with careful planning, beginners can sometimes overlook crucial details. Here are common mistakes to steer clear of when planning the layout of a bidet in construction:
- Insufficient Clearance: Not leaving enough space around the bidet for comfortable use or for cleaning.
- Ignoring Electrical Needs: Forgoing an electrical outlet for an electric bidet, requiring costly retrofitting later.
- Improper Plumbing Runs: Incorrect sizing or routing of water supply or drain lines, leading to performance issues or leaks.
- Ignoring Local Codes: Failing to adhere to plumbing and electrical codes, which can lead to failed inspections and safety hazards.
- Placing Outlets Too Close: Installing electrical outlets too near water sources, creating a safety risk.
- Not Considering Future Needs: Opting for a basic cold-water-only setup when a warm-water option might be desired later, which complicates upgrades.
- Overlooking Lighting: Not ensuring adequate lighting in the bidet area for functionality.
Proactive planning and professional consultation are your best defenses against these common errors.
Integrating Bidet Layout with Bathroom Design
The “layout of bidet in construction” isn’t just about function; it’s also about how it looks and feels in your bathroom.
Aesthetics and Flow
Consider how the bidet fits with your overall bathroom style. For integrated units or sleek bidet seats, they often blend in seamlessly. Standalone bidets can make a statement but require more space, so ensure they don’t disrupt the bathroom’s visual flow or make it feel cramped.
Tile and Flooring
When planning floor layout, especially for standalone bidets, think about the tile and flooring. Ensure that the drain connection is positioned to allow for a clean tile installation around it. For bidet seats and attachments, the placement simply needs to be compatible with the toilet’s position on the floor.
Wall and Vanity Placement
The placement of walls and vanity cabinets directly impacts bidet usability. Ensure that walls don’t impede access and that vanities are positioned to allow for comfortable legroom and operation of the bidet controls. For electric bidets, the vanity can sometimes be used to discreetly hide the electrical outlet.
This integrated approach ensures that your bidet isn’t just a functional addition but a harmonious part of your beautiful, well-designed bathroom. You can find design inspiration and tips on bathroom layouts from resources like the National Association of Home Builders (NAHB). While Architectural Graphic Standards is a professional resource, its principles of good design and space planning are invaluable.
Frequently Asked Questions (FAQ)
Q1: Do I need a separate drain for an electric bidet seat?
No, most electric bidet seats connect to your existing toilet’s plumbing, so they drain through the toilet itself. You only need plumbing for the toilet’s original drain.
Q2: How much space do I need around a bidet?
For toilet-mounted bidets (seats/attachments), ensure at least 15 inches from the toilet center to side walls/vanities and 21 inches in front. Standalone bidets need about 24 inches of clear space in front.
Q3: Can I add a bidet if I have an older home with limited plumbing?
Yes, a basic bidet attachment or a cold-water-only bidet seat is often easy to install with minimal plumbing changes, as they usually tap into the toilet’s existing water supply. Adding warm water or a standalone bidet will require more significant plumbing work.
