
Installing an exhaust fan correctly is surprisingly simple with the right guidance. This guide will walk beginners through the essential layout considerations, ensuring safe, efficient ventilation for your kitchen or bathroom. We’ll cover placement, airflow, and basic wiring to get you started with confidence.
Proper ventilation in your home is key to a comfortable and healthy living space. It helps remove moisture, odors, and pollutants, preventing issues like mold and mildew. But figuring out the best place to put an exhaust fan can seem like a puzzle. Don’t worry! This guide is designed just for you, breaking down the “layout of exhaust fan for beginners” into easy steps. We’ll make sure you understand where to place your fan for maximum effectiveness and why it matters. Get ready to learn how to improve your home’s air quality with a well-placed exhaust fan.
Why Proper Ventilation Matters
Imagine a steamy bathroom after a hot shower or a kitchen filled with cooking smells. Without an exhaust fan, that moisture and those odors linger. This can lead to bigger problems down the road.
Moisture trapped in the air is a prime breeding ground for mold and mildew. These tiny organisms can cause health issues, damage your paint and drywall, and create an unpleasant musty smell. In the kitchen, lingering grease particles and cooking fumes can settle on surfaces and reduce air quality.
An exhaust fan acts like your home’s lungs, breathing out stale, humid, or smelly air and bringing in fresh air. Getting the layout right is the first and most crucial step to making sure it does its job effectively.
Understanding Exhaust Fan Circuitry and Placement

Before we even think about cutting holes, let’s talk about the “brains” and “brawn” of the operation: where the fan will go and how it connects.
Placement is Key
The goal of an exhaust fan is to pull air directly from the source of moisture or odor and vent it outside. This means its location is paramount.
- Bathrooms: The fan should be located as close as possible to the shower or bathtub. This captures the steam right where it’s generated. Think directly overhead or slightly towards the primary steam source.
- Kitchens: While a range hood over your stovetop is the most common kitchen ventilation, if you’re installing a general exhaust fan in a kitchen, place it near the cooking area or where cooking odors tend to gather.
Airflow Paths
An exhaust fan doesn’t work in isolation. It needs air to push out. This means you need a way for fresh air to enter the room to replace the air being exhausted. This is called ‘make-up air’.
In most modern, well-sealed homes, simply opening a door or window slightly can provide enough make-up air. For more powerful fans or very tightly sealed homes, you might need a dedicated make-up air vent, but for most beginners, the assumption is that some natural infiltration will occur.
The path of the air should be clear:
- Air enters the room from hallways, under doors, or windows.
- The exhaust fan pulls this air into its housing.
- The fan pushes the air through ductwork.
- Finally, the air is expelled outside through a vent.
This creates a continuous cycle of fresh air circulation.
Choosing the Right Fan Type
There are a few main types of exhaust fans, and understanding them helps with your layout planning.
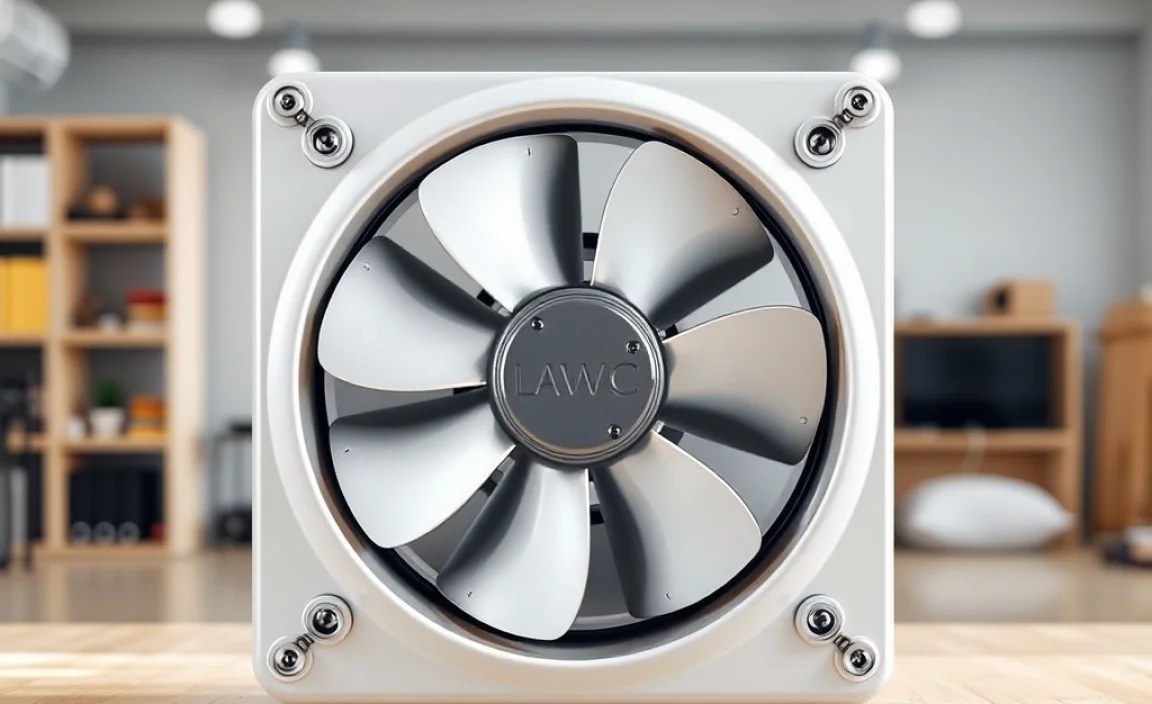
- Ceiling-Mounted Fans: These are the most common for bathrooms and are often integrated into light fixtures. They are ducted through the ceiling.
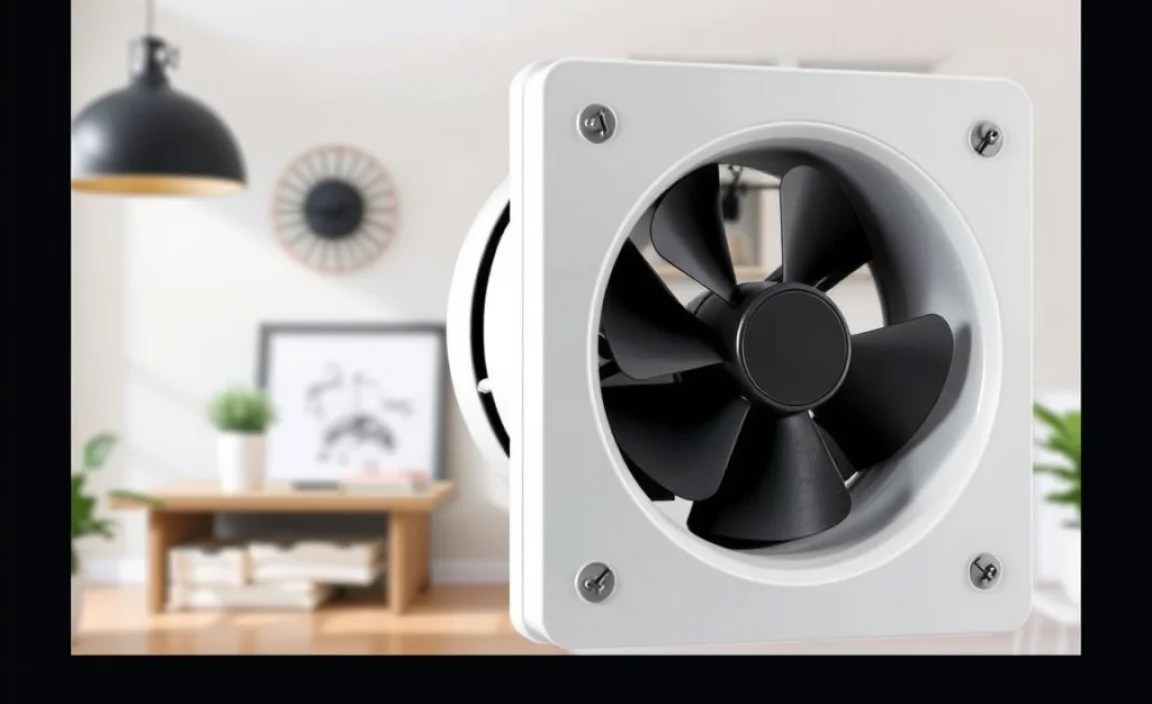
- Wall-Mounted Fans: Less common for general use but can be found in specific applications or older homes. They vent directly through an exterior wall.
- Range Hoods: Specifically designed for kitchens, these are mounted above the stove and can vent air outside or recirculate it through filters (ductless). For our purposes and beginner layout, we’re focusing on ducted systems that vent outside.
For bathroom and general room ventilation, ceiling-mounted fans are usually the simplest for beginners to install and integrate into a room’s layout.
Ductwork Considerations
Where your ductwork goes is a big part of your fan’s layout. Ducting needs to be as short and straight as possible for maximum efficiency. Sharp bends and long runs reduce airflow and can make your fan work harder, decreasing its lifespan and effectiveness.
Key Points for Ductwork Layout:
- Path of Least Resistance: Plan a route that minimizes turns. Go directly up through the ceiling and out the roof, or straight through a wall to an exterior vent.
- Duct Size: Most bathroom fans use 4-inch diameter ducting, while kitchen fans might use 6-inch or larger. Check your fan’s manual. Using the correct size is essential for proper airflow. You can find more on duct sizing from resources like HVAC-Talk.com, a community of HVAC professionals.
- Material: Semi-rigid or rigid metal ducting is generally preferred over flexible plastic ducting, as it’s smoother inside and less prone to kinks, which can impede airflow.
- Sealing: All connections in your ductwork must be sealed airtight with aluminum foil tape or mastic to prevent air leaks. Leaks mean lost airflow.
Electrical Connection Planning
Every fan needs power. Planning your electrical layout is critical for safety and functionality.
- Dedicated Circuit: Ideally, an exhaust fan should be on its own circuit breaker or shared with a bathroom light. This prevents it from tripping other essential appliances if there’s an issue. Consult your local building codes for specific requirements. The U.S. Department of Energy provides helpful information on energy-efficient home improvements, including ventilation.
- Switch Location: The fan’s switch should be conveniently located near the room entrance, just like a light switch. This makes it easy to turn on and off.
- Wiring Path: You’ll need to run electrical cable from your power source (usually your home’s electrical panel or an existing junction box for a light) to the fan location and the switch. This often involves working in attics or crawl spaces, so safety is paramount. If you’re uncomfortable with electrical work, it’s best to hire a qualified electrician.
Step-by-Step Guide: Installing an Exhaust Fan
Let’s get down to business! We’ll outline the steps to get your exhaust fan from a concept to a working part of your home’s ventilation system.
Step 1: Plan and Gather
This is where the “layout” truly comes into play. Measure, sketch, and decide everything before you touch a tool.
Essential Information to Gather:
- Fan Specifications: Know the CFM (Cubic Feet per Minute) rating, duct size, and electrical requirements (voltage, wattage) of your chosen fan. For bathrooms, a general rule of thumb is 1 CFM per square foot of bathroom area, but 50-100 CFM is common.
- Room Dimensions: Measure the room where the fan will be installed.
- Ceiling/Wall Structure: Identify joist locations, plumbing, and wiring in the ceiling or wall where you plan to cut. Use a stud finder and a small reconnaissance drill bit to check for obstructions.
- Venting Location: Determine where the duct will exit your home – through the roof, an exterior wall, or via a soffit vent.
Tools and Materials You’ll Likely Need:
- Exhaust Fan Unit (with housing)
- Ducting (appropriate size and type)
- Duct Tape (aluminum foil type), Clamps
- Vent Cap (for exterior exit point)
- Drywall Saw or Reciprocating Saw
- Utility Knife
- Wire Strippers/Cutters
- Screwdriver Set
- Drill with various bits (including hole saw if needed for ducting)
- Pencil
- Safety Glasses
- Work Gloves
- Stud Finder
- Electrical Cable (appropriate gauge, e.g., 14/2 or 12/2 NM-B wire)
- Wire Connectors (wire nuts)
- Switch and Wall Plate
- Stepladder
- Caulking (exterior)
Step 2: Select Fan Location
Based on your planning, choose the precise spot for the fan housing. For ceiling fans, aim for the center of the room or, more importantly, directly over the main moisture source (like a shower).
- Trace the outline of the fan’s housing onto the ceiling or wall where it will be mounted.
- Use your stud finder to ensure you aren’t cutting into a joist or running into electrical wires or pipes.
Step 3: Cut Hole for Housing
Carefully cut along your traced outline. A drywall saw is often sufficient for ceilings. Take your time and aim for a clean cut.
- Start by drilling a small pilot hole inside your traced area.
- Insert the drywall saw into the pilot hole and carefully cut around the perimeter.
- Once cut, gently remove the section of drywall.
Step 4: Run Ductwork
This is where the “layout” of your ducting becomes physical. Connect the ducting to the fan housing that will sit in the ceiling/wall opening. Then, run the ducting to your exterior vent cap.
- Attach one end of the duct securely to the fan housing. Use clamps and seal it with foil tape.
- Carefully route the ductwork through the ceiling joists or wall cavities towards your chosen exit point.
- Important Note: Ensure the duct maintains a slight downward slope towards the exterior vent. This prevents condensation from pooling in the duct and causing issues.
- At the exit point (roof, wall, or soffit), install the vent cap. Secure it well and seal the exterior around the cap to prevent water leaks. Refer to reliable building guides like those from The National Association of Home Builders for best practices on exterior penetrations.
Step 5: Install Electrical
Safety First! Always turn off the power at the main breaker box before working with electrical wiring. If you are not comfortable with electrical work, hire a qualified electrician.
- Run Power: From your power source, run the electrical cable to the fan location. You may need to fish wires through walls and ceilings.
- Connect to Fan: In the ceiling or wall opening, connect the wires from the power source to the fan’s motor according to the manufacturer’s instructions. Typically, this involves connecting black-to-black (hot), white-to-white (neutral), and green or bare copper to ground. Use wire nuts for secure connections.
- Install Switch: Run a separate cable from the fan location to your chosen switch location. Install the switch in a junction box and connect the wires.
- Complete Circuit: Connect the remaining wires at the power source and back at the breaker box to complete the circuit.
Step 6: Mount the Fan and Finish
Now, install the fan unit into its housing and re-cover the opening.
- Carefully maneuver the fan unit into the housing. Most fans have clips or screws to secure them in place.
- Attach the fan grille or cover.
- Cut a hole for your switch if you haven’t already, install the switch, and attach the wall plate.
- Turn the power back on at the breaker box and test the fan and switch.
Layout Placement Considerations: A Comparative Look

Deciding on the perfect spot isn’t always straightforward. Here’s a quick guide to the common challenges and best practices for different areas:
| Area | Ideal Placement | Reasoning | Common Challenges | Beginner Tips |
|---|---|---|---|---|
| Bathroom (Shower/Tub) | Centrally located over the shower/tub, or nearest to the primary steam source. | Captures maximum moisture at the source. | Limited ceiling space, plumbing or wiring obstructions, joist direction. | Use a stud finder extensively. If joists are in the way, consider a joist-mounted fan box or a fan designed to sit between joists. |
| Bathroom (General) | Centrally located in the room, away from the door but closer to the toilet/sink area. | Helps circulate air and remove odors throughout the room. | Similar to above, but less critical to be directly over the source. | Ensure it’s not blowing directly onto a person if located near a vanity. |
| Kitchen (General Exaust, not Hood) | Near the primary cooking area, or in the geometric center of the room if cooking is spread out. | Removes cooking odors, grease, and heat effectively. | Countertop appliances, cabinets, complex ceiling structures, existing ductwork for range hood. | Prioritize proximity to the stove. If a range hood is already present and ducted, a separate general exhaust might be redundant or require careful integration. |
Maximizing Airflow and Efficiency
Beyond just placing the fan, a few layout details can make a big difference in how well it performs.
- Minimize Duct Length: The shorter and straighter the duct run, the less air resistance. This means your fan operates at peak performance and is less likely to be overworked.
- Avoid Kinks and Bumps: Flexible ducting is notorious for developing kinks. If you must use it, stretch it out as much as possible. Rigid or semi-rigid metal ducting is a better choice if your layout allows.
- Proper Duct Diameter: Using a duct that’s too small for the fan will restrict airflow, making the fan noisy and inefficient. Always match the duct size to the fan’s outlet or as recommended by the manufacturer. Check out this guide from the U.S. Environmental Protection Agency (EPA) on improving indoor air quality for more related information.
- Sealed Connections: Every joint in your ductwork should be taped with proper HVAC foil tape or sealed with mastic. Air leaks mean lost ventilation and can potentially lead to moisture issues in your attic or wall cavities.
- Exterior Vent Cap: Ensure the exterior vent isn’t blocked by anything (like leaves or nests) and that its design allows for easy airflow while preventing pests and rain from entering.
Safety First!
Working with tools, ladders, and especially electricity carries risks. Always prioritize safety.
- Power Off: This cannot be stressed enough. Always turn off the power at the breaker before touching any wires.
- Ladder Safety: Ensure your ladder is stable, placed on a level surface, and that you maintain three points of contact when climbing.
- Eye Protection: Wear safety glasses to protect your eyes from dust, debris, and stray materials.
- Hand Protection: Work gloves can prevent splinters and minor cuts.
- Know Your Limits: If any part of the electrical or structural work feels beyond your comfort level or skill set, it is always best to call a professional. The cost of hiring an electrician or handyperson is far less than the cost of an injury or damage caused by an amateur mistake. Reputable organizations like OSHA (Occupational Safety and Health Administration) offer extensive safety guidelines for home improvement projects.
FAQ About Exhaust Fan Layout for Beginners
Q1: What is the best place to install an exhaust fan in a small bathroom?
For a small bathroom, aim to place the exhaust fan as close to the primary source of moisture as possible, which is typically the shower or bathtub. Centered over the shower/tub is ideal. If that’s not feasible due to joists or other obstructions, place it in the center of the room, ensuring it’s still within a reasonable distance to capture steam effectively.
Q2: Do I need to vent my bathroom fan directly outside?
Yes, absolutely. For effective removal of moisture, odors, and pollutants, the fan must vent to the exterior of your home.
