
For a beginner, the essential design of a soap holder layout focuses on ease of access, proper drainage, and secure mounting. Prioritize placement near water sources without obstructing movement, ensuring it’s easy to reach and clean. Proper layout prevents soggy soap and wall damage, making your bathroom both functional and tidy.
Welcome, DIYers! Are you tired of mushy soap bars sitting in puddles or soap scum sticking to your shower walls? Getting the layout of your soap holder just right can make a huge difference. It’s a small detail, but it impacts the tidiness and longevity of your bathroom. Don’t worry if this seems technical; we’ll break it down simply. This guide will walk you through creating the perfect, beginner-friendly layout for your soap holder, ensuring it’s practical, looks good, and functions flawlessly. Let’s get your bathroom organized and your soap bars happy!
Why Soap Holder Placement Matters: More Than Just a Spot for Suds

It might seem like a no-brainer – just stick a soap holder anywhere near the shower, right? Wrong! The “layout” of your soap holder is all about strategic placement. Think of it like arranging furniture in a room; a good layout makes everything work better. For a soap holder, a good layout means:
- Keeping Soap Dry: This is the number one job. A well-placed holder allows water to drain away, preventing your soap from turning into a gooey mess.
- Preventing Mess: When soap gets soggy, it can create slippery residue on your shower floor or tub ledge. Good placement minimizes this.
- Protecting Your Walls: A poorly placed holder might drip water directly onto drywall or grout, leading to mold or water damage over time.
- Ease of Use: It should be within easy reach when you need it, but not so much in the way that you bump into it.
- Aesthetics: Yes, even a soap holder can contribute to the overall look of your bathroom! A thoughtful layout makes things feel tidy and intentional.
For beginners, understanding these basic principles is the first step to a successful bathroom setup. It’s about making smart choices upfront that save you trouble down the line.
Essential Design Considerations for Your Soap Holder Layout
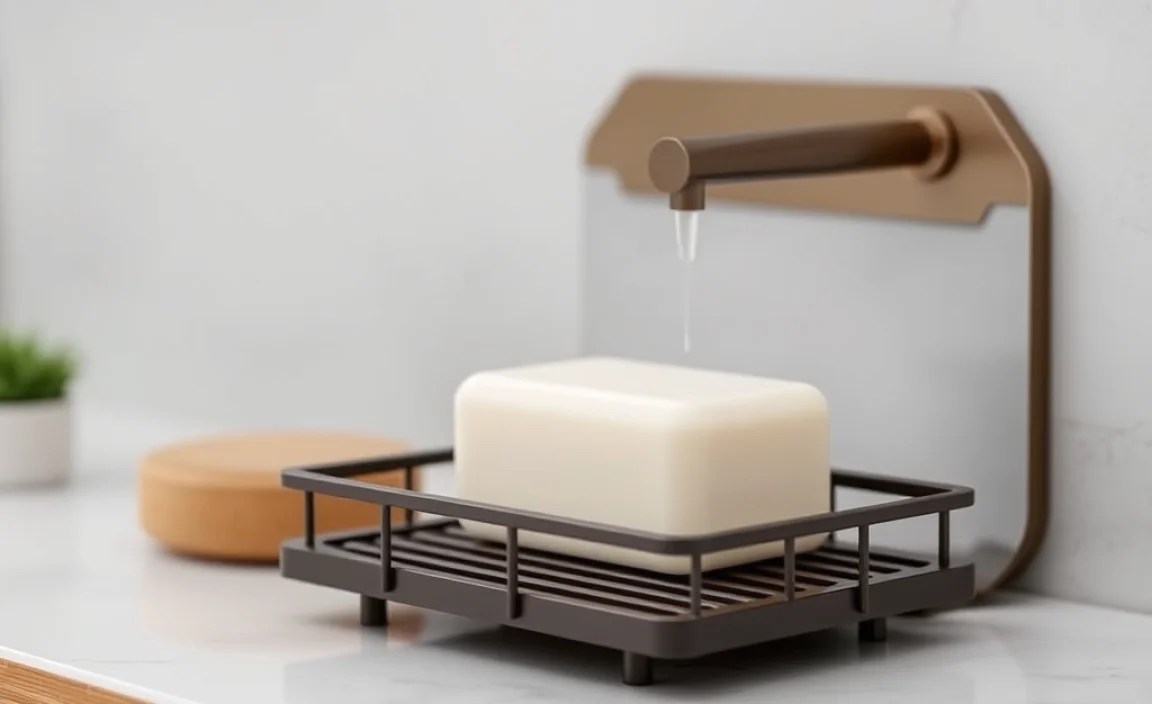
Before you even think about drilling holes or sticking adhesives, let’s talk about the core ideas behind a smart soap holder layout. These are the building blocks that every beginner needs to understand.
1. Drainage is King
This is the most critical factor. Your soap holder needs to allow water to escape freely. If water pools around your soap, you’ll end up with a mushy bar that dissolves faster and can harbor bacteria. Look for holders with:
- Sloped Surfaces: The base of the holder should angle downwards so water naturally runs off.
- Drainage Holes: These are essential! They allow water to escape from the bottom of the holder directly into your sink or shower stream.
- Open Designs: Holders that aren’t solid boxes allow for better air circulation, helping the soap dry out between uses.
2. Location, Location, Location!
Where you put the holder depends on what type of soap you’re using and how you shower. For a hand soap dispenser by the sink, it’s simple: near the faucet. But for a shower soap holder, consider these spots:
- Inside the Shower Stall: This is common. The ideal spot is within easy reach from where you stand or sit, but away from direct, heavy water flow. You don’t want your soap constantly blasted by the showerhead.
- Near the Faucet/Showerhead: Often, near the faucet or showerhead is convenient because that’s where the plumbing is. However, ensure it’s not directly under the primary spray unless the holder design specifically accounts for it.
- On a Ledge or Shelf: If you have a built-in shelf or a wide tub ledge, this can be a prime spot, especially if it’s slightly sloped.
3. Accessibility and Reach
Can you easily grab the soap without contorting yourself or reaching uncomfortably far? This is especially important for larger showers or for households with children or individuals with limited mobility. Test the reach from your typical showering position.
4. Wall Type and Mounting Method
This is crucial for longevity and preventing damage. Your layout decision directly impacts how you’ll mount it. Common methods and what they mean for your layout:
- Adhesive Mounts: Great for renters or if you don’t want to drill. Ensure the wall surface is clean, dry, and smooth. Avoid placing them on textured tiles or areas that get excessively steamy if the adhesive isn’t top-tier.
- Suction Cups: Easy to reposition but can lose their grip. Best for very smooth, non-porous surfaces like glass or high-gloss tile.
- Screw Mounts: The most secure option, but requires drilling. You’ll need to consider studs or use appropriate wall anchors for drywall or tile. This requires more planning but offers the best long-term stability. Always check for plumbing or electrical lines behind the wall before drilling. For expert advice on drilling into different wall types, check out This Old House’s guide on drilling into tile.
5. Clearance and Obstructions
Make sure your chosen spot doesn’t interfere with opening shower doors, reaching for shampoo bottles, or simply moving around comfortably in the shower or by the sink. A bump against a soap holder can be annoying!
Types of Soap Holders and Their Layout Implications
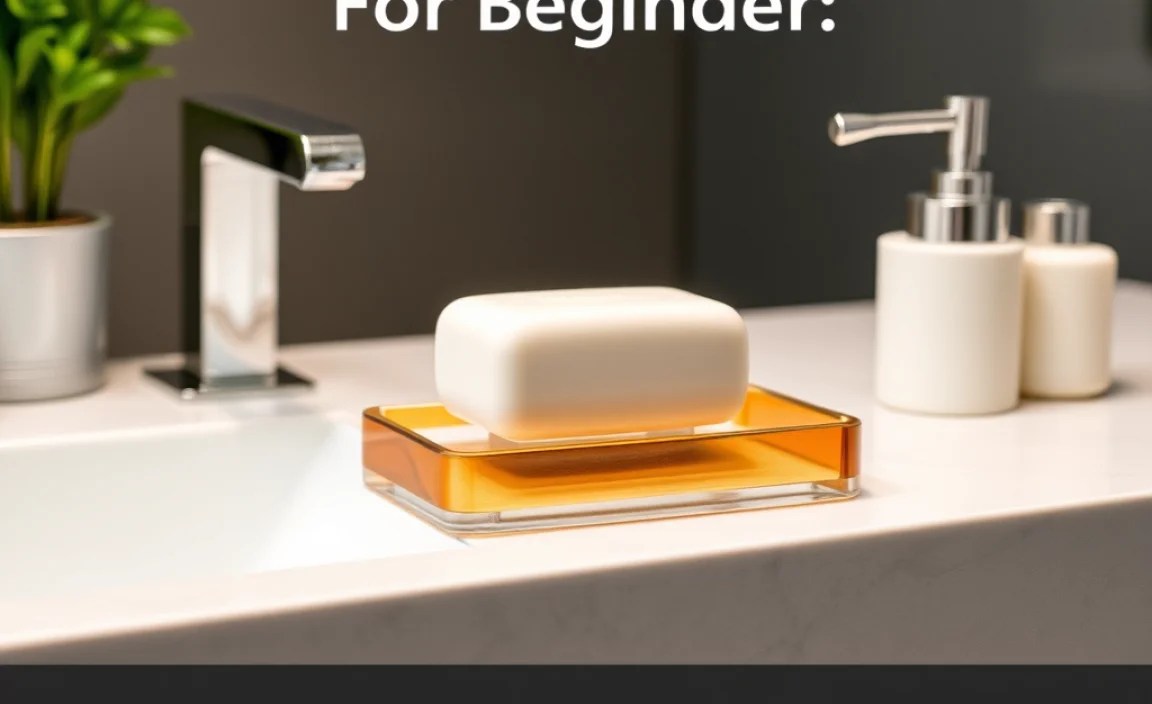
The type of soap holder you choose will significantly influence its ideal layout. Let’s look at common types:
1. The Classic Wall-Mounted Bar Soap Holder
These are typically small dishes or baskets that attach directly to the wall. They are extremely common and can be found in many designs, from simple ceramic dishes to perforated metal baskets.
Layout Considerations:
- Vertical Placement: Usually placed at the height of your forearm when you’re standing in the shower or by the sink.
- Drainage Focus: Look for models with integrated drainage holes or a design that allows water to run off easily.
- Avoid Direct Spray: While wall-mounted, it’s still best to place it where it won’t be directly under the main shower stream for extended periods.
- Mounting: Most are screw-mounted or adhesive. For screw-mounted, aim for a tile that’s easy to drill into or use anchors.
| Pros | Cons |
|---|---|
| Space-saving | Can accumulate grime if not cleaned regularly |
| Secure (especially screw-mounted) | Requires drilling or strong adhesive |
| Keeps soap off ledges | Limited to one bar per holder |
| Wide variety of styles |
2. Corner Shower Caddies/Shelves
These units often have multiple tiers and fit into the corner of your shower. Many include dedicated soap dishes or ledges.
Layout Considerations:
- Corner Placement: They are designed to fit neatly into the corner, utilizing often-wasted space.
- Height: The soap dish section is usually fixed within the overall caddy height. You choose the caddy height that best suits your reach.
- Drainage: Look for caddies with perforated shelves or raised edges around the soap area to facilitate drainage.
- Mounting: Most are tension-rod mounted (for between ceiling and floor) or screw-mounted into the corner walls.
3. Shower Baskets or Trays
These are usually metal or plastic baskets that hang over the showerhead or attach to the curtain rod. They often have multiple compartments, including one for soap.
Layout Considerations:
- Hanging Point: They hang from the shower head or rod, so the “layout” is determined by the shower head’s height and position.
- Soap Compartment: Check if the soap section has drainage holes and is slightly elevated or sloped.
- Stability: Ensure it hangs level and doesn’t swing excessively, which could cause the soap to fall out or water to splash everywhere.
| Pros | Cons |
|---|---|
| No drilling required | Can sometimes obstruct the showerhead’s spray pattern |
| Can hold multiple items (shampoo, conditioner, soap) | May not be stable if not hung on a sturdy shower head or rod |
| Portable and easy to move | Can slide down the curtain rod if not secured properly |
| Soap compartment might not drain perfectly |
4. Countertop Soap Dishes (for Sinks)
These are simple dishes or trays that sit on the counter next to your sink. They are the easiest to manage for hand soap.
Layout Considerations:
- Edge Placement: Place them on the counter near the edge, close to the faucet.
- Drainage: Look for dishes with raised ridges or drainage holes to prevent water from sitting in the dish.
- Spill Zone: Place slightly away from the immediate splash zone of the faucet if possible, or choose a deep dish that can contain minor spills.
- Material: Consider materials that don’t stain easily from soap residue.
5. In-Wall Niches
These are recesses built directly into the shower wall during construction or renovation. They are the most integrated solution.
Layout Considerations:
- Pre-planned Location: The layout is set during the build. Ideally, they are placed within easy reach and at a good height.
- Drainage: Niches should be constructed with a slight slope towards the bottom and have a drainage path.
- Depth and Size: Ensure the niche is deep enough to keep the soap bar contained but not so deep that it’s awkward to reach.
Step-by-Step: Planning Your Soap Holder Layout
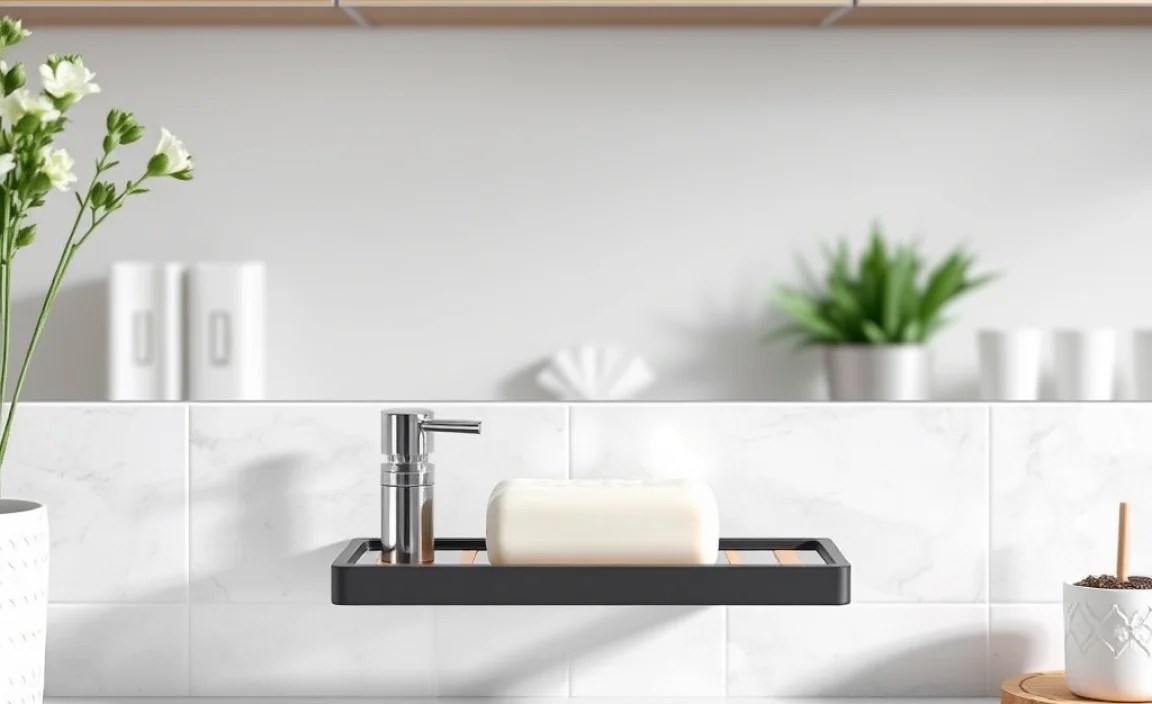
Ready to make a plan? Here’s a simple, step-by-step approach for beginners to figure out the best place for their soap holder.
Step 1: Assess Your Space and Needs
Before you buy anything, walk into your shower or stand by your sink. Think about:
- Who uses the space? Are there kids, elderly individuals, or people with mobility issues?
- What type of soap? Bar soap, liquid soap dispenser?
- Where do you naturally reach? When washing your hands or body, where does your hand go?
- What’s already there? Note any existing fixtures, shelves, or grab bars.
- Water flow: Where does the water primarily come from and where does it hit you?
Step 2: Choose Your Soap Holder Type
Based on your assessment, pick the type of soap holder that best suits your needs and your bathroom’s structure. For example:
- If you have tiled walls and want something permanent, a screw-mounted holder is good.
- If you rent or prefer no drilling, an adhesive or hanging basket is better.
- If you have a lot of conditioner bottles, a multi-tier caddy might be your choice.
Step 3: Identify Potential Locations
Mentally (or physically, with a piece of tape) mark out a few possible spots. For a shower:
- Consider a spot on the wall to the left or right of the showerhead, about shoulder or chest height.
- Think about a corner area that’s easily accessible.
- If you have a built-in ledge, check its slope and dryness.
For a sink:
- Place it on the counter, a few inches from the edge, within easy reach of the faucet.
Step 4: Test the “Reach Test”
Stand in your shower or by your sink in your usual position. Extend your arm to where you marked a potential spot. Is it comfortable? Can you easily grab the soap without stretching too far or having to contort your body?
Step 5: Evaluate Drainage and Water Flow
Imagine water hitting that spot. Will water pool around the soap if it’s there? Will the holder’s drainage holes direct water effectively away? If the spot is under harsh spray, will the soap be blasted away or dissolved too quickly?
A good rule of thumb for shower holders is to place them where they are easily reached but not in the direct line of fire of the showerhead. Think about the general area where you stand to wash, and place it nearby but slightly to the side.
Step 6: Consider Mounting Method and Wall Type
This is where practicality meets planning. If you’ve chosen a screw-mount holder, you’ll need to find a suitable tile or area where you can place anchors. If using adhesive, ensure the wall is smooth, clean, and dry. For critical advice on wall types and anchors, resources like Family Handyman’s guide to drywall anchors are invaluable.
Important Safety Note: Before drilling into any wall, especially outside of a shower stall, always confirm there are no electrical wires or plumbing pipes running through that area. If you’re unsure, consult a professional or use alternative mounting methods.
Step 7: Mark and Install
Once you’ve settled on the perfect spot, carefully mark it according to the soap holder’s instructions. If drilling, measure twice, drill once. For adhesive types, ensure the surface is perfectly clean and follow the adhesive curing times precisely.
Step 8: Test and Adjust
After installation, place your soap bar in the holder. Does it sit well? Does water drain off? Give it a few days and see how it performs. Small adjustments might be needed, especially with repositionable holders like suction cups.
Common Beginner Mistakes and How to Avoid Them

Even with the best intentions, beginners can stumble. Here are common mistakes and how to steer clear of them:
- Mistake: Placing it too low or too high.Solution: Do the “reach test” from your natural shower position. Aim for waist to chest height.
- Mistake: Choosing a holder with poor drainage.Solution: Always opt for holders with holes or sloped designs. If your current holder is a solid dish, prop the soap bar slightly on one edge to allow air circulation.
- Mistake: Sticking it directly under the shower stream.Solution: Place it to the side of the direct water flow. You want water to run off it, not constantly blast it.
- Mistake: Ignoring wall type for mounting.Solution: If you have textured tiles, standard suction cups might fail. If you have grout, drilling can be tricky. Research the best mounting method for your specific wall surface.
- Mistake: Forgetting about clearance.Solution: Ensure the holder doesn’t impede opening doors, reaching other items, or your general movement in small spaces.
- Mistake: Only considering aesthetics, not function.Solution: While looks matter, a beautiful holder that makes soap mushy is a failure. Prioritize function first, then find a style you like.
Frequently Asked Questions (FAQ) About Soap Holder Layouts
Q1: Where is the best place to put a soap holder in a shower?
The best place is usually on a wall within easy reach, typically at waist to chest height, and slightly to the side of where the primary shower spray hits. This allows for easy access while ensuring water drains away and doesn’t constantly saturate the soap.
Q2: Should my soap holder have drainage holes?
Yes, absolutely! Drainage holes are crucial. They allow water to escape from the bottom of the holder, preventing the soap from becoming mushy and dissolving too quickly. Look for holders with multiple holes or a sloped design.
