
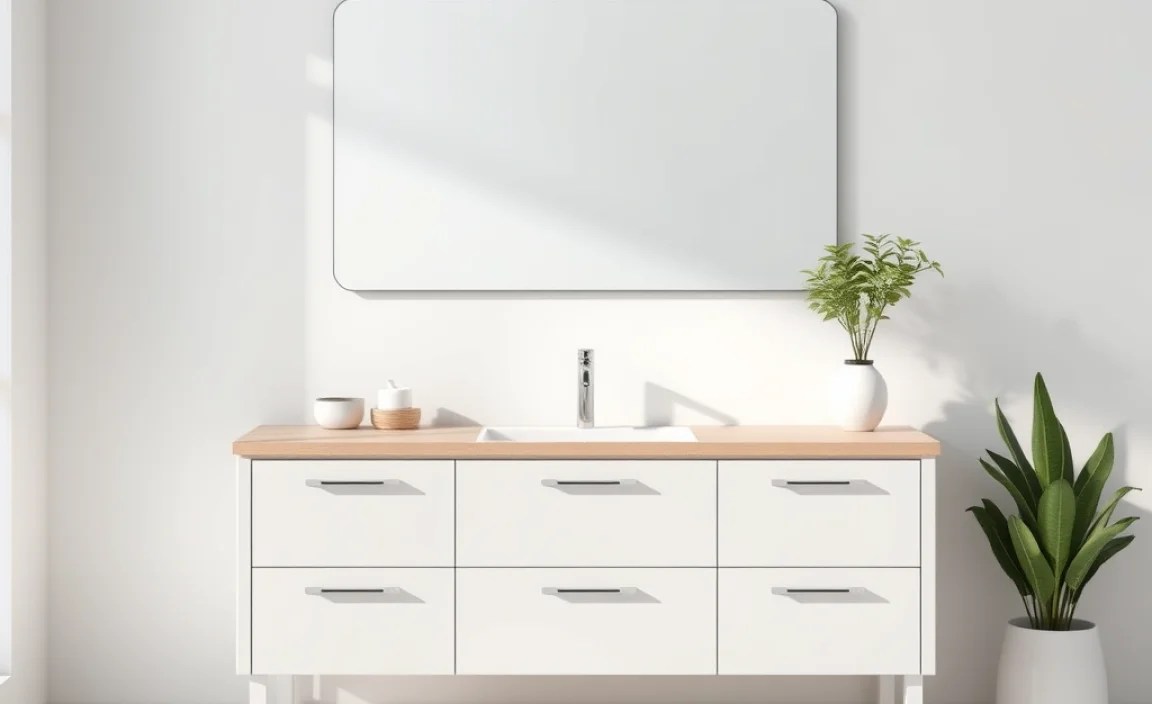
Understanding the layout of vanity in plumbing is crucial for a functional and leak-free bathroom. It involves correctly positioning the vanity, sink, and drain pipes to ensure proper water supply and drainage, preventing costly repairs and water damage. This guide breaks down the essential steps and considerations for a DIY-friendly approach.
Layout Of Vanity In Plumbing: An Essential Guide for Homeowners

Ever stare at your bathroom vanity and wonder how everything fits together so neatly? It might seem like magic, but it’s actually smart plumbing design! Getting the layout of vanity in plumbing right is key to a bathroom that works well and stays dry. If pipes aren’t placed just right, you can end up with slow drains, leaks, or even water damage – and nobody wants that!
Don’t worry if you’re new to this. This guide is made for you. We’ll walk through everything you need to know, from choosing the right spot to making sure the pipes connect perfectly. You’ll gain the confidence to tackle this project, whether you’re renovating or just curious. Let’s dive in and make your bathroom plumbing fuss-free!
Why Vanity Plumbing Layout Matters

The arrangement of plumbing within your vanity cabinet isn’t just about aesthetics; it’s the backbone of your bathroom’s functionality. A well-planned layout ensures that water flows smoothly to your faucet and drains away effectively from your sink. This prevents common plumbing headaches like clogs, slow drainage, and unpleasant odors. It also plays a significant role in preventing leaks, which can cause extensive damage to your vanity, flooring, and even the subfloor.
Consider the core components involved. You have the water supply lines (hot and cold water) feeding your faucet and the drain pipe (also known as a P-trap) carrying wastewater away. The strategic placement and connection of these elements are vital for optimal performance and longevity. When these are installed correctly, your faucet will deliver water at the right pressure, and your sink will drain without backing up.
Beyond just function, a thoughtful layout can also maximize storage space within your vanity. By understanding how pipes run, you can plan for drawers, shelves, or other storage solutions that won’t be obstructed by plumbing. This is especially important in smaller bathrooms where every inch of space counts.
Key Components of Bathroom Vanity Plumbing

Before we get into the layout specifics, let’s quickly identify the main players involved in your vanity’s plumbing system. Knowing these will make the rest of the guide much clearer.
- Water Supply Valves: These are the shut-off valves for both hot and cold water that connect to your faucet’s supply lines. They are typically located behind the vanity.
- Water Supply Lines: Flexible or rigid tubes that carry hot and cold water from the shut-off valves to the faucet.
- Faucet: The fixture that controls the flow of water.
- Drain Assembly: This includes the pop-up stopper (if applicable), the tailpiece (the pipe extending down from the sink drain), and the P-trap.
- P-Trap: A U-shaped pipe that holds water to prevent sewer gases from entering your bathroom. This is probably the most visually distinct part of your vanity plumbing.
- Drainpipe (Stub-out): The pipe coming out of the wall that connects to the P-trap, carrying wastewater down to your home’s main drainage system.
- Vent Pipe: Although not directly inside the vanity cabinet, the vent pipe connected to your drain system is crucial for allowing air into the system. This helps water drain quickly and prevents the P-trap from siphoning dry. You can learn more about plumbing vents from resources like the Engineering Toolbox.
Planning the Layout: Before You Start

A successful plumbing layout begins with careful planning. Rushing this stage can lead to mistakes that are difficult and expensive to fix later. Here’s what you need to consider before any pipes are touched.
1. Choosing the Right Vanity and Sink
The type of vanity and sink you choose will heavily influence the plumbing layout. Some vanities come with pre-drilled holes for faucets and drains, simplifying installation. Others might require you to drill them yourself.
- Sink Type: Undermount sinks offer a cleaner look and are easier to clean around, but they can sit lower, potentially requiring adjustments to drain and supply line placement. Top-mount (drop-in) sinks are generally easier to install and have more clearance from the countertop.
- Vanity Depth and Width: Standard vanity depths (around 21-22 inches) usually accommodate typical plumbing without much issue. However, if you’re opting for a shallower or deeper vanity, you’ll need to account for how this affects pipe clearance. Similarly, a very wide or very narrow vanity might require different pipe routing.
- Cabinet Space: Think about how much space you need for other items. Some plumbing configurations, particularly those with multiple traps or larger P-trap assemblies, can take up significant cabinet real estate.
2. Understanding Existing Plumbing
If you’re replacing an old vanity, the existing plumbing location is your best guide. You’ll want the new sink and drainpipe to align as closely as possible with the current rough-in. Moving the drainpipe can be a significant plumbing job involving opening up walls or floors, which typically requires professional expertise.
- Drainpipe Location: The drainpipe (stub-out) typically comes out of the wall about 15-18 inches above the floor. You’ll need to measure this distance.
- Water Supply Lines: These usually come out of the wall horizontally, about 4-8 inches above the floor and spaced far enough apart for hot and cold lines.
- Considerations for Moving Pipes: If you absolutely need to move the drain or supply lines, consult a licensed plumber. Improperly moved pipes can lead to drainage problems, leaks, and building code violations.
3. Local Building Codes
Plumbing work must adhere to local building codes. These codes ensure safety and proper function. While most DIY installations of a vanity’s internal plumbing won’t require permits, if you’re altering the main drain or supply lines in the wall, you may need inspections. Always check with your local building department for specific requirements. Resources like the International Code Council (ICC) provide overarching standards that many local codes are based on.
The Ideal Layout: Placement and Alignment
Once you have your vanity and sink in place and have assessed your existing plumbing, it’s time to think about the ideal arrangement of the pipes within the vanity. The goal is to have smooth, unobstructed runs for both supply and drain lines.
Sink and Faucet Position
The sink should be centered within its designated opening in the vanity countertop. The faucet holes must align correctly with the sink. Most sinks have a specific number and placement of faucet holes (e.g., single-hole, 4-inch centerset, 8-inch widespread). Ensure your faucet matches and is installed according to the manufacturer’s instructions.
Water Supply Lines
The hot and cold water supply lines should connect easily to the faucet shanks. There should be enough slack in the supply lines to allow for slight adjustments, but not so much that they kink or create an eyesore. Ideally, the shut-off valves will be positioned so they are accessible but not in the way of any shelves or drawers you might install later.
Tips for Supply Line Placement:
- Position the shut-off valves within easy reach, typically below the countertop but above potential shelves.
- Ensure the supply lines do not rub against any sharp edges or other plumbing components, which can cause wear and leaks.
- Leave a little extra length in the supply lines, but avoid excessive coiling that could lead to kinking.
Drainage System (The P-Trap and Beyond)
This is often the most complex part of the vanity plumbing layout. The P-trap is essential for blocking sewer gases, and its correct installation is critical.
The standard setup involves:
- Tailpiece: This is the vertical pipe extending down from the sink’s drain flange.
- P-Trap: A U-shaped pipe that connects to the tailpiece and the drainpipe stub-out. It must maintain a water seal.
- Drainpipe Stub-out: The pipe exiting the wall that the P-trap connects to.
Critical Considerations for Drain Layout:
-
- Slope: All horizontal drainpipes must have a slight downward slope towards the drainpipe stub-out to ensure proper drainage. A slope of 1/4 inch per foot is standard.
- Clearance: Ensure the P-trap assembly has enough clearance from the back of the vanity, any drawers, and the vanity floor. You should be able to access the trap for cleaning or removing clogs.
- Tight Connections: All connections must be watertight without being overtightened, which can crack plastic fittings.
- Ventilation: While outside the vanity cabinet, the vent system is vital. Without proper venting, water will not drain correctly from the sink, and the P-trap could lose its water seal, allowing sewer gases to enter.
Step-by-Step: Installing Vanity Plumbing
Now let’s get hands-on. This section outlines the steps for setting up the plumbing for a new or replacement vanity. Safety first!
Tools and Materials You’ll Need:
-
-
- Adjustable wrenches (two)
- Pipe wrench
- Plumber’s putty or pipe thread sealant
- Teflon tape (pipe thread tape)
- Pliers
- Bucket and rags
- Safety glasses
- Measuring tape
- Level
- New vanity, sink, faucet, supply lines, and drain assembly (P-trap kit)
-
Step 1: Shut Off the Water and Drain Lines
If you’re working with existing plumbing, locate the main water shut-off valve for your house and turn it off. Then, open the lowest faucet in the house (often in a basement or garage) and the bathroom faucet you’re working on to drain any residual water in the pipes. For drain work, place a bucket under the existing trap to catch any standing water. If dealing with a new install and no existing plumbing, ensure the water is off at the main and there are no active drains to worry about.
Step 2: Install the Sink and Faucet
Follow the manufacturer’s instructions for installing your sink and faucet into the vanity countertop. This usually involves:
-
-
- Applying plumber’s putty or silicone sealant around the sink rim before setting it into the countertop cutout.
- Installing the faucet into the designated holes, securing it from underneath with washers and nuts.
- Attaching the tailpiece to the sink drain flange from underneath. Apply plumber’s putty or sealant as recommended by the manufacturer to create a watertight seal for the drain flange.
-
Step 3: Connect Water Supply Lines
Attach the new flexible water supply lines. Connect one end to the threaded shanks of the faucet and the other end to the corresponding hot and cold water shut-off valves. Tighten them with an adjustable wrench, being careful not to overtighten. Some recommend Teflon tape on the valve threads for a better seal.
Step 4: Assemble and Connect the Drain
This is where most of the “layout” work happens. Assemble the P-trap according to its instructions. Connect the tailpiece (coming from the sink) to the inlet side of the P-trap. Connect the outlet side of the P-trap to the drainpipe stub-out coming from the wall.
P-Trap Assembly Tips:
-
-
- Ensure all slip nuts and washers are correctly seated.
- Hand-tighten all connections first, then use a wrench for a final snug turn. Overtightening can crack the plastic.
- Adjust the pipes to ensure a slight downward slope from the sink tailpiece to the drain stub-out without kinking.
- The P-trap itself needs to be positioned so that it always holds water.
-
This diagram illustrates a typical vanity drain setup:
| Component | Function | Placement |
|---|---|---|
| Faucet Supply Lines | Deliver hot & cold water | From shut-off valves to faucet shanks |
| Sink Tailpiece | Vertical pipe from sink drain | Connects sink drain to P-trap |
| P-Trap | Holds water to block sewer gas | U-shaped pipe connecting tailpiece and stub-out |
| Drainpipe Stub-out | Wastewater exit from wall | Connects P-trap to main drainage system |
Step 5: Test for Leaks
Once all connections are made, turn the main water supply back on slowly. Open the hot and cold shut-off valves under the sink. Let the water run into the sink for a minute. While the water is running, check all supply line connections at the faucet and the valves for any drips. Then, fill the sink partially and let the water drain. While it’s draining and after it’s drained, meticulously check every joint in the drain assembly – tailpiece, P-trap connections, and the connection to the wall pipe – for leaks.
Use a dry rag or paper towel to wipe down all connections. If you see moisture, that’s a leak! Tighten the connection slightly. If it persists, you may need to disassemble, clean, and reassemble the connection, ensuring the washer is seated correctly.
Step 6: Final Check and Cleanup
Once you’re confident there are no leaks, ensure your vanity drawers and doors close properly without hitting any plumbing. Clean up your workspace, remove tools, and admire your work! You’ve successfully managed the layout of vanity in plumbing.
Common Plumbing Layout Challenges and Solutions
Even with careful planning, you might encounter a few snags. Here are some common issues and how to address them:
Challenge 1: Insufficient Clearance for P-Trap
Problem: The P-trap assembly doesn’t fit because of the vanity’s construction or existing obstructions.
Solution:
-
-
- Offset Drain: Use an offset drain fitting. This allows the P-trap to be shifted horizontally or vertically to meet the drain stub-out.
- Adjustable Traps: Some P-trap kits offer telescoping or adjustable components that can help bridge short distances.
- Vanity Modification: In some cases, you might need to carefully cut a small notch in the back of the vanity cabinet to allow pipes to sit flush. Ensure this doesn’t compromise the vanity’s structural integrity.
- Consider a Different Sink: Some sink designs or vanity depths might simply not be compatible with standard plumbing.
-
Challenge 2: Unaligned Drain Stub-out
Problem: The drainpipe coming out of the wall is significantly off-center from the sink’s drain.
Solution:
-
-
- Extended Tailpiece and P-Trap: Use longer tailpiece extensions and adjustable P-trap components to bridge the gap.
- Wall Offset: If the gap is large, a plumber might need to install an elbow or offset fitting inside the wall to move the stub-out closer to the sink’s center. This is a more involved task.
-
Challenge 3: Low Water Pressure
Problem: Water flow from the faucet is weak.
Solution:
-
-
- Check Aerator: The aerator at the tip of the faucet can get clogged with sediment. Unscrew it and clean it.
- Inspect Supply Lines: Ensure flexible supply lines aren’t kinked or damaged.
- Check Shut-off Valves: Make sure the hot and cold shut-off valves are fully open. Sometimes they only get partially opened.
- Identify Partially Closed Valves: These are often a cause of reduced flow and can look similar to fully open when they are not.
-
Challenge 4: Slow Draining Sink
Problem: Water backs up in the sink before draining.
Solution:
-
- Check for Clogs: The most common cause is a clog. Inspect the sink strainer, tailpiece, and P-trap for blockages.
- Ensure Proper Venting: A blocked vent pipe can cause slow draining and gurgling sounds. This should be checked by a professional.
