
Mastering the layout of your vanity is key to a functional bathroom. This guide provides genius design tips for beginners, focusing on smart storage, ideal placement, and efficient workflow. Learn how to create a beautiful and practical vanity space with simple, actionable advice to maximize your bathroom’s usability and style.
Layout Of Vanity: Genius Design Tips for a Smarter, Stylish Bathroom

Is your bathroom vanity feeling a bit chaotic? You’re not alone! Many of us struggle with cluttered countertops and inefficient spaces. A well-planned vanity layout can transform your bathroom from a source of frustration into a haven of calm and organization. It’s about making sure everything you need is within easy reach and that your space looks great, too. This guide will walk you through simple, clever design ideas to set up a vanity that works perfectly for you. We’ll cover everything from measuring and storage solutions to lighting and final touches. Let’s get your bathroom vanity layout sorted out with confidence!
Understanding the Basics: What is Vanity Layout?

Vanity layout, in simple terms, refers to the arrangement of your vanity unit – which includes the sink, countertop, cabinetry, and often a mirror – within your bathroom space. It’s about how these components fit together and how they relate to other bathroom elements like the toilet and shower. A good layout maximizes usable space, improves functionality, and contributes to the overall aesthetic of your bathroom. Think of it as the blueprint for your daily routine. Getting this right means less clutter, easier access to your essentials, and a more enjoyable experience every time you step into your bathroom.
Why Vanity Layout Matters So Much
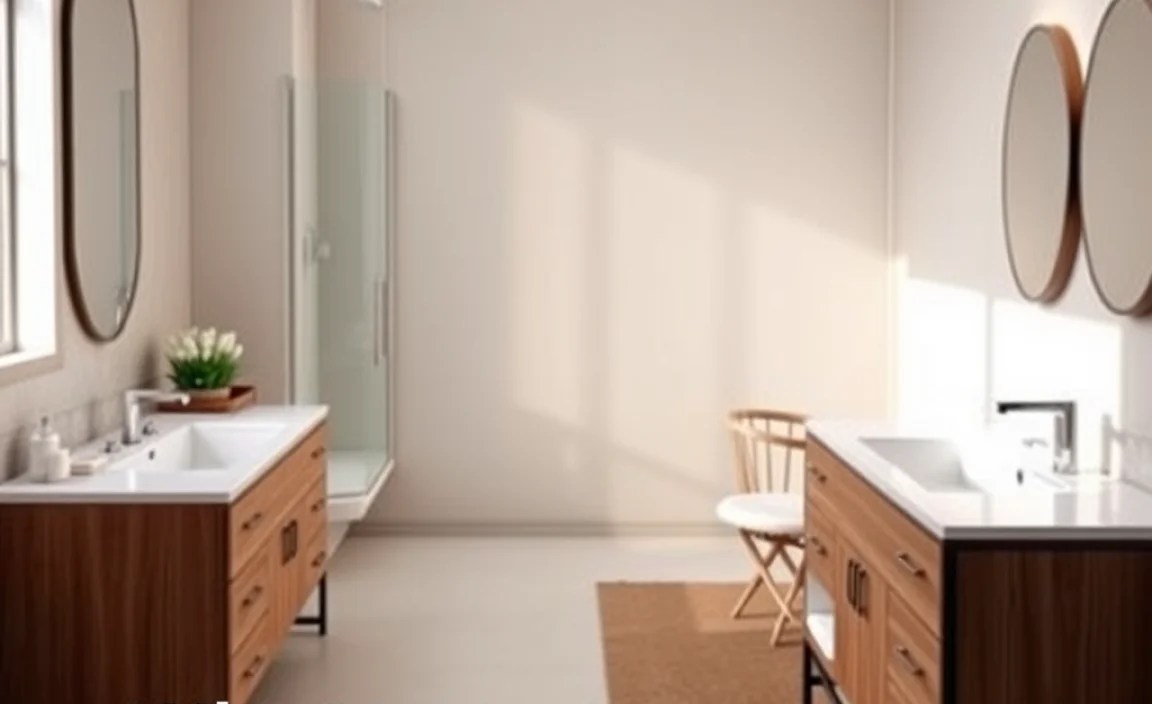
The layout of your vanity is more than just aesthetics; it’s the heart of your bathroom’s functionality. A poorly planned vanity can lead to a cramped space, insufficient storage, and awkward workflows, making everyday tasks like brushing your teeth or applying makeup a chore. On the flip side, a thoughtfully designed layout can:
- Enhance Efficiency: Everything you need is conveniently located, saving you time and hassle.
- Maximize Storage: Smart cabinet and drawer configurations keep your countertops clear and essentials organized.
- Improve Workflow: The space is arranged to support common bathroom activities seamlessly.
- Boost Aesthetics: A well-proportioned and styled vanity elevates your bathroom’s overall look and feel.
- Increase Value: A well-designed bathroom is a significant selling point for your home.
Considering these points, it’s clear that paying attention to the layout of your vanity is a crucial step in creating a bathroom that is both beautiful and highly practical.
Step-by-Step Guide to Planning Your Vanity Layout
Let’s break down the process of planning your perfect vanity layout into manageable steps. We’ll start from the very beginning, ensuring you don’t miss any important details.
Step 1: Measure Your Space Accurately
This is the absolute foundation of any good layout. Don’t guess! Grab a reliable tape measure and get precise. You’ll need to measure:
- Width: The total available width for your vanity. Measure from wall to wall or from any existing fixtures.
- Depth: How far the vanity can extend into the room without obstructing walkways. Standard depths are around 18-21 inches, but you might have more or less clearance.
- Height: The desired height for your countertop. Standard counter height is typically 30-36 inches from the floor, but consider comfort for all users.
- Plumbing Access: Locate and measure the position of your water supply lines and drain pipe. This is critical for sink and faucet placement.
Pro Tip: If possible, measure at different points to account for any inconsistencies in your walls. Also, note the location of existing electrical outlets and light switches that might influence your vanity placement or design.
Step 2: Assess Your Storage Needs
Before you even think about specific vanity styles, consider what you need to store. Think about your daily routine and what items you use most often. Do you have:
- Daily Essentials: Toothbrushes, toothpaste, hand soap, frequently used toiletries.
- Personal Care Items: Makeup, hair styling tools, skincare products.
- Linens: Extra towels, washcloths.
- Cleaning Supplies: While ideally stored elsewhere, some small items might need to be handy under the sink.
- Family Needs: Do you need space for multiple users’ items? Kids’ toiletries?
Make a list. This will help you determine whether you need deep drawers, tall cabinets, open shelving, or a combination of storage types. For more insights into smart storage solutions, check out resources on home organization from sites like the U.S. Environmental Protection Agency, focusing on how to manage everyday items responsibly.
Step 3: Choose Your Sink Style
The sink is a focal point of your vanity. Your choice impacts the countertop material, faucet selection, and overall look. Common styles include:
- Undermount Sinks: Installed beneath the countertop, offering a seamless look and easy cleaning.
- Drop-in (Top-mount) Sinks: With a rim that sits on top of the counter, they are typically easier to install but can collect grime around the edge.
- Vessel Sinks: Bowl-like sinks that sit entirely on top of the countertop, making a bold design statement.
- Integrated Sinks: Where the sink and countertop are made from a single piece of material (e.g., solid surface, cast iron), offering a modern, sleek appearance.
Consider how much sink space you need. A single, large basin might be better for general use, while double sinks are popular in master bathrooms for shared use.
Step 4: Select Your Countertop Material
The countertop is a significant investment and a major design element. Durability, maintenance, and aesthetics all play a role. Here are some popular options:
| Material | Pros | Cons | Maintenance |
|---|---|---|---|
| Granite | Durable, heat-resistant, wide variety of colors, naturally beautiful. | Can be porous if not sealed, needs periodic sealing, can be expensive. | Wipe with mild soap and water. Seal annually or as needed. |
| Quartz | Non-porous, highly durable, stain-resistant, low maintenance, consistent patterns. | Can be damaged by extreme heat, can be more expensive than granite. | Wipe with mild soap and water. No sealing required. |
| Marble | Luxurious, elegant, unique veining patterns. | Porous, prone to staining and etching, requires frequent sealing, can be delicate. | Use pH-neutral cleaners. Very careful sealing and wiping needed. |
| Laminate | Affordable, wide range of styles and colors, easy to clean. | Less durable, can scratch or chip, not heat-resistant, can look less premium. | Wipe with mild soap and water. |
| Solid Surface (e.g., Corian) | Seamless look possible, non-porous, repairable, wide color selection. | Can scratch, may show heat marks, can be more expensive than laminate. | Wipe with mild soap and water. Scratches can often be buffed out. |
When choosing, think about the overall style of your bathroom and how much wear and tear the vanity will endure. For detailed information on materials, resources from construction and home improvement sites like the National Association of Home Builders (NAHB) can offer valuable insights into consumer preferences and material performance.
Step 5: Plan Cabinetry and Drawer Configurations
This is where smart storage comes into play. Your vanity cabinet design should align with your storage needs identified in Step 2. Consider these common configurations:
- Drawers: Excellent for organizing smaller items like makeup, toiletries, and styling tools. Deep drawers can store hair dryers or larger bottles. Shallow drawers are perfect for cosmetics.
- Cabinets with Doors: Ideal for storing larger items like cleaning supplies, extra towels, or bulkier toiletries. Shelves inside can be adjustable for customization.
- Open Shelving: Can add a decorative element for displaying items like guest towels or plants, but requires tidiness to avoid looking cluttered.
- Combination Units: Many vanities offer a mix of drawers and cabinets, providing versatile storage options.
Genius Tip: Look for vanities with built-in organizers, dividers, or pull-out shelves. These features can significantly enhance functionality and make it easier to keep things tidy.
Step 6: Consider Faucet and Plumbing Placement
The number of faucet holes will depend on your chosen sink and faucet style. A standard sink might have one or three holes, while some vessel sinks pair with wall-mounted faucets for a sleek look. Ensure the faucet reach is appropriate for your sink basin. Improper placement can lead to water splashing outside the sink. Also, consider the height of your faucet relative to any cabinets or mirrors above to ensure comfortable use.
Safety Note: When dealing with plumbing, always turn off the main water supply before starting any work. If you’re unsure, consult a professional plumber. For general plumbing tips, the EPA’s WaterSense program offers great advice on water-efficient fixtures and practices.
Step 7: Plan for Lighting
Good lighting is crucial for vanity functionality and ambiance. Layering light ensures you have both task lighting and general illumination.
- Task Lighting: Sconces on either side of the mirror at eye level are ideal for providing even light for grooming. Avoid overhead lights that cast shadows.
- Ambient Lighting: A central ceiling light provides overall illumination for the bathroom.
- Accent Lighting: Under-cabinet lighting can add a touch of luxury and improve visibility into the sink area.
Consider dimmers to adjust the mood. Ensure electrical work is done by a qualified electrician to meet safety codes.
Step 8: Think About the Mirror and Accessories
The mirror above your vanity is a key design element. Its size and style should complement the vanity and the overall bathroom. A large mirror can make a small bathroom feel more spacious. Consider framed versus frameless mirrors, and whether you want integrated lighting or demister pads.
Other accessories like towel bars, soap dispensers, and waste bins should be placed within easy reach. Ensure they don’t overcrowd the space or impede movement.
Genius Vanity Layout Design Tips
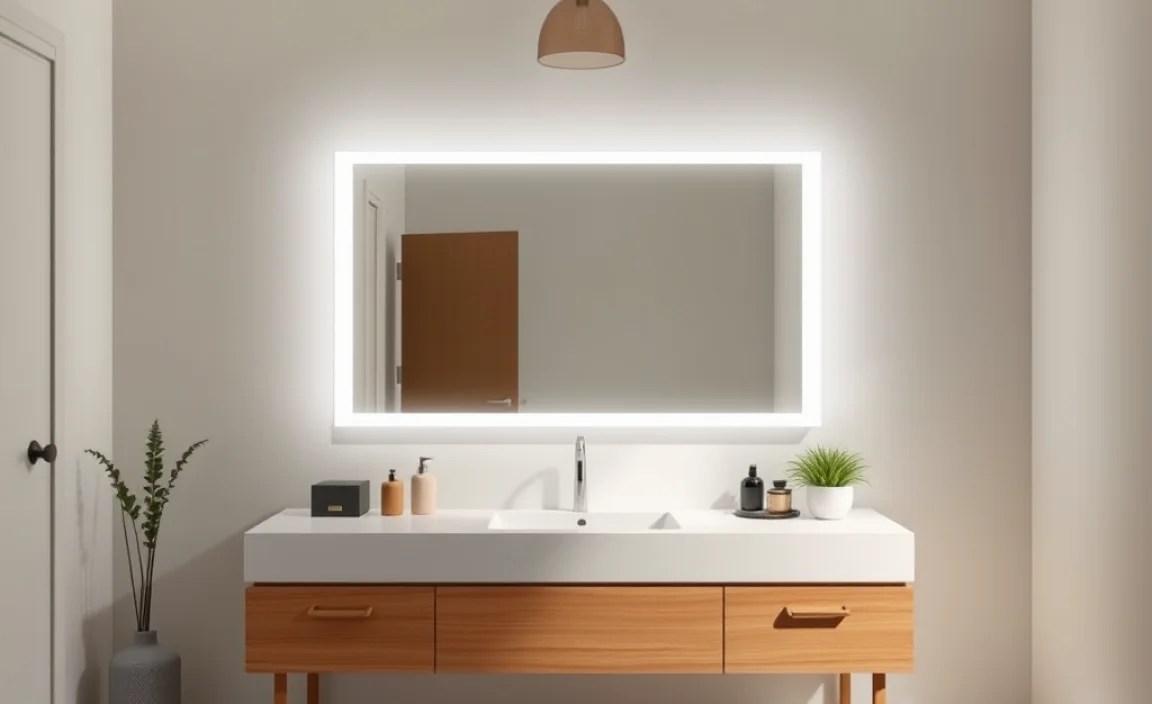
Now that we’ve covered the foundational steps, let’s dive into some creative and practical design tips to elevate your vanity layout.
Tip 1: The Power of the “Wet Zone” Workflow
Think about how you use your bathroom. Most activities happen in a “wet zone” around the sink. Organize your vanity storage to support this workflow. Keep frequently used items within arm’s reach.
- Top Drawer/Countertop: Daily essentials like toothbrush, toothpaste, hand cream.
- Lower Cabinets/Drawers: Less frequently used items, larger bottles, hair styling tools, makeup palettes.
- Under-Sink Area: Cleaning supplies, spare toilet paper.
This logical arrangement minimizes unnecessary movement and keeps your countertops clear.
Tip 2: Maximize Vertical Space
Don’t let valuable space go to waste. Utilize the height of your vanity and the wall space above it.
- Drawer Dividers and Organizers: Keep items sorted and easy to find within drawers.
- Adjustable Shelves: In cabinet areas, adjust shelves to fit different-sized items.
- Wall-Mounted Shelving: Consider narrow, floating shelves above the vanity for decorative items or frequently used toiletries, especially if cabinet storage is limited.
- Tower Cabinets: If space allows, a slim tower cabinet next to the vanity can offer significant extra storage.
Tip 3: The “Less is More” Countertop Philosophy
Countertops are prime real estate. The more you keep on them, the more cluttered and less functional your space will feel. Embrace the art of decluttering.
- Use Drawer Organizers: Store as much as possible inside drawers and cabinets.
- Stylish Containers: For items that must stay on the counter (like soap or a small plant), use attractive containers that complement your decor.
- Mirror With Storage: Consider a medicine cabinet with a mirrored front for discreet storage of toiletries while keeping the countertop clear.
Tip 4: Double Duty Design – Aesthetics Meet Function
Every element should ideally serve more than one purpose. This is key for efficient design, especially in smaller bathrooms.
- Vanity Legs: While beautiful, consider a toe-kick base for maximum storage space and easier cleaning underneath.
- Open Shelving: Can be purely decorative or used to store neatly folded towels.
- Integrated Lighting: Many modern vanities come with built-in LED lighting, serving both decorative and functional purposes.
Tip 5: Consider the User Experience
Who is using this bathroom? A family bathroom needs different solutions than a guest powder room or a master suite.
- Children: Lowered storage, easy-to-clean surfaces, safety locks if storing chemicals. Stools can help shorter users reach the sink.
- Seniors: Easy-to-reach items, comfortable counter height, good lighting, and potentially grab bars nearby if accessibility is a concern.
- Shared Spaces: Double sinks and ample storage for two users are essential.
Tip 6: Smart Materials for High-Traffic Areas
Bathrooms are humid environments, and vanities see a lot of action. Choosing the right materials is key for longevity and ease of maintenance.
- Moisture-Resistant Materials: Look for vanities made from solid wood (properly sealed), plywood, or high-quality MDF with moisture-resistant finishes.
- Countertops: As discussed, quartz and solid surface are excellent for durability and low maintenance.
- Hardware: Opt for corrosion-resistant handles and knobs, like brushed nickel or stainless steel.
Tip 7: Outlet Placement is Crucial
Think about where you’ll plug inshavers, hair dryers, or electric toothbrushes. Consider incorporating outlets inside drawers for a cleaner look and added safety, keeping cords out of sight. Consult an electrician for safe and code-compliant installation.
For guidance on electrical work and safety, resources from organizations like the National Fire Protection Association (NFPA) provide vital safety information regarding home electrical systems.
Common Vanity Layout Mistakes to Avoid
Even with the best intentions, some common pitfalls can derail your vanity layout. Being aware of these can help you steer clear of them.
| Mistake | Impact | How to Avoid |
|---|---|---|
| Insufficient Counter Space | Cluttered countertops, difficult to place toiletries during use. | Measure carefully and prioritize at least 24-30 inches of clear counter space for a single sink, more for double sinks. |
| Poor Door/Drawer Clearance | Doors or drawers hit the toilet, shower, or other doors, making them hard to open. | Create a floor plan to scale, marking the swing of all doors and drawers. Ensure adequate clearance for all. |
| Inadequate Lighting | Shadows during grooming, difficulty seeing clearly, uninviting atmosphere. | Plan for layered lighting: task (sconces), ambient (ceiling), and optional accent lighting. |
| Ignoring Plumbing Constraints | Limits sink and faucet options, requires expensive rerouting. | Confirm existing plumbing locations early in the design process. |
| Overcrowding the Space | Vanity is too large for the room, making it feel cramped and hard to move around. | Stick to appropriate vanity sizes based on your measurements. Consider |
