
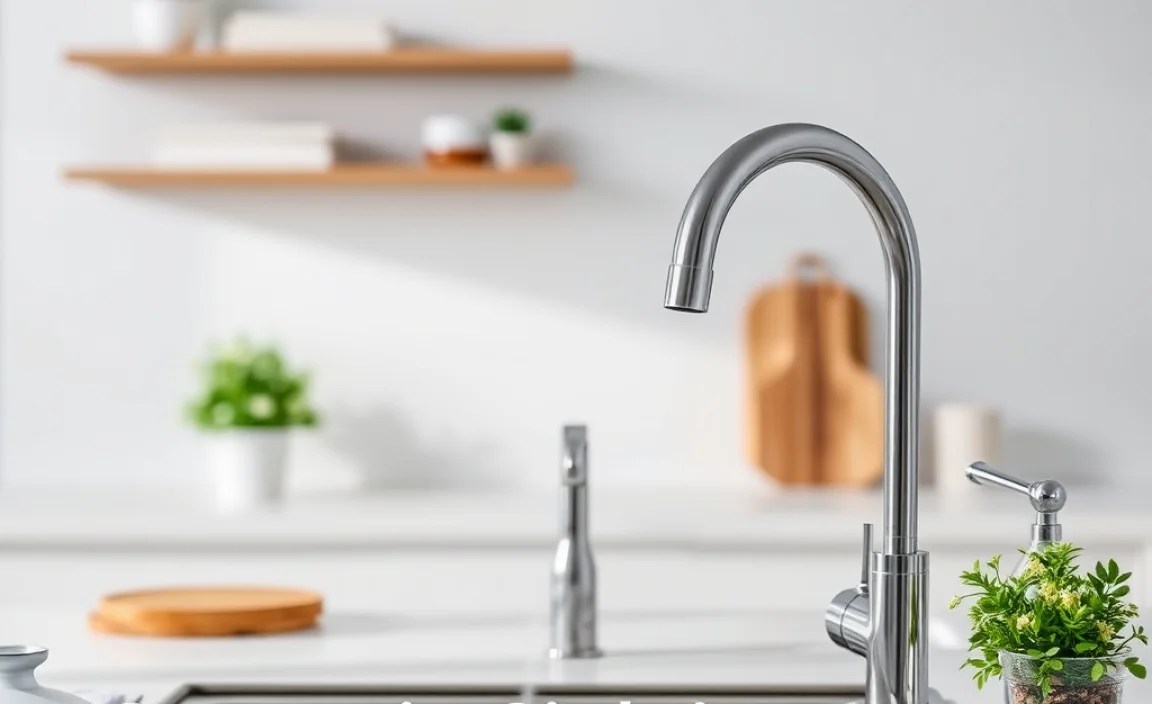
Maintain your sink fast with simple fixes! This guide offers essential, beginner-friendly solutions for common sink issues, ensuring yours stays in top condition with quick, reliable maintenance. Get your sink working perfectly again, fast!
It’s a common frustration: your sink isn’t draining as it should, or maybe that faucet drip is driving you crazy. These little issues can really disrupt your day. But don’t worry! You don’t need to be a plumbing expert to handle them. With the right knowledge and a few simple tools, you can tackle many common sink problems quickly and effectively. We’ll walk through easy-to-follow steps.
This guide is designed to give you the confidence to perform essential sink maintenance. We’ll break down what you need to know, from understanding why a sink might be slow, to simple fixes for drips and leaks. Get ready to master your sink and keep it running smoothly!
Common Sink Issues and Why They Happen
Slow draining sinks are probably the most frequent problem homeowners face. Imagine preparing for your day, only to find standing water in the sink because it’s not draining properly. It’s annoying, right? This usually happens because of a buildup of debris. Things like hair, soap scum, grease, and small food particles are the usual suspects. Over time, these accumulate in your pipes, creating a blockage that slows down or stops water flow completely.
Another common issue is a leaky faucet. That persistent drip, drip, drip can waste a surprising amount of water and add to your utility bills. It’s often caused by a worn-out washer or O-ring inside the faucet. These small rubber parts can degrade over time, losing their seal and allowing water to escape. Fortunately, replacing these is usually a straightforward fix.
Loose sink parts, like the handles or the drain stopper assembly, can also be a nuisance. They might wobble, feel loose, or not function as smoothly as they should. These are typically signs that screws need tightening or that a component might need a little adjustment or lubrication. Keeping these simple issues in check with fast maintenance prevents them from becoming bigger, more costly problems.
Your Sink Maintenance Toolkit: What You’ll Need

To effectively maintain your sink and tackle common issues quickly, having a few basic tools on hand can make all the difference. You don’t need a professional plumber’s arsenal, just a few handy items. This will make your DIY efforts much smoother and more successful.
Basic Plumbing Toolkit Essentials:
- Adjustable Wrench: This is your go-to tool for tightening or loosening nuts and bolts of various sizes. It’s incredibly versatile for sink repair.
- Plunger: A good flange plunger is essential for clearing minor clogs in sinks and drains. Make sure it has a good seal for effective suction.
- Screwdriver Set: You’ll need both Phillips head and flathead screwdrivers for removing faucet handles or other components.
- Pliers: Needle-nose pliers are great for gripping small parts, and standard pliers can help with turning or holding larger pieces.
- Bucket: Always have a bucket handy to catch any water that might drip when you’re working on pipes or drains.
- Old Towels or Rags: Useful for wiping up spills and protecting surfaces from scratches.
- Gloves: To keep your hands clean and protected, especially when dealing with drain debris.
- Safety Glasses: Protect your eyes from any splashes or falling debris.
Beyond these, consider having some plumber’s tape (also called Teflon tape) and a bottle of lubricant (like WD-40) for those stubborn parts. Having these simple tools readily available means you can respond quickly when a sink issue crops up, saving you time and hassle.
The Genius Fixes: Step-by-Step Maintenance
Let’s dive into the most common sink problems and how to fix them fast. We’ll cover everything from clearing a slow drain to stopping that annoying faucet drip. These are beginner-friendly solutions you can tackle with confidence.
Fixing a Slow-Draining Sink: The Plunger Power
A slow drain is usually a sign of a partial clog. Before you reach for harsh chemicals, a plunger is often the most effective and eco-friendly first step. It uses air pressure and water suction to dislodge blockages.
Steps to Plunge Your Sink:
- Prepare the Area: Ensure there’s enough water in the sink to cover the plunger cup for a good seal. If the sink is empty, add a few inches of water from the tap.
- Seal Other Drains: If you have a double sink, block the other drain with a wet rag or stopper to ensure maximum suction power on the clogged side. If it’s a sink with an overflow hole, cover that too with a wet rag.
- Position the Plunger: Place the plunger cup firmly over the drain opening, ensuring a complete seal.
- Plunge Vigorously: Push down and pull up with a steady, forceful motion for about 15-20 seconds. The key is creating suction and pressure.
- Check the Draining: Lift the plunger and see if the water starts to drain. You might need to repeat the plunging process several times.
- Flush with Hot Water: Once the water starts draining, run hot water down the drain for a few minutes to help flush away any remaining debris.
If plunging doesn’t work, the clog might be further down or more stubborn. In that case, you might consider using a drain snake (also called an auger) or a natural drain cleaner. For very stubborn clogs, it’s always an option to call a professional plumber.
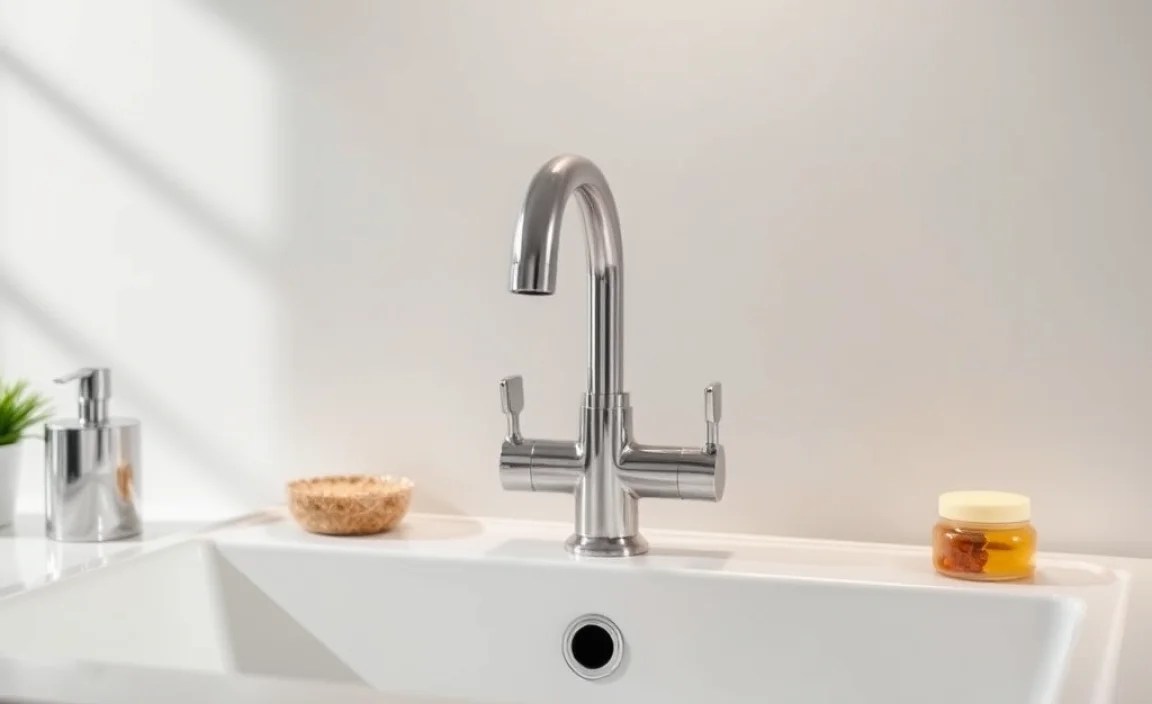
Fixing a Leaky Faucet: The Simple Washer Replacement
A dripping faucet is more than just an annoyance; it’s a waste of water. For many common faucet types, the culprit is a worn-out washer or O-ring. Replacing it is a surprisingly accessible DIY task.
Tools and Materials:
- Adjustable wrench
- Screwdriver (usually Phillips head)
- Replacement washers and O-rings (it’s good to have a small repair kit handy)
- Lubricant (optional)
- Bucket
- Rags
Steps to Replace a Faucet Washer:
| Step | Action |
|---|---|
| 1. Turn Off Water Supply | Locate the shut-off valves underneath the sink for both hot and cold water. Turn them clockwise until they are snug. Turn on the faucet to drain any remaining water in the pipes. |
| 2. Disassemble the Faucet Handle | Look for a decorative cap on top of the faucet handle. Gently pry it off with a flathead screwdriver or a thin knife. You’ll find a screw underneath. Remove this screw. Then, pull the handle straight up and off. You might need to wiggle it a bit. |
| 3. Access the Stem and Washer | Once the handle is off, you’ll see a packing nut or bonnet nut. Use an adjustable wrench to loosen and remove this nut (turn it counter-clockwise). Carefully pull out the faucet stem. At the bottom of the stem, you’ll find a rubber washer, usually held in place by a screw. |
| 4. Replace the Washer and O-ring | Unscrew the old washer. If there’s an O-ring around the stem, carefully remove that too. Clean the area, then install the new washer and O-ring. Lightly lubricate new O-rings with plumber’s grease if you have it. Re-secure the washer with its screw. |
| 5. Reassemble Fixture | Insert the stem back into the faucet body. Screw the packing nut/bonnet nut back on hand-tight, then snug it with the wrench. Place the handle back on and secure it with its screw. Pop the decorative cap back on. |
| 6. Restore Water and Test | Slowly turn the water supply valves back on (counter-clockwise). Check for leaks around the handle and spout. Turn on the faucet to ensure it’s working correctly and the drip has stopped. |
This process might vary slightly depending on the type of faucet you have (e.g., compression, cartridge, ball, or disc faucet), but the core principle of replacing worn seals remains the same. For more complex faucet types, you can often find specific repair guides online by searching your faucet brand and model.
Dealing with Loose Sink Components
A wobbly faucet handle, a loose drain stopper, or a rattling drain cover can make your sink feel unfinished and might indicate a problem is developing. These are usually simple fixes.
Tightening a Loose Faucet Handle:
Often, this is as simple as tightening the screw located under the decorative cap of the handle. Follow steps 2 and 5 from the leaky faucet repair above. If the wobble persists, the internal cartridge or stem might be loose, requiring removal and re-tightening of the packing nut/bonnet nut.
Securing a Loose Drain Stopper:
Most sink drains have a pop-up stopper mechanism. The stopper itself is usually connected to a lift rod via a clip or a clevis. If your stopper feels loose or doesn’t pop up, check the connection under the sink:
- Reach under the sink and locate the horizontal rod that comes out from the drainpipe. This is the pivot rod.
- See where this rod connects to the vertical lift rod coming down from the sink. There’s usually a clip and a clevis at this connection.
- Check if the clip is properly seated or if the clevis screw is loose. Tighten or reseat as needed. If the rod itself is bent, you might need to straighten it gently or replace it.
Tightening Loose Sink Strainers or Rings:
Sometimes the metal ring around the sink drain can loosen.
- Check if there’s a retaining nut underneath the sink that holds the strainer in place.
- With an adjustable wrench or pliers, tighten this nut securely. Be careful not to overtighten, which could crack the porcelain or sink material.
Preventative Maintenance for a Lasting Sink
The best way to ‘maintain sink fast’ is to prevent major issues from developing in the first place! Regular, simple checks can save you time and money down the line.
Regular Cleaning Habits:
- Wipe Down Regularly: After each use, giving your sink a quick wipe down with a soft cloth helps prevent soap scum and water spots from building up.
- Use a Strainer: Place a mesh strainer in your sink drain to catch food scraps (kitchen sink) or hair (bathroom sink). This is a super-easy way to prevent clogs.
- Avoid Harsh Chemicals: Try not to pour grease, cooking oil, or harsh chemicals down your drain. These can damage pipes and lead to clogs.
- Monthly Flush: Once a month, pour a kettle of boiling water down your drain in the kitchen to help melt away grease buildup. For bathrooms, a bi-monthly flush with hot water and a bit of baking soda followed by vinegar can help keep things clear.
Periodic Inspections:
- Check for Leaks: Regularly look under your sink for any signs of dripping or water stains around the pipes or faucet base.
- Test Faucet Function: Make sure your faucet handles turn smoothly and that the water flow is consistent.
- Listen for Unusual Noises: Gurgling sounds from drains might indicate an underlying issue that needs attention.
By incorporating these simple cleaning and inspection routines, you’ll significantly reduce the chances of encountering major sink problems. This proactive approach truly embodies ‘maintain sink fast’ by keeping things in check before they escalate.
Natural & Eco-Friendly Sink Cleaning Boosters
When you need a little extra cleaning power for your sink or drains, you don’t always need harsh chemicals. There are many natural and eco-friendly options that are effective and much gentler on your pipes and the environment.
Baking Soda and Vinegar: The Dynamic Duo
This classic combination is excellent for deodorizing and breaking down minor grime and clogs.
- Pour about ½ cup of baking soda down the drain.
- Follow it with about ½ cup of white vinegar.
- You’ll notice fizzing – this is the chemical reaction working!
- Cover the drain with a stopper or rag for about 15-30 minutes to let the reaction work.
- Flush thoroughly with hot water.
This is a great periodic maintenance step to keep drains clear and smelling fresh. For more information on safe plumbing practices concerning various cleaning agents, you can refer to resources from the U.S. Environmental Protection Agency’s WaterSense program, which emphasizes water conservation and responsible home maintenance.
Boiling Water Flush:
As mentioned, this is a simple yet effective way to tackle greasy buildup, particularly in kitchen sinks. Simply boil a kettle of water and pour it slowly down the drain. Repeat if necessary.
Salt and Hot Water:
Salt can act as a mild abrasive and also help break down grease.
- Pour about ½ cup of salt down the drain.
- Flush with boiling water.
These natural methods are fantastic for keeping your sink maintained and free from minor blockages without exposing yourself or your plumbing to harsh chemicals.
Knowing When to Call the Plumber
While most sink issues can be handled with simple DIY fixes, there are times when it’s best to call in a professional plumber. Recognizing these situations can save you from causing further damage or putting yourself in a difficult spot.
Signs You Need a Plumber:
- Persistent, Severe Clogs: If plunging, snaking, and natural remedies don’t resolve a clog, it’s likely a more significant blockage that requires professional tools and expertise.
- Multiple Fixtures Clogged: If sinks, toilets, and showers are all draining slowly or backing up, it could indicate a main sewer line issue, which is beyond a simple sink repair.
- Water Leaks You Can’t Locate: If you see water damage or suspect a leak but can’t pinpoint its origin, a plumber has the experience and equipment to find and fix it. This includes leaks behind walls.
- Low Water Pressure Throughout the House: This can be a symptom of a larger plumbing system problem, like a leak in the main water line or issues with the water heater.
- Burst Pipes or Major Leaks: Any scenario involving significant water flow that you cannot control immediately requires professional intervention to prevent extensive property damage.
- Unpleasant Odors: Persistent sewer smells can indicate a ventilation issue in your plumbing system or a blockage that’s allowing gases to escape.
- You Feel Unsure or Unsafe: If at any point you’re uncomfortable or unsure about a repair, it’s always the safest and wisest choice to call a professional plumber. Attempting repairs beyond your skill level can lead to more expensive damage.
Professional plumbers have specialized equipment, like video inspection cameras, and extensive knowledge to diagnose and fix complex issues safely and efficiently. Don’t hesitate to call them when the task seems overwhelming or beyond your DIY capabilities.
Frequently Asked Questions (FAQ)
Q1: How often should I clean my sink drain?
A: For sinks with regular use, it’s a good idea to perform a basic cleaning (like a hot water flush or baking soda/vinegar treatment) at least once a month. If you notice slow draining, clean it immediately.
Q2: Can I pour grease down my kitchen sink?
A: No, you should never pour grease, oil, or fats down your kitchen sink. These substances solidify in your pipes, causing significant clogs and damage over time. Wipe out greasy pans with a paper towel and dispose of the grease in the trash.
