
Discover the essential pros and cons of a P-trap breakdown. Understanding your P-trap means knowing when it’s working, when it’s not, and exactly how to fix minor clogs yourself, saving time and money while keeping unpleasant smells from your home. This guide breaks it down simply.
Ever notice a funny smell coming from your sink or drain that just won’t go away? Or maybe your sink is draining super slowly. Chances are, the culprit is hiding right under your sink: the P-trap. Don’t worry, it’s not as intimidating as it sounds! This simple pipe is a crucial part of your plumbing, and understanding it can save you a lot of headaches (and plumber bills).
We’re going to walk through what a P-trap is, why it sometimes gets clogged, and the key pros and cons of dealing with it yourself. By the end of this guide, you’ll feel confident tackling a basic P-trap cleanup and know when it’s time to call in the professionals. Let’s get your drains flowing freely and smelling fresh again!
What is a P-Trap and Why is it There?
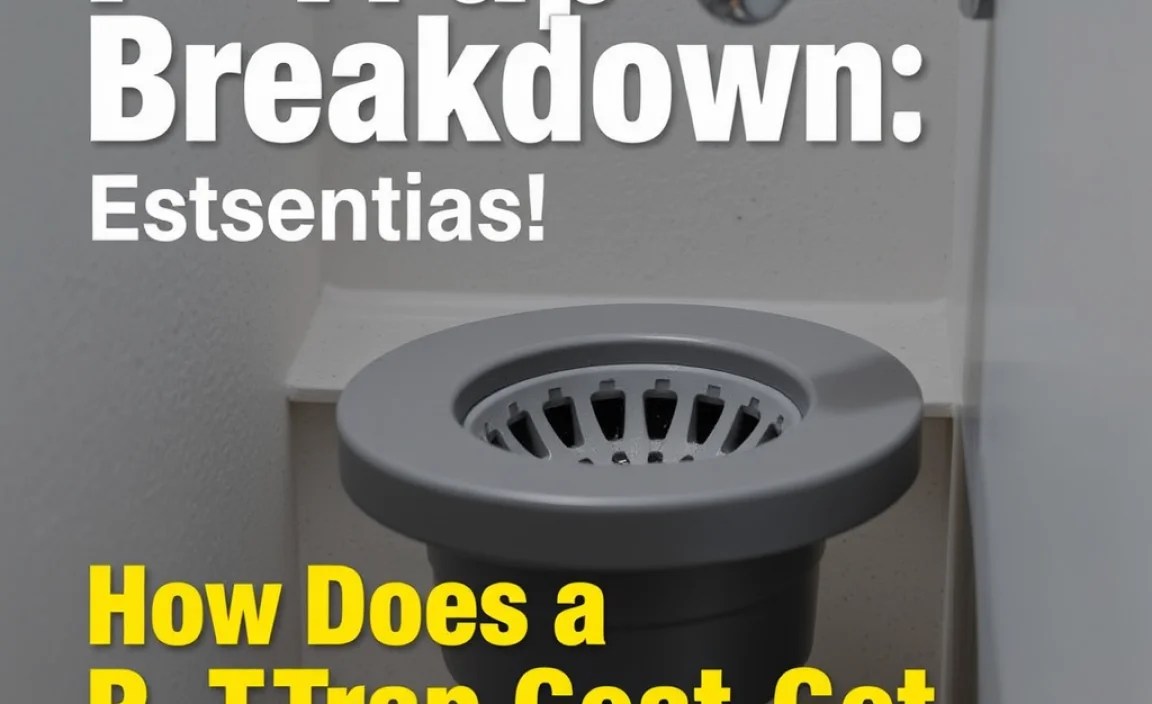
At its simplest, a P-trap is a U-shaped section of pipe located under your sink, bathtub, or shower drain. Sounds basic, right? But this simple design is incredibly important for your home’s health and comfort. Its main job is to hold a small amount of water. This water acts as a seal, blocking sewer gases from coming up through your drains and into your home. Imagine those unpleasant smells you might get from a toilet – the P-trap prevents that from happening in your sinks and showers.
Think of it like a water barrier. When water flows down the drain, most of it passes through, but a bit always stays behind in the bend of the ‘U’ shape. This stationary water is what keeps the bad air out. Without it, your home could start to smell like a sewage treatment plant, which is definitely not ideal!
How Does a P-Trap Get Clogged?
So, how does this hardworking pipe get clogged? It’s usually a build-up of everyday gunk. Hair is a big one, especially in bathroom sinks and showers. In kitchen sinks, grease, food scraps, coffee grounds, and soap scum are common culprits. Over time, these materials stick to the inside of the pipe, gradually narrowing the opening. Eventually, enough stuff can accumulate to block the water flow entirely, leading to slow draining or complete clogs.
Sometimes, small objects can also fall down the drain – think rings, small toys, or earrings. These can get caught in the P-trap and cause a blockage. Thankfully, because the P-trap is designed to be accessible, most of these clogs can be fixed without calling a plumber.
P-Trap Breakdown: Pros & Cons – The Essentials

Dealing with a P-trap clog yourself can be a rewarding DIY experience. However, like any home repair, there are definitely things to consider. Knowing the pros and cons will help you decide if a P-trap breakdown is the right DIY move for you.
Pros of a P-Trap Breakdown
When you tackle a P-trap clog yourself, you’re opening the door to several benefits:
- Cost Savings: This is a big one! Plumbers charge for their time, expertise, and equipment. A DIY P-trap cleanup can cost next to nothing, especially if you only need basic tools you likely already own.
- Speedy Resolution: Minor clogs can often be fixed in under an hour. Instead of waiting for a plumber’s appointment, you can get your drain working again relatively quickly.
- Empowerment and Skill Building: Successfully fixing a plumbing issue, even a small one, is a great confidence booster. You learn more about your home’s systems, which makes future maintenance easier.
- Prevents More Serious Issues: Addressing a slow drain early can prevent it from turning into a complete blockage, which could lead to water damage or more complex plumbing problems.
- Environmentally Friendly: By avoiding harsh chemical drain cleaners, which can damage pipes and harm the environment, you’re choosing a more sustainable solution.
Cons of a P-Trap Breakdown
While DIYing a P-trap fix is often great, there are some potential downsides:
- Messy Work: Let’s be honest, draining the water trapped in the pipe means dealing with dirty, stagnant water. You’ll need to be prepared for some mess.
- Risk of Damage: If not done carefully, you could overtighten or cross-thread the slip nuts when reassembling, leading to leaks. Old or brittle pipes could also be damaged.
- Potential for Injury: While not a high-risk repair, slips and falls can happen in a wet environment. It’s also important to use protective gear like gloves and eye protection.
- Not Always the Solution: A clogged P-trap is common, but sometimes the clog is further down the line in your main plumbing. A P-trap breakdown won’t fix those deeper blockages.
- Time Investment: While often quick, some clogs can be stubborn, requiring more time and effort than you might initially anticipate.
- Unpleasant Odors: Even with the seal, some lingering sewer smells can be present during the breakdown process, which can be quite unpleasant.
When to Call a Professional
It’s important to know your limits. If you’ve tried a P-trap breakdown and the drain is still slow or clogged, it’s probably time to call a licensed plumber. Also, if you notice any of the following, it’s best to get professional help:
- If you’re uncomfortable with basic plumbing tasks or lack the proper tools.
- If you suspect the clog is beyond the P-trap (e.g., multiple fixtures are backing up).
- If you see any signs of pipe corrosion or damage.
- If you’ve experienced recurring clogs in the same drain.
Essential Tools for a P-Trap Breakdown
Before you dive in, gather your supplies. Having the right tools makes the job much smoother and safer. Here’s what you’ll likely need:
- Bucket or Towels: To catch water and clean up any spills.
- Adjustable Wrench or Pliers: For loosening and tightening the slip nuts. Channel-lock pliers are often the best tool for this job.
- Gloves: Protect your hands from dirty water and debris.
- Eye Protection: Safety glasses are a must to prevent debris from splashing into your eyes.
- Old Toothbrush or Small Scrub Brush: For cleaning out the P-trap once it’s removed.
- Plumber’s Tape (Thread Seal Tape): May be needed for reassembly if the existing seals look worn.
- Work Clothes: Wear old clothes you don’t mind getting dirty.
Step-by-Step Guide to Breaking Down a P-Trap
Ready to tackle it? Follow these steps carefully. Remember to work slowly and deliberately.
Step 1: Prepare Your Work Area
Place your bucket directly underneath the U-shaped section of the pipe. If you’re worried about spills, lay down some old towels or rags around the bucket and the pipe. Make sure you have good lighting so you can see exactly what you’re doing.
Step 2: Loosen the Slip Nuts
The P-trap is usually held in place by two large plastic or metal nuts, called slip nuts, on either end of the U-bend. These are designed to be hand-tightened for most installations, but sometimes they can be stuck. Use your adjustable wrench or pliers to loosen these nuts. Turn them counter-clockwise. You only need to loosen them enough for the pipe to come apart; you don’t need to remove them completely at this stage.
Step 3: Separate the P-Trap
Once the nuts are loosened, carefully wiggle the U-shaped piece. It should disconnect from the vertical pipe coming from the sink and the horizontal pipe going into the wall. As you pull it away, water will drain out into your bucket. So, ensure the bucket is positioned to catch all of it!
Step 4: Clean the P-Trap and Pipes
Now for the messy part! Empty the water from the P-trap into the bucket. Use your old toothbrush or small scrub brush to clean out any accumulated gunk, hair, and debris from inside the U-bend. You can also use your finger (with a glove on!) to reach into the ends of the pipe to clear obstructions. If you have a flexible drain snake, this is a good time to run it through the pipe openings to ensure they are clear.
Check the openings of the pipes where the P-trap attached. You might find debris lodged there. Gently clear this out as well. Ensuring all parts are clean is key to preventing future clogs.
Step 5: Inspect the Washers
Inside the slip nuts, you’ll find rubber or plastic washers or seals. These are critical for creating a watertight seal. Check them for any signs of wear, cracking, or damage. If they look brittle or torn, it’s a good idea to replace them. You can usually find replacements at any hardware or home improvement store. If they look good, simply ensure they are properly seated before reassembly.
Step 6: Reassemble the P-Trap
Carefully put the P-trap back into place, connecting it to both ends of the pipe. Make sure the washers are correctly positioned. Then, hand-tighten the slip nuts onto the pipe threads. Once hand-tight, use your wrench or pliers to give them about a quarter to half a turn more. Do not overtighten, as this can crack the plastic pipe or damage the nuts and washers, leading to leaks.
Step 7: Test for Leaks
This is a crucial final step! Turn on the faucet and let the water run for a minute or two. While the water is running, carefully inspect all the connections you disassembled. Look and feel for any drips or leaks. Pay close attention to where the slip nuts are. If you find a leak, try tightening the corresponding slip nut a little more (just a quarter turn at a time). If a leak persists, you may need to disassemble, check the washer placement again, or consider replacing worn-out washers.
Pro Tip: For extra peace of mind, consider using plumber’s tape on the threads of the pipes before reattaching the P-trap if you feel the connection is a bit loose or you’re experiencing minor drips that can’t be solved by tightening.
Common P-Trap Materials and Their Pros & Cons
P-traps are typically made from PVC (plastic) or metal (like chrome-plated brass or stainless steel). Each material has its own advantages and disadvantages.
| Material | Pros | Cons | |
|---|---|---|---|
| PVC (Plastic) |
|
|
|
| Chrome-Plated Brass |
|
|
|
| Stainless Steel |
|
|
For most residential applications, PVC is the standard and most common choice due to its affordability and ease of use. However, if aesthetics are a major concern and you have exposed plumbing, a metal P-trap might be a better fit. Regardless of the material, the basic function remains the same.
Preventing Future P-Trap Clogs
Once you’ve successfully cleared your P-trap, you’ll want to keep it that way! Prevention is key to avoiding future headaches. Here are some simple habits to adopt:
- Kitchen Sink Habits: Never pour grease, oil, or fat down the kitchen sink. Wipe greasy pans with a paper towel before washing. Scrape food scraps into the trash or compost bin, not down the drain. Use a sink strainer to catch larger food particles.
- Bathroom Sink & Shower Habits: Use a hair catcher or strainer in your shower and sink drains to significantly reduce the amount of hair going down. Regularly clean out the hair catcher.
- Avoid Harsh Chemicals: While tempting, chemical drain cleaners can damage your pipes over time and are bad for the environment. Opt for natural methods like boiling water, vinegar and baking soda, or a drain snake. For more on safe drain cleaning, check out resources from the U.S. Environmental Protection Agency (EPA) on greener cleaning practices.
- Run Hot Water Regularly: After using your sink, especially the kitchen sink, running hot water for 30 seconds can help flush away any residual soap scum or minor grease build-up.
- Regular Maintenance: Even without a noticeable clog, a quarterly flush with boiling water or a vinegar/baking soda mixture can help keep pipes clear.
FAQ: Your P-Trap Questions Answered
Q1: How often should I clean my P-trap?
A1: You don’t need to clean your P-trap on a strict schedule unless you’re experiencing slow drains. The best approach is to clean it when you notice slow draining or if you get that unpleasant sewer smell. However, performing a preventative flush with boiling water or a baking soda/vinegar mixture quarterly can help maintain clear pipes.
Q2: What are those plastic nuts called?
A2: Those are commonly referred to as “slip nuts” or “couplings.” They are specifically designed for trap assemblies and allow for easy disassembly for cleaning and maintenance.
Q3: Can I use a plunger on a P-trap clog?
A3: Yes, a plunger can be effective for some P-trap clogs, especially if the clog is mild. However, for significant blockages or if you suspect heavy debris like hair and grease, physically dismantling the trap and cleaning it is usually more effective. Always ensure there’s enough water in the sink to cover the plunger’s cup for a good seal.
Q4: I don’t have a bucket, can I use a trash bag?
A4: While a heavy-duty trash bag could theoretically catch some water, it’s not ideal. Trash bags are thin, can easily rip, and are not rigid enough to hold their shape under the pipe.
