
A P-trap is a U-shaped pipe under your sink that holds water to block sewer gases from entering your home, preventing foul odors and potential health issues. Understanding its simple mechanism ensures your drains stay fresh and functional.
Ever notice a lingering, unpleasant smell coming from your sink drain, even when it’s not in use? That’s often a sign that your plumbing’s unsung hero, the P-trap, might need a closer look. This curved piece of pipe might seem minor, but it plays a crucial role in keeping your home fresh and healthy. Don’t worry if plumbing terms sound complicated; we’re going to break down exactly how a P-trap works in easy-to-understand steps. You’ll learn why it’s there, what it does, and how to ensure it’s doing its job perfectly. Get ready to banish those drain odors for good!
The Humble P-Trap: Your Home’s Odor Guardian

When you run water down a sink, shower, or toilet, it flows through a system of pipes to reach the main sewer line or septic system. But what happens to the gases produced by wastewater and sewage? Without a barrier, these gases – which can be smelly, and sometimes even harmful – would travel back up the pipes and into your living space. This is where the P-trap comes in. Its simple, yet genius design is the first line of defense against these unwanted guests.
The name “P-trap” comes from its distinctive shape, which resembles the letter “P” lying on its side. When water flows through the drain, it passes through this U-shaped bend. A small amount of water remains trapped in the bottom of the “U” even after the bulk of the water has drained away. This pocket of water creates a seal, effectively blocking the passage of sewer gases. It’s a passive system, meaning it doesn’t require electricity or moving parts to function, making it incredibly reliable.
Understanding how this basic plumbing component works can save you from mysterious odors and help you troubleshoot common drain issues. In this guide, we’ll delve into the mechanics of the P-trap, its importance, and what signs might indicate it’s not functioning as it should.
How the P-Trap Works: The Magic of Water Seal

The core principle behind a P-trap’s effectiveness is the creation and maintenance of a “water seal.” It’s a surprisingly simple concept that relies on gravity and the inherent nature of water.
Here’s a step-by-step look at the process when you use a sink:
- Water Enters the Drain: When you turn on the faucet, water flows down the drainpipe.
- Flows Through the Trap: The water then enters the P-trap, beginning its journey through the curved section.
- Fills the U-Bend: A significant portion of the water continues to flow through the trap and onward to the sewer line. However, as the water level rises and falls, a small, specific amount of water is held back in the lowest part of the U-bend.
- Forms the Water Seal: This retained water creates a barrier, like a plug, in the pipe.
- Blocks Sewer Gases: Sewer gases, which are lighter than water and naturally rise, encounter this water seal. They cannot pass through the water, so they are prevented from traveling back up the drainpipe into your home.
- Drainage Continues: When more water flows through, it pushes the existing trapped water (and any debris it may have caught) further down the line, and the cycle of trapping a new portion of water begins again.
This constant, albeit small, reservoir of water is the key to the P-trap’s function. It’s a passive mechanism that works continuously without any input from you, as long as water flows through the drain periodically. If a fixture isn’t used for a long time, this water can evaporate, breaking the seal and allowing odors to enter. This is why infrequently used drains, like those in guest bathrooms or basement sinks, might sometimes develop smells.
Why is the P-Trap So Important?

The P-trap is more than just a plumbing fixture; it’s a critical component for maintaining a healthy and pleasant indoor environment. Its importance stems from several key functions:
- Odor Prevention: This is its primary role. Sewer gases contain compounds like hydrogen sulfide, which smell like rotten eggs. These gases can be unpleasant and, in high concentrations, even toxic. The water seal in the P-trap is the most effective and simplest way to block these gases from entering your home.
- Preventing Pest Entry: While not its main job, the water seal can also act as a deterrent to small pests like insects and rodents that might otherwise travel up through the drainpipes from the sewer system.
- Trapping Debris: The curve of the P-trap can also help to catch heavier debris that might otherwise travel further into your plumbing system and cause more significant blockages down the line. This makes it easier to access and clear minor obstructions without disassembling extensive pipework.
- Safety: By preventing the ingress of potentially harmful sewer gases, the P-trap contributes to the safety and air quality within your home.
Without a functional P-trap, your home would be susceptible to the foul odors and potential health risks associated with unfiltered sewer gases. It’s a vital, simple piece of engineering that is often overlooked but essential for modern sanitation.
Common P-Trap Materials and Types
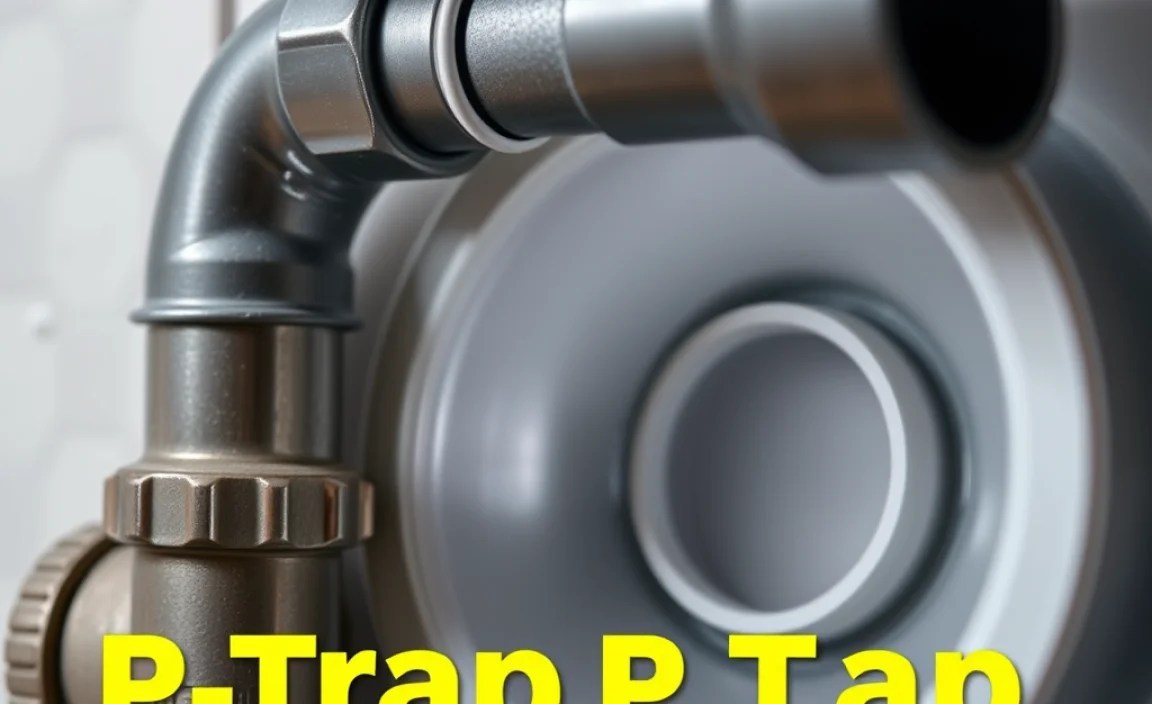
P-traps are typically made from two main types of materials, each with its own characteristics that might influence your choice or understanding:
1. Plastic P-Traps
These are widely used in modern plumbing for several good reasons. They are generally more affordable, lightweight, and easier to install than their metal counterparts.
- Types of Plastic: Often made from PVC (Polyvinyl Chloride) or ABS (Acrylonitrile Butadiene Styrene). PVC is usually white or gray, while ABS is typically black. Both are durable and corrosion-resistant.
- Pros:
- Cost-effective
- Lightweight and easy to cut/fit
- Corrosion-resistant (won’t rust)
- Simple to clean and maintain
- Cons:
- Can become brittle over time, especially if exposed to extreme temperatures or UV light.
- Less aesthetically pleasing than some metal options for exposed plumbing.
Most DIYers will encounter and work with plastic P-traps frequently due to their prevalence in new construction and renovations.
2. Metal P-Traps
Metal P-traps, often made of brass, chrome-plated brass, or stainless steel, are known for their durability and often more refined appearance.
- Types of Metal:
- Brass: Often chrome-plated for a shiny, attractive finish. It’s sturdy and resistant to corrosion.
- Stainless Steel: Highly durable and resistant to rust and corrosion, offering a sleek, modern look.
- Pros:
- Very durable and long-lasting
- Aesthetically pleasing, especially for exposed plumbing under vanities
- Resistant to high temperatures
- Less susceptible to damage from impacts
- Cons:
- More expensive than plastic
- Heavier, which can make installation slightly more challenging
- Can be susceptible to corrosion or mineral buildup over very long periods if not properly maintained or if the plating wears off.
Metal P-traps are often chosen when the trap will be visible and needs to match the aesthetic of the fixtures, such as in a powder room.
Other Considerations: Bottle Traps vs. P-Traps
While the P-trap is the most common, you might also see “bottle traps,” particularly in European designs or for specific aesthetic applications. A bottle trap is a more compact, cylindrical-shaped trap that serves the same fundamental purpose of retaining water to create a seal, but it looks different.
The choice between plastic and metal often comes down to budget, installation location (exposed vs. hidden), and personal preference for appearance. Functionally, both serve the same vital purpose.
How to Identify P-Trap Problems and Troubleshoot
A P-trap is usually a “set it and forget it” kind of fixture, but like any part of your home’s plumbing, it can sometimes develop issues. Recognizing the signs and knowing how to troubleshoot can save you from bigger headaches.
Common Signs of P-Trap Issues
- Persistent Foul Odors: This is the most obvious sign. If you consistently smell sewer gas from a drain, the P-trap’s water seal might be compromised.
- Slow Draining: While a slow drain can indicate a clog further down the line, a P-trap that has accumulated a lot of debris can also impede water flow.
- Gurgling Sounds: Unusual gurgling noises from a drain, especially when water is running in another fixture, can suggest an issue with air pressure imbalance, which a P-trap helps to regulate.
- Loose or Leaking Trap: A physical inspection might reveal that the P-trap connections are loose, or you might see water dripping from beneath the sink or fixture.
Troubleshooting Steps
Here’s a systematic approach to diagnosing and fixing common P-trap problems:
1. Check for Evaporation in Infrequently Used Drains
If a P-trap is in a drain that isn’t used often (like a guest bathroom or basement sink), the water seal can evaporate.
- Solution: Simply run water down the drain for a minute or two. This will replenish the water seal, and the odors should disappear. It’s good practice to run water in all drains periodically, especially those not in regular use.
2. Inspect for Loose Connections and Leaks
The threaded connections of a P-trap can sometimes loosen over time, especially with vibrations or if the trap is bumped.
- Solution:
- Place a bucket or old towels directly underneath the P-trap to catch any water.
- Gently try to tighten the slip nuts on either side of the trap. Do not overtighten, as this can crack the plastic or damage the threads.
- If tightening doesn’t stop the leak, the washers (also called gaskets or seals) inside the slip nuts might be worn or damaged. These are relatively inexpensive and can be replaced.
- To replace a washer: Loosen and remove the slip nut, pull out the old washer, insert a new one (ensuring it’s seated correctly), and re-tighten the slip nut.
3. Clear Debris from the P-Trap
Over time, hair, soap scum, food particles, and other debris can accumulate in the P-trap and start to cause slow draining or odor issues.
- Tools You Might Need:
- Bucket
- Adjustable wrench or channel-lock pliers
- Old towels or rags
- Gloves
- Stiff brush (optional)
- Drain cleaner or baking soda/vinegar (for cleaning out residue)
- Solution:
- Place a bucket directly beneath the P-trap.
- Using your hands or pliers, carefully loosen the slip nuts on both sides of the U -bend.
- Gently detach the curved section of the P-trap. Be prepared for some water and debris to fall into the bucket.
- Empty the contents of the trap into the bucket.
- Clean out the inside of the trap with a stiff brush or by flushing it with hot water. You can also use a baking soda and vinegar mixture for a natural deodorizing clean.
- Inspect the connecting pipes for any clogs as well.
- Reassemble the P-trap, ensuring the washers are in place. Hand-tighten the slip nuts first, then give them a quarter to half turn more with pliers.
- Run water down the drain to test for leaks and ensure the trap is filling properly.
4. Check for Venting Issues
Plumbing systems have vents that allow air to enter the system. These vents prevent a vacuum from forming that could siphon water out of the P-traps. If the vent is blocked (often by leaves or nests on rooftops), it can directly impact the P-trap’s ability to hold water.
While vent cleaning usually requires roof access and can be a DIY task for the adventurous, it’s often best left to professionals if you’re unsure or uncomfortable. You can often tell if venting is an issue if multiple drains in your house are acting up, or if you hear persistent gurgling.
For more detailed guidance on plumbing vents and how they interact with P-traps, the EPA WaterSense program offers excellent, accessible information on residential plumbing best practices.
When to Call a Professional Plumber
While many P-trap issues are simple DIY fixes, there are times when you should call in a professional:
- If you’ve tried troubleshooting and the problem persists.
- If you suspect a more significant clog further down the line.
- If you notice widespread plumbing issues in your home affecting multiple fixtures.
- If you are uncomfortable working with plumbing or dealing with potential leaks.
- If you suspect a vent blockage and aren’t equipped to safely clear it.
A professional plumber has the tools and expertise to diagnose complex issues quickly and ensure repairs are done correctly and safely.
Understanding P-Trap Sizes and Measurements
While P-traps might seem standardized, knowing how to measure and identify the correct size is important for replacements or new installations. The size typically refers to the diameter of the pipe and the overall dimensions of the trap.
Key Measurements to Consider:
- Pipe Diameter: This is the most crucial measurement. Standard P-traps are designed for common drain pipe sizes. For sinks, the most common sizes are 1 ¼ inch and 1 ½ inch. Bathroom sinks and vanities usually use 1 ¼ inch, while kitchen sinks often use 1 ½ inch. Shower and tub drains might use 1 ½ inch or even larger. Always measure the diameter of the pipe you are connecting to.
- Overall Height and Depth: The height and depth of the trap’s “U” bend can vary slightly, affecting the amount of water it holds and its clearance. Check if there’s enough space under the sink or fixture for the trap you are selecting.
- Connection Type: Most P-traps are designed for slip-joint connections, which use large threaded nuts (slip nuts) and plastic or rubber washers. Ensure the trap you choose is compatible with the type of connection on your existing or planned piping.
How to Measure Your Existing P-Trap:
If you’re replacing an existing P-trap, the easiest way to ensure a correct fit is to measure the part you’re removing.
- Measure Pipe Diameter: Take a soft measuring tape or a ruler and measure the outside diameter of the pipe that connects to the P-trap. For standard plumbing, this will likely be around 1 ¼ or 1 ½ inches.
- Measure From the Wall/Surface: Measure how far the trap extends from the wall or the drain assembly it connects to. This helps determine if a standard or a “high-rise” (longer outlet pipe) trap is needed.
- Measure Height: Note the overall height of the trap to ensure clearance under the sink or vanity.
Tip: Many P-traps are sold as “kits” that include the trap itself, a tailpiece (the straight pipe coming down from the drain assembly), and the necessary slip nuts and washers. This can simplify the purchase process.
Example: Standard Kitchen Sink P-Trap
A typical kitchen sink P-trap assembly will often be:
| Component | Typical Size | Material |
|---|---|---|
| Trap Pipe Diameter (Outlet from Sink) | 1 ½ inches | PVC or ABS |
| P-Trap U-Bend Diameter | 1 ½ inches | PVC or ABS |
| Trap Arm Length (Outlet to Wall) | Variable (e.g., 9-12 inches) | PVC or ABS |
| Slip Nuts & Washers | Match Pipe Diameter | Plastic/Rubber |
For bathroom sinks, you’ll commonly find 1 ¼ inch diameter pipes and traps.
