
Quick Summary
Understanding the parts of a floor waste is key to preventing clogs and ensuring proper drainage in bathrooms and kitchens. This guide breaks down each component – from the grate to the trap seal – making maintenance simple and effective for any homeowner.
Ever dealt with a slow-draining shower or a smelly bathroom? Chances are, your floor waste, also known as a floor drain, might be the culprit. These often-overlooked components are vital for keeping water where it belongs and preventing unpleasant odors. But for many, the inner workings of a floor waste can seem a bit mysterious. Don’t worry! This guide is designed to demystify them. We’ll walk you through each part, explain what it does, and give you the confidence to tackle any minor issues. Let’s get your drains flowing freely and smelling fresh!
What is a Floor Waste and Why Does It Matter?

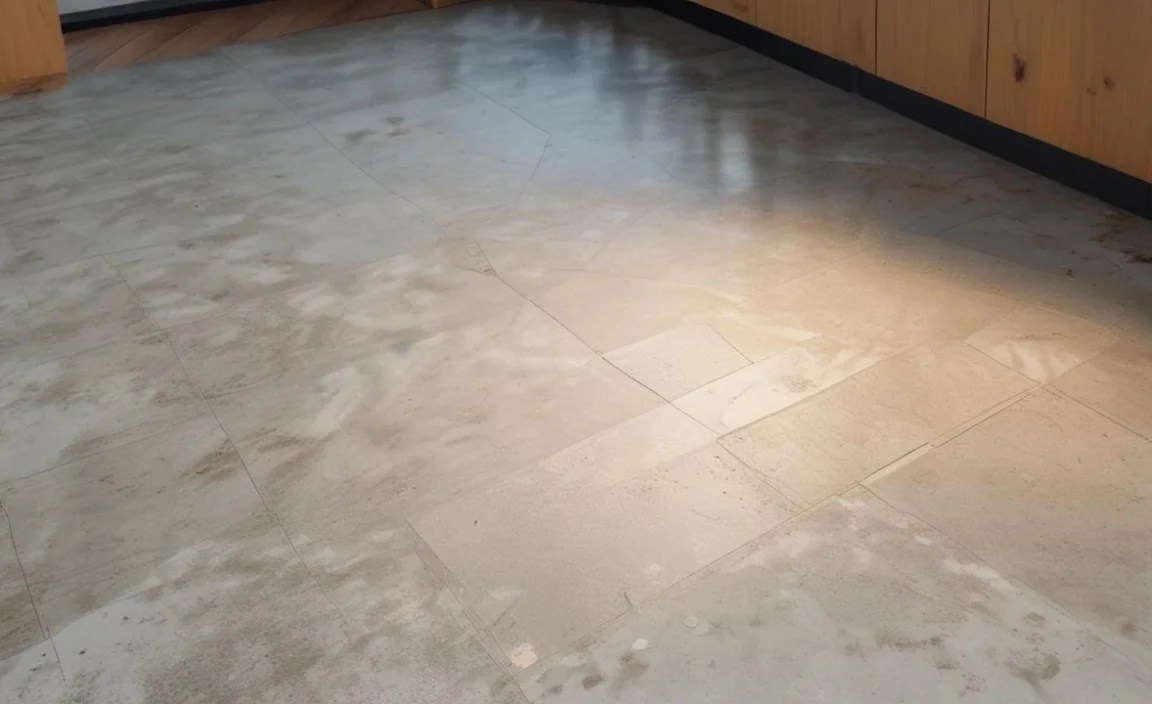
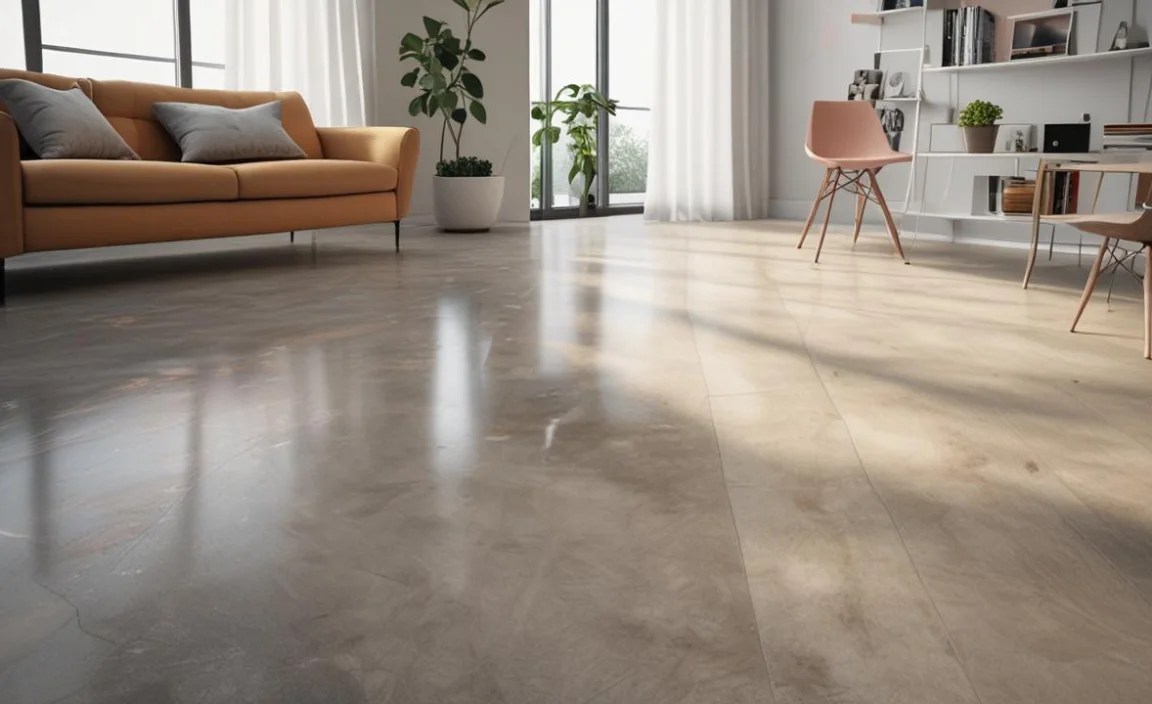
A floor waste is a drain installed in the floor, typically in wet areas like bathrooms, laundries, kitchens, and outdoor patios. Its primary job is to collect and carry away excess water, preventing flooding and water damage to your home’s structure. Think of it as the unsung hero of your plumbing system, silently working to keep your living spaces dry and hygienic. Without a functioning floor waste, even minor spills or everyday water use could lead to serious problems. Understanding its parts is the first step to ensuring it works correctly and to performing basic maintenance yourself.
The importance of a well-functioning floor waste cannot be overstated. It’s not just about convenience; it’s about protecting your home. Water left standing on a floor, especially in areas not designed for it, can seep into subflooring, walls, and even foundations. This can lead to:
- Mold and mildew growth, posing health risks.
- Structural damage, leading to costly repairs.
- Pest infestations attracted to damp environments.
- Unpleasant odors caused by stagnant water and decay.
By familiarizing yourself with the components of your floor waste, you’ll be better equipped to identify issues and perform simple upkeep, saving you time and money in the long run.
The Core Components: A Detailed Look at Floor Waste Parts

Let’s dive into the different parts that make up a typical floor waste. While designs can vary slightly, most share these essential components. Understanding each one will help you troubleshoot and maintain your drainage system effectively.
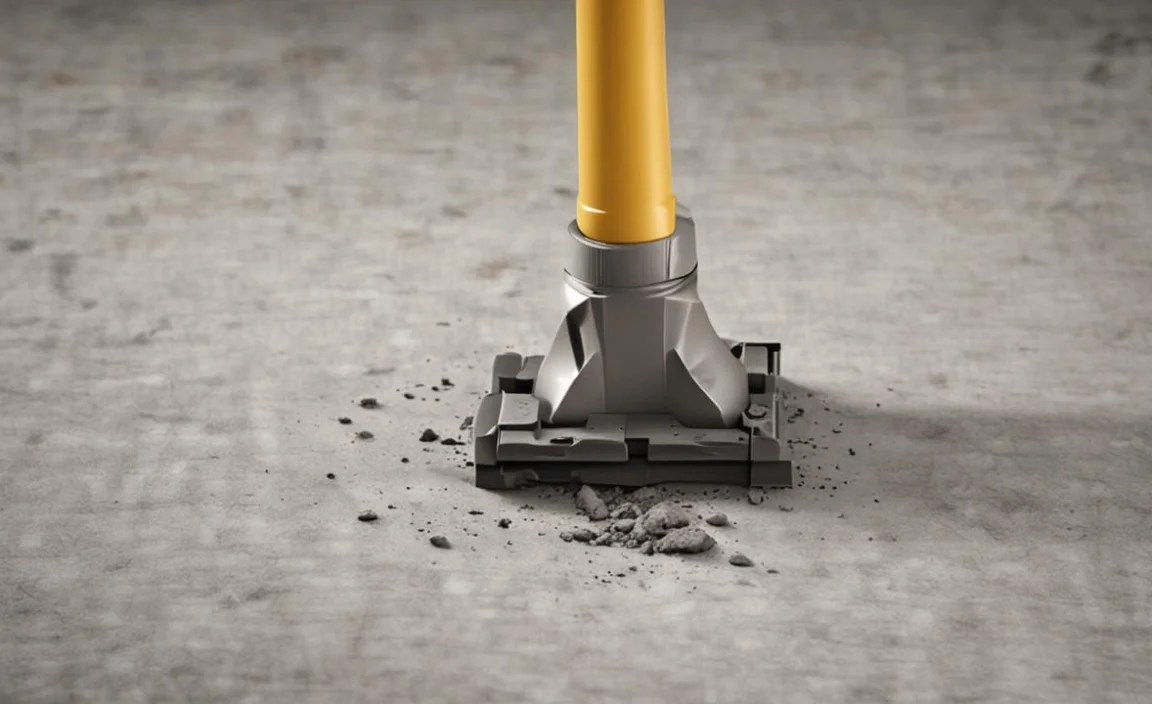
1. The Grate (or Strainer)
This is the part you see on the very top of the floor waste. It’s usually a metal (often stainless steel, brass, or chrome-plated) cover with holes or slots. Its main function is to prevent larger debris, like hair, soap scum, or small objects, from entering the drainpipe and causing blockages. It also serves as a protective barrier, preventing feet or items from falling directly into the drain.
Types of Grates:
- Domed Grates: These have curves that help guide water towards the drain opening.
- Flat Grates: Simpler in design, they lie flush with the floor.
- Decorative Grates: These are designed to be aesthetically pleasing, matching your bathroom or kitchen decor.
Maintenance Tip: Regularly remove and clean the grate. Hair and gunk often accumulate here, impeding water flow. A simple scrub with an old toothbrush and some soapy water usually does the trick.
2. The Body (or Housing)
This is the main structural part of the floor waste, usually made of plastic or metal. It sits directly below the grate and extends down to connect with the trap and the drainage pipe. The body houses the other components and provides a clear path for water to flow from the grate into the trap and beyond.
The material of the body is important for durability and compatibility with your plumbing. Plastic bodies are common in modern installations due to their resistance to corrosion and ease of installation. Metal bodies, often brass or stainless steel, are durable and can be more aesthetically appealing, especially when the grate and body are designed as a single unit.
3. The Trap (or Water Seal Trap)
This is arguably the most critical part of the floor waste for hygiene. The trap is a U-shaped section within the body of the waste that always holds a small amount of water. This “water seal” acts as a barrier, preventing foul-smelling sewer gases from rising up from the drainage pipes and entering your home.
When water flows down the drain, it fills the U-bend. After the water has passed, a small amount remains in the bend, blocking the passage for gases. If the water seal dries out or is siphoned away, the unpleasant odors will escape. This is why it’s important to run water down drains periodically, especially in seldom-used areas.
How the Trap Works:
- Water enters the U-shaped bend from above.
- The water fills the bend up to a certain level.
- This standing water creates a seal.
- Sewer gases are blocked from entering the room.
- When more water flows, it pushes the old water out and creates a new seal.
There are different types of traps used in floor wastes, each with its own mechanism for maintaining the water seal. Understanding your trap type can be helpful if you encounter issues like drying out or siphoning.
4. The Trap Seal
This isn’t a separate physical part in the same way the grate or body is, but rather the depth of the water held within the trap. Building codes specify a minimum trap seal depth (often around “50mm” or about 2 inches in Australia and the UK) to ensure an effective barrier against sewer gases. A shallower trap seal is more susceptible to drying out or being siphoned away.
If you notice sewer gases escaping, it could indicate that your trap seal isn’t sufficient or has been compromised. This might be due to:
- Evaporation: If the drain isn’t used frequently, the water can evaporate.
- Siphoning: Improper ventilation in the plumbing system can create a vacuum that pulls water out of the trap.
- Drying Out: In very hot or dry climates, evaporation can be accelerated.
For more information on plumbing codes and standards related to traps and seals, you can refer to resources like the International Code Council (ICC), which helps develop building codes that ensure safety and functionality of plumbing systems.
5. The Outlet (or Spigot)

This is the connection point where the floor waste body connects to the main drainage pipe. Water passes through the trap and then exits the floor waste assembly through this outlet to flow into the larger sewer or septic system.
The size and type of outlet are important for ensuring proper flow rates and compatibility with the existing plumbing. Most floor wastes will have a standard outlet diameter, but it’s something to be aware of if you’re replacing a unit or have unique plumbing requirements.
Ensuring a secure and watertight connection at the outlet is crucial. Any leaks here could lead to water damage beneath the floor. This is typically achieved using appropriate sealants and fittings designed for plumbing applications.
6. The Trap Dip (or Inlet Side of the Trap)

This refers to the point where water enters the U-shaped trap. The design of this inlet is important in how effectively it captures and holds water to form the seal.
7. The Seal Dip (or Outlet Side of the Trap)

This is the point where water exits the U-shaped trap, completing the water seal. The configuration of the trap dip and seal dip dictates the depth of water that will be retained.
Common Types of Floor Waste Traps

While the U-bend is the most common design, there are several types of traps integrated into floor wastes, each with slightly different mechanisms for maintaining the water seal. Knowing these can help you understand your plumbing better.
A. P-Trap
The P-trap is the most widely recognized type. It’s shaped like the letter ‘P’ when viewed from the side, featuring a U-bend connected to a horizontal pipe. In a floor waste, the U-bend is integrated within the waste body itself, and the outlet from the U-bend connects to the drainage pipe. Its effectiveness relies on retaining water in the U-bend after flow stops.
B. S-Trap
An S-trap is shaped like the letter ‘S’. Water flows down a vertical pipe, into a U-bend, and then out through another vertical pipe. S-traps were common in older installations but are often discouraged or prohibited in modern plumbing codes in many regions. This is because they are more prone to siphoning, where the flow of wastewater can pull the water seal out of the trap, allowing sewer gases to escape. The ICC plumbing codes now generally require proper venting for any trap type to prevent siphoning issues.
C. Bottle Trap
These traps are more compact and resemble a bottle or a series of cylinders. They achieve the water seal by creating a pocket where water is held. Bottle traps are often used in situations where space is limited, such as under sinks with pedestal legs or in very shallow floor assemblies. They can be easier to clean due to their design, sometimes featuring removable caps or sections.
D. Dry Trap
A dry trap, sometimes called a zero-water trap or an auto-vent trap, is a mechanical device designed to prevent sewer gases from entering a room without relying on a standing water seal. These traps use a one-way valve or diaphragm that opens to allow wastewater to pass through but closes when there is no flow, sealing the pipe. They are ideal for areas that are seldom used, such as guest bathrooms or floor drains in basements that don’t get frequent use, as they don’t suffer from evaporation. However, their mechanical nature means they can potentially fail if not maintained or if debris obstructs the valve.
Table: Comparing Floor Waste Trap Types
Here’s a quick comparison to help you understand the differences between common trap types:
| Trap Type | Description | Pros | Cons | Ideal Use Cases |
|---|---|---|---|---|
| P-Trap | U-shaped bend retaining water. | Effective water seal, widely used, reliable. | Can be prone to drying if unused; requires proper venting to prevent siphoning. | Standard bathrooms, kitchens, laundries, any area with regular water usage. |
| S-Trap | ‘S’ shaped with two vertical sections. | Compact in some installations. | Highly susceptible to siphoning (unless properly vented), often not permitted by modern codes. | Older installations; generally avoided in new builds. |
| Bottle Trap | Cylindrical chambers holding water. | Space-saving, can be easier to clean, good for exposed plumbing. | Can be more complex to install, potential for clogging in the narrower chambers. | Wet rooms, open vanities, areas with restricted space. |
| Dry Trap (Auto-Vent) | Mechanical valve, no standing water. | No evaporation issues, ideal for infrequent use areas, prevents sewer gas. | Mechanical failure possible, may not handle heavy debris as well, can be more expensive. | Guest bathrooms, basement drains, floor drains in unused spaces, marine applications. |
DIY Maintenance and Care for Your Floor Waste

Protecting your floor waste involves simple, regular maintenance. Following these steps can prevent most common issues and keep your drains flowing smoothly.
Regular Cleaning Schedule
Make it a habit to clean your floor waste. How often depends on the location and usage:
- High-Use Areas (e.g., main bathroom shower): Weekly or bi-weekly.
- Medium-Use Areas (e.g., laundry, kitchen sink drain): Monthly.
- Infrequent-Use Areas (e.g., basement floor drain): Quarterly or semi-annually.
Step-by-Step Cleaning Process
Here’s how to clean your floor waste:
- Safety First: Ensure there are no electrical outlets or appliances near the drain where water might splash. Wear rubber gloves to protect your hands.
- Remove the Grate: Most grates can be lifted off by hand. Some might be secured with a screw; if so, use the appropriate screwdriver.
- Clear Debris: Use your gloved hand or a tool like a pair of tongs or a paperclip to carefully remove any visible hair, lint, soap scum, or other debris from the grate and the opening of the waste body.
- Clean the Grate: Wash the grate thoroughly with warm, soapy water and an old toothbrush or scrub brush. Rinse it well.
- Inspect the Body: With the grate removed, look into the body of the waste. You might see the top of the trap. Remove any visible gunk or residue you can reach.
- Flush with Hot Water: Pour a kettle of hot (not boiling, especially for plastic pipes) water down the drain to help dissolve grease and soap residue.
- Optional: Baking Soda and Vinegar: For deeper cleaning or to tackle odors, pour about half a cup of baking soda down the drain, followed by half a cup of white vinegar. Let it fizz and work for 15-30 minutes, then flush with more hot water. This is a natural, effective cleaning method.
- Optional: Use Biological Drain Cleaner: For regular maintenance, consider using enzyme-based drain cleaners. These use natural bacteria to break down organic waste and are generally safer for pipes and the environment than harsh chemical cleaners. Always follow the product instructions.
- Reassemble: Place the clean grate back in its position, ensuring it sits firmly. If it had a screw, re-secure it.
- Test the Drain: Run water into the drain for a minute or two to ensure it flows freely and that the trap is filling correctly to create the water seal.
Dealing with Odors
If your floor waste is giving off unpleasant smells, it’s usually due to a compromised water seal or accumulated gunk. Follow these additional steps:
- Ensure Water Seal: If the drain is in an area not used often, pour a gallon of water down it to refill the trap and re-establish the seal. Do this regularly (e.g., monthly).
- Deep Clean: Perform the detailed cleaning process described above, paying extra attention to removing any slime or residue from the body and trap.
- Check for Leaks: A plumbing leak could cause water to drain from the trap. If you suspect a leak, it’s time to call a professional plumber.
- Ventilation Issues: If the smell persists despite a good water seal and cleanliness, it might indicate a problem with your plumbing’s ventilation system, which allows sewer gases to be siphoned out or escape. This is a job for a professional.
For more detailed information on plumbing maintenance and best practices, consulting resources from organizations like Plumbtidings (a UK-based plumbing resource) can provide further insights into trap functions and drainage systems.
When to Call a Professional Plumber
While regular cleaning and minor maintenance are DIY-friendly, some floor waste issues require expert attention. Don’t hesitate to call a professional if you encounter any of the following:
- Persistent Slow Draining: If the drain remains slow even after cleaning, the blockage might be further down the pipe, requiring specialized tools like drain snakes or hydro-jetting equipment.
- Complete Blockage: If water isn’t draining at all, don’t force it with harsh chemicals, which can damage pipes.
- Foul Odors That Won’t Go Away: Persistent smells despite a functioning water seal and clean drain can indicate a serious ventilation problem or a cracked pipe.
- Suspected Leaks: If you see water damage around the floor waste, notice dampness beneath floors, or hear dripping sounds, there could be a leak in the waste body or its connection to the drainpipe.
- Damaged Components: If the grate is broken, the waste body is cracked, or the connections are loose, replacement might be necessary.
- Recurring Problems: If you find yourself constantly dealing with the same issues, a professional can diagnose the root cause, which might be an installation flaw or an undersized pipe.
A plumber has the knowledge, tools, and experience to diagnose complex problems safely and efficiently, ensuring your plumbing system is functioning correctly and up to code. They can also advise on upgrades or repairs that will enhance the longevity and performance of your drainage system.
FAQ: Your Floor Waste Questions Answered
Q1: What is the most common reason a floor

