
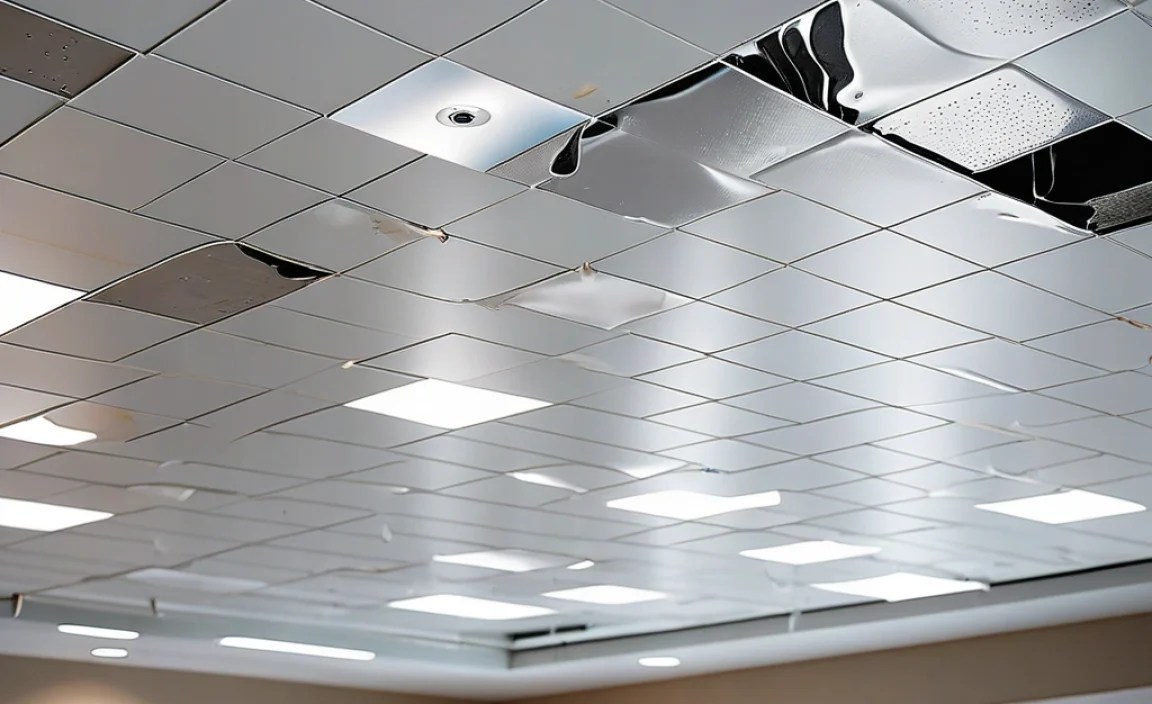
A patch leaking ceiling can be a frustrating and potentially damaging problem for any homeowner. What starts as a small, discolored spot can quickly escalate into a significant structural issue if left unaddressed. Fortunately, with the right approach, a stunning fix for a leaking ceiling is entirely achievable, restoring both the aesthetic appeal and the integrity of your home.
Identifying the Source: The First Step to a Stunning Fix
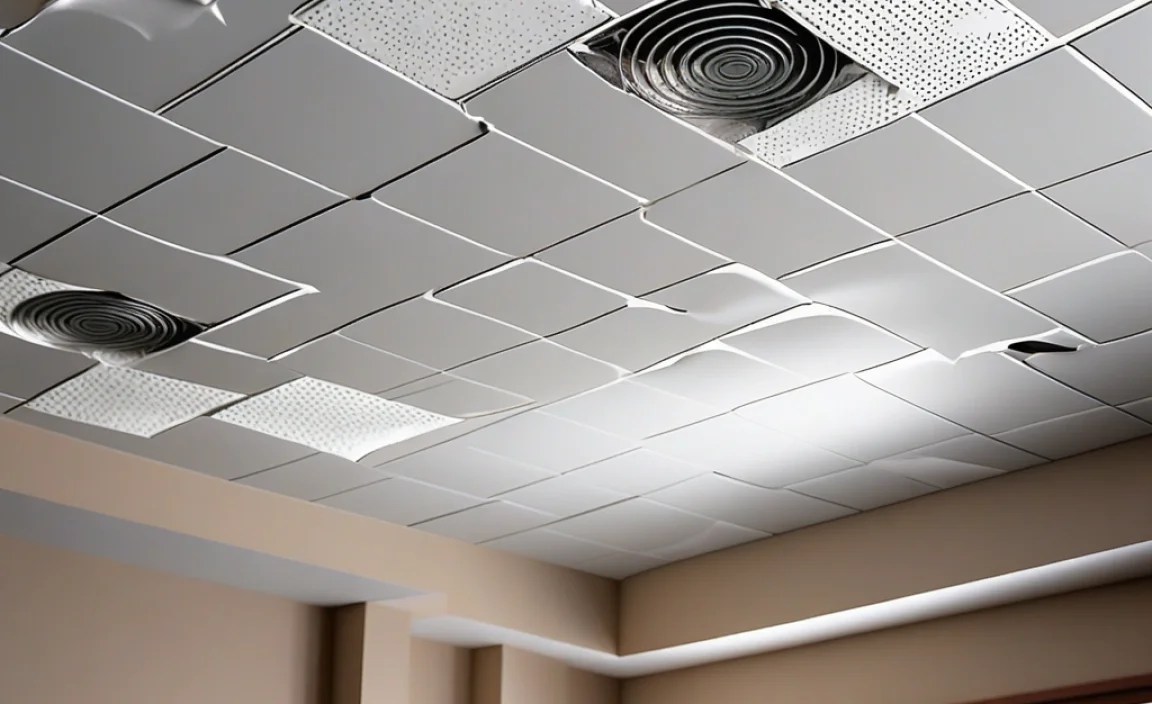

Before any patching can begin, the absolute first priority is to pinpoint the source of the leak. A patch on the ceiling is merely a symptom; the root cause needs to be identified and rectified. Ignoring the origin will only lead to a recurring problem, and potentially more extensive water damage over time.
Roof Issues: The most common culprit for ceiling leaks is a compromised roof. Missing or damaged shingles, cracked flashing around chimneys or vents, and clogged gutters that cause water to back up are all prime suspects. If you suspect a roof leak, a thorough inspection, ideally by a professional roofer, is essential.
Plumbing Problems: Leaks originating from the floor above are another frequent cause. This could be a burst pipe, a leaky fixture (like a toilet or shower), or even a faulty appliance with a water connection, such as a washing machine or refrigerator. Check for any visible signs of water around plumbing fixtures or appliance connectors.
HVAC Systems: Air conditioning units, especially those in attics, can develop leaks from condensation buildup or faulty drain lines. Ensure your HVAC system is properly maintained and that its drainage system is clear.
Window and Door Seals: In some cases, leaks can be caused by faulty seals around windows or skylights, allowing rainwater to seep in.
Observing when the leak occurs is also a vital clue. Does it only happen when it rains heavily? This points strongly towards a roof issue. Is it constant, or does it appear intermittently? This might suggest a plumbing problem that is active only when water is being used.
Temporary Measures Before the Stunning Fix
While you work on identifying and repairing the source of the leak, it’s crucial to implement temporary measures to mitigate damage.
Catch the Drip: Place buckets or containers directly beneath the active drip to collect water. Line the floor around the area with old towels or plastic sheeting to protect your flooring.
Ventilate: If the leak has caused significant moisture buildup, use fans to help dry out the affected area. This can prevent mold and mildew growth.
Puncture if Necessary (with caution): In extreme cases, if the ceiling is bulging significantly with water, it might be necessary to carefully puncture the bulge with a sharp object. This allows the accumulated water to drain in a controlled manner, potentially preventing a larger section of the ceiling from collapsing. Be prepared for a significant amount of water release.
Preparing for the Patch: Tools and Techniques for a Stunning Fix
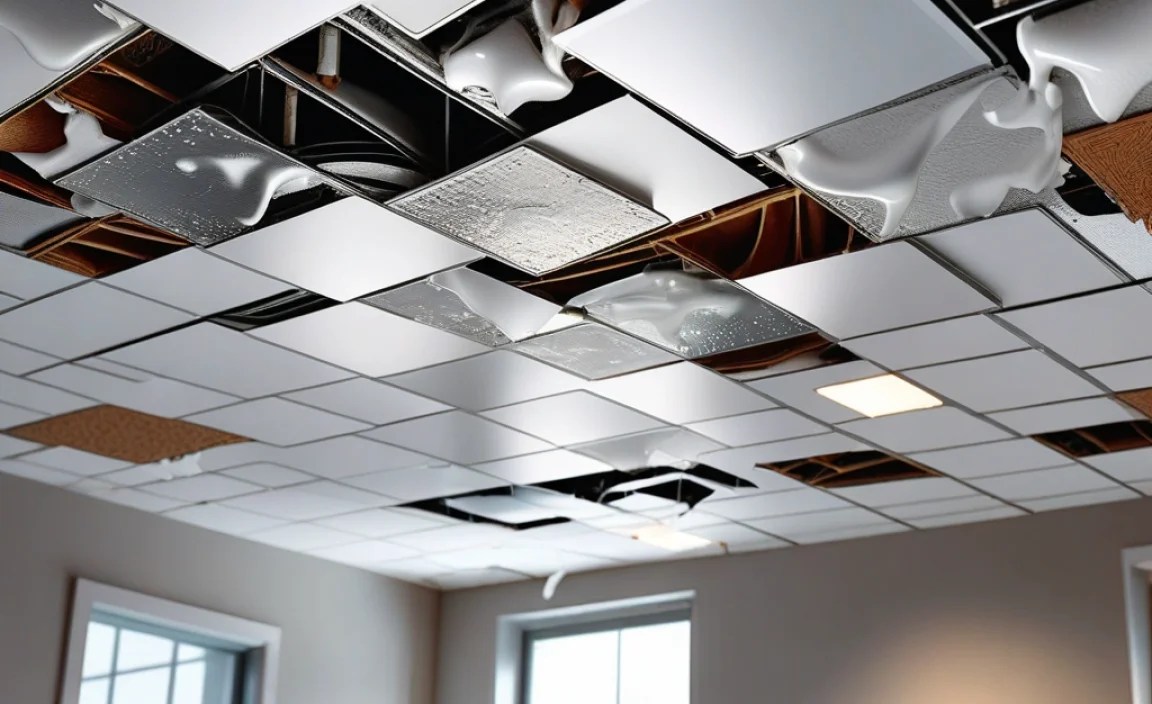
Once the source of the leak has been repaired and the area has had a chance to dry thoroughly, the real work of patching can begin. This is where you transform a damaged ceiling into a pristine surface.
Materials Needed for a Stunning Ceiling Patch:
Spackling Compound or Joint Compound: Choose a lightweight spackling compound for small holes and cracks, or a joint compound (all-purpose or lightweight) for larger repairs.
Putty Knife or Taping Knife: Essential for applying and smoothing the compound.
Sandpaper: Medium-grit (around 120-150) for initial sanding and fine-grit (around 220) for a smooth finish.
Primer: To seal the patched area and ensure even paint coverage.
Paint: Matching your existing ceiling color.
Drop Cloths: To protect your furniture and floor.
Safety Glasses and Dust Mask: For protection during sanding.
Utility Knife: To trim away any loose or damaged drywall.
Drywall Tape (for larger holes): Fiberglass mesh tape or paper tape.
The Patching Process: From Damaged to Dazzling
1. Clean and Prepare the Area: Remove any loose paint, debris, or water-damaged material from the area around the leak. Use a utility knife to cut away any granulated or crumbling drywall. For larger holes, you may need to cut out a neat square or rectangle of damaged drywall and replace it with a new piece of drywall.
2. Apply Joint Compound (for larger holes): If you’ve replaced a section of drywall, apply joint compound to the seams. Embed drywall tape into the wet compound, smoothing it out with your knife. Allow this to dry completely according to the product instructions. You will likely need to apply at least two to three thin coats, allowing drying time and light sanding between each coat.
3. Apply Spackling Compound (for smaller holes/cracks): For smaller imperfections, apply a thin, even layer of spackling compound with a putty knife, pressing it firmly into the hole or crack. Overfill slightly, as the compound may shrink as it dries.
4. Allow to Dry: Let the spackling compound or joint compound dry completely. This can take several hours, depending on humidity and the thickness of the application.
5. Sand Smooth: Once dry, gently sand the patched area until it is flush with the surrounding ceiling and feels smooth to the touch. Use your fine-grit sandpaper for the final pass. Wipe away all dust with a damp cloth.
6. Prime the Patch: Apply a thin coat of primer over the entire patched area. This seals the compound and ensures that the paint will adhere evenly. Allow the primer to dry completely.
7. Paint: Apply your matching ceiling paint. You will likely need two coats for complete coverage. Ensure each coat dries thoroughly before applying the next.
Beyond the Patch: Preventing Future Leaks
A stunning fix is not just about repairing the immediate damage; it’s also about preventing it from happening again. Regular maintenance is key.
Roof Inspections: Schedule annual roof inspections to catch minor issues before they escalate. Clean your gutters regularly to prevent water buildup.
Plumbing Checks: Periodically inspect visible plumbing for any signs of leaks or corrosion. Consider an annual check of your main water shut-off valve.
* HVAC Maintenance: Ensure your HVAC system is serviced regularly to prevent condensation and drainage issues.
By addressing leaks promptly, utilizing effective patching techniques, and implementing preventative maintenance, you can achieve a truly stunning fix for your leaking ceiling and safeguard your home for years to come.
