
Remove grout tips easily with simple methods and the right tools, making your tile refresh a breeze. This guide offers clear, step-by-step instructions for a cleaner, brighter tile surface without the hassle. Get ready to achieve professional-looking results yourself!
Ah, grout. It’s that humble filler between your beautiful tiles, holding them together and completing the look. But over time, grout can get dirty, dingy, and just plain unappealing. Spills, mildew, and general wear and tear can turn even the most pristine tile job into something that makes you wince. You might be tempted to call in the pros or even rethink your entire tile project. But before you do, know this: removing old grout is a totally manageable DIY task! With the right approach and a few simple tools, you can successfully remove grout and prepare your tiles for a fresh start.
Don’t let the thought of scraping away grime overwhelm you. We’ll walk you through proven methods that are effective yet beginner-friendly. You’ll learn which tools work best, how to protect yourself and your surroundings, and the step-by-step process to get that old grout out of the way. Get ready to gain that much-needed confidence as we break down how to remove grout effortlessly.
Why Remove Old Grout?

There are several compelling reasons to tackle grout removal. It’s not just about aesthetics, though a clean grout line certainly looks fantastic. Removing old grout is often a necessary step for a successful tile repair or restoration project. So, why exactly might you find yourself needing to remove grout?
- Aesthetic Improvement: The most obvious reason! Stained, discolored, or mildew-ridden grout can significantly detract from the beauty of your tiles. Fresh grout makes your tiles look new again.
- Repairing Cracks and Gaps: Over time, grout can crack or crumble, especially in high-traffic areas or in wet environments like bathrooms and kitchens. These cracks can allow water to seep behind tiles, leading to bigger problems like mold or structural damage. Removing the damaged grout and replacing it is crucial for preventing further issues.
- Regrouting for Durability: Sometimes, the existing grout might be poorly installed, too soft, or simply not the right type for its location. Replacing it with a more durable or appropriate grout can strengthen your tile installation.
- Changing Grout Color: If you’re tired of your current grout color or want to update the look of your tiled area without replacing the tiles themselves, removing the old grout and applying a new color is an effective solution.
- Addressing Mold and Mildew: While cleaning can help, deeply embedded mold and mildew in porous grout can be persistent. Removing the grout entirely ensures you get rid of the source of the problem and can then use mold-resistant grout.
Essential Tools for Grout Removal
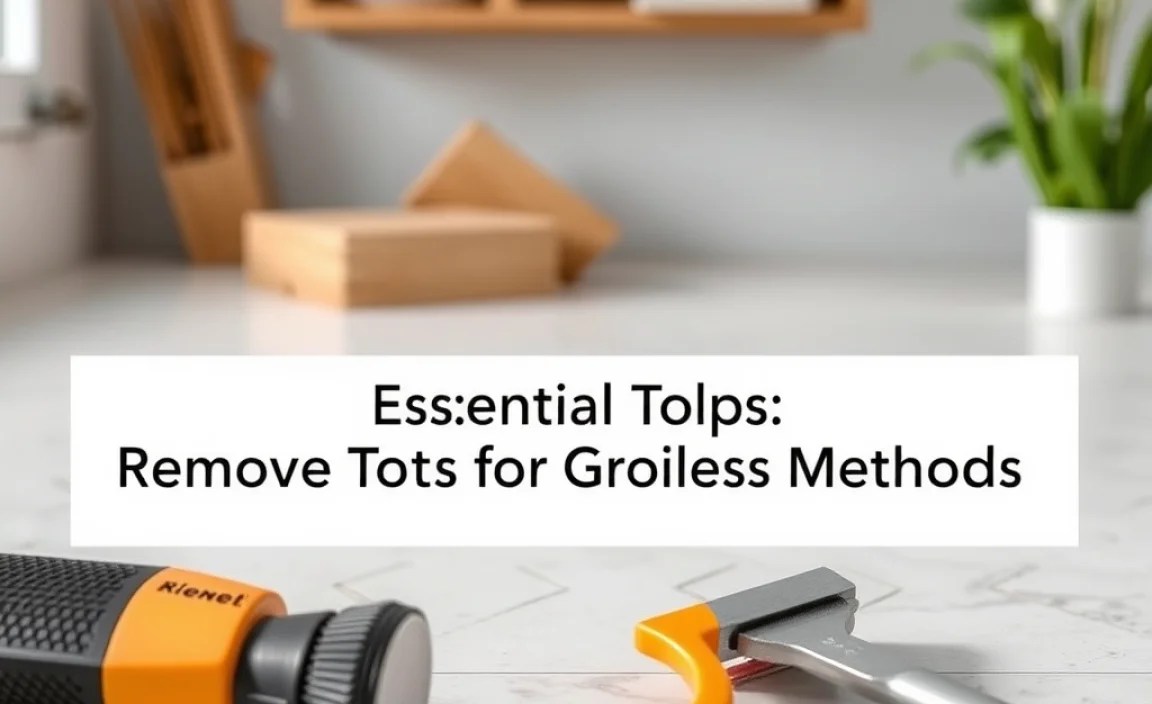
Gathering the right tools is the first step towards making grout removal feel effortless. You don’t need a complex arsenal; a few specialized tools, along with some common household items, will get the job done. Having these ready will streamline the process and help you work more efficiently and safely.
Manual Tools for Precision and Small Jobs
For smaller areas or when you need precise control, manual tools are your best friends. They allow you to work at your own pace and are perfect for beginners.
- Grout Saw (or Grout Rake): This is often the go-to tool for DIYers. It looks like a small hacksaw with a serrated blade designed specifically to dig into grout lines. Some models have interchangeable blades for different grout widths.
- Utility Knife or X-Acto Knife: For very fine detailing or starting a stubborn line, a sharp utility knife can be useful. Be very careful, as these are sharp and can easily slip.
- Screwdriver (Flathead): A small, sturdy flathead screwdriver can be used to chip away at grout, especially in corners or where the grout line is wider.
Power Tools for Faster Removal
If you have a larger area to cover or want to speed up the process, power tools can be a game-changer. However, they require a bit more practice and careful handling to avoid damaging tiles.
- Oscillating Multi-Tool with Grout Blade: This is incredibly effective. The oscillating head vibrates, allowing the specialized grout blade to quickly cut through grout. It’s fast but requires a steady hand.
- Rotary Tool (like a Dremel) with Grout Bit: Similar to an oscillating tool, a rotary tool with a grout removal attachment can be very efficient. It spins a small bit to grind away the grout.
- Angle Grinder with Diamond Blade (Use with Extreme Caution): For very tough jobs and experienced users only. An angle grinder can remove grout rapidly but carries a high risk of damaging tiles if not used with extreme care and the right attachment. Not recommended for beginners.
Safety and Preparation Gear
Safety first! Grout removal creates a lot of dust, and there’s a risk of chips flying. Don’t skip these:
- Safety Glasses or Goggles: Absolutely essential to protect your eyes from dust and debris.
- Dust Mask or Respirator: Grout dust can be harmful to inhale. A good quality dust mask or respirator is a must.
- Work Gloves: Protect your hands from blisters and sharp edges.
- Knee Pads: You’ll likely be on your knees for extended periods, so these are a lifesaver.
- Drop Cloths or Plastic Sheeting: To protect your floors and surrounding surfaces from dust and debris.
- Vacuum Cleaner with Hose: For continuous dust removal and cleanup.
- Small Brush and Dustpan: For sweeping up dust as you go.
- Bucket of Water: For cleaning tools and potentially dampening dust.
Step-by-Step: How to Remove Grout Effortlessly

Ready to get started? Here’s a breakdown of the process. We’ll cover both manual and power tool methods, so you can choose what works best for you.
Preparation is Key
Before you start scraping, take a few minutes to prepare. This will make the entire process smoother and cleaner.
- Clear the Area: Remove any items from the countertops, floor, or walls near the tiles you’ll be working on.
- Protect Surfaces: Lay down drop cloths or plastic sheeting to cover floors and any furniture.
- Ventilate: Open windows and doors if possible to allow for airflow, especially if using power tools.
- Gather Your Tools: Have all your chosen tools, safety gear, and cleaning supplies within easy reach.
Method 1: Manual Grout Removal (Best for Beginners & Small Areas)
This method is slower but gives you a lot of control and is very effective for smaller jobs or detailed work.
- Start with a Grout Saw or Utility Knife: For a grout saw, position the blade firmly in the grout line. For a utility knife, score a line along the grout.
- Gently Saw or Scrape Along the Grout Line: Apply steady, even pressure. The goal is to cut through the grout without damaging the edges of the tiles. Work in short strokes, moving along the entire length of the grout line.
- Work in Both Directions: For a grout saw, you can often use a back-and-forth sawing motion. With a utility knife or a screwdriver, you might need to work from both sides of a grout line if it’s wide.
- Chip Away Stubborn Bits: If you encounter a particularly tough section, a small flathead screwdriver can be used to gently chip away at the grout. Angle the screwdriver away from the tile edge to avoid chipping the tile itself.
- Focus on Depth: Try to remove as much of the old grout as possible, aiming to get down to the level of the tile or slightly below. This ensures the new grout has a good surface to adhere to.
- Clean as You Go: Use your vacuum cleaner with the hose attachment to suck up dust and debris frequently. A small brush can help sweep dust into the vacuum nozzle.
- Repeat for All Lines: Continue this process for every grout line you need to clear.
Method 2: Power Tool Grout Removal (Faster for Larger Areas)
This method is much faster but requires a bit more finesse to avoid damaging your tiles. Read your tool’s manual carefully before starting!
- Attach the Correct Blade: Ensure you have the appropriate grout removal blade or bit for your oscillating tool or rotary tool.
- Set Up for Safety: Put on your safety glasses, dust mask, and gloves. Ensure you have good lighting and ventilation.
- Test on an Inconspicuous Area: If possible, test the tool on a small, hidden section of grout to get a feel for its power and how it cuts.
- Position the Tool: Hold the tool firmly with both hands. Position the blade so it’s centered in the grout line.
- Start the Tool and Gently Guide: Turn on the tool and let it do the work. Guide it smoothly along the grout line. Avoid pressing too hard; let the tool’s vibration or rotation do the cutting.
- Work with the Tile Edges: Be extremely careful not to let the blade touch the tile edges. The oscillating tool’s side-to-side motion is less likely to damage tiles than a spinning bit, but caution is still paramount. Hold the tool at a slight angle to keep the main cutting surface away from the tile.
- Remove in Sections: Work in shorter passes and go over areas if needed. It’s better to make multiple careful passes than one aggressive, potentially damaging pass.
- Vacuum Debris Constantly: This is even more important with power tools due to the volume of dust produced. Keep the vacuum hose nearby to suck up debris as it’s generated.
- Clean Out Corners and Edges: Power tools might not reach deep into corners or tight edges perfectly. You may need to finish these areas with a utility knife or a small grout saw.
Final Cleaning After Removal
Once all the old grout is out, a thorough cleaning is essential before applying new grout.
- Vacuum Thoroughly: Vacuum all the grout lines and the surrounding tile surfaces multiple times to remove all loose dust and debris.
- Wipe with a Damp Cloth: Use a clean, damp cloth or sponge to wipe down all the tile surfaces and grout lines. This will pick up any remaining fine dust particles. Rinse the cloth frequently.
- Inspect the Lines: Check that no significant chunks of old grout remain. If you find any, use your grout saw or knife to carefully remove them.
- Allow to Dry: Ensure the tile and grout lines are completely dry before you proceed to regrouting. This might take several hours or even overnight, depending on humidity. You can use a fan to speed up the drying process.
Choosing the Right Grout Removal Blade

When using power tools, the blade is critical. These blades are specifically designed to cut through the hardened grout without damaging the surrounding tile.
| Tool Type | Blade Type | Best For | Considerations |
|---|---|---|---|
| Oscillating Multi-Tool | Carbide-Tipped Grout Blade (different widths available) | Fast, efficient removal of grout lines. Good control side-to-side. | Requires specific oscillating tool. Blade can wear down. Needs steady hand to avoid tile edges. |
| Rotary Tool (e.g., Dremel) | Diamond-Tipped Grout Removal Bit or Wheel | Precise removal for smaller jobs or detailed work. Can be more controlled than larger tools. | Slower than oscillating tools. Dust creation can be significant. Can overheat if pushed too hard. |
| Manual Grout Saw / Rake | Tungsten Carbide or Steel Serrated Blade | Beginner-friendly, precise control, no risk of damaging tiles beyond the grout line. Cost-effective. | Slow and labor-intensive for large areas. Can cause hand fatigue. |
Using the correct blade ensures efficiency and minimizes the risk of costly tile damage. Always check the blade’s compatibility with your tool and read reviews if you’re unsure.
Grout Consistency and Removal Challenges
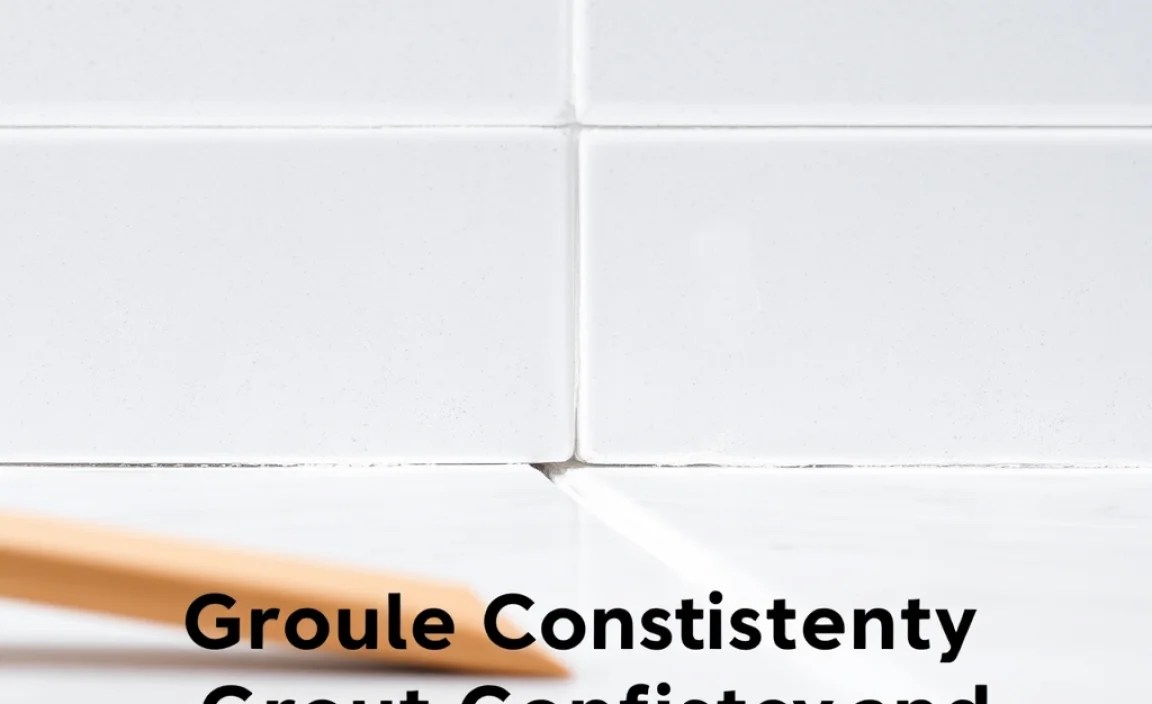
Not all grout is created equal, and this can affect how easy it is to remove. Understanding these differences can help you adjust your technique.
- Cementitious Grout: This is the most common type. When new, it’s like a paste; when old, it hardens but is generally porous and can be chipped or cut away. It’s usually the easiest to remove.
- Epoxy Grout: This is a much harder, more durable, and less porous material. Removing epoxy grout can be significantly more challenging. It might require more aggressive scraping, longer use of power tools, or even specialized epoxy grout removal products. Be extra cautious not to damage tiles when dealing with epoxy grout.
- Pre-mixed Grout: Similar in hardness to cementitious grout, but some formulations can be tougher.
Common Challenges:
- Hardened Grout: Very old or poorly mixed grout can be exceptionally hard. This will require more effort and careful tool selection.
- Grout Damaged by Harsh Chemicals: Sometimes, previous attempts to clean grout with harsh chemicals can make it brittle or uneven, making removal trickier.
- Ceramic vs. Porcelain vs. Stone Tiles: Softer tiles (like some ceramic) are more prone to chipping than harder porcelain or natural stone tiles. Always be mindful of the tile material you’re working around. For delicate tiles, manual methods are almost always preferable.
For a deeper dive into grout types and their properties, resources like BuildingGreen’s overview of grout materials can provide valuable context on different formulations and their performance characteristics.
Tips for Protecting Your Tiles
The biggest fear when removing grout is damaging the tiles themselves. Here are some key tips to prevent that:
- Always Cut Towards the Center of the Grout Line: When using knives or blades, angle them so the cutting edge is directed towards the middle of the grout seam, not towards the tile edge.
- Use a Light Touch with Power Tools: Let the tool do the vibrating or spinning. Forcing the tool can cause it to jump and slip, hitting your tiles.
- Maintain a Consistent Angle: Try to keep your tool at a consistent angle relative to the tile surface.
- Work in Short Bursts: Especially with power tools, take breaks to avoid overheating the tool or your workspace, and to check your progress and the integrity of the tile edges.
- Score Control Marks: For very straight and clean lines, some pros will use painter’s tape to mask off the tile edges, leaving just the width of the grout line exposed. This can help guide your tool and catch errant slips.
- Have a “Repair Kit” Ready: Keep a few spare tiles on hand (if you have them) or know where you can get them in case a tile does get chipped. Small chips can sometimes be disguised with paint or caulk, but replacement is often the best solution.
Remember, patience is your best tool here. Rushing the process is the quickest way to make a mistake.
When to Consider Professional Help
While removing grout is a very achievable DIY task, there are certain situations where bringing in a professional might be wise:
- Extensive Water Damage: If you suspect water has been seeping behind the tiles due to bad grout, a professional can assess the extent of the problem, which might involve more than just regrouting.
- Very Delicate or Expensive Tiles: If your tiles are antique, handmade, made of a very soft natural stone, or particularly valuable, the risk of damage from DIY removal might outweigh the cost savings.
- Large Areas or Complex Layouts: For very large rooms or areas with intricate tile patterns, the sheer volume of work and time required might be better handled by a contractor.
- Lack of Confidence or Time: If you’re not comfortable with hand tools or power tools, or if you simply don’t have the time, hiring a pro is a sensible option.
- Epoxy Grout Removal: As mentioned, epoxy grout is very tough. If you’re facing a large area of it and aren’t experienced, a professional might be more efficient and less risky.
A professional has the experience, specialized tools, and knowledge to remove grout efficiently and safely, especially in challenging circumstances. You can often get quotes from local tile contractors or handymen services.
