
Quick Summary: Unlock significant savings this year by learning how to remove a mirror safely and affordably. This guide provides step-by-step instructions for DIY mirror removal, helping you avoid professional fees and get the job done right.
The thought of removing a mirror, especially a large one, can seem daunting. It’s easy to worry about damaging the mirror, your walls, or even yourself, leading you to consider costly professional removal services. But what if you could achieve the same result with a little know-how and the right approach? This guide is designed to demystify the process, turning what seems like a complicated task into a manageable DIY project. We’ll walk you through everything you need to know to safely and effectively remove mirrors, saving you both money and hassle. Get ready to gain some new skills and keep more money in your pocket this year!
Why Remove a Mirror Yourself? The Savings You’ll See

When it comes time to update your decor, move, or simply replace an old fixture, a large mirror can present a unique challenge. Hiring professionals can add a surprisingly large sum to your renovation or moving budget.
Professional Costs: Depending on your location and the complexity of the mirror (e.g., size, weight, how it’s mounted), professional removal can range from $100 to $500 or more. Specialty services for large or antique mirrors can be even higher.
DIY Advantage: By tackling this yourself, you’re essentially cutting out labor fees. The only costs involved will be for any necessary supplies or tools you might not already own, which is typically a fraction of the professional price.
Control and Flexibility: Doing it yourself means you control the timeline. You can schedule the removal at your convenience without coordinating with a professional’s availability.
Understanding Mirror Types and Mounting Methods
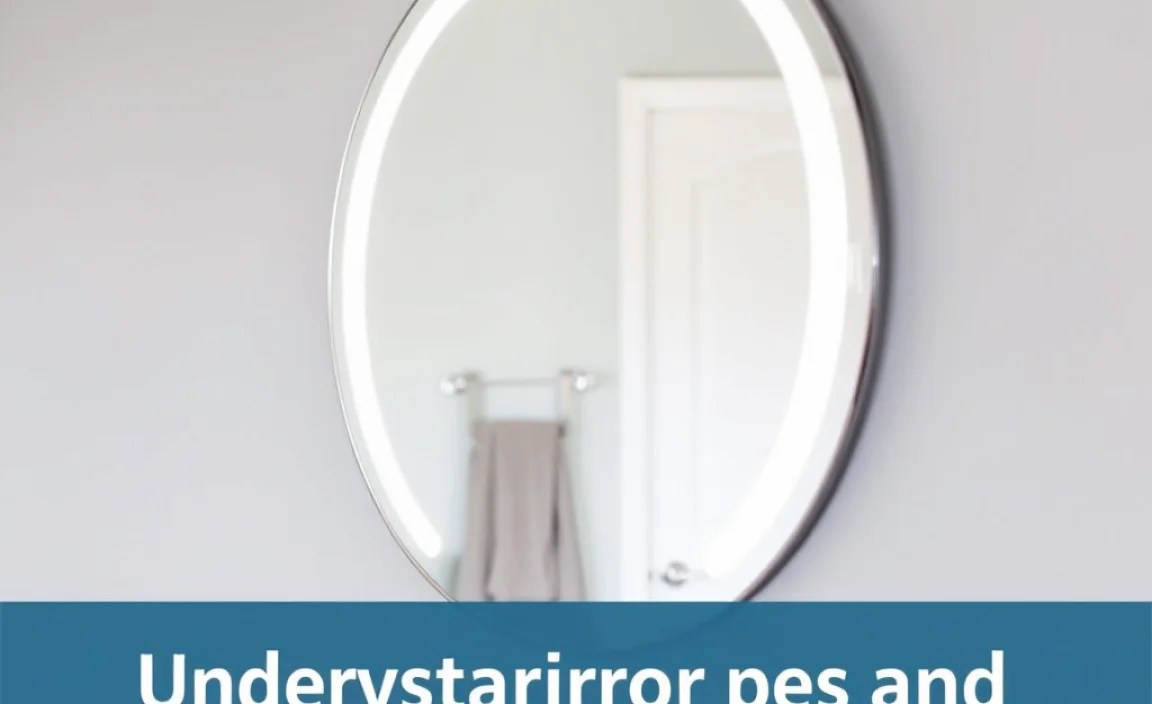
Before you grab any tools, it’s crucial to understand how your mirror is attached. Different mounting methods require different approaches for removal. This is the first step in ensuring safety and preventing damage.
Common Mirror Mounting Types
Mirrors are typically found mounted in a few primary ways:
Adhesive Backing: Many smaller to medium-sized mirrors, especially those found in bathrooms or as decorative pieces, are attached directly to the wall using strong adhesive. These are often frameless or have very thin frames.
Clips or Brackets: Larger mirrors, such as those found over a vanity or as wall-spanning decorative elements, are frequently secured with specialized mirror clips or a mounting bracket system. These can be metal, plastic, or even wood.
Framed Mirrors: Mirrors with substantial frames are often hung like pictures, using D-rings, wire, or French cleats on the back of the frame, which then hook onto screws or anchors in the wall.
Tempered Glass Mirrors: These are safety mirrors designed to break into small, pebble-like pieces rather than sharp shards. They are common in public spaces but can also be found in homes. Their removal requires extra caution due to the risk of a single impact causing widespread shattering.
Identifying Your Mirror’s Mounting
Take a close look at your mirror and its surroundings.
Frameless Mirrors: If the mirror has no visible frame and sits flush against the wall, it’s likely attached with adhesive. You might see a faint outline of adhesive or the mirror might feel very solid against the wall with no movement.
Mirrored Panels: If you have multiple mirrored panels creating a larger mirrored surface, they could be individually clipped or adhered. Look for seams between panels and check if the edges appear to be held by anything.
Framed Mirrors: These are the easiest to identify. Inspect the frame for hanging hardware. If none is visible, gently try to lift or move the frame from the wall. If there’s give, it’s likely hung like a picture.
Vanity Mirrors: Mirrors that are specifically designed for bathrooms, especially those that cover a large portion of the wall above a sink, often use clips. Look along the bottom and sides for small metal or plastic tabs pressing against the mirror surface.
Essential Tools and Safety Gear for Mirror Removal

Safety is paramount when removing mirrors. Glass, even if it’s not tempered, can break and cause serious injury. Always wear protective gear.
Safety Gear Checklist
Safety Glasses or Goggles: Absolutely non-negotiable. These protect your eyes from dust, debris, and potential glass shards.
Heavy-Duty Gloves: Opt for thick work gloves or leather gloves that can offer protection against sharp edges if the glass breaks unexpectedly.
Long-Sleeved Shirt and Long Pants: These provide an additional layer of protection for your skin against accidental cuts.
Closed-Toe Shoes: Protect your feet from falling debris.
Tools You Might Need
The specific tools will depend on how the mirror is mounted, but here’s a general list:
Putty Knife or Scraper: Useful for gently prying or loosening adhesive.
Painter’s Tape or Masking Tape: To secure any loose glass or to help prevent cracking during removal.
Heat Gun or Hair Dryer: Can soften adhesives, making them easier to work with.
Pry Bar (Gentle Use): For carefully dislodging held-in mirrors or frames.
Screwdriver Set (Phillips and Flathead): For removing mounting brackets or clips.
Utility Knife: To score around the edges if adhesive is particularly stubborn.
Drill with appropriate bits: If mounting hardware needs to be unscrewed from within the wall.
Spatula or Stiff Cardboard: To slide behind the mirror if using adhesive, helping to break the bond evenly.
Drop Cloth or Old Sheets: To protect your floor from damage and catch any falling debris.
Ladder or Step Stool: If the mirror is high on the wall. Ensure it’s stable.
Helper: For larger or heavier mirrors, having a second person is crucial for safety and stability.
Step-by-Step Guide: Removing Mirrors Safely

Let’s break down the removal process based on common mounting methods. Remember, patience and careful application of force are key.
Method 1: Removing Mirrors with Adhesive Backing
This is often the most challenging method due to the strength of adhesives.
Step 1: Prepare the Area
Lay down drop cloths or old sheets on the floor directly below the mirror to catch any falling debris or glass. Clear the surrounding area of any fragile items.
Step 2: Apply Tape for Safety
If the mirror is large or you suspect it might crack, apply painter’s tape in a crisscross pattern across the surface. This helps hold fragments together if the glass breaks. Do not use strong duct tape, as it can be difficult to remove later and might leave residue.
Step 3: Soften the Adhesive (Optional but Recommended)
Use a heat gun on a low setting or a hair dryer to warm the edges of the mirror. Move the heat source constantly to avoid overheating one spot, which could damage the mirror or wall paint. Heat softens most adhesives, making them more pliable.
Step 4: Gently Pry or Slide Behind the Mirror
Start at a corner or edge. Insert a thin, flexible putty knife or a spatula between the mirror and the wall. Work it in gently, trying to break the adhesive bond. If it’s difficult, apply more heat. You can also try sliding a piece of stiff cardboard behind the mirror to help break the adhesive if the putty knife isn’t working well.
For very stubborn adhesive, a utility knife can be used very carefully along the very edge of the mirror to score through the adhesive if it’s visible. Be extremely cautious not to cut too deep and damage the wall beyond the adhesive line.
Step 5: Gradually Loosen the Mirror
Once you have a small gap, continue to work the putty knife or spatula around the edges, gradually loosening the adhesive. If you have a helper, they can gently pull the mirror away from the wall as you loosen it. Work slowly and patiently.
Step 6: Remove the Mirror and Clean Up
Once the adhesive is mostly released, carefully lift the mirror away from the wall. If it’s heavy, ensure your helper is ready to assist or use a suction cup lifting tool if available for larger mirrors. Immediately dispose of any broken glass safely. Clean any remaining adhesive residue from the wall using a scraper or an appropriate adhesive remover. You can find effective adhesive removers at most hardware stores; check product instructions carefully.
Method 2: Removing Mirrors Secured by Clips or Brackets
This method is generally more straightforward and less risky than adhesive removal.
Step 1: Inspect the Clips/Brackets
Look closely at the edges and corners of the mirror. You should see small metal or plastic clips holding the mirror in place. Often, there are also longer brackets, especially at the bottom, that support the mirror’s weight.
Step 2: Remove Any Securing Screws
Examine the clips and brackets. Some may have small screws that go through them and into the wall, or directly into the mirror’s edge. Use a screwdriver of the appropriate type (Phillips or flathead) to remove these screws. Keep the screws in a safe place, perhaps in a small baggie taped to one of the clips.
Step 3: Gently Loosen the Clips
Many clips are designed to swivel or slide out of the way. With the screws removed, try gently pushing or sliding the clips upwards or outwards to disengage them from the mirror’s edge. Some clips might require a slight lift with a putty knife to release them.
Step 4: Lift the Mirror from Bottom Brackets
Once the side clips are disengaged, the mirror will typically rest on bottom brackets. These can be simple L-shaped brackets or a continuous track. Carefully lift the mirror straight up to clear the bottom brackets. Have your helper ready to support the mirror as you lift.
Step 5: Carefully Remove the Mirror
With the mirror lifted free of the brackets, it can now be carefully pulled away from the wall. Support its weight evenly. If it’s a large mirror, a helper is essential here. Place it on a protected surface immediately.
Step 6: Remove Remaining Hardware
Once the mirror is safely removed, unscrew any remaining mounting brackets or clips from the wall. Fill any holes and prepare the wall for painting or redecoration.
Method 3: Removing Framed Mirrors
These are often the simplest to remove if they are hung like traditional wall art.
Step 1: Inspect the Back of the Frame
Carefully take the mirror off the wall if possible, or tilt it gently to see the back of the frame. Look for hanging hardware like D-rings, picture wire, or a French cleat system.
Step 2: Locate Wall Anchors/Screws
Note how the mirror is being supported by the wall. Is it on nails, screws, or wall anchors? For heavier mirrors, it’s common to find screws secured into wall anchors for better support.
Step 3: Carefully Lift the Mirror Off Wall Hooks/Screws
If it’s hung on nails or standard picture hooks, simply lift the frame straight up and then away from the wall. If it’s on screws, you may need to lift it up and then out over the screw heads. For a French cleat, lift the mirror upwards to disengage the cleat from the wall-mounted piece.
Step 4: If Stuck (less common for framed mirrors)
In rare cases, a heavy framed mirror might be adhered to prevent swaying or have a more robust mounting system. If it doesn’t lift easily, re-inspect for hidden clips or adhesive. However, for most framed mirrors, it’s a simple lift-off process.
Step 5: Placement and Wall Repair
Carefully place the framed mirror in a safe location. Remove any nails, screws, or anchors from the wall and repair the holes as needed.
Handling Tempered Glass Mirrors

Tempered glass is designed to be safer, but its removal requires extra precautions.
Step 1: Understand the Risk
Tempered glass will shatter into many small, relatively dull pieces if a significant impact occurs or if it’s stressed unevenly. While safer when broken, the act of removal can induce stress.
Step 2: Generous Taping is Crucial
Apply wide painter’s tape or masking tape liberally over the entire surface of the mirror in a grid pattern. Overlap the tape to provide as much containment as possible. This is your primary defense against a sudden shatter.
Step 3: Use the Clip/Bracket Method if Possible
Tempered glass mirrors are almost always installed with clips or brackets for safety reasons. Follow Method 2 above meticulously. Avoid any methods that require prying directly against the glass surface or excessive force.
Step 4: If Adhesive is Present (Rare for Tempered Glass)
If a tempered glass mirror is adhered, it’s usually professionally installed. Proceed with extreme caution. Soften the adhesive with heat and use a putty knife or spatula very gently. If you feel significant resistance, stop and reassess. It might be safer to call a professional for this specific scenario.
Step 5: Safely Dispose of Broken Glass
Even with taping, there’s a risk of breakage. If the mirror breaks, carefully collect large pieces with gloves and place them in a sturdy cardboard box lined with newspaper or more tape. Seal the box thoroughly and label it clearly as “BROKEN GLASS” before putting it in your trash. Small shards can be swept up and then wiped with a damp paper towel or cloth to pick up tiny fragments.
Dealing with Stubborn Residue and Preparing the Wall
After the mirror is down, you’ll likely be left with adhesive residue or marks on the wall.
Removing Adhesive Residue
Step 1: Identify the Type of Residue
Most mirror adhesives are strong, sticky tapes or epoxies. The method for removal depends on the residue left behind.
Step 2: Scrape and Soften
Start by gently scraping away as much residue as possible with a plastic scraper or putty knife. If the residue is soft and gummy, you might be able to roll it off with your fingers or a clean cloth. For tougher residue, a heat gun on low can sometimes soften it enough to be scraped or rubbed away.
Step 3: Use a Commercial Adhesive Remover
Products like Goo Gone, WD-40 (which is a degreaser and lubricant), or specific adhesive removers can be very effective. Always test the product in an inconspicuous area of the wall first to ensure it doesn’t damage the paint or drywall. Apply the remover to a cloth, rub it onto the residue, let it sit for the time recommended by the product, and then wipe or scrape it away.
For detailed information on general wall repair and cleaning, the United States Department of Energy offers helpful resources on home maintenance.
Home Maintenance and Repair – Energy Saver
Step 4: Wash the Area
Once the residue is gone, wash the area with warm, soapy water to remove any remaining cleaning solution and dry the wall thoroughly.
Preparing the Wall for Next Steps
Step 1: Inspect for Damage
Check the drywall for any gouges, deep scratches, or areas where the paint or primer has been pulled away.
Step 2: Fill Holes and Imperfections
Use a lightweight spackling compound or drywall patch to fill any holes from screws or anchors. For larger damage, you might need a patching compound. Follow the product instructions for application and drying time.
Step 3: Sand Smoothly
Once the patching compound is completely dry, use fine-grit sandpaper (120-180 grit) to sand the patched areas perfectly smooth, flush with the surrounding wall.
Step 4: Prime and Paint
Wipe away any dust from sanding. Apply a coat of primer over the patched areas. Once the primer is dry, you can paint the wall to match the rest of the room. You might need to paint the entire wall for a consistent finish, especially if the paint color has faded over time.
Cost Comparison Table: DIY vs. Professional Mirror Removal
To highlight the potential savings, consider this table:
| Service/Item | Estimated DIY Cost | Estimated Professional Cost |
|---|---|---|
| Labor | $0 (your time) | $100 – $500+ |
| Tools (if you already own most) | $10 – $50 (for specific |
