
Quick Summary: Removing mirror tips doesn’t have to be a challenge! With the right tools and simple techniques, you can safely detach those problematic mirror tips, preserving your surfaces and ensuring a smooth DIY project. This guide offers clear, easy-to-follow steps and clever hacks for beginners.
Ever found yourself staring at a mirror with a stubborn “tip” – that little plastic or metal piece designed to hold it in place – and wondered how to get it off without damaging anything? You’re not alone! Many DIY enthusiasts and homeowners face this common issue, whether they’re upgrading hardware, cleaning, or simply replacing a mirror. The good news is, with a little know-how, removing these mirror tips becomes a straightforward task. We’re here to demystify the process, offering you simple, effective solutions that build your confidence. Get ready to tackle this with ease, and discover how to make your next home project a success!
Why Are Mirror Tips Tricky?
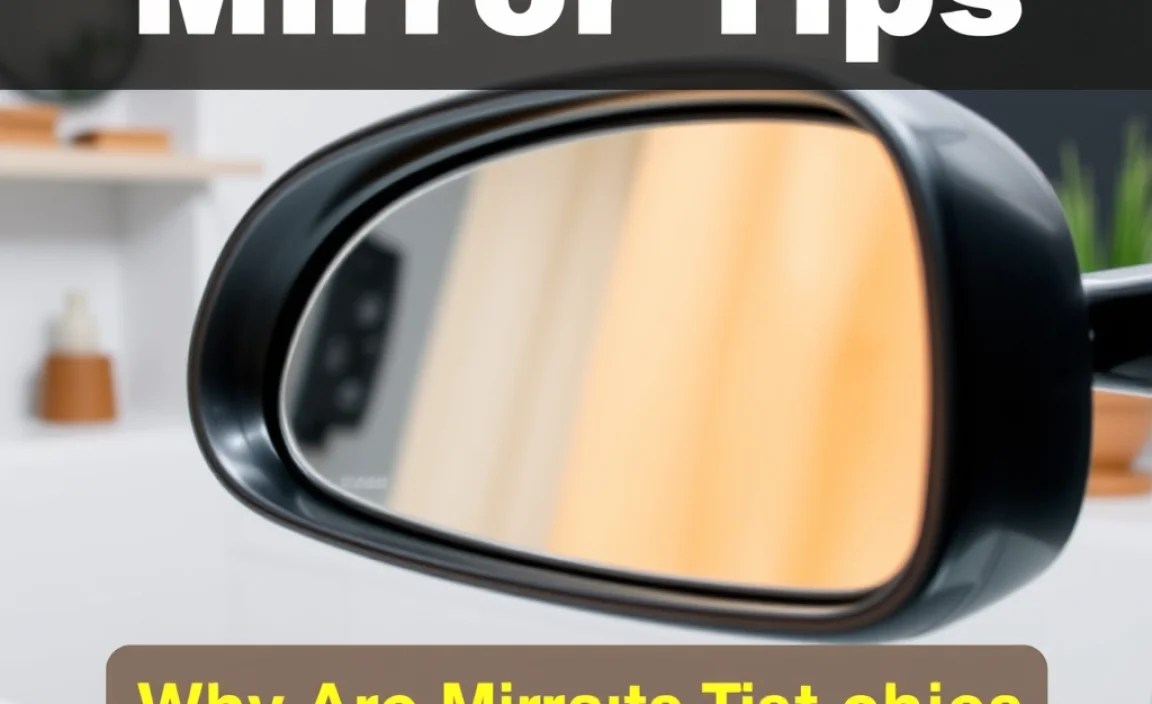
Mirror tips, often found on vanity mirrors, cabinet doors, or decorative wall mirrors, serve a crucial purpose: they secure the mirror to its frame or mounting surface. These tips are designed to be snug, preventing the mirror from shifting or falling. However, this very snugness can make them difficult to remove. They can be made of plastic, metal, or a combination, and over time, they can become corroded, painted over, or simply wedged in extremely tightly. Without the right approach, you risk:
- Scratching the mirror surface
- Damaging the frame or wall
- Breaking the mirror tip, leaving fragments behind
- Injuring yourself with sharp edges
The goal is to remove them cleanly and efficiently, leaving the mirror and its surroundings intact. Let’s explore how to do just that.
Essential Tools for Removing Mirror Tips
Having the right tools on hand is the first step to success. For most mirror tip removal jobs, you won’t need anything too specialized. Here’s what you should consider gathering:
- Screwdriver Set: A small, Phillips head or flathead screwdriver is often all you need if the tips are screwed in. Make sure you have a variety of sizes to fit.
- Pliers: Needle-nose pliers and standard pliers can be incredibly useful for gripping, wiggling, and gently prying.
- Putty Knife or Scraper: A thin, flexible scraper can help ease the tip away from the surface without scratching. Look for plastic ones to be extra safe.
- Gloves: For safety and a better grip, especially if the tips are old or corroded.
- Safety Glasses: Always protect your eyes when working with tools or potentially brittle materials.
- Small Hammer (Optional): For very stubborn tips, gentle taps can sometimes loosen them, but this requires extreme caution.
- Heat Gun or Hair Dryer (Optional): Gentle heat can sometimes soften adhesives or slightly expand materials, making removal easier. Be mindful of heat sensitivity on mirrors or frames.
- Penetrating Oil (e.g., WD-40, for metal tips): If corrosion is an issue, a small amount can help loosen rusted tips. Ensure it won’t stain your mirror or frame.
Preparation is key! Before you start, assess the type of mirror tip you’re dealing with (plastic, metal, screw-in, clip-on) and choose your tools accordingly. It’s always better to have a few extra options than to be stuck halfway through the job.
Step-by-Step: How to Remove Mirror Tips Safely
Let’s break down the process into simple, actionable steps. We’ll cover the most common types of mirror tips encountered.
Scenario 1: Screw-In Mirror Tips
These are the most straightforward. You’ll typically see a screw head either directly visible or hidden within a decorative cap.
- Identify the Screw: Look closely at the tip. Is there a slot for a flathead screwdriver or a cross for a Phillips head? Some decorative caps may need to be gently pried off first to reveal the screw.
- Choose the Right Screwdriver: Select a screwdriver that fits snugly into the screw head. Using the wrong size can strip the screw, making it much harder to remove.
- Loosen the Screw: Turn the screwdriver counter-clockwise (lefty-loosey). Apply steady, even pressure. If the screw is tight, don’t force it.
- Gently Pry (if necessary): Once the screw is loose, the mirror tip might still be held in place by a bit of tension. You can use the edge of your screwdriver or a thin putty knife to gently pry the tip away from the mirror’s edge or the frame. Work your way around the tip if it feels stuck.
- Remove the Tip: Once the screw is fully out and the tip is loosened, it should come off easily. Keep all parts organized for reassembly if needed.
Scenario 2: Clip-On or Snap-Fit Mirror Tips
These tips often have a small tab or slot that allows them to clip into place. They can be more challenging as there’s no visible screw.
- Inspect for Tabs or Gaps: Examine the mirror tip carefully. Look for any small detents, slots, or slight gaps between the tip and the frame or mirror edge. This is where you’ll apply pressure.
- Use a Thin Tool: A thin, flat tool like a putty knife, a specialized trim removal tool, or even a sturdy credit card can be inserted into the gap.
- Gentle Wiggling and Prying: Insert your chosen tool and gently wiggle or apply very light upward or outward pressure. The goal is to disengage the clip mechanism. Avoid excessive force, which could snap the plastic or scratch the surface.
- Work Around the Tip: If one spot doesn’t work, try another. Sometimes, you need to gently work your way around the perimeter of the tip to release multiple clips.
- Consider Needle-Nose Pliers: If you can get a good grip on the tip with needle-nose pliers, you might be able to rock it gently back and forth to loosen the clips. Again, extreme care is needed to avoid damaging the mirror.
Scenario 3: Adhesive-Backed Mirror Tips or Those Painted Over
Over time, tips can become bonded with weak adhesives or covered in paint, making them seem impossible to move.
- Heat Application: For adhesive-backed tips or those with paint acting as a bond, a gentle application of heat can work wonders. Use a hairdryer on a medium setting or a heat gun on its lowest setting. Hold it a few inches away from the tip and move it constantly for about 30-60 seconds. This softens the adhesive or paint.
- Scrape or Pry: Immediately after applying heat, try to carefully insert a putty knife or thin scraper under the edge of the tip. Gently push and pry. The softened adhesive should allow it to lift.
- Penetrating Oil (for Metal Tips): If you have metal mirror tips that are rusted or stuck, a small application of penetrating oil like WD-40 along the seam can help. Let it sit for 10-15 minutes, then try to gently wiggle or tap with a small hammer to break the rust bond. Wipe away any excess oil immediately. For advice on using penetrating oils safely, consult resources like this guide on lubricant applications.
- Patience is Key: If the tip doesn’t budge, reapply heat or oil and try again. Rushing this process is where damage usually occurs.
General Safety Precautions
No matter the type of tip, always keep these in mind:
- Protect Surfaces: Place a soft cloth or towel beneath the area you’re working on to catch any dropped parts or to protect the floor.
- Gentle Pressure: Always use the least amount of force necessary. If something feels like it’s going to break, stop and reassess.
- Work in Good Light: Ensure you have ample light to see what you’re doing and avoid slips.
- Clean Up Thoroughly: After removal, clean the area to remove any dust, debris, or residual oils.
Understanding the nature of the mirror tip and the materials it’s attached to is your greatest asset. With these methods, you’re well on your way to successfully removing them.
Genius Hacks for Stubborn Mirror Tips
When the standard methods don’t quite cut it, a few clever tricks can turn a frustrating situation into a success. These are the “genius hacks” that experienced DIYers often rely on.
The Rubber Band Grip
If a screw head is slightly stripped or you’re having trouble getting a good grip with your screwdriver, try placing a wide rubber band over the screw head before inserting the screwdriver. Press down firmly. The rubber band can fill the gaps in a stripped screw and provide the extra friction needed to turn it.
The Two-Tool Approach (for Stubborn Screws)
For screws that are extremely tight, you can sometimes use two tools simultaneously: one to turn the screw (screwdriver), and a small adjustable wrench or pliers gripping the head of the screwdriver. This allows you to apply more turning force without the risk of breaking the screwdriver handle. Be extremely careful not to over-torque and strip the screw.
The “Shock” Method (with Caution)
For metal tips that are corroded or seem permanently stuck, a very light “shock” can sometimes break the bond. Place the tip of your screwdriver or a putty knife against the edge of the tip (where it meets the frame or mirror). Gently tap the handle of your tool with a small hammer a couple of times. This vibration can break tiny rust bonds or adhesive connections. This requires extreme delicacy, as too much force will damage the mirror or frame.
The Plastic Wrap Water Barrier
If you’re using penetrating oil or a cleaning solution around a mirror tip, and you’re worried about it running onto the glass or frame and causing damage or streaks, you can create a temporary barrier. After applying the liquid, carefully wrap a small piece of plastic wrap around the tip and adjacent area. This holds the liquid right where you want it to work. Remember to remove the wrap and clean up thoroughly afterward.
Using a Mirror Holder Tool
While not strictly a “hack,” specialized mirror holder tools or even strong painter’s tape can be invaluable. If you’re removing a larger mirror and need to secure it while working on the tips, use painter’s tape in a criss-cross pattern across the mirror’s surface to hold it together in case of accidental impact, and perhaps use suction cups if the mirror is large enough to need support. For smaller decorative mirrors, simply holding it securely with one hand while working with the other can be enough.
The Microfiber Cloth Trick for Polishing
After removing the tips, you’ll likely want to clean up any residue. For mirrors and frames, using a high-quality microfiber cloth is essential. It lifts away dirt and residue without scratching and leaves a streak-free shine. For stubborn marks, you can slightly dampen the cloth with water or a specialized glass cleaner. For more information on cleaning and maintaining glass surfaces, The Glass Association of North America (GANA) offers excellent, though sometimes technical, resources on best practices.
These innovative approaches can save you time and prevent frustration. Always remember that the key is to be gentle, patient, and observant of how the tip is attached.
Table: Common Mirror Tip Materials and Removal Strategies
Understanding the material of your mirror tip can help you choose the most effective removal method. Here’s a quick guide:
| Mirror Tip Material | Common Attachment Method | Recommended Tools | Potential Challenges | Best Approach |
|---|---|---|---|---|
| Plastic | Screw-in, Clip-on, Adhesive | Screwdriver, Pliers, Putty Knife (plastic), Heat Gun/Hair Dryer | Can crack or break easily, paint adhesion | Gentle prying, heat for adhesives, appropriate screwdriver for screws. |
| Metal (Brass, Chrome, Steel) | Screw-in, Clip-on | Screwdriver, Pliers, Penetrating Oil, Small Hammer (for corrosion) | Corrosion, rust, difficult to grip if rounded | Penetrating oil for rust, firm grip with pliers, steady screwdriver use. |
| Composite (Plastic/Metal) | Screw-in, Clip-on | Screwdriver, Pliers, Putty Knife | Combination of challenges from plastic and metal | Assess which material is dominant and adapt techniques; often screw-in. |
This table provides a visual aid to quickly assess your situation. By identifying the material, you can preemptively choose the safest and most efficient tools and techniques, minimizing the risk of damage.
When to Call in the Professionals
While most mirror tip removals are beginner-friendly DIY tasks, there are times when it’s best to seek expert help. If you encounter any of the following, consider calling a professional:
- Very Large or Heavy Mirrors: These pose a significant safety risk if they fall or break during the process. Professionals have the right equipment and experience to handle them safely.
- Expensive or Antique Mirrors: If the mirror has significant monetary or sentimental value, the risk of causing irreparable damage might outweigh the savings of a DIY attempt.
- Extremely Tight or Damaged Fixings: If screws are completely stripped, or clip mechanisms are impossible to disengage without risking breakage, a professional may have specialized tools or techniques.
- Frameless Mirrors with Integrated Systems: Some modern frameless mirrors have complex mounting systems where the ‘tips’ are integral parts of the structure. These require specific knowledge.
- Lack of Confidence or Time: If you’re feeling overwhelmed, unsure, or simply don’t have the time to dedicate to the task, hiring a handyman or glazier is a sensible option. They can complete the job quickly and efficiently.
Remember, your safety and the preservation of your property are paramount. There’s no shame in knowing when a job requires a skilled hand.
Conclusion
Removing mirror tips may seem like a small detail in a larger home improvement project, but mastering it can give you a real sense of accomplishment. By understanding the different types of tips, using the right tools, and applying gentle, methodical techniques, you can confidently tackle this task. Whether it’s a simple screw-in tip or a more stubborn clip-on, the methods shared here, along with those genius hacks, are designed to make the process smooth and safe. Always prioritize protection for yourself and your surfaces, and don’t hesitate to seek professional help if you feel a job is beyond your comfort level.
Frequently Asked Questions (FAQ)
1. Can removing mirror tips damage my mirror?
Yes, it’s possible. If you use too much force, the wrong tools, or don’t protect the surface, you could scratch the glass, chip the edges, or even break the mirror. Always work gently and use appropriate tools.
2. How do I know if my mirror tips are screwed in or clipped?
Look closely. If you see a screw head (even under a decorative cap), it’s likely screwed in. If there’s no visible screw and the tip seems to grip the mirror or frame in notches or slots, it’s probably clipped or snapped in.
3. What if the screw won’t turn at all?
Try a bit of penetrating oil if it’s a metal screw and looks corroded. For any screw, ensure you have the perfect-fitting screwdriver. If it’s still stuck, you might need to carefully try the “shock” method by tapping the screwdriver handle gently with a hammer, or consider a screw extractor designed for stripped screws.
4. Can I reuse the mirror tips?
Typically, yes, especially if they are screw-in types and you haven’t damaged them. Clean them thoroughly before reattaching. Clip-on types can sometimes lose their springiness or break if removed aggressively, making reuse difficult.
5. How much heat is too much heat for softening adhesives?
You want the adhesive to be flexible, not melted or damaging to the materials. For a hairdryer, medium heat held a few inches away and moved constantly is usually sufficient for 30-60 seconds. For a heat gun, always use the lowest setting and keep it moving constantly, further away than with a hairdryer. Test on an inconspicuous area if unsure.
6. What’s the best way to clean mirror residue after removing tips?
A good quality microfiber cloth is your best friend. For residue from adhesives or oils, you can slightly dampen the cloth with water or a mild glass cleaner. For tougher residue, isopropyl alcohol can be effective, but test it in an inconspicuous area first to ensure it doesn’t harm the frame or mirror backing.
