
Quick Summary:
Ready to tackle shower removal? We’ve got you covered with expert advice to make the process simple and stress-free. This guide breaks down everything you need to know, from preparation to safely dismantling your old shower, even for beginners. Get ready for a smooth renovation!
Shower renovations can feel like a huge undertaking, but removing your old shower unit doesn’t have to be a headache. Many homeowners avoid DIY projects because they worry about making mistakes or causing damage. But what if I told you that with a little preparation and the right guidance, you can confidently remove your old shower? This guide is designed to walk you through the process, step-by-step, making it easier than you ever thought possible. We’ll cover everything from safety precautions to the actual removal steps, ensuring you’re well-equipped for a successful project.
We’ll start by understanding what makes shower removal tricky and then dive into the tools and techniques that will make your job much simpler. You’ll learn how to safely disconnect water lines, manage debris, and prepare the space for its next chapter. So, hang in there – by the end of this article, you’ll feel empowered to take on this task and maybe even discover a new DIY skill!
Safety First: Preparing for Shower Removal
Before you even think about touching that shower door or tile, safety is your absolute number one priority. Working with plumbing and potentially heavy materials means you need to be prepared. It’s like preparing for a mini construction site in your bathroom! A little advance planning can prevent injuries and costly mistakes.
The most crucial first step is to shut off the water supply. This seems obvious, but it’s easy to overlook when you’re excited to get started. If you accidentally turn on a faucet or flush a toilet after you’ve begun, you could end up with a very wet, very frustrating situation. Also, consider electrical safety if your shower unit has any lighting or built-in speakers. Disconnecting power is essential before any work begins.
Beyond water and electricity, think about protecting yourself. You’ll be dealing with sharp edges, potentially falling debris, and lots of dust. Wearing the right protective gear isn’t just about comfort; it’s about preventing injuries. We’ll cover the specific safety gear you’ll need in a bit.
Essential Safety Gear to Have on Hand

Let’s get you kitted out properly. Think of this as your DIY superhero uniform. Each piece of gear has a specific job to keep you safe and sound throughout the shower removal process:
- Safety Glasses: Protect your eyes from dust, debris, and stray particles. These are non-negotiable!
- Work Gloves: Sturdy gloves will prevent cuts and scrapes from sharp edges of the shower unit or tools, and give you a better grip.
- Dust Mask (N95 or better): Essential for preventing inhalation of mold spores, dust, and drywall particles.
- Closed-Toe Shoes: Protect your feet from dropped tools or materials. Steel-toe boots are even better if you have them.
- Knee Pads: You’ll likely be kneeling a lot, and these will save your knees from discomfort.
- Hearing Protection (Optional but Recommended): If you’ll be using power tools like a reciprocating saw, earplugs or earmuffs are a good idea.
Shutting Off Water and Power: The Critical First Steps

This cannot be stressed enough: you must cut off the water supply to the shower. If you are unsure how to do this, it might be time to call in a plumber for this specific step, or at least consult your home’s main water shut-off valve instructions. Usually, you can find the main shut-off valve where the water service enters your house, often in the basement, crawl space, or a utility closet.
Once the main water supply is off, open the shower faucet (both hot and cold) to drain any remaining water in the pipes. Leave it open.
If your shower has any electrical components, such as a light, exhaust fan, or even a heated element, you’ll need to shut off the power to that circuit at your home’s electrical panel. Again, if you’re not comfortable or familiar with your electrical panel, it’s best to have an electrician handle this. Safety first!
Gathering Your Tools: What You’ll Need for Shower Removal

Having the right tools makes a world of difference. It’s not just about getting the job done; it’s about getting it done efficiently and safely. Trying to remove a shower with just a screwdriver and a prayer is a recipe for frustration. Think of these tools as your trusty sidekicks.
You’ll need a variety of tools, from basic hand tools to some more specialized ones, depending on how your shower is installed. Don’t be intimidated if you don’t have everything; many of these can be rented or borrowed. Prioritize what you need for the common types of shower installations.
The Essential Toolkit for Shower Demolition
Here’s a checklist of tools that will serve you well. Having these ready before you start will smooth out the entire process:
- Adjustable Wrench or Pipe Wrench: For disconnecting any exposed water supply lines.
- Screwdriver Set (Phillips and Flathead): For removing screws holding panels, fixtures, or doors.
- Utility Knife: To cut through caulk lines and sealants.
- Pry Bar (Crowbar): For gently but firmly separating components that are stuck.
- Putty Knife or Scraper: To help lift and clean away old caulk or adhesive.
- Hammer: For persuading stuck parts or for use with a pry bar.
- Reciprocating Saw (Sawzall): This is a game-changer for cutting through tougher materials like shower walls, fiberglass, or plumbing if necessary. Be sure to get the right blades for the material.
- Pliers (Needle-Nose and Standard): Useful for gripping and manipulating small parts or wires.
- Bucket: To catch any residual water that might come out of pipes.
- Drop Cloths or Tarps: To protect your bathroom floor from dust and debris.
- Trash Bags or Bin: For collecting all the removed materials.
Understanding Different Shower Types and Their Tools
The exact tools you need can vary slightly depending on whether you have a fiberglass/acrylic unit, a tiled shower, or a built-in tub/shower combo. Most modern showers use a combination of screws, clips, and adhesive caulk.
Tiled Showers: These typically involve removing tiles first, which requires a hammer, chisel, and possibly a pry bar. You’ll then encounter the backing board, which might need to be cut out. A reciprocating saw is invaluable here.
One-Piece Fiberglass or Acrylic Units: These are often installed before walls are finished. Removal can sometimes involve cutting the unit into smaller, manageable pieces, especially if it must be maneuvered through doorways. A reciprocating saw with appropriate blades is your best friend for this.
Modular or Multi-Piece Units: These are usually screwed together or held with clips. Identifying how the panels are attached is key, and a combination of screwdrivers and pry bars will be your go-to.
Step-by-Step Guide to Removing Your Shower
Now that you’re prepared with safety gear and the right tools, it’s time to get down to business! We’ll go through this logically, from disconnecting the easy stuff to tackling the more involved components. Remember to take breaks and work at a steady pace. This isn’t a race!
Step 1: Remove Shower Fixtures and Accessories
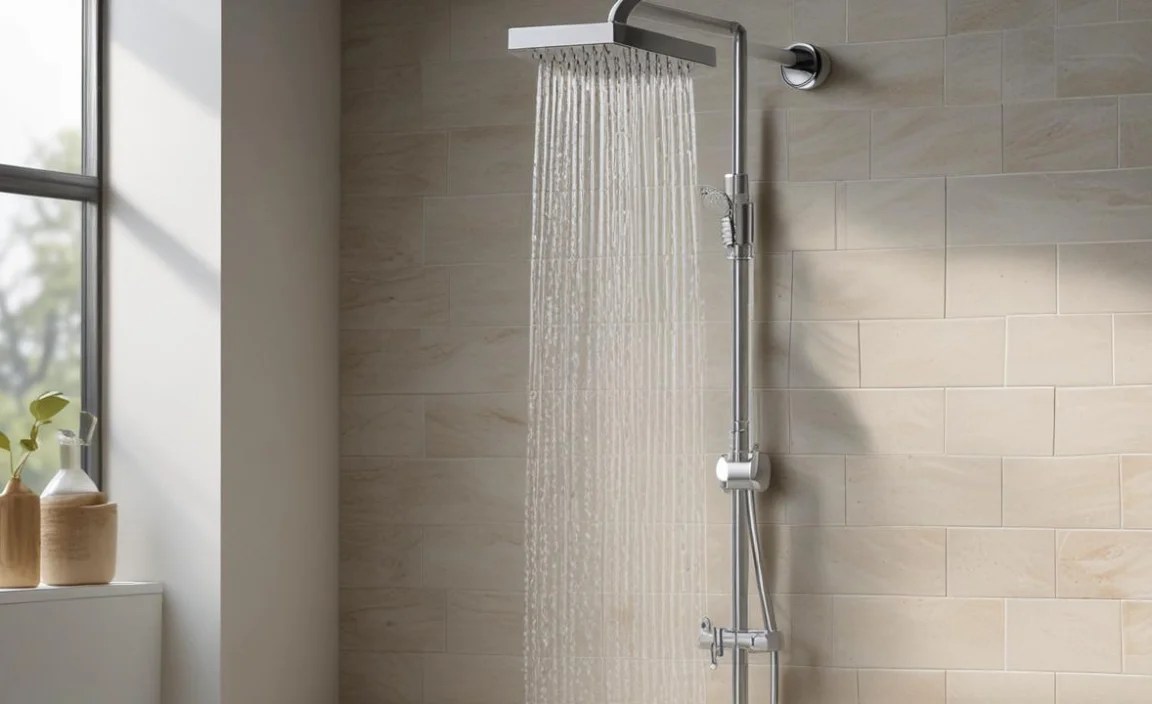
This is where you start making visible progress. Think about everything that’s attached to your shower walls or is easily removable.
- Shower Door or Curtain Rod: If you have a glass shower door, carefully remove the panels first. They are often held by screws at the top and bottom. For curtain rods, simply unscrew or detach the brackets.
- Showerhead and Faucet Handles: These are usually attached with screws, often hidden under decorative caps. Use your screwdriver set. For the showerhead, it’s typically screwed onto a pipe coming from the wall. You might need an adjustable wrench to unscrew it if it’s tight.
- Drain Cover: The drain cover is usually held by a screw or might simply lift out. Be gentle; you don’t want to damage the drain assembly itself.
- Shelves, Soap Dishes, or Towel Bars: Unscrew any accessories mounted to the shower walls.
Step 2: Cut Through Caulk and Sealants

Showers are sealed to prevent water from getting behind the walls. You need to break these seals to allow components to separate.
- Locate all Caulk Lines: Look for where the shower unit meets the walls, the tub, and the floor.
- Use a Utility Knife: Carefully run a sharp utility knife along all caulk lines. You want to cut through the entire caulk bead. Make multiple passes if necessary. Be mindful not to cut too deep, which could damage the underlying wall material or tub.
- Scrape Away Residue: Once cut, use a putty knife or scraper to remove as much of the old caulk as possible. This helps ensure a clean separation.
Step 3: Disconnect Water Supply Lines
This is a critical step that requires the water to be shut off. If you haven’t done this already, now’s the time. Refer back to our safety section!
- Access the Plumbing: Depending on your shower’s design, you might need to access the plumbing from behind the wall (if there’s an access panel) or from the front. For most standalone shower units, the supply lines will be connected to the faucet valves behind the wall.
- Unscrew Connections: Use an adjustable or pipe wrench to disconnect the hot and cold water supply lines from the faucet valve stems. Have a bucket ready directly underneath these connections. Even with the water shut off, a small amount of residual water might drip out.
- Leave Connections Open: Once disconnected, leave the supply lines open to ensure all water has drained.
Step 4: Remove Shower Walls and Panels
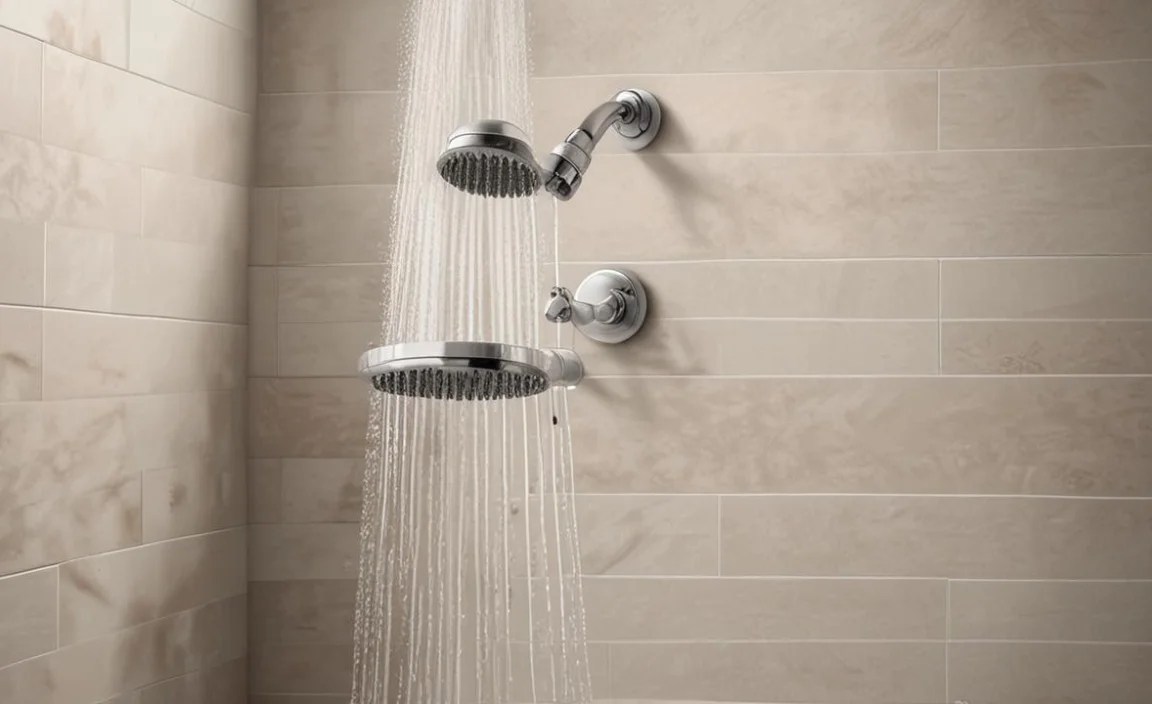
This is often the most involved part, depending on the shower construction. For prefabricated units, the walls are typically screwed or clipped into place, or they might be adhered with a strong adhesive.
- Check for Screws or Clips: Inspect the edges where the shower panels meet the wall or frame. Look for any visible screws, nails, or retaining clips. Remove them using your screwdriver or pliers.
- Pry Gently: Once all fasteners are removed and caulk is cut, try to gently pry the panels away from the wall using a pry bar. Start at a corner or edge and work your way around. You might need a second person to help support the panel as it loosens.
- For Adhered Panels: If the panels feel very stuck, they might be glued to a backing board or directly to the studs. In this case, you may need to use a reciprocating saw. Carefully cut along the edges where the panels meet the wall framing. Aim to cut through the panel material itself, creating manageable sections. Warning: Be extremely careful not to cut into your existing wall framing or plumbing behind the shower.
- Work in Sections: If the panels are large or heavy, cut them into smaller, more manageable pieces.
Step 5: Remove the Shower Base or Tray
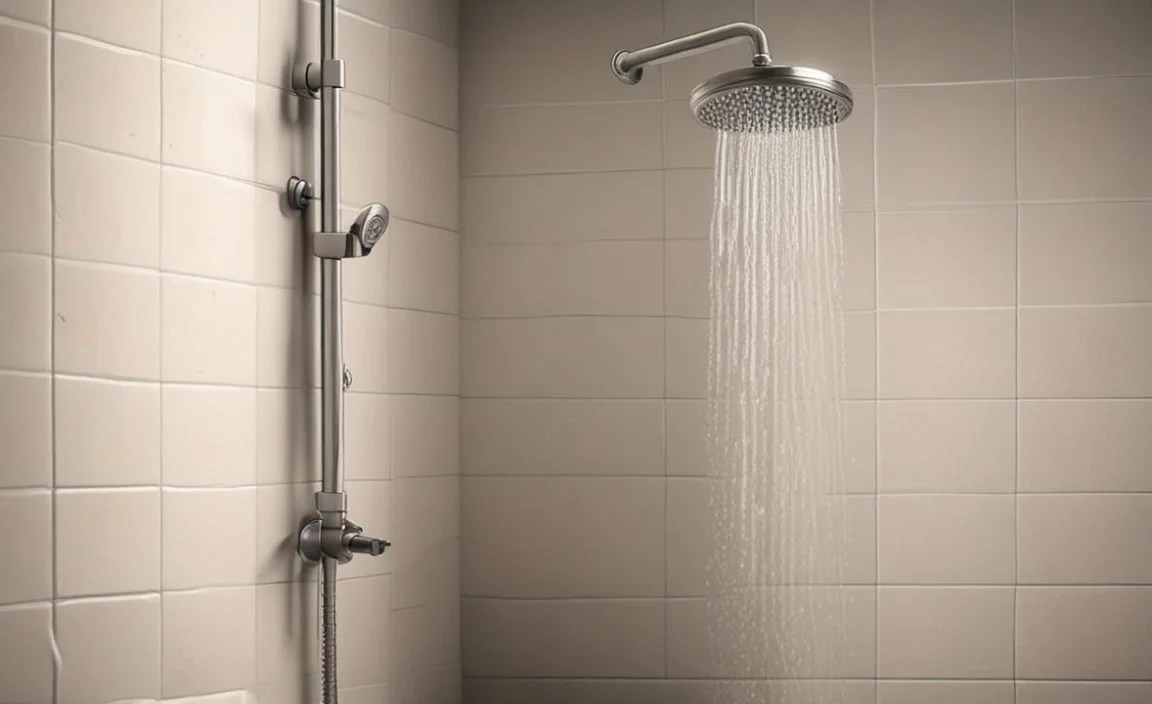
The base is usually the last major component of a shower unit to be removed.
- Disconnect the Drain: You’ll need to disconnect the shower base from the drainpipe. This usually involves unscrewing a drain flange from the top and then unscrewing the trap assembly from underneath or from the side access. If you can’t access it easily, you might need to cut the drainpipe below the shower base floor.
- Check for Fasteners: The base might be screwed or nailed to the subfloor or wall studs. Look for any anchoring points and remove them.
- Break Adhesion: Like the walls, the base might be adhered to the subfloor or surrounding materials. Use your pry bar to work around the edges and lift the base. If it’s still stuck, you might need to score around the edges with a utility knife and then attempt to pry again.
- Cut if Necessary: For very stubborn or large bases, you might need to cut it into pieces using your reciprocating saw. This is common for fiberglass or acrylic bases that need to be removed through a doorway.
Step 6: Clean Up and Debris Disposal
Once the shower is out, the job isn’t quite done. Proper cleanup is crucial for safety and for preparing the space for whatever comes next.
- Clear Out Debris: Bag up all the removed shower materials, caulk, old screws, and any other debris.
- Sweep and Vacuum: Thoroughly sweep and vacuum the area to remove all dust and small particles.
- Dispose Responsibly: Check your local waste disposal regulations for how to handle construction debris. You may need to arrange for a special pickup or take it to a disposal facility.
- Inspect the Area: Take this opportunity to inspect the exposed studs, subfloor, and plumbing for any signs of water damage, mold, or rot. Address any issues you find before proceeding with the next phase of your renovation.
Tips and Tricks for a Smoother Shower Removal
Even with a step-by-step guide, sometimes little tricks can turn a tough job into an easy one. These are the seasoned DIYer’s secrets that can save you time and frustration.
Consider the order of operations. Taking things apart logically often means starting with the least structurally integrated parts and moving towards the more embedded ones. For example, removing fixtures before walls, and walls before the base. This makes it easier to access connections and fasteners.
Don’t be afraid to use leverage. A longer pry bar will give you more power. Just be mindful of the surfaces you’re prying against; you don’t want to damage the surrounding walls or floor unnecessarily.
Harnessing the Power of Your Reciprocating Saw

The reciprocating saw, often called a Sawzall, is a powerful tool. When used correctly, it can drastically speed up shower removal, especially for fiberglass, acrylic, or stubborn wall panels.
- Use the Right Blade: Ensure you have a blade designed for the material you’re cutting. For fiberglass or acrylic, a general-purpose wood/metal blade can work. If you encounter drywall or studs, a demo blade is ideal.
- Safety First: Always wear your safety glasses and gloves. Start cuts slowly and let the saw do the work. Don’t force it.
- Cut in Controlled Sections: For large panels, make cuts every few feet to create smaller, lighter pieces. This makes them easier to handle and remove. For example, you might cut a large shower wall panel into thirds.
- Be Aware of What’s Behind: When cutting, always be mindful of what’s on the other side of the wall or panel. You absolutely do not want to cut into existing plumbing or electrical wiring.
Dealing with Stubborn Adhesives and Stuck Parts

Sometimes, caulk and screws aren’t the only things holding things together. Strong construction adhesives can make components incredibly difficult to pry apart.
- Heat Can Help: A hairdryer or heat gun (used cautiously) can sometimes soften adhesive, making it easier to pry apart. Keep the heat moving and don’t overheat any one spot, especially if there are plastic components.
- Liberally Apply a Penetrating Oil: For stuck metal parts like
