
Quick Summary:
Removing shower tools is straightforward with the right approach. This guide offers simple, step-by-step instructions for safely detaching various shower fixtures like showerheads, handles, and shelves, ensuring you can upgrade or clean without damage.
Ever found yourself staring at an old showerhead, a wobbly handle, or a sticky shower caddy and wondered, “How do I get this off without breaking anything?” You’re not alone! Many of us want to update our bathrooms or give them a deep clean, but removing those built-in shower tools can feel like a puzzle. Don’t worry, it’s simpler than you think. We’ll walk you through each step with easy-to-follow advice. Get ready to feel confident as we tackle this common home task together, making your bathroom renovation or regular upkeep a breeze. Let’s dive in!
Understanding Your Shower Tools and What You’ll Need
Before we start unscrewing things, it’s helpful to know what we’re dealing with. Shower tools are the fixtures attached to your shower walls and pipes. These can include the showerhead itself, the handle that controls water temperature and flow, and sometimes shelves or soap dishes. Each type might need a slightly different touch, but the basic principles are the same: gentle force and the right tools.
Gathering your supplies beforehand makes the job much smoother. Having everything ready means you won’t have to stop mid-task to search for something. For most shower tool removals, you won’t need a full toolbox, but a few key items will be immensely helpful. Safety first, always! Make sure you’re working in a well-lit area and that the water supply to your shower is off.
Essential Tools for Shower Tool Removal
Here’s a list of common tools that will make removing shower tools much easier. You might not need all of them for every job, but it’s good to have them on hand:
- Adjustable Wrench: This is your best friend for most bolt and pipe connections. Its jaws can be widened or narrowed to fit different sizes.
- Pliers (Slip-joint or Channel-lock): Useful for gripping and turning stubborn nuts and bolts.
- Plumber’s Tape (Teflon Tape): Essential for re-installing fixtures to create a watertight seal.
- Screwdriver Set: You might need Phillips head or flathead screwdrivers for certain handle or accessory mounts.
- Rag or Cloth: To protect the fixture’s finish from your tools and to wipe away any residue or water. A soft cloth is key to avoiding scratches.
- Penetrating Oil (Optional): For very old or corroded fixtures, a little spray can help loosen seized parts.
- Utility Knife or Putty Knife (Optional): For carefully scoring old caulk or sealant around a fixture.
- Safety Glasses: Protect your eyes from falling debris or stray water.
- Bucket: To catch any residual water that might drain from pipes.
Knowing these tools will give you confidence. They are all relatively inexpensive and can be found at most hardware stores. For more in-depth information on common plumbing tools, resources like This Old House’s guide to plumbing tools can be very beneficial.
Step-by-Step Guide: Removing a Showerhead
The showerhead is often the most straightforward tool to remove. It usually connects to the shower arm, which is the pipe coming out of the wall. The process is typically a simple unscrewing action.
Step 1: Turn Off the Water
This is the most crucial first step for safety and to prevent a mess. Find the main water shut-off valve for your home and turn it off, or locate the specific shut-off valve for your bathroom, if you have one. Test by turning on your faucet to ensure no water is flowing. If you are unsure about your home’s water shut-off, consult a professional or your home’s manual.
Step 2: Prepare Your Workspace
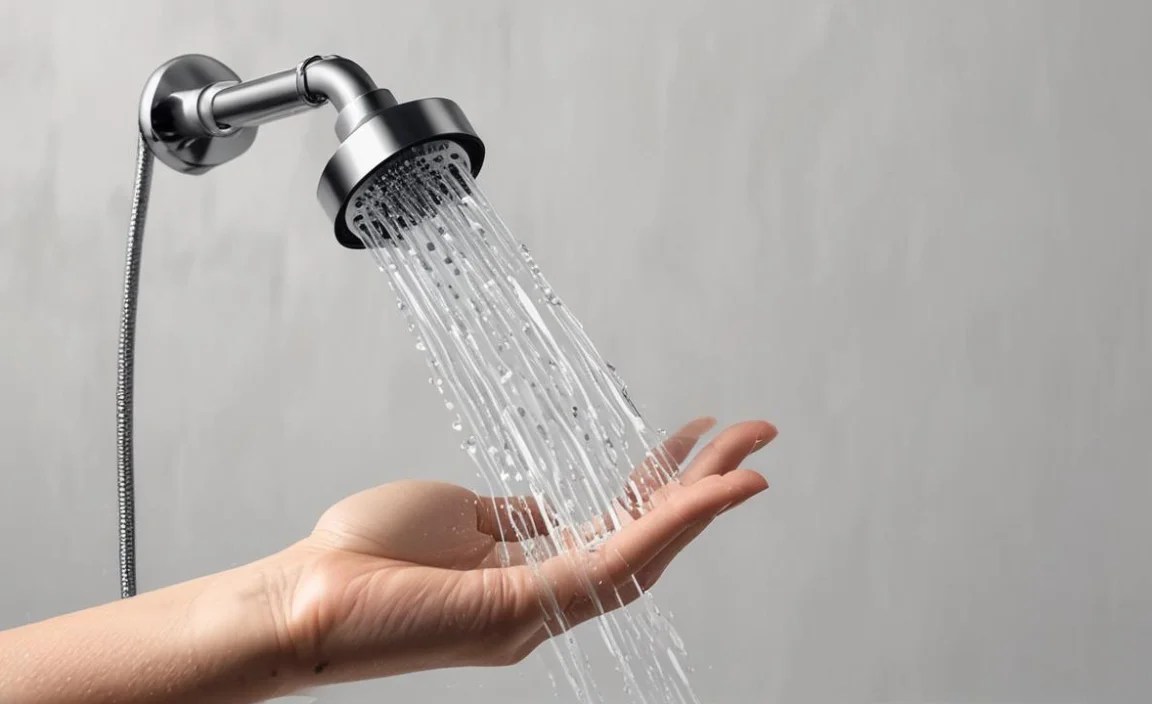
Lay a towel or rag on the shower floor directly below the showerhead. This will catch any water that might drip out once the head is loosened and also protect the shower floor from accidental drops.
Step 3: Loosen the Showerhead
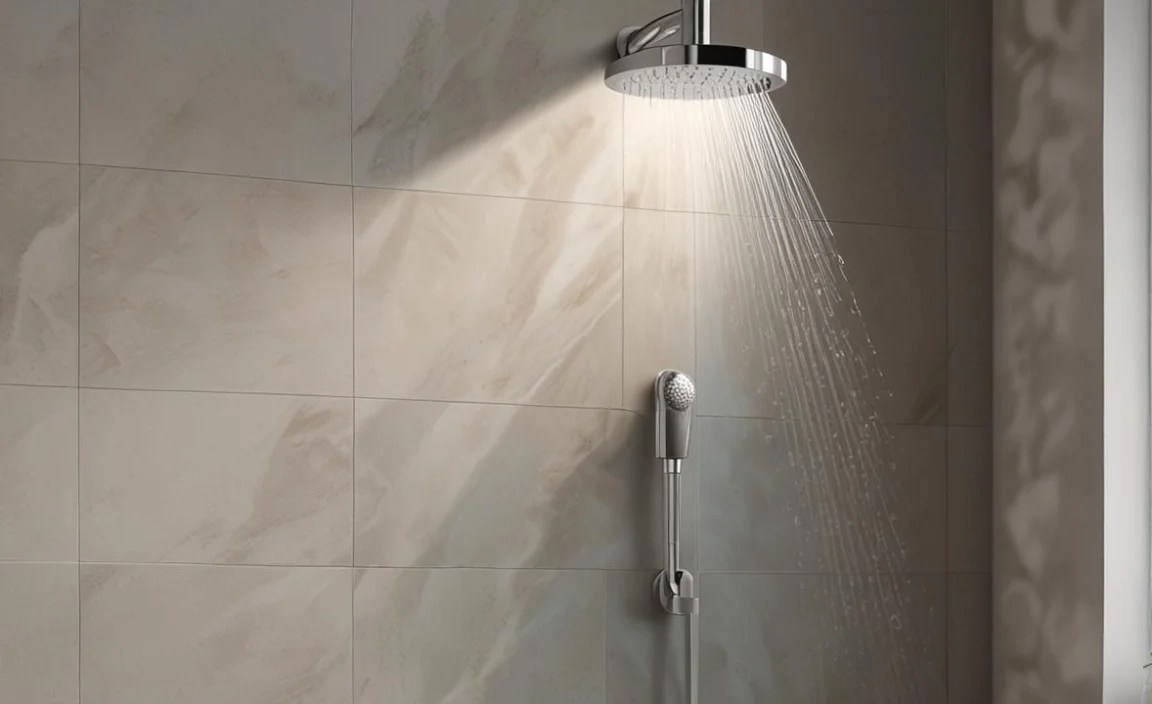
Most showerheads are attached to the shower arm with a threaded connector. Usually, you can unscrew it by hand. Try twisting the showerhead counter-clockwise (lefty-loosey). If it’s too tight, wrap a rag around the connector where the showerhead meets the shower arm. Then, use an adjustable wrench or pliers to grip the connector over the rag. Gently turn counter-clockwise. Again, use the rag to protect the finish of the shower arm and the showerhead itself.
If the showerhead is particularly stubborn, a small amount of penetrating oil applied to the threads might help. Let it sit for a few minutes before trying to turn it again.
Step 4: Remove Residual Water
Once the showerhead is loose, be prepared for a small amount of water to drain out. Let it drip into the towel or bucket you’ve placed below.
Step 5: Inspect the Shower Arm
After the showerhead is removed, inspect the threads on the shower arm. Clean off any old plumber’s tape or debris. If you plan to install a new showerhead, you’ll apply new plumber’s tape to these threads later.
Step-by-Step Guide: Removing a Shower Handle
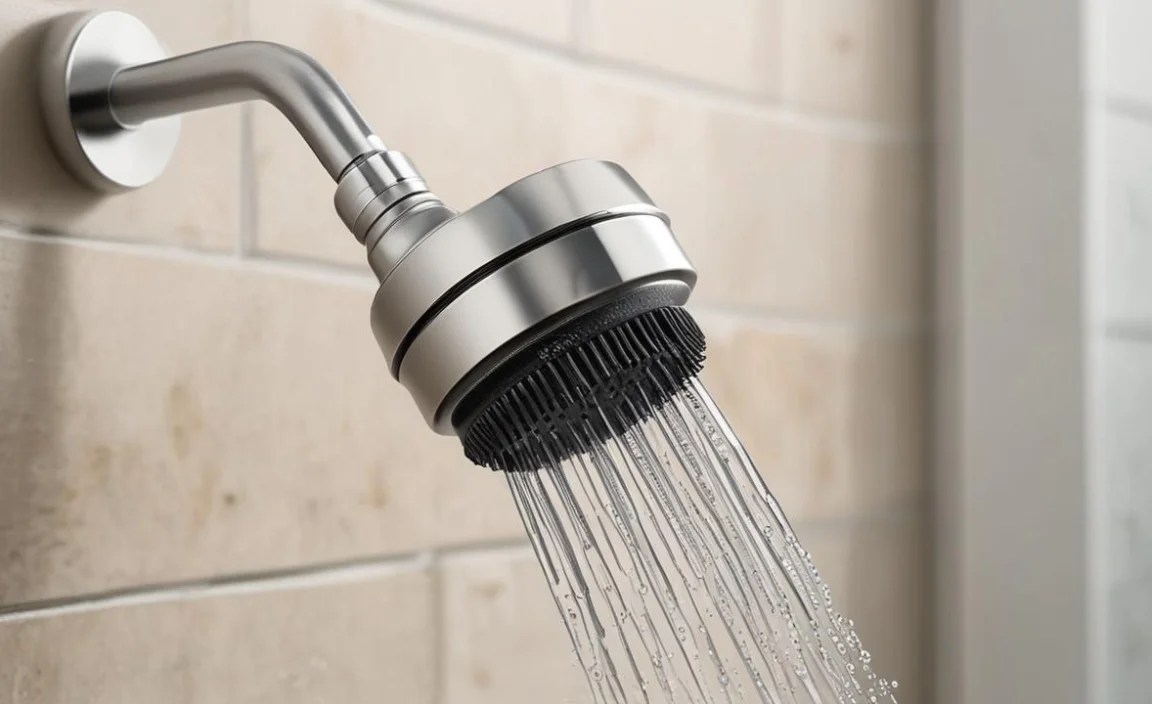
Shower handles can vary more than showerheads. Some have visible screws, while others have hidden set screws. Knowing which type you have is key.
Step 1: Identify the Type of Handle
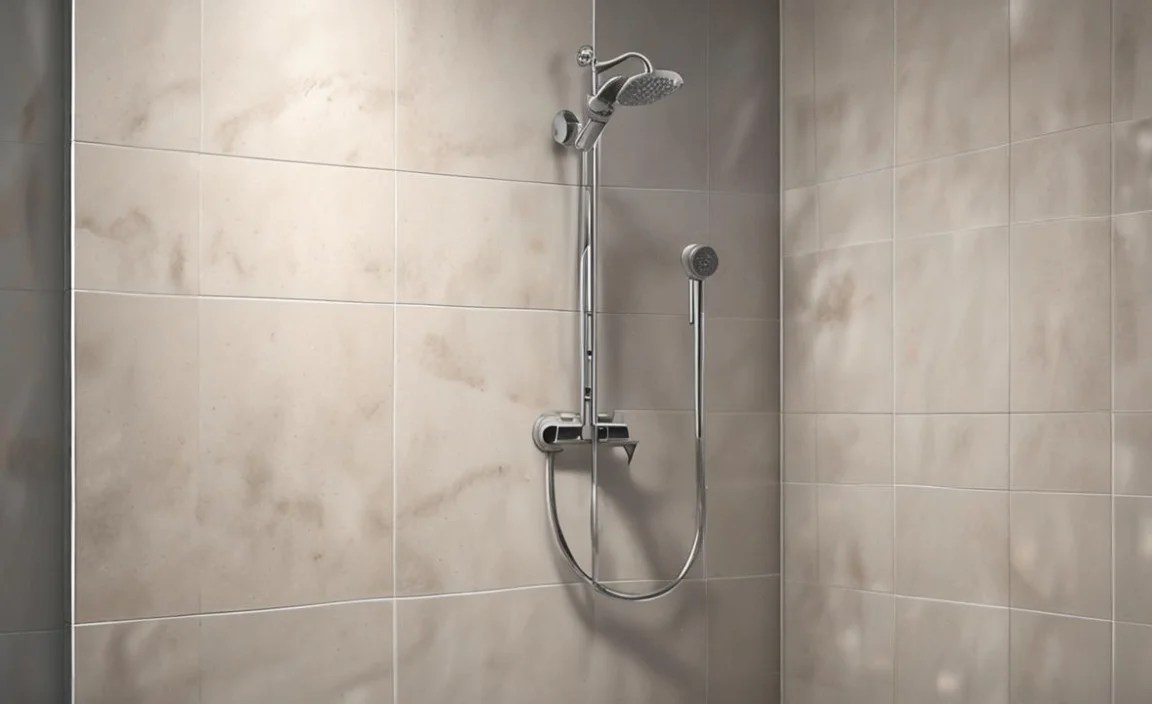
- Visible Screw Handles: These have a decorative cap or cover that pops off to reveal a screw.
- Set Screw Handles: These usually have a small hole on the underside or side of the handle, where a small set screw is located.
Step 2: Turn Off the Water Supply
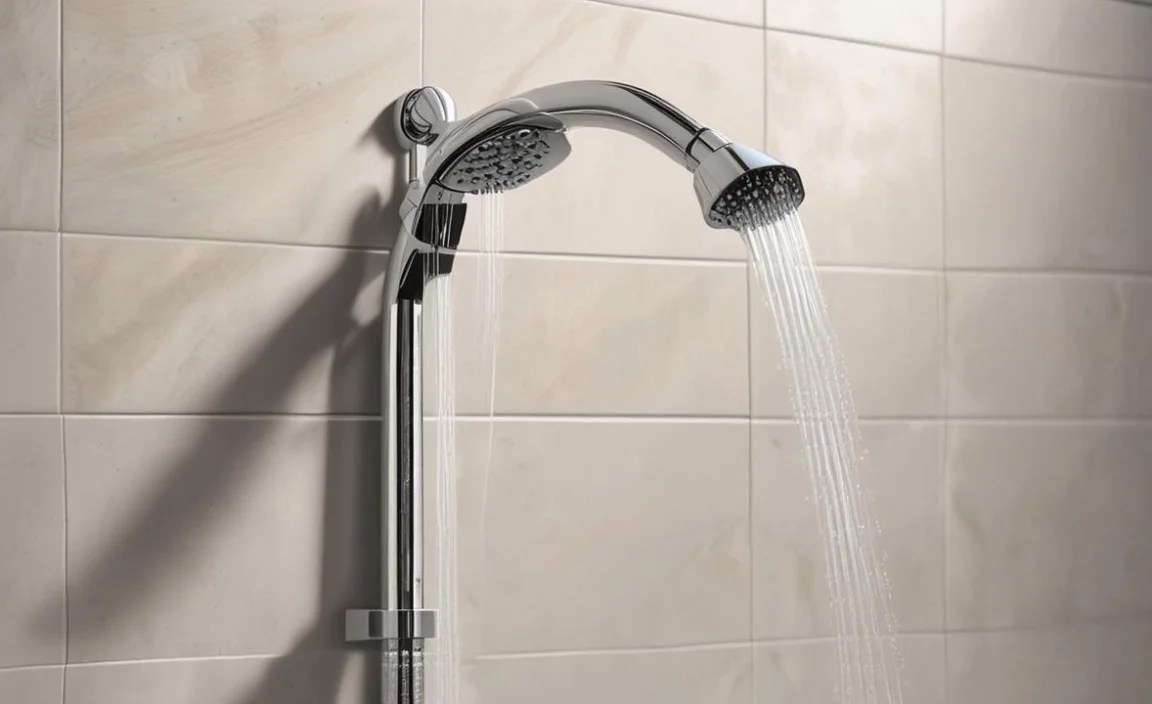
As with removing a showerhead, always turn off the main water supply to your bathroom or home before attempting to remove a handle. This prevents water from spraying out unexpectedly.
Step 3: Remove the Handle Cap or Cover
For handles with a visible screw, gently pry off the decorative cap. You can often use a small flathead screwdriver or a putty knife for this. Be careful not to scratch the handle or surrounding surface.
Step 4: Unscrew the Handle Screw
Once the cap is off, you’ll see a screw. Use the appropriate screwdriver (usually Phillips head) to remove this screw. Keep the screw in a safe place, like a small dish or your pocket, so you don’t lose it.
Step 5: Detach the Handle
With the screw removed, the handle should now be loose. It might pull straight off, or you may need to wiggle it gently. If it’s stuck, avoid excessive force. Sometimes a little gentle tapping or a specialized handle puller tool (available at hardware stores) can help.
Step 6: For Set Screw Handles
If your handle has a set screw, you’ll need a small Allen wrench (hex key) or a small flathead screwdriver. Locate the set screw, usually on the bottom or side of the handle. Turn the set screw counter-clockwise to loosen it. Once it’s loose enough, the handle should slide off the valve stem.
For more specific guidance on different handle types common in modern bathrooms, you can refer to manufacturer instructions or general plumbing guides. For instance, Delta Faucet offers extensive support for their products, which often involves understanding their specific handle mechanisms.
Step-by-Step Guide: Removing Shower Shelves or Caddies
Shower shelves and caddies are usually mounted with screws, adhesive, or sometimes suction cups. The removal method depends on how they were installed.
Step 1: Identify the Mounting Method
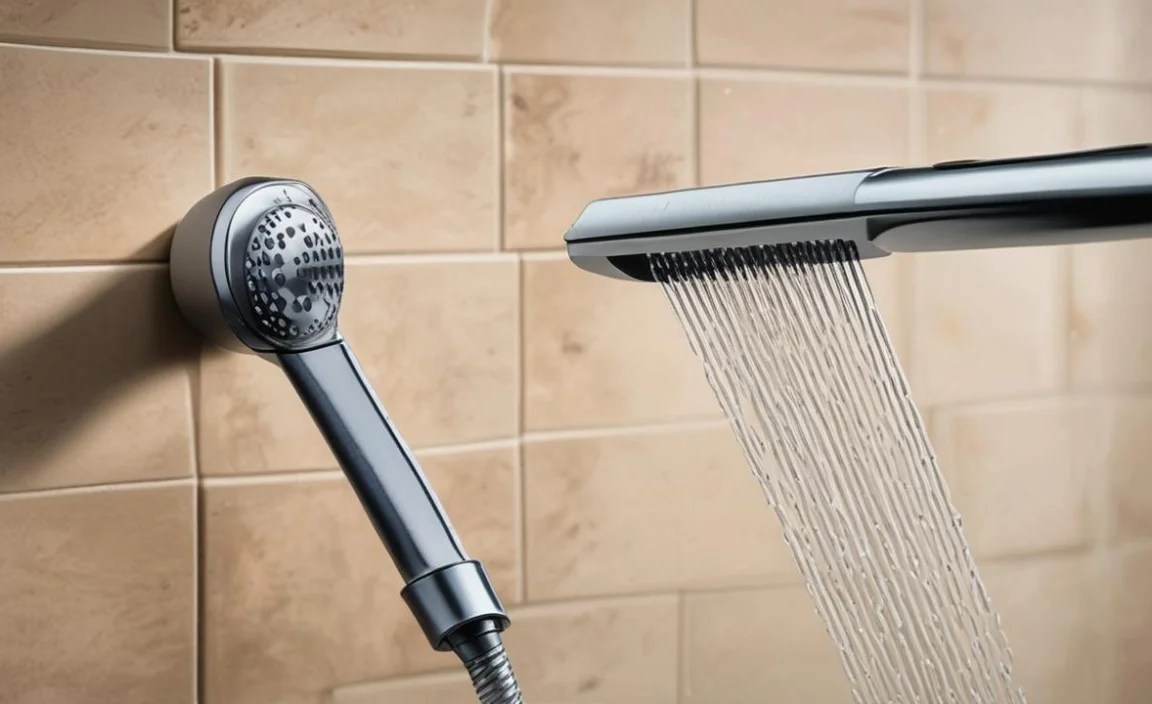
- Screws: Look for visible screw heads, often under decorative caps or at the base of the shelf.
- Adhesive: These are often mounted with a strong, clear adhesive, sometimes with caulk around the edges.
- Suction Cups: These rely on creating a strong vacuum seal against a smooth surface.
- Tension Rods: Some corner caddies use adjustable tension to stay in place.
Step 2: Prepare the Area

Place a towel or drop cloth on the shower floor to catch any fallen items or tools. For adhesive-mounted items, ensure the area is dry to avoid water interference.
Step 3: For Screw-Mounted Shelves/Caddies
If there are visible screws, remove any decorative caps as described for shower handles. Then, use the appropriate screwdriver to unscrew and remove the shelf or caddy. If the screws are difficult to access, you might need a specialized screwdriver or a pry tool.
Step 4: For Adhesive-Mounted Shelves/Caddies
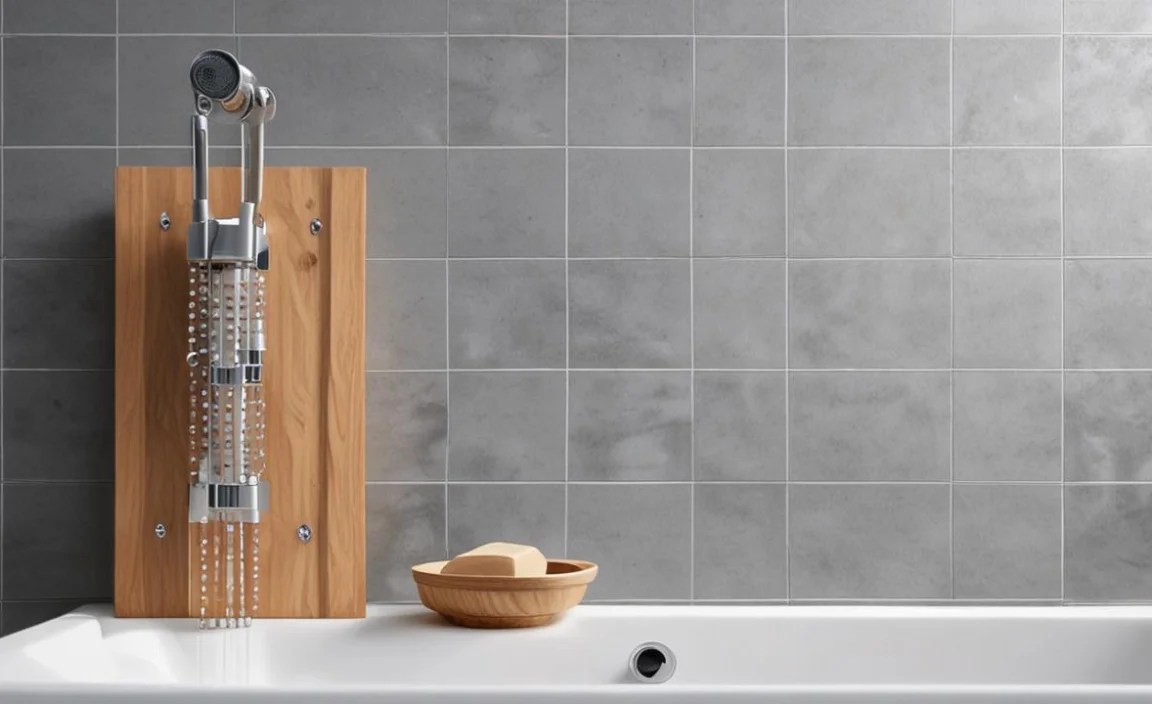
Adhesive can be tricky. Often, you’ll need to carefully cut through the adhesive or caulk. A utility knife or a thin, flexible putty knife can be used to gently slide between the shelf and the wall. Work slowly and carefully to avoid damaging the tile or wall surface. Once the caulk or adhesive seal is broken, you may be able to gently pry the unit away. For very strong adhesives, a hairdryer set to a low heat setting can sometimes soften the adhesive, making it easier to remove. Be cautious with heat on different wall materials.
For removing stubborn adhesive residue, a product like Goo Gone or even rubbing alcohol can be effective. Always test these in an inconspicuous area first.
Step 5: For Suction Cup Mounted Shelves/Caddies
Suction cups work by creating a seal. To release them, try to lift the edge of the suction cup to break the seal. If they are stuck, a thin plastic card (like a credit card) slid under the edge can help release the vacuum. Clean the suction cups and the wall surface after removal for better reattachment if needed.
Step 6: For Tension Rod Mounted Caddies
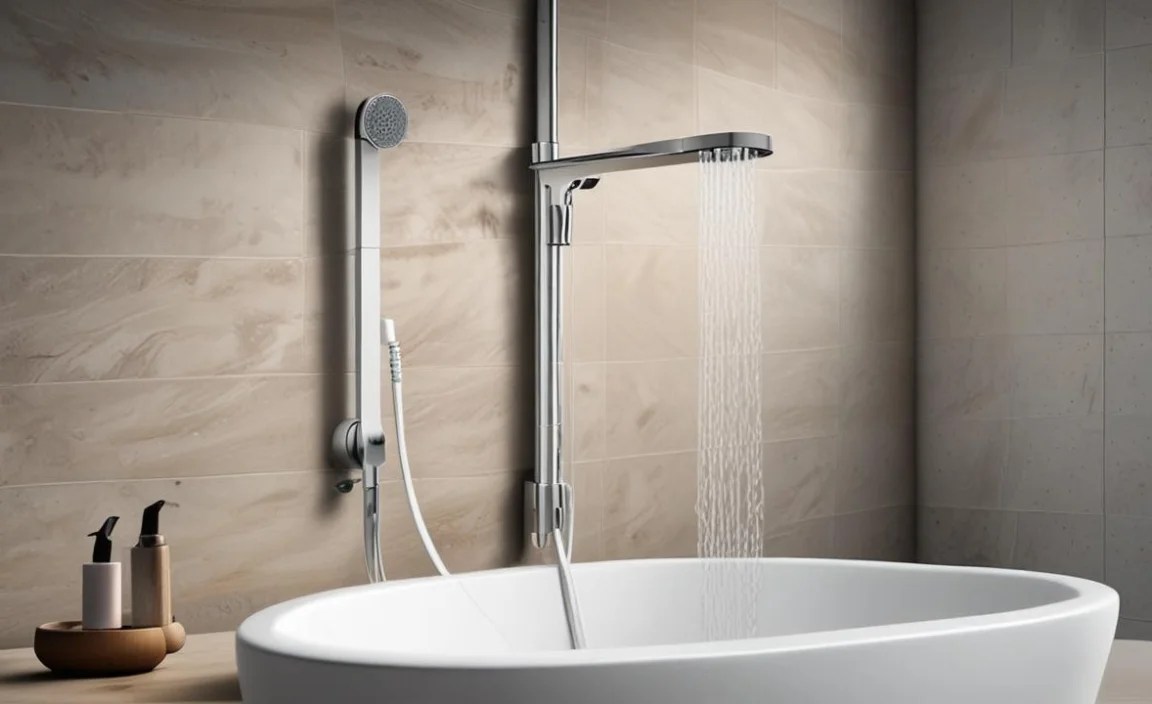
These typically twist to adjust. To remove, you’ll usually need to twist the rods in the opposite direction of their tightening mechanism until they are loose enough to be removed from the enclosure.
It’s important to be patient. Noisy or sudden movements can indicate you’re using too much force and risking damage. For comprehensive advice on removing bathroom fixtures, especially in rental properties where damage can be costly, resources from tenant advocacy groups or landlord associations can offer insights into best practices.
Table: Common Shower Tool Removal Scenarios and Solutions
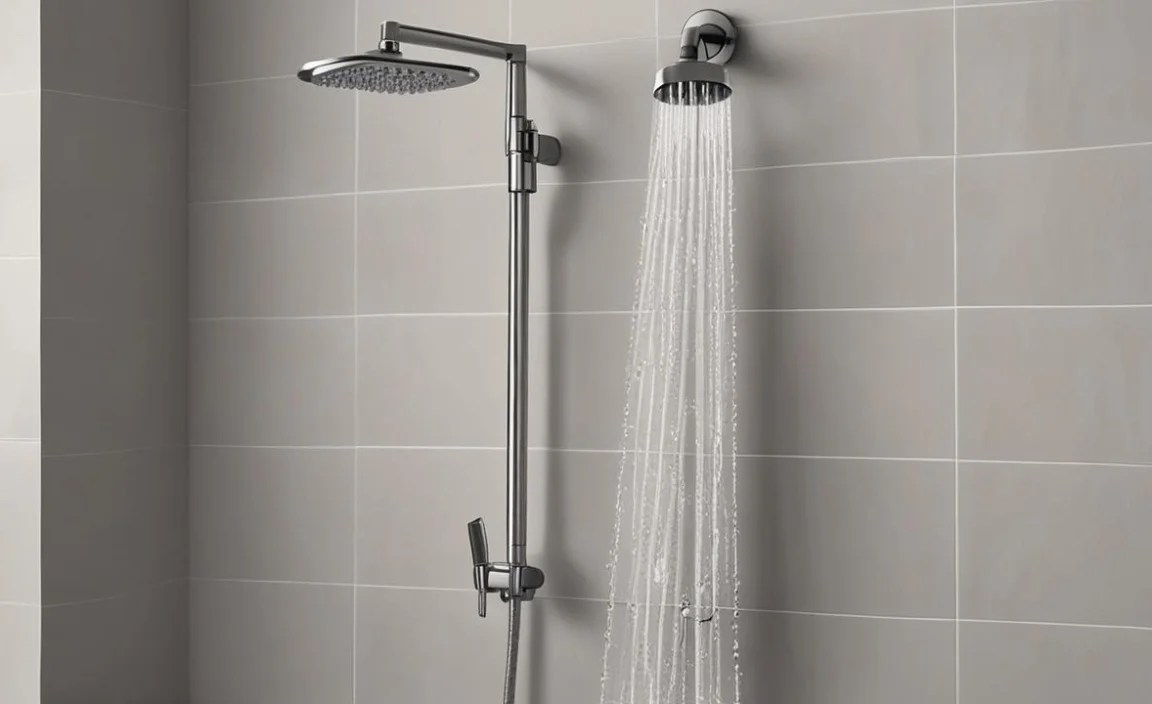
Here’s a quick reference table to help you troubleshoot common issues encountered when removing shower tools:
| Shower Tool | Common Problem | Potential Solution | Tools Needed |
|---|---|---|---|
| Showerhead | Stuck threads, corroded connection | Apply penetrating oil, let sit. Use rag-protected wrench. Gentle but firm turning. | Adjustable Wrench, Rag, Penetrating Oil (optional) |
| Shower Handle | Stripped screw, stuck handle on stem | Use correct screwdriver size. If stuck, gentle wiggling or handle puller. For set screws, use correct Allen wrench. | Screwdriver Set, Allen Wrench (for set screws), Gentle Pliers (optional) |
| Adhesive Shelf/Caddy | Strong adhesive, residue | Carefully cut caulk/sealant with utility knife. Soften adhesive with low heat (hairdryer). Use adhesive remover for residue. | Utility Knife, Putty Knife, Hairdryer (optional), Adhesive Remover (optional) |
| Screw-mounted Accessory | Rusted screws, hidden screws | Use penetrating oil on screws. Remove decorative caps carefully. Use specialized screwdrivers if needed. | Screwdriver Set, Penetrating Oil (optional), Small Pliers (for caps) |
| Suction Cup Accessory | Suction cups won’t release | Break the seal by lifting edge. Slide thin plastic card under edge. Clean surfaces for better seal next time. | Thin Plastic Card (e.g., old credit card) |
Understanding these common issues can save you a lot of frustration. Remember, most problems have a simple solution if you have the right tools and a bit of patience. For more detailed troubleshooting on plumbing fixtures, organizations like the EPA’s WaterSense program offer insights not only into water-saving fixtures but also their installation and maintenance, which can indirectly help with removal understanding.
Tips for a Smooth Removal Process
Beyond the specific steps for each tool, a few general tips can make the entire process of removing shower tools much easier and safer.
Patience is Key
This can’t be stressed enough. Rushing can lead to damage to your shower or fixtures. If something feels stuck, don’t just yank harder. Stop, reassess, and try a different approach or use a more suitable tool.
Protect Your Fixtures’ Finish

Many shower fixtures have decorative finishes that can be easily scratched or damaged by metal tools. Always wrap your tools with a rag or cloth before applying them directly to the fixture. This is especially important when using wrenches or pliers.
Work with the Seals
If a fixture is sealed with caulk, breaking that seal cleanly is important. A sharp utility knife or a dedicated caulk removal tool can make this simpler. For adhesive-backed items, understanding the adhesive type can help you choose the best removal method.
Know When to Call a Professional
While most of these tasks are beginner-friendly, there are times when it’s best to call a plumber. If you encounter significant corrosion, if you’re dealing with complex built-in systems, or if you’re just not comfortable with the process, a professional can save you time, money, and potential damage. It’s better to spend a little on professional help than a lot on repairing a mistake.
For those in doubt about their DIY abilities or dealing with complex plumbing, the This Old House guide on when to call a plumber provides excellent advice on recognizing when a professional’s touch is needed.
Frequently Asked Questions (FAQ)
Q1: Do I need to turn off the main water supply to remove a showerhead?

A1: Yes, it is highly recommended. While a showerhead removal might only result in a small amount of residual water, turning off the main water supply is a safety precaution to prevent any unexpected water flow and potential flooding. It’s always better to be safe than sorry.
Q2: My shower handle is really stuck. What can I do?

A2: If the handle is stuck on the valve stem, try gently wiggling it while pulling. If it still won’t budge, ensure the set screw (if applicable) is fully loosened. For very stubborn handles, a specialized shower handle puller tool can be rented or purchased from a hardware store. Avoid using excessive force, which can damage the valve stem.
Q3: Can I remove adhesive-mounted shower shelves without damaging my tiles?
A3: It’s possible, but requires patience and care. Start by trying to soften the adhesive with a hairdryer on a low setting. Then, carefully use a putty knife or plastic scraper to work around the edges and break the bond. Be gentle to avoid chipping or scratching your tiles.
Q4: What if I strip the screw on my shower handle?
A4: If the screw head is stripped, you can try using a rubber band placed between the screwdriver and the screw head for extra grip. If that doesn’t work, a screw extractor tool can be used, or you may need to carefully drill out the screw to remove the handle.
Q5: How do I remove old plumber’s tape from the shower arm?
A5: Old plumber’s tape can usually be peeled off by hand or gently scraped away with a plastic tool or a soft-bristled brush. You can also try using rubbing alcohol or a citrus-based cleaner to dissolve any stubborn residue. Ensure the shower arm is dry and clean before applying new tape.
Q6: Will using penetrating oil damage my shower fixtures?
A6: Generally, no, but it’s always best to use penetrating oil sparingly and wipe away any excess. Apply it directly to the threaded connection. Be mindful of the finish; while most oils are safe, it’s a good idea to test in an inconspicuous spot if you’re concerned, especially with very delicate or antique finishes.
Conclusion
You
