
Quick Summary:
Removing a sink yourself is surprisingly manageable with the right steps! This guide breaks down how to safely disconnect plumbing, detach the sink basin, and seal the opening, empowering you to tackle this DIY project with confidence, even as a beginner. Get ready to upgrade your space an save money!
Leaky pipes, outdated styles, or just a desire for a change – whatever the reason, knowing how to remove a sink yourself can save you time and money. It might sound like a plumbing professional’s job, but with a little preparation and our straightforward guide, you’ll be surprised at how achievable this DIY project is. We’ll walk you through each step, from turning off the water to safely lifting that old sink away. Get ready to gain a new skill and a refreshed space!
Why Remove a Sink Yourself? The DIY Advantage
Tackling a sink removal might seem daunting, but there are fantastic reasons to consider it for your next DIY project. For starters, it’s a great way to save money. Plumbers charge for their time and expertise, and while that’s valuable, many parts of a sink removal are within your reach. This project also offers a sense of accomplishment and builds your confidence for future home improvement tasks. Plus, it gives you complete control over the timeline and the quality of the work. Whether you’re replacing an old, stained sink with a shiny new one or preparing a space for renovation, removing the existing sink yourself is a smart first step.
Tools and Materials You’ll Need
Before you dive in, gathering the right tools and materials is key to a smooth and safe sink removal. Having everything ready will prevent frustrating trips to the hardware store mid-project. Think of it like packing for a trip – the more prepared you are, the more you’ll enjoy the experience!
Essential Tools for Sink Removal:
- Adjustable wrenches (two are helpful)
- Plumber’s putty
- Bucket or bowl
- Rags or old towels
- Safety glasses
- Work gloves
- Putty knife or scraper
- Utility knife or caulk remover
- Pliers (slip-joint and/or needle-nose)
- Screwdriver set (Phillips and flathead)
- Possibly a reciprocating saw (for stubborn seals or cast iron sinks)
Consumable Materials:
- Trash bags or a bin for debris
- Temporary drain plug or stopper
- Optional: New caulk if resealing an opening without a new fixture
Having these items on hand ensures you’re well-equipped to handle common challenges you might encounter during the removal process. Don’t worry if you don’t have everything; a quick trip to your local hardware store, or even borrowing from a neighbor, can get you set up.
Step-by-Step Guide: How to Remove a Sink Yourself

Let’s break down the process into manageable steps. Remember, patience and care are your best tools here. We’ll make this as effortless as possible!
Step 1: Turn Off the Water Supply
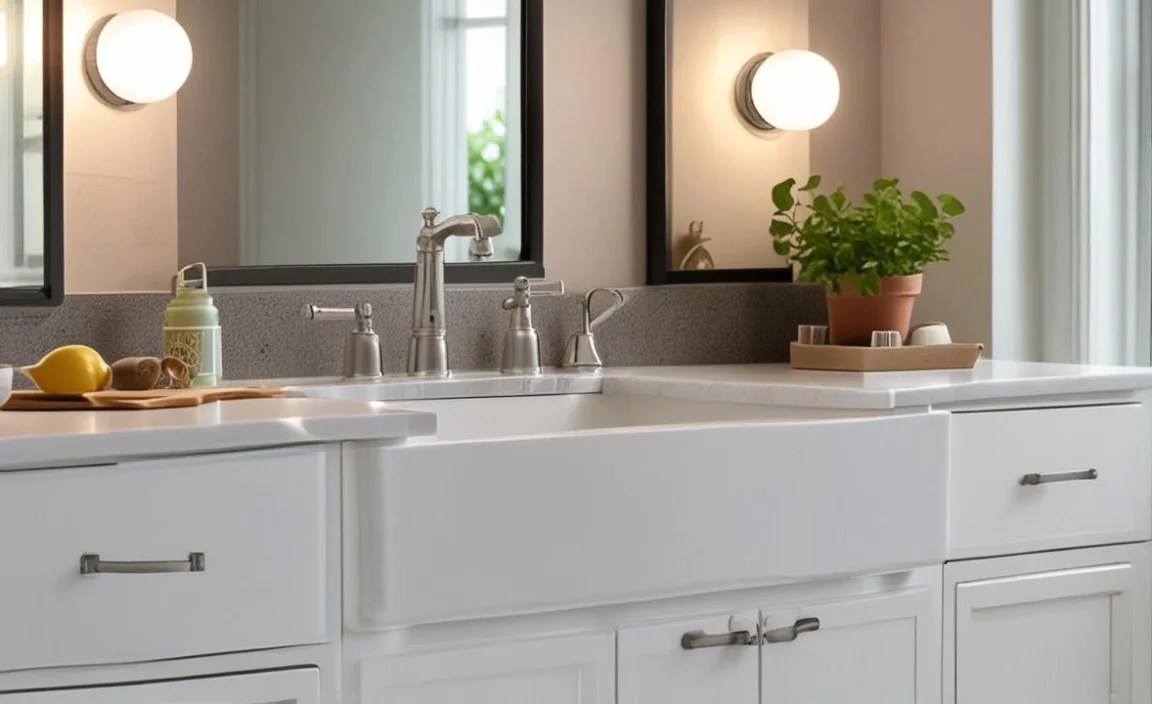
This is the absolutely crucial first step. You don’t want any unexpected water surprises! Look for the shut-off valves, usually located directly beneath the sink. There will be one for hot water and one for cold.
- Turn each valve clockwise until it stops.
- Once the valves are off, turn on the faucet to drain any remaining water in the pipes and confirm the water is indeed shut off. Let it run until no more water comes out.
If you can’t find or operate these valves, you’ll need to turn off the main water supply to your entire house. This valve is typically found in your basement, garage, or near your water meter. For guidance on locating your main water shut-off valve, this EPA guide on water shut-off valves can be very helpful.
Step 2: Disconnect the Water Supply Lines
With the water off, it’s time to disconnect the flexible hoses (supply lines) that connect your faucet to the shut-off valves and the faucet itself. Place a bucket or bowl underneath the connections to catch any residual water.
Typically, these lines are secured with nuts. Use an adjustable wrench to loosen and remove these nuts. You might need two wrenches – one to hold the valve steady and one to turn the nut. Again, turn counter-clockwise to loosen.
Pro Tip: If the nuts are corroded or difficult to turn, a little penetrating oil can work wonders. Let it sit for a few minutes before trying again.
Step 3: Disconnect the Drain Assembly
This is where things can get a little grimy, so have your bucket and rags ready!
- The P-Trap: The U-shaped pipe under your sink is called a P-trap. It’s designed to hold water, creating a seal that prevents sewer gases from entering your home. After placing your bucket underneath, use pliers or an adjustable wrench to loosen the slip nuts on either side of the P-trap. Gently wiggle it free. Be prepared for some water to drain out.
- Tailpiece and Strainer: The pipe coming directly down from the sink drain is the tailpiece. There might be a coupling connecting the tailpiece to the P-trap. Disconnect that as well.
- Strainer Basket: You’ll also need to disconnect the sink’s strainer basket. This is the metal basket where you’d typically place a drain stopper. Look underneath the sink where the strainer meets the basin. There’s usually a large nut holding it in place. Loosen this nut with pliers or a wrench. Some strainers might have screws that need to be removed with a screwdriver.
Important Note: Keep rags handy to wipe away any lingering water or debris. The inside of these pipes can hold quite a bit!
Here’s a quick look at the common drain components you’ll be working with:
| Component | Description | How to Disconnect |
|---|---|---|
| Shut-off Valves | Control water flow to the faucet. | Turn clockwise to close. |
| Supply Lines | Flexible hoses connecting faucet to valves. | Loosen compression nuts counter-clockwise with a wrench. |
| P-Trap | U-shaped pipe preventing sewer gas. | Loosen slip nuts with pliers or wrench. |
| Tailpiece | Pipe from sink strainer to P-trap. | Loosen slip nuts; may be part of P-trap assembly. |
| Strainer Basket Assembly | Basket and threaded shank holding it in sink drain hole. | Loosen locknut underneath sink with pliers or wrench; remove screws if present. |
Step 4: Detach the Sink from the Countertop

This step will vary depending on your sink type (e.g., drop-in, under-mount, pedestal) and how it’s secured. For most common drop-in sinks, the sink rim is often sealed to the countertop with plumber’s putty or caulk.
- Cut the Seal: Go around the edge of the sink where it meets the countertop. Use a utility knife or caulk remover tool to carefully cut through the old caulk or putty. Be gentle to avoid scratching the countertop.
- Loosen Clips (if applicable): Some sinks, especially heavier cast iron ones or certain undermount styles, might be held in place with mounting clips underneath. You’ll need to reach under the sink and countertop to find and loosen these clips with a screwdriver or wrench.
- Check for Concealed Fasteners: Occasionally, there might be hidden screws or brackets. Take a good look around the entire perimeter underneath.
Step 5: Remove the Sink Fixture
Once the plumbing is disconnected and the seal is broken (and any clips are removed), the sink should be free. This is when you’ll need to lift it out.
- Gentle Lift: Place both hands on the sink rim and try to gently lift it straight up and out of the countertop opening. If it feels stuck, double-check that you haven’t missed a seal or a fastener.
- Be Prepared for Weight: Sinks, especially those made of cast iron or heavy ceramic, can be surprisingly heavy. If you’re removing a larger sink, consider asking a friend or family member to help you lift it to avoid injury or damage.
- Clean the Opening: After the sink is removed, you might find old putty, caulk residue, or dirt in the opening. Use your putty knife or scraper to clean this away so you have a nice, clean surface for whatever comes next (whether it’s a new sink or just preparing to patch the hole).
Step 6: Clean Up and Prepare for Installation (or Closure)
You’ve successfully removed the sink! Now it’s time to clean up the area.
- Wipe down the countertop opening and the surrounding area.
- Dispose of the old sink and any debris properly.
- If you’re installing a new sink, now’s the time to prepare for that. Ensure the opening is clean and ready.
- If you are not immediately installing a new sink, you may want to temporarily cover the opening to prevent debris from falling into the drain pipes. A piece of sturdy cardboard or rigid plastic secured with tape can work.
Common Sink Types and Unique Removal Considerations
While the general steps remain similar, different types of sinks have nuances that might affect the removal process. Understanding these can prevent surprises.
Drop-In Sinks (Self-Rimming)
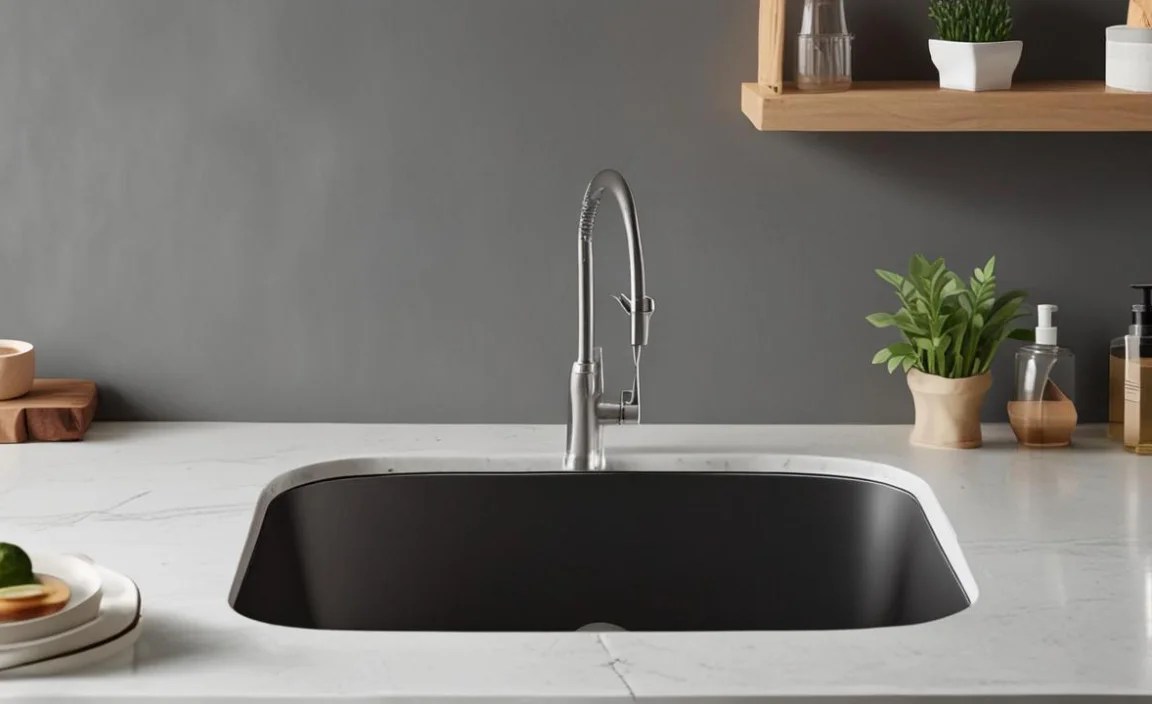
These are the most common type. The rim of the sink sits on top of the countertop. They are typically held in place by clips underneath and sealed with plumber’s putty or silicone caulk around the rim where it meets the counter. Removal usually involves cutting the seal and loosening clips.
Undermount Sinks
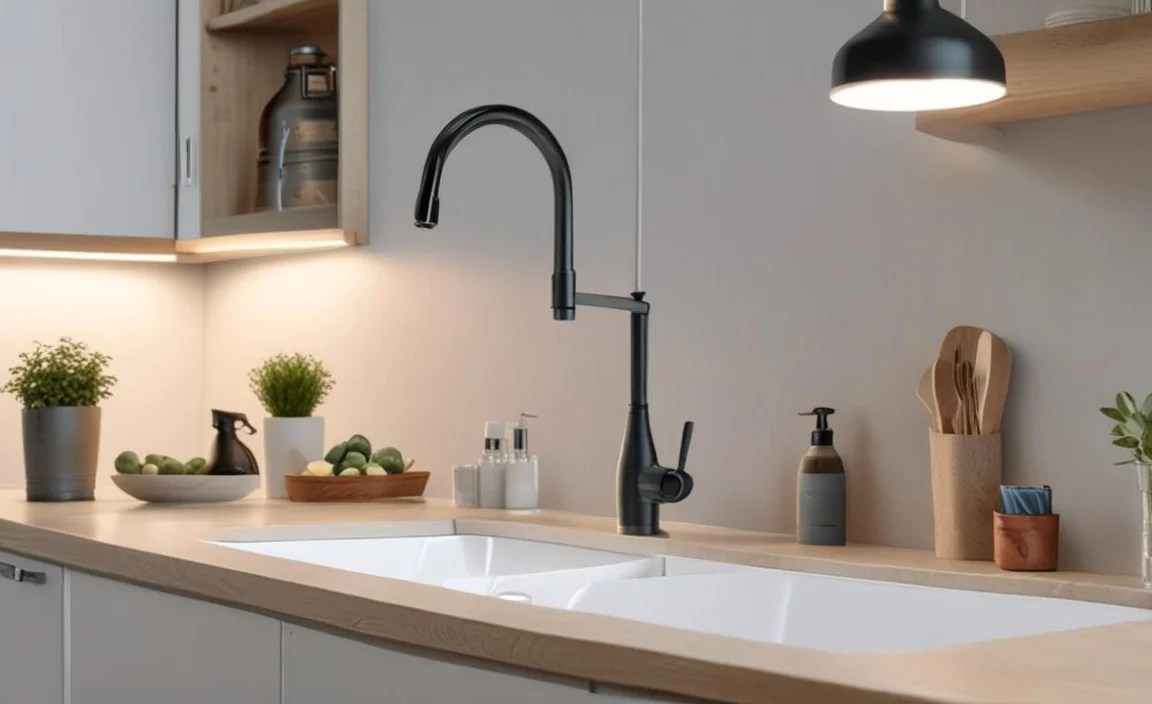
Installed beneath the countertop, these offer a sleek look. They are usually secured with heavy-duty clips and a strong adhesive, in addition to plumber’s putty or caulk around the opening edge. Removal requires meticulous cutting of the adhesive/caulk seal and significant effort to loosen or cut through the clips, which can be quite robust. This type may require more patience.
Pedestal Sinks
These consist of a basin and a separate pedestal base. The basin is typically secured to the wall with mounting screws, and the pedestal may be attached to the floor or wall for stability. Removal involves disconnecting plumbing, removing screws holding the basin, and then detaching the pedestal.
Here’s a quick comparison:
| Sink Type | Common Securing Method | Removal Difficulty (Beginner) | Key Consideration |
|---|---|---|---|
| Drop-In | Rim seal (putty/caulk), clips | Easy to Moderate | Cutting the rim seal cleanly. |
| Undermount | Adhesive, clips, rim seal | Moderate to Difficult | Breaking strong adhesive bond, strong clips. |
| Pedestal | Wall-mounted screws (basin), base stability fasteners | Moderate | Ensuring basin is fully supported before removing screws. |
Cast Iron Sinks: A Special Note
Cast iron sinks are extremely heavy and durable. While the removal process is similar, the weight is a significant factor. Always ensure you have adequate help to lift these. Sometimes, the old putty or caulk seal can be very stubborn due to the sink’s weight pressing into it for years. For these, a putty knife or even a stiff putty knife might be necessary to break the seal.
Troubleshooting Common Issues

Even with the best planning, you might run into a few snags. Here’s how to handle them:
- Stuck Shut-Off Valves: If the valves under the sink won’t turn, don’t force them too hard, as you could break them. Your only recourse then is to turn off the main water supply to the house. Knowing where this is located is a great bit of DIY knowledge!
- Corroded or Stripped Nuts: If nuts on the supply lines or drain pipes are rusted or you strip them with your wrench, you might need to resort to gentle persuasion with a pipe wrench or, as a last resort, use a hacksaw or reciprocating saw to carefully cut through the pipe or nut. Always be mindful of what you’re cutting near!
- Stubborn Seal: If the caulk or putty seal is resisting your utility knife, try spraying it with a little warm, soapy water or a dedicated caulk softener. Let it sit for a few minutes before trying to cut again.
- P-Trap Won’t Come Apart: Sometimes the slip nuts on the P-trap can seize up. You can try gently tapping them with a wrench or using penetrating oil. If it’s really stuck, you might need to cut the pipe, but this is less common for standard PVC traps.
Remember, safety first! If you feel uncomfortable or are dealing with a particularly stubborn problem, it’s always okay to call in a professional. There’s no shame in knowing when to ask for help.
Frequently Asked Questions About Removing a Sink
Here are some commonly asked questions from fellow DIYers:
Q1: How long does it typically take to remove a sink?
A1: For a standard drop-in sink, you can often remove it in 1-2 hours, especially if you have all your tools ready. Undermount or pedestal sinks, or those with stubborn seals, might take a bit longer, potentially 2-3 hours for a beginner.
Q2: Do I need to be a plumber to remove a sink?

A2: No, you don’t need to be a certified plumber. Basic tools, clear instructions, and a willingness to learn are enough for most sink removals. It’s a great beginner-friendly DIY project!
Q3: What should I do if I can’t turn off the water at the sink?

A3: If the shut-off valves under the sink are stuck or don’t exist, you must locate and turn off the main water supply valve to your entire house. This is typically found in a basement, garage, or utility closet.
Q4: How do I dispose of an old sink?

A4: Small sinks might fit in your regular trash if collection services allow. For larger or heavier sinks (like cast iron), you may need to take them to your local landfill or a recycling center. Check your local waste disposal guidelines.
Q5: What if the new sink doesn’t fit the existing hole?

A5: This is a common issue! If the hole is too small, you might need to carefully enlarge it using a jigsaw (for wood or laminate countertops) or a more specialized tool for stone. If it’s too large, you might need a sink with a larger rim, or you may have to add a filler piece to the countertop before installing the new sink.
Q6: Can I remove the sink and faucet as one unit?

A6: Yes, in many cases, it’s easier to remove the faucet and sink together if they are not already separated. The faucet is typically attached to the sink base with nuts from underneath, which you can loosen after the sink is detached from the countertop and disconnected from plumbing.
Conclusion: Your DIY Sink Removal Success Story
Congratulations! You’ve taken on a common home maintenance task and successfully learned how to remove a sink yourself. By following these steps, preparing your tools, and working with care, you’ve not only saved money but also gained valuable hands-on experience. This project is a testament to your growing DIY skills. Remember the importance of safety, especially turning off the water supply and handling potentially heavy fixtures. Whether you’re prepping for a stylish new sink or a complete bathroom/kitchen overhaul, you’ve cleared the way effectively. Now, go forth and continue building your confidence – your home will thank you for it!
