
Quick Summary:
Don’t let tile leaks cause major damage! Removing loose tiles is the first essential step to finding and fixing the source of water leaks, protecting your home’s structure and preventing costly repairs. This guide makes it easy to tackle this common DIY problem safely and effectively.
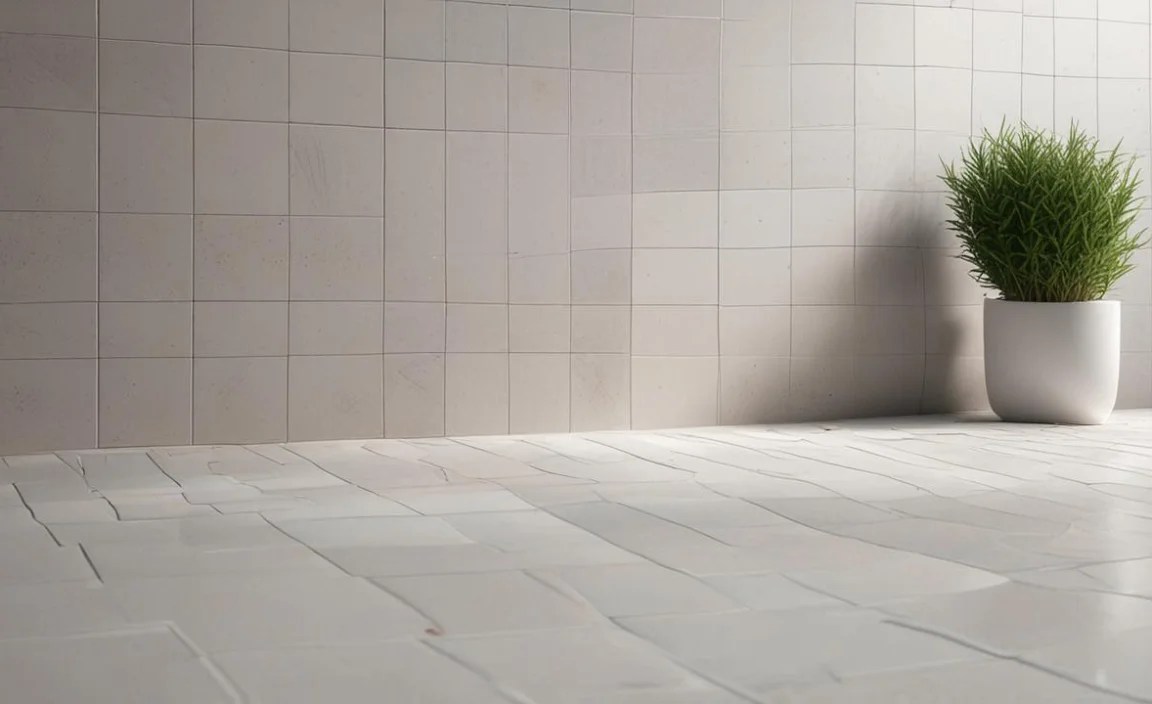
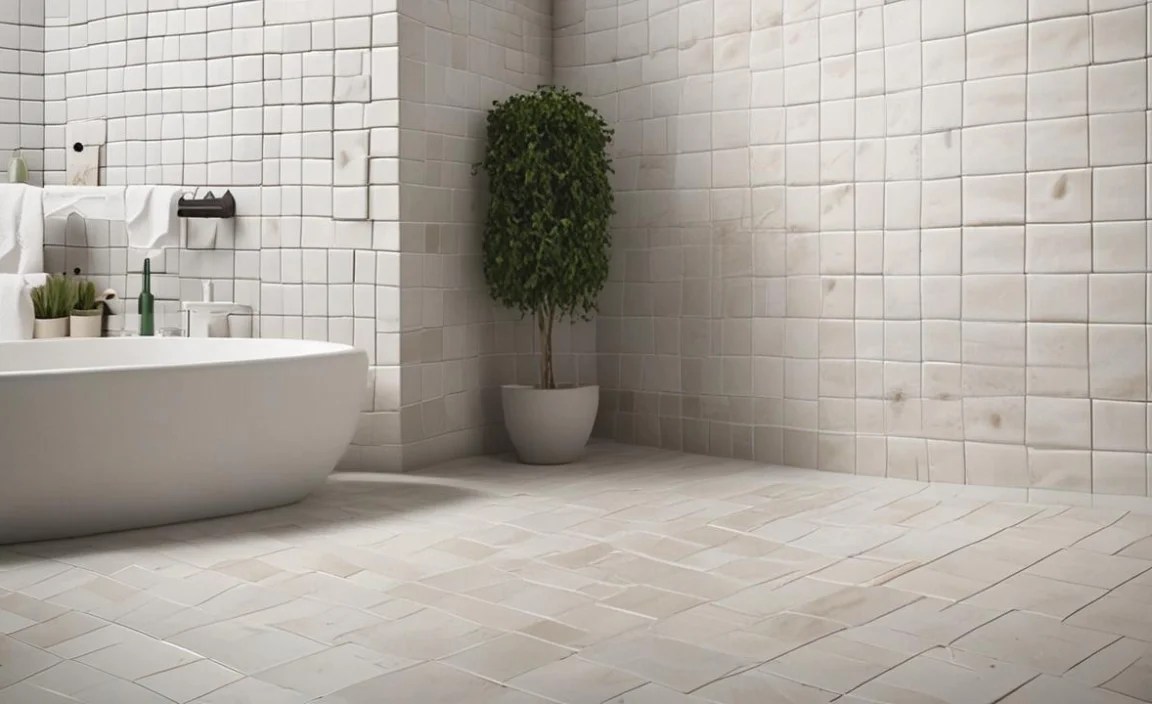
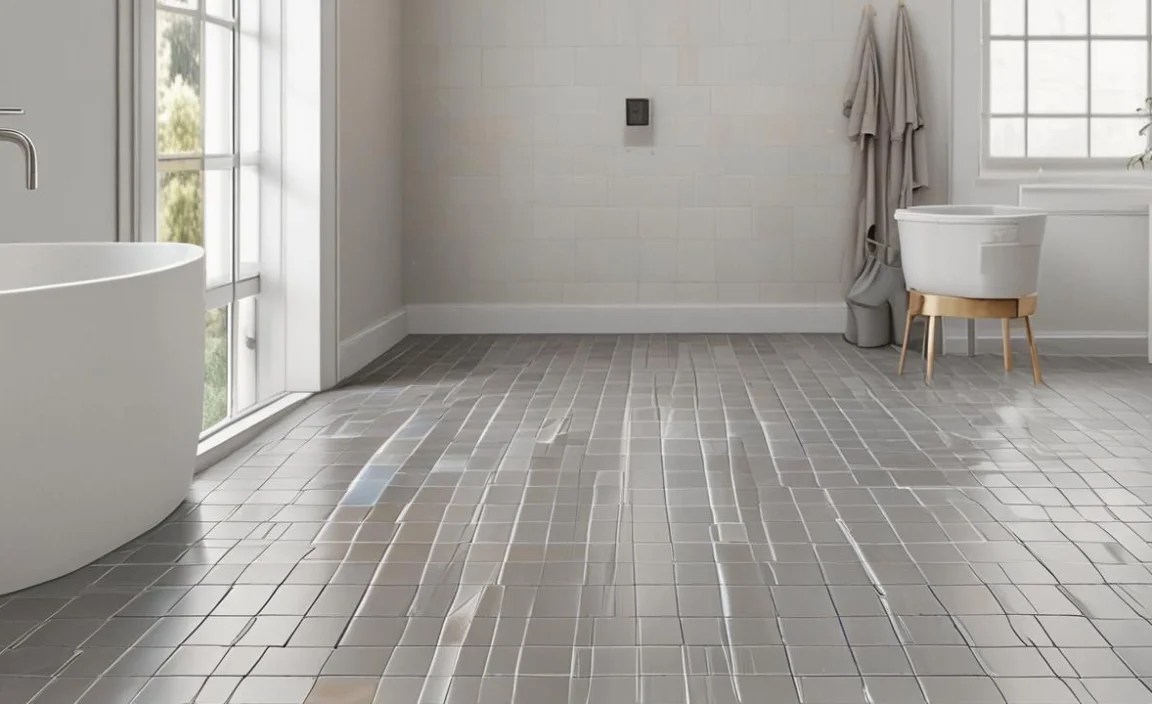
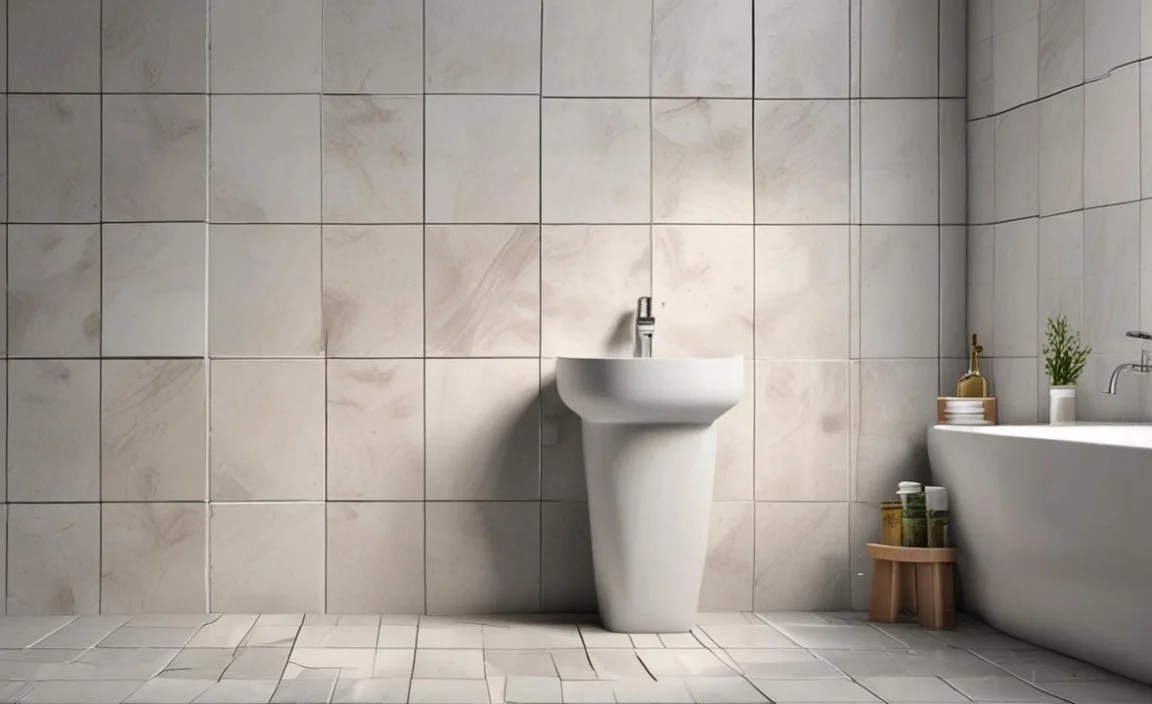
Tiled areas, like bathrooms and kitchens, are prone to leaks. Water can sneak through grout lines or cracks, leading to soggy subfloors and mold. The good news? Often, the culprit is right beneath you – loose tiles! If you notice dampness, soft spots, or even water dripping below, it might be time to remove those tiles. This straightforward process is your first key step in stopping the leak and saving your home from further damage. Let’s get started on fixing that pesky tile leak!
Understanding Tile Leaks and Why Removing Tiles is Key

Tile leaks are frustrating because they can be sneaky. Unlike a burst pipe that makes its presence known immediately, tile leaks often start small. Water finds its way through tiny imperfections in the grout or caulk, or even through hairline cracks in the tiles themselves. Once it gets past the tile surface, it can seep into the underlayment and subfloor. This is where the real trouble begins, potentially leading to rot, mold growth, and structural weakening.
When you see signs of a leak in a tiled area, especially if there are loose or hollow-sounding tiles, removing them becomes your most important first step for a few reasons:
Diagnosis: Loose tiles are often a symptom of moisture trapped underneath. Removing them allows you to see the condition of the substrate (the surface beneath the tiles) and identify the source of the water ingress. Is it a faulty seal around a fixture? Damaged waterproofing? A crack in the subfloor?
Access: To properly repair any underlying damage, you need access. Pulling up the compromised tiles clears the way.
Prevention: If moisture has softened the adhesive or grout, leaving them in place can lead to more tiles becoming loose and the problem spreading.
Think of it like a doctor needing to make an incision to treat an underlying condition. Removing the loose tiles isn’t the complete fix for the leak itself, but it’s the essential diagnostic and access step to get to the root cause.
When Do You Need to Remove Tiles for a Leak?
Identifying the right time to consider tile removal is crucial. Here are common indicators that suggest you might need to start pulling up tiles to tackle a leak:
Loose or Wobbly Tiles: This is the most obvious sign. If a tile lifts easily or feels loose underfoot, it’s a strong indicator that the adhesive has failed, often due to moisture.
Hollow Sound: Gently tap on tiles with a mallet or screwdriver handle. A dull, hollow sound, compared to the sharp “tink” of a well-adhered tile, suggests a void beneath it, likely filled with water or compromising moisture.
Dampness or Softness: If the grout between tiles feels persistently damp, or if the floor or wall feels soft or spongy when pressed, water is likely trapped.
Water Dripping Below: If you see water dripping from the ceiling or walls of the room below your tiled area, it’s almost certain moisture has penetrated the substrate and is finding its way down.
Mold or Mildew Growth: While mold can appear on the surface, its presence within or beneath the tiles is a serious sign of trapped moisture and a potential leak.
Cracked or Deteriorated Grout/Caulk: These are the pathways for water. If they are extensively damaged, it’s a prime suspect for the leak source.
If you observe any of these signs, proceeding with removing the affected tiles is a logical and necessary DIY step.
Essential Tools and Materials for Tile Removal
Before you start prying, gather your supplies. Having everything ready ensures a smoother and safer process.
Protective Gear (Safety First!)
Your health and safety are paramount when working with tools and materials that can create dust and sharp edges.
- Safety Glasses: Protect your eyes from flying debris and dust.
- Work Gloves: Prevent cuts and abrasions from sharp tile edges and tools.
- Dust Mask: Essential for preventing inhalation of tile dust, which can be harmful.
- Knee Pads: For comfort and protection if you’ll be kneeling for extended periods.
Tools for Removal
These are the main tools you’ll use to carefully lift and break the tiles.
- Putty Knife or Scraper: For initial prying and cleaning edges. A stiff metal putty knife is best.
- Grout Saw or Oscillating Multi-Tool with Grout Blade: To remove grout around the tiles you plan to lift. An oscillating tool significantly speeds this up.
- Hammer: For tapping tools and breaking stubborn tiles.
- Cold Chisel or Pry Bar: For leverage to lift stubborn tiles. A flat-head screwdriver can work for smaller tiles, but a dedicated pry bar offers better control.
- Utility Knife: For cutting around caulk seals.
Materials for Cleanup and Preparation
Don’t forget what you’ll need to manage the mess and prepare for the next steps.
- Drop Cloths or Tarps: To protect surrounding areas from dust and debris.
- Heavy-Duty Trash Bags: For disposing of broken tiles and debris.
- Bucket: For water and cleaning supplies if needed.
- Shop Vacuum: For cleaning up dust and small debris.
- Replacement Grout/Caulk (if applicable): You might need these for temporary sealing or after the main fix, depending on your next steps.
Having these items on hand will make removing tiles a manageable and successful DIY task.
Step-by-Step Guide to Removing Tiles
Follow these steps carefully to remove loose tiles for leak investigation. This process is designed to be beginner-friendly, focusing on control and minimizing damage to the surrounding area.
Step 1: Assess and Prepare the Area
Identify Affected Tiles: Gently tap each tile in the suspected leak area. Mark the loose or hollow-sounding ones with a piece of tape or chalk. Focus on these first.
Clear the Space: Remove any furniture, rugs, or items from the area to give yourself ample working room.
Protect Surfaces: Lay down drop cloths or tarps around the work area to catch dust and debris.
Turn Off Water (If Necessary): If the leak is near a fixture (like a sink or toilet), it’s wise to turn off the water supply to that fixture as a precaution.
Step 2: Remove Grout Around the Tiles
This step is crucial for creating space to get your tools underneath the tiles.
Use a Grout Saw or Oscillating Tool: Slowly and carefully move the grout saw or the oscillating tool along the grout lines surrounding the tile you want to remove. Go just deep enough to cut through the grout – avoid cutting into the tile itself or the underlying surface too much.
For Manual Grout Removal: If you don’t have a power tool, use a dedicated grout saw. This is more labor-intensive but effective. Work steadily to remove as much grout as possible along the edges of the tile.
Target Specific Tiles: You don’t necessarily need to remove all the grout if you’re only removing one or two problematic tiles. Focus on the perimeter of the tiles you’re lifting.
Step 3: Break and Pry Loose Tiles
This is where you’ll lift the tiles. Patience is key here.
Start with a Putty Knife: Insert a stiff putty knife or scraper into the grout line or any small crack you’ve created. Gently try to wedge it under the edge of the tile.
Tap with a Hammer: If the putty knife doesn’t move the tile, gently tap its handle with a hammer. Work around the edges, trying to lift the tile gradually.
Use a Pry Bar or Chisel: For more stubborn tiles, use a cold chisel or a small pry bar. Position the chisel near the edge of the tile and tap it with the hammer to work it underneath. Then, use the pry bar for leverage, gently lifting the tile. Always pry upwards, trying to keep your tool flat against the substrate to avoid gouging it.
Break Stubborn Tiles (If Necessary): If a tile is completely stuck and won’t budge, you may need to break it. Place a cloth over the tile to contain pieces, position the sharp edge of your chisel in the center, and strike it firmly with a hammer. Be prepared for it to shatter and wear your safety glasses!
Work Methodically: Lift one edge of the tile slowly. If it resists, try a different spot or carefully deepen the grout removal. The goal is to lift the tile with minimal damage to the substrate.
Step 4: Clean the Area
Once the tiles are removed, you need to clean up the mess and assess the situation.
Remove Debris: Carefully sweep or vacuum up all loose tile shards, grout fragments, and dust. Use a shop vacuum for fine dust.
Scrape Away Old Adhesive: Use your putty knife or scraper to remove any remaining old adhesive or thin-set mortar from the substrate. A clean, flat surface is essential for any future repairs or retiling.
Inspect the Substrate: This is your moment of discovery! Look for any signs of water damage, rot, mold, or structural issues on the subfloor or wall behind the tiles.
Step 5: Assess the Underlying Damage

With the tiles removed, you can now clearly see what’s going on beneath. Look for:
Water Damage: Are there dark stains, swollen wood, or softened areas?
Mold or Mildew: Is there any visible growth?
Cracks: Are there any cracks in the subfloor or waterproofing membrane?
Adhesive Condition: Was the adhesive intact, or was it crumbly and deteriorated?
Your findings here will dictate the next steps in your leak repair.
Common Leak Causes Revealed By Tile Removal
Pulling up tiles is often like solving a mystery. The condition of the substrate and the way the tiles came up can reveal a lot about why the leak occurred. Here are some common culprits you might uncover:
Failed Grout or Caulk Integrity

What You Might See: The grout between tiles might be cracked, crumbling, or missing in sections. The caulk around fixtures or edges might be shrunken, cracked, or pulling away from the tiled surface.
How It Causes Leaks: Grout and caulk are the primary seals for your tiled surfaces. When they degrade, water can easily penetrate the porous substrate underneath. This is especially common in shower corners or around bathtubs.
Inadequate or Damaged Waterproofing
What You Might See: In areas like showers or around tubs, there should be a waterproofing membrane (like a liquid- or sheet-applied product) beneath the tiles. You might find this membrane is torn, improperly installed, or completely missing in places. Water stains or rot on the subfloor behind the membrane indicate a breach.
How It Causes Leaks: The waterproofing membrane is the last line of defense. If it’s compromised, any water that gets past the tiles and grout will go straight into the wall or floor structure. You can learn more about waterproofing best practices from resources like the U.S. Department of Housing and Urban Development (HUD) which offers guidance on building science.
Subfloor or Substrate Damage
What You Might See: The plywood or cement board beneath the tiles might be soft, spongy, discolored, or show signs of rot and mold. This often happens when water has been seeping through for a long time.
How It Causes Leaks: A damaged subfloor can actually develop cracks or become porous, allowing water to pass through. If rot sets in, it creates voids that water can easily travel within.
Poorly Sealed Fixtures and Penetrations

What You Might See: Areas around shower heads, faucet escutcheons, drains, or floor drains might have gaps where water can easily enter. The sealant or flashing around these points may be old, cracked, or non-existent.
How It Causes Leaks: These are common weak points. Even if your tiles and grout are in good condition, water can flow directly into wall cavities or subfloors through these openings if they aren’t properly sealed.
Cracked Tiles
What You Might See: A tile might have a hairline crack that isn’t immediately obvious during a visual inspection.
How It Causes Leaks: This crack, though small, acts as a direct conduit for water to reach the adhesive and substrate below.
Summary Table: Common Leak Indicators and Causes
Here’s a quick reference to help you diagnose what you might find:
| What You See/Experience | Potential Cause(s) | Where to Look |
|---|---|---|
| Loose/Hollow Tiles | Failed adhesive due to moisture, substrate damage | Underneath tiles |
| Damp Grout/Soft Spots | Water penetration through grout/caulk, damaged waterproofing | Tile surface, underlayment |
| Mold/Mildew | Persistent moisture, compromised waterproofing, rot | Under tiles, behind tiles, on substrate |
| Water dripping below | Significant breach in waterproofing or substrate | Subfloors, wall cavities, ceilings below |
| Cracked grout/caulk | Age, UV exposure, expansion/contraction, insufficient material | Tile seams, edges, around fixtures |
Identifying the specific cause is crucial because it determines the full scope of the repair. Simply replacing tiles won’t stop future leaks if the underlying issue isn’t addressed.
Fixing the Leak: Beyond Tile Removal

Removing the tiles is just the first step. The real fix depends on what you discover beneath them. Here’s a look at common repair strategies:
1. Repairing the Substrate
Minor Damage: If the substrate is just slightly damp but not rotted or soft, a thorough drying period might suffice. Ensure good ventilation.
Moderate Damage: If there are small areas of rot or softness, you may need to cut out the damaged section of plywood or cement board and replace it. Use a saw to carefully remove the affected piece.
Severe Damage: Extensive rot or structural weakness means the subfloor may need complete replacement. This is a more involved job, and for beginners, seeking professional help might be wise.
Mold Remediation: If mold is present, it MUST be properly removed. This often involves specialized cleaners and ensuring the area is completely dried and ventilated. For extensive mold, professional remediation is recommended by organizations like the U.S. Environmental Protection Agency (EPA) to ensure health and safety.
2. Re-establishing Waterproofing

Essential in Wet Areas: In showers, tub surrounds, and continuously wet floors, a robust waterproofing system is non-negotiable.
Options: This can include liquid-applied membranes (like RedGard or Hydro Ban), sheet membranes (like Kerdi membrane), or cementitious panels with sealed seams.
Proper Application: Follow the manufacturer’s instructions precisely for application, curing times, and overlap (if applicable). Ensure all seams, corners, and penetrations are sealed correctly.
3. Replacing Grout and Caulk
New Grout: Once the substrate is repaired and waterproofed, apply new grout according to the manufacturer’s instructions. Ensure it’s fully cured before proceeding.
High-Quality Caulk: Use a good quality silicone or siliconized acrylic caulk designed for
kitchens and bathrooms. Apply a continuous bead around fixtures, corners, and edges. Smooth it with a damp finger or caulk tool for a clean finish.
4. Addressing Fixture Leaks
Check Seals: Examine the seals around shower heads, faucets, toilets, and drains. Old or damaged seals are common leak points.
Replace Washers/Seals: For faucets or shower valves, replacing old washers or seals can stop internal leaks that run down the wall.
Re-flashing/Sealing: For drains or where pipes penetrate walls, ensure they are properly flashed and sealed to prevent water from entering the structure.
5. Re-tiling
Prepare Surface: Once all repairs and waterproofing are complete and cured, ensure the substrate is clean, flat, and ready for tile adhesive.
Apply Tile Adhesive: Use a notched trowel to apply the correct type of tile adhesive (thin-set mortar) to the substrate.
Lay New Tiles: Place the new tiles, ensuring they are evenly spaced with consistent grout lines.
Grout and Caulk: After the adhesive cures, grout the new tiles and apply caulk where needed.
When to Call a Professional

While many tile leak issues can be tackled by a determined DIYer, there are times when professional help is essential:
* Extensive Subfloor or Structural Damage: If rot has spread significantly, or the subfloor is severely compromised, it requires
