
Quick Summary:
Removing old tiles yourself is achievable! This guide shows you how to safely and effectively tackle tile removal without needing a plumber, saving you money by preparing the area properly and using the right tools to get the job done right.
Dreaming of a fresh new look for your bathroom or kitchen, but the thought of calling in a professional for every little task feels overwhelming? You’re not alone! Old tiles can be stubborn, and many homeowners worry that removing them means calling in an expensive plumber. But here’s a little secret: with the right approach and tools, you can absolutely remove tiles yourself. This guide is here to walk you through the process step-by-step, making it simple and stress-free. Get ready to empower yourself with the knowledge to tackle this common DIY project confidently.
Why You Might Need to Remove Tiles
There are several reasons why you might find yourself needing to remove existing tiles. Perhaps the grout is crumbling and the tiles are loose, making the area look unsightly and unsanitary. Maybe you’re simply tired of the old style and want to update your space with a fresh, modern look. Sometimes, water damage might hide beneath the tiles, requiring their removal to assess and repair the underlying structure. Whatever the reason, understanding the process is the first step to a successful renovation. Knowing how to remove tiles yourself can save you a significant amount of money on labor costs, allowing you to allocate your budget to new materials or other home improvement projects.
Tools and Safety Gear: Your Essential Toolkit
Before we dive into the actual removal process, let’s talk about the tools and safety gear you’ll need. Having the right equipment makes a huge difference in how easy and safe the job will be. Think of this as your DIY starter pack for tile removal.
Must-Have Tools:

- Safety Glasses: Essential for protecting your eyes from flying debris.
- Work Gloves: Heavy-duty gloves protect your hands from sharp edges and impacts.
- Dust Mask or Respirator: Old tiles can release dust, including potentially harmful particles like silica. A good mask is crucial.
- Utility Knife or Awl: For scoring grout lines.
- Putty Knife or Scraper: To get under tiles and pry them loose.
- Hammer: A standard claw hammer or a small sledgehammer can be useful.
- Chisel: A cold chisel is ideal for breaking up tiles and cutting through grout and adhesive.
- Pry Bar: For leverage to lift stubborn tiles.
- Pliers: For pulling out loose nails or debris.
- Screwdriver: Useful for prying.
- Bucket: For collecting debris.
- Shop Vacuum: To clean up dust and debris as you go.
- Drop Cloths or Tarps: To protect surrounding areas from dust and damage.
- Reciprocating Saw (Optional, for tough jobs): With a masonry blade, this can cut through stubborn tiles and adhesive.
- Circular Saw or Angle Grinder (Optional, for breaking large tiles): Use with a diamond blade and extreme caution.
Safety First!
Safety isn’t just a suggestion; it’s paramount. When removing tiles, you’re dealing with potential hazards like sharp fragments, heavy objects, and dust. Always wear your safety glasses, sturdy gloves, and a dust mask. Ensure the area is well-ventilated, especially if you’re working indoors. If you’re using power tools like a reciprocating saw or angle grinder, read their manuals thoroughly and understand their operation and safety features before you start. Consider wearing long sleeves and sturdy pants to protect your skin.
Preparing Your Workspace for Tile Removal
Proper preparation is key to a smooth and efficient tile removal process. Taking the time to prepare your area will save you a lot of cleanup time and prevent damage to other parts of your home.
- Clear the Area: Remove any furniture, rugs, or temporary fixtures from the room or the immediate vicinity of the tiles you’ll be removing. Move them to another room or a protected space.
- Protect Surfaces: Cover any nearby countertops, cabinets, or flooring that you don’t want to get scratched or damaged by dust. Thick drop cloths or old blankets work well. For delicate flooring, consider using plywood to protect it.
- Turn Off Water (If Applicable): If you’re removing tiles in a bathroom or kitchen area where there are exposed pipes or fixtures that might be affected, it’s a good idea to shut off the main water supply to that area. While not strictly necessary for tile removal itself, it’s a safety precaution if there’s any risk of accidental pipe damage. You can usually find the shut-off valve for specific areas or the main house supply.
- Ventilation is Key: Open windows and doors to ensure good air circulation. This helps to minimize airborne dust and keeps the air fresh, making your working environment more pleasant and safer.
- Electrical Safety: If you’re working near electrical outlets or fixtures, ensure they are turned off at the breaker box. Cover them with painter’s tape to prevent dust from getting inside.
Step-by-Step Guide to Removing Tiles

Now that you’re equipped and prepared, let’s get down to business! This process is about patience and technique rather than brute force. We’ll start with the easier methods and move to more robust techniques if needed.
Step 1: Scoring the Grout
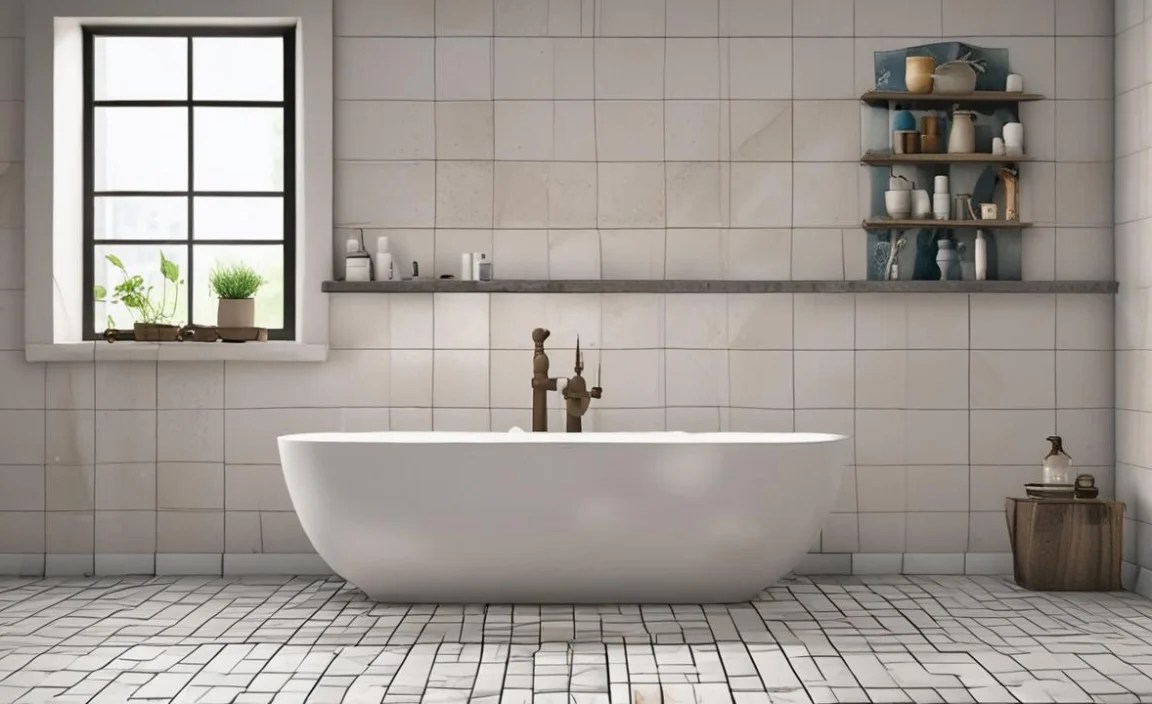
The first actual step in removing tiles without a professional is to break the seal between the tiles. You achieve this by scoring the grout lines. This weakens the bond and makes it easier to get your tools underneath the tiles.
- Using your utility knife or awl, carefully cut along all the grout lines surrounding the tile you want to remove.
- Go deep enough to break through the grout and reach the adhesive or thin-set mortar underneath. This action helps loosen the tile from its base.
- For tougher grout, a grout saw or a multi-tool with a grout removal attachment can be a real time-saver here. You can find helpful tips on grout removal techniques from resources like This Old House.
Step 2: Loosening the Tile
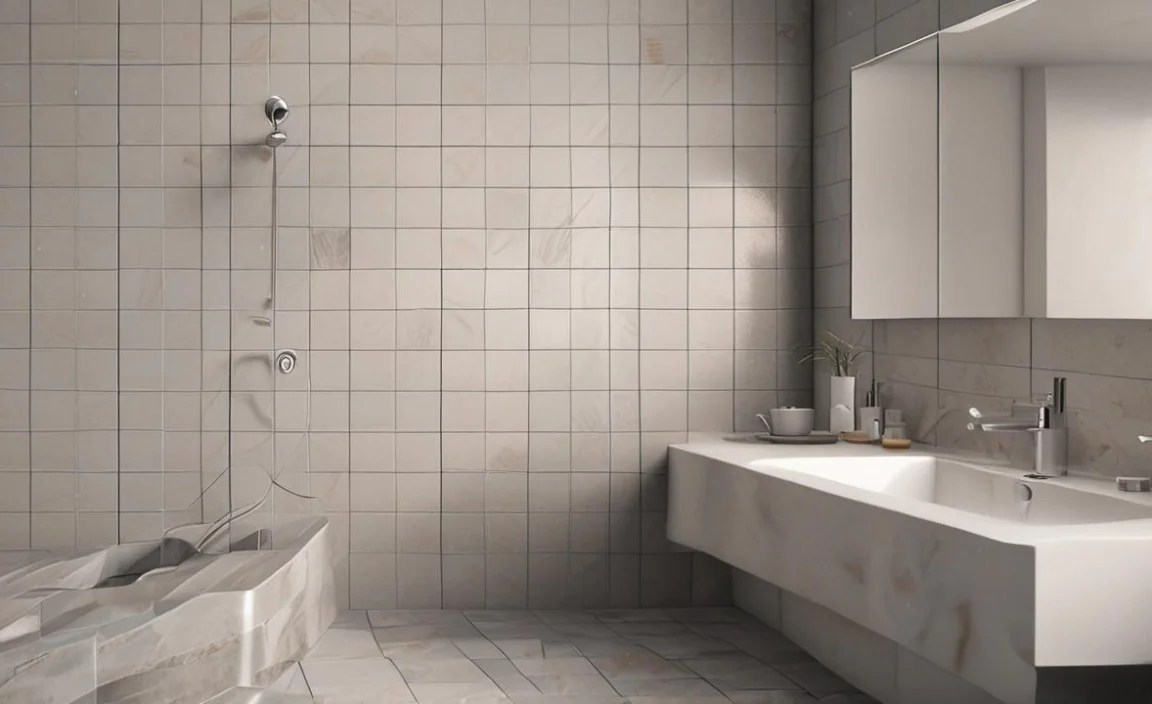
Once the grout is scored, it’s time to start prying. This is where your putty knife, scraper, or pry bar comes into play.
- Insert the edge of your putty knife or scraper into the scored grout line, aiming to get it underneath the edge of the tile.
- Gently work the tool back and forth, trying to lift the tile. Be patient. If one spot doesn’t budge, try another edge of the tile.
- If the tile starts to lift but is still attached, you might need to use a pry bar for more leverage. Slide the pry bar carefully under the tile and gently lift. Protect the surrounding surface with a thin piece of wood or cardboard if you’re concerned about scratching.
Step 3: The Hammer and Chisel Method (For Stubborn Tiles)

If prying isn’t working, it’s time to bring out the hammer and chisel. This method is more forceful and best for tiles that are very well-adhered or when you’re okay with breaking a tile to get it out.
- Position the sharp edge of your cold chisel at an angle against the edge of the tile, aiming towards the center of the tile.
- While holding the chisel steady, strike the end of the chisel firmly with your hammer. Wear your safety glasses, as this can cause pieces to fly.
- The goal is to break the tile into smaller pieces or to chip away at the edges to create space to work your pry bar in.
- Work your way around the tile, breaking it into manageable pieces.
- Always be mindful of the surface beneath the tile. If it’s a delicate subfloor, be extra careful not to damage it.
Step 4: Dealing with Adhesive and Thin-Set Mortar

After the tiles are removed, you’ll likely be left with adhesive or thin-set mortar on the subfloor. This needs to be cleaned up before you can install new flooring.
- Use your scraper, putty knife, or even a floor scraper to remove as much of the old adhesive as possible.
- If the adhesive is particularly tough, you might need to slightly dampen it (check your subfloor material’s tolerance for moisture) or use a specialized adhesive remover. Always follow product instructions and ensure good ventilation if using chemicals.
- For very stubborn thin-set, an angle grinder with a concrete grinding wheel can be used, but this is a more advanced technique requiring significant safety precautions. A simpler method is to use a floor scraper powered by your own effort.
- A shop vacuum is invaluable for cleaning up dust and debris throughout this process.
Step 5: Cleaning Up
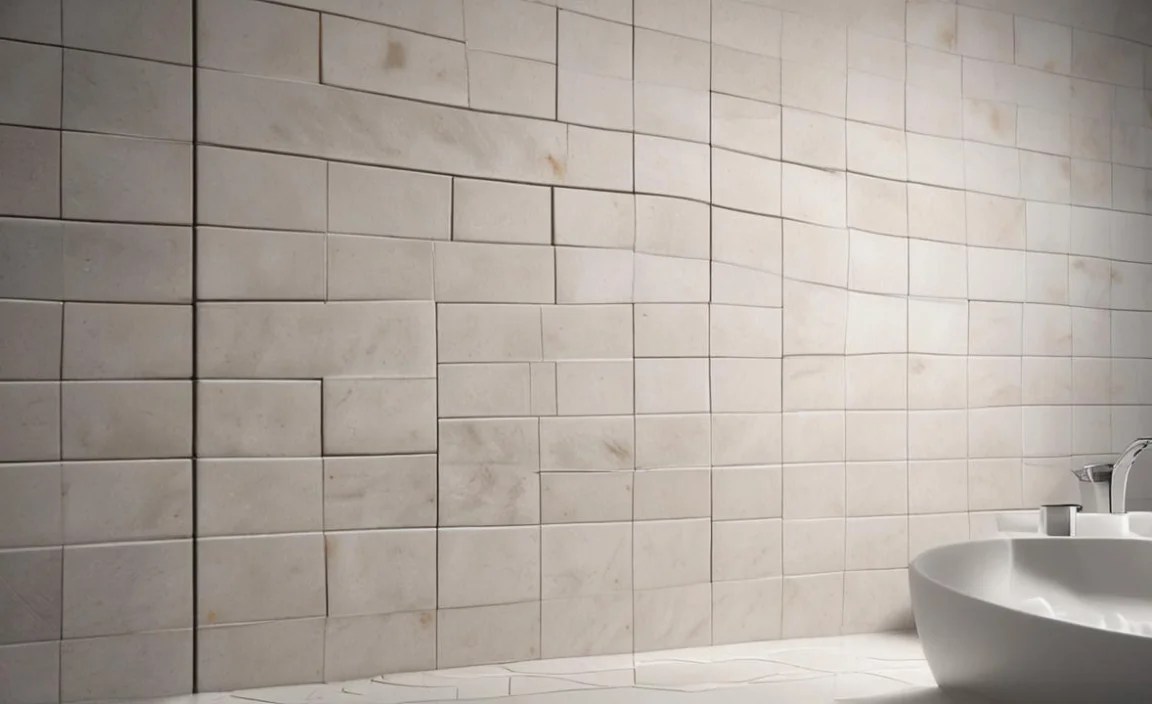
Once all the tiles and most of the adhesive are removed, it’s time for a thorough cleanup.
- Sweep up any remaining debris.
- Use your shop vacuum to get into all the corners and crevices, removing fine dust.
- Wipe down any protected surfaces.
- Proper disposal of old tiles is important. Depending on your local regulations, you might need to take them to a waste disposal site.
Removing Different Types of Tiles
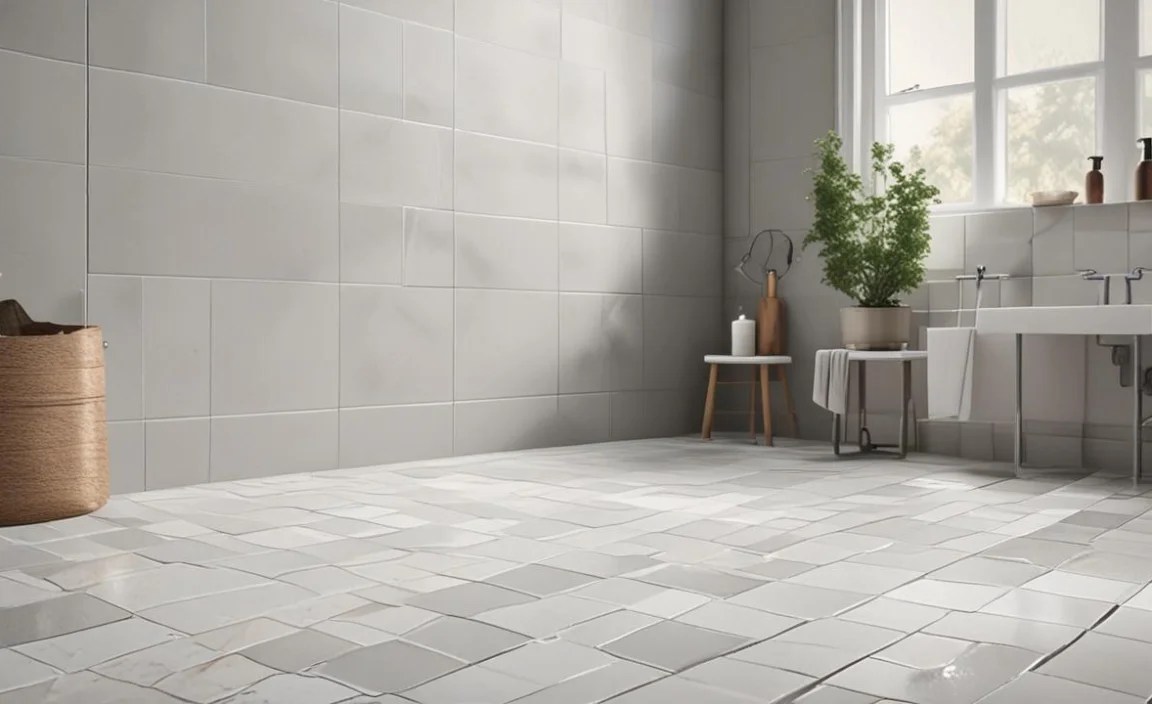
The method for removing tiles can vary slightly depending on the type of tile and how it was installed. Here’s a quick look at some common scenarios:
Ceramic and Porcelain Tiles
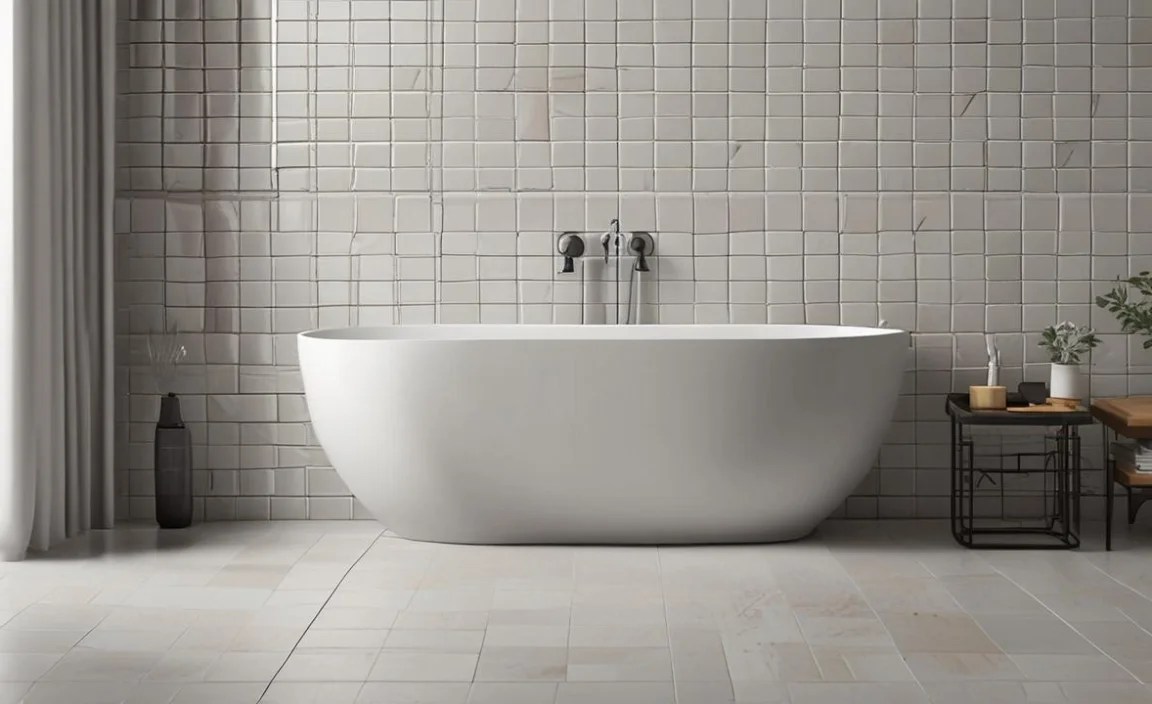
These are some of the most common flooring materials. They are generally quite durable, meaning they can be well-adhered. The hammer and chisel method is often necessary here if prying doesn’t work. Be prepared for them to break into sharp pieces.
Natural Stone Tiles (Marble, Granite, Slate)
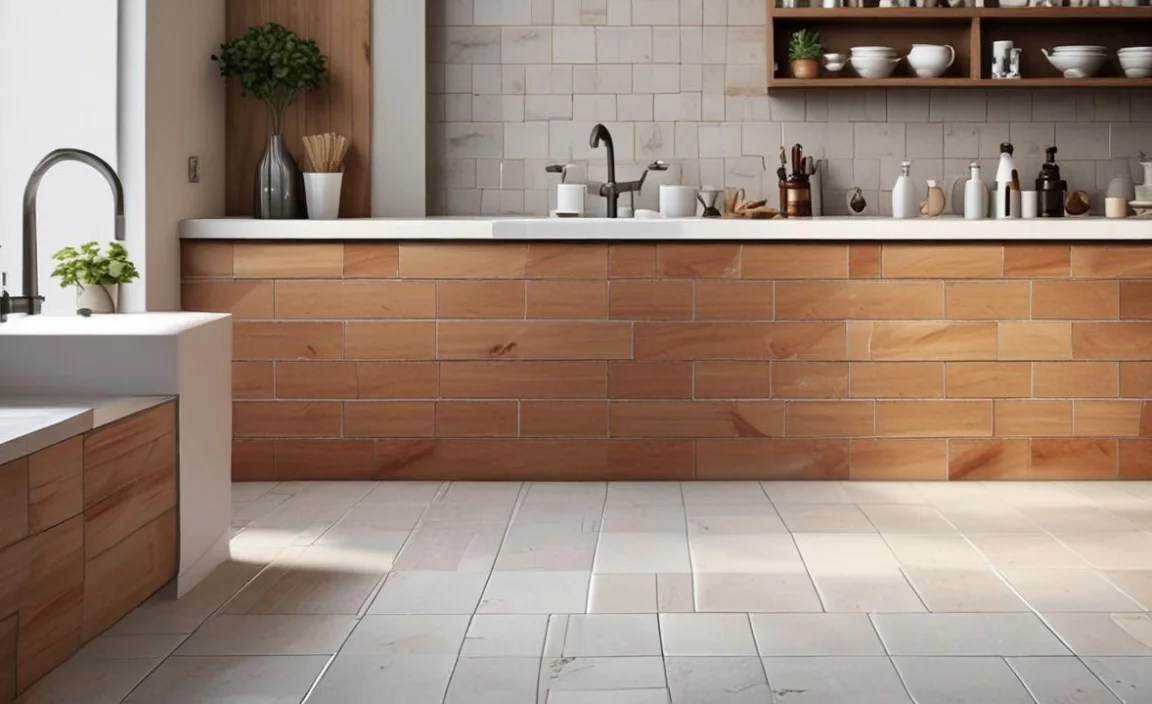
Natural stone tiles can be beautiful but also heavy and brittle. They can chip easily if struck improperly. When using a hammer and chisel, aim for the center of the tile to break them cleanly, or use a soft-faced mallet if you want to preserve the underlying floor as much as possible.
Vinyl or Linoleum Tiles
These tiles are usually glued down with a specific adhesive. Often, they can be pried up with a putty knife or scraper. If they are very stubborn, a heat gun can sometimes soften the adhesive, making them easier to lift. Be cautious with heat guns and ensure good ventilation.
Tiles on Cement Board or Backer Board

Tiles installed over cement board or a similar backer board are generally straightforward to remove. The main concern is not damaging the backer board too much if you plan to reuse it. If the backer board is damaged, it will need to be replaced anyway.
Tiles on Plywood or Subfloor
When tiles are directly on plywood or a wooden subfloor, extra care is needed to avoid gouging or weakening the subfloor. Use your tools judiciously and protect the wood with additional material if necessary.
When to Consider Professional Help
While this guide aims to empower you to remove tiles yourself, there are situations where calling a professional might be the wiser choice. For instance:
- Large Areas: If you have a very large area of tiling to remove, the time and physical effort might outweigh the cost savings of DIY.
- Suspected Water Damage: If you suspect significant water damage or mold behind the tiles, a professional can diagnose and repair the underlying issue safely.
- Structural Concerns: If you’re dealing with older homes or suspect structural issues, it’s best to consult with experts.
- Complex Layouts: Intricate patterns or tiles in very confined spaces can be challenging.
- Lack of Confidence or Time: If you’re short on time or simply don’t feel comfortable with the process after reading this guide, it’s okay to outsource the work.
For those undertaking the removal themselves, remember that resources like the National Institute for Occupational Safety and Health (NIOSH) offer guidance on construction safety, which can be relevant to dust control and safe working practices.
Table: Tile Removal Difficulty and Recommended Tools
The difficulty of removing tiles can vary. Understanding this can help you prepare your approach and tool selection.
| Tile Type | Adhesive Type | General Difficulty | Recommended Primary Tools | Secondary Tools/Tips |
|---|---|---|---|---|
| Ceramic/Porcelain | Thin-set Mortar | Moderate to Hard | Hammer, Cold Chisel, Pry Bar | Utility Knife, Putty Knife, Safety Glasses (essential!) |
| Natural Stone (Marble, Granite, Slate) | Thin-set Mortar | Moderate | Putty Knife, Pry Bar, Soft-faced Mallet | Chisel (with caution), Protective padding for subfloor |
| Vinyl/Linoleum | Adhesive | Easy to Moderate | Putty Knife, Floor Scraper | Heat Gun (optional, use with caution), Gloves |
| Glass Mosaic | Thin-set Mortar or Adhesive | Moderate | Putty Knife, Pry Bar | Scoring grout is crucial, be gentle to avoid breakage |
| Terracotta | Thin-set Mortar | Moderate | Hammer, Cold Chisel, Pry Bar | Can be brittle, aim for center of tile |
Frequently Asked Questions (FAQ)
Q1: How do I remove tiles without damaging the subfloor?

Be patient and use controlled force. Start with a putty knife or scraper to gently pry tiles. If using a hammer and chisel, try to break tiles into smaller pieces rather than smashing them, and aim the chisel at an angle to lift rather than dig into the subfloor. Protect the subfloor with a thin piece of wood or cardboard when using a pry bar for leverage.
Q2: What if the tiles are really stuck and won’t budge?
If prying and gentle chiseling don’t work, you might need to break the tile first. Use a hammer and cold chisel, striking the tile itself to create cracks. Work from the edges inwards, breaking the tile into smaller pieces. These smaller pieces are often easier to pry loose from the subfloor. A reciprocating saw with a masonry blade can also be used to cut through stubborn adhesive or thin-set between the tile and subfloor, but this is a more advanced technique.
Q3: How much dust can I expect?

You can expect a significant amount of dust, especially when breaking tiles or removing old mortar. This is why wearing a dust mask or respirator is non-negotiable. Covering nearby surfaces and using a shop vacuum to capture dust as you work will greatly reduce the cleanup needed later.
Q4: Do I need to call a plumber to turn off water to my pipes?

You usually won’t need a plumber just for tile removal unless you plan to do plumbing work yourself. If you’re removing tiles in a bathroom or kitchen and are concerned about accidentally hitting a pipe, you can shut off the main water supply to your house at the main valve. If you’re unsure about finding or operating your water shut-off valve, consult your water utility company or a plumber for guidance on proper procedure.
Q5: What’s the best way to remove old adhesive or thin-set mortar?

Start with a sturdy floor scraper or putty knife. For tougher spots, a heated scraper can help soften the adhesive. If the adhesive is very difficult, consider using a specialized heavy-duty adhesive remover, following the product’s safety and application instructions carefully. Always ensure good ventilation when using such products.
Q6: Can I reuse the old tiles?
Sometimes! If the tiles come up cleanly without breaking and the adhesive isn’t too aggressive, you might be able to reuse them, especially if they are higher-end or unique styles. However, most DIY removal results in broken or chipped tiles, making reuse unlikely. If you’re aiming for reuse, be extra gentle and only use pry bars carefully.
Conclusion
Tackling tile removal yourself is a rewarding DIY project that can save you money and give you control over your home renovation timelines. By gathering the right tools, prioritizing safety, preparing your workspace meticulously, and using the step-by-step methods outlined above, you can confidently navigate the process of removing old tiles. Remember to work methodically, be patient, and don’t hesitate to use the appropriate tools for stubborn areas. Happy renovating!
