
Quick Summary:
Need to remove a toilet cheaply? This guide offers a proven, affordable fix. We’ll walk you through draining, disconnecting, and safely removing your old toilet with simple tools, saving you money and hassle. Learn easy techniques to tackle thisDIY job with confidence.
Dealing with a leaky toilet, an outdated fixture, or preparing for a bathroom renovation? Removing a toilet might sound daunting, but it’s a straightforward DIY task that can save you a significant chunk of change compared to hiring a plumber. We’re here to show you how to do it affordably and safely, step-by-step. This guide is designed for beginners, breaking down each part into easy-to-understand instructions. You’ll be surprised how manageable this project can be with just a few basic tools and a little guidance. Let’s get that old toilet out of the way and prepare your space for something new!
Why Removing a Toilet Cheaply Matters
As homeowners, we often face maintenance tasks that can quickly add up in cost. A plumber’s service call for something as seemingly simple as toilet removal could easily run into hundreds of dollars. For DIY enthusiasts and budget-conscious individuals, finding an affordable way to handle such tasks is crucial for keeping homeownership costs in check. Removing a toilet yourself is a prime example of a project where a little knowledge and effort can yield significant savings. It’s not just about the money; it’s also about gaining the confidence that comes with tackling home repairs yourself, empowering you for future projects.
Beyond cost savings, removing an old toilet can be a necessary step for various reasons:
- Renovations: Upgrading your bathroom often means replacing the toilet to improve aesthetics or functionality.
- Repairs: If a toilet is beyond repair or constantly causing plumbing issues, removal might be the most cost-effective long-term solution.
- Moving or Replacing Fixtures: Sometimes, you might need to remove a toilet to access plumbing for other work or to repurpose the space.
- Selling a Home: A new toilet can be a minor but appealing upgrade that might be worth the effort if you’re looking to sell.
This guide focuses on the most affordable and accessible methods, ensuring you don’t need specialized tools or expensive equipment. We’ll cover everything from preparing the area to the final removal, making the process as smooth as possible.
Essential Tools for Cheap Toilet Removal
The beauty of removing a toilet cheaply lies in its simplicity. You likely already have most of the tools needed in your toolbox, or they are inexpensive to acquire. Having the right tools ensures efficiency and safety, preventing unnecessary damage or frustration.
Here’s a list of items you’ll want to gather before you start:
- Adjustable Wrench (or Pipe Wrench): For loosening the nuts that secure the toilet to the floor and the water supply line.
- Putty Knife or Scraper: To help break the seal between the toilet base and the floor if it’s stuck.
- Old Towels or Rags: Essential for mopping up any residual water in the tank and bowl, and for protecting your floor.
- Bucket: To catch any last drips of water from the tank or supply line.
- Utility Knife or Box Cutter: Useful for cutting through old caulk around the base if present.
- Pry Bar (optional): If the toilet is very stubborn, a small pry bar can help gently lift it.
- Gloves: For hygiene and protection.
- Safety Glasses: Always a good idea when working with plumbing and potentially dusty or dirty areas.
- Sponge: To soak up the last bits of water from the bowl.
- Plastic Sheet or Drop Cloth: To protect your bathroom floor from water spills and potential scratches.
You can find most of these tools at any hardware store or big-box retailer. Investing in a basic toolkit is incredibly beneficial for any homeowner, as it opens the door to countless DIY projects that save money over time. For instance, an adjustable wrench is a versatile tool that will serve you well for many plumbing and mechanical tasks.
Step-by-Step Guide: How to Remove a Toilet Cheaply
Now that you have your tools ready, let’s dive into the actual process. We’ll go through each step methodically, ensuring you don’t miss anything important.
Step 1: Turn Off the Water Supply
The very first and most critical step is to shut off the water to the toilet. Look for a small valve on the wall behind the toilet, usually on the left side. Turn this valve clockwise until it stops. If you can’t find this valve, or if it’s stuck, you might need to shut off the main water supply to your entire house. This is typically located in the basement, garage, or near your water meter.
Once the valve is turned off, flush the toilet to drain most of the water from the tank. Hold the handle down until no more water flows into the bowl.
Step 2: Drain the Toilet Tank and Bowl

With the water supply off, use your sponge to soak up any remaining water in the toilet tank. You can also hold down the flush lever to empty as much as possible. Then, use your sponge and bucket to remove the water from the toilet bowl itself. This is important to minimize weight and prevent spills when you move the toilet.
Any residual water can be absorbed with towels and rags. Having an old towel or two handy is always a good idea for unexpected drips.
Step 3: Disconnect the Water Supply Line

The water supply line connects the shut-off valve to the bottom of the toilet tank. Place your bucket underneath the connection point to catch any water that might still be in the line. Use your adjustable wrench to loosen the nut connecting the supply line to the tank. It’s threaded onto a fill valve connection. Turn the nut counter-clockwise. Be prepared for a small amount of water to drip out.
If the supply line is old or looks corroded, it’s a good idea to replace it when you re-install. They are inexpensive and can prevent leaks.
Step 4: Remove the Toilet Tank (Optional, but Recommended for Easier Handling)

While you can remove the entire toilet as one unit, it’s often easier and lighter to remove the tank from the bowl first. Look at the back of the toilet bowl where the tank sits. You’ll see bolts that connect them. Underneath the tank, you’ll find nuts holding these bolts in place. Use your adjustable wrench to unscrew these nuts. You may need to hold the bolt head still with a screwdriver or another wrench to prevent it from spinning.
Once the nuts are removed, gently lift the tank straight up and off the bowl. Place the tank aside on a protected surface. You might notice a rubber gasket or seal; this is normal.
Step 5: Loosen the Toilet Base Bolts (Closet Bolts)

Now, focus on the base of the toilet. You’ll see two bolts on either side of the toilet at the base, often covered by plastic caps. Pry off these caps using your putty knife or a flathead screwdriver. These are the “closet bolts” or “spuds” that anchor the toilet to the floor flange.
Use your adjustable wrench to loosen the nuts on these bolts. They can sometimes be difficult to reach, especially if you have a standard toilet with a pedestal. Turn the nuts counter-clockwise. If they are rusted or stubborn, a penetrating lubricant might help, but be careful not to get it on any plastic parts.
Step 6: Break the Seal and Lift the Toilet

The toilet is typically sealed to the floor with wax or a wax-free alternative. This seal can sometimes hold the toilet quite firmly in place. If the nuts are off and the toilet still feels stuck, gently rock the toilet back and forth to break the wax seal. You can also carefully insert your putty knife or scraper between the base of the toilet and the floor to help break the seal.
Once the seal is broken, grip the sides of the toilet bowl firmly, keeping your back straight, and lift it straight up. The toilet can be surprisingly heavy, so be prepared. It’s also a good time to wear your gloves!
| Step | Action | Tools Needed | Tips for Success |
|---|---|---|---|
| 1 | Turn Off Water | Hands | Clockwise turn on valve. If stuck, use main house shut-off. |
| 2 | Drain Tank & Bowl | Sponge, Bucket, Rags | Absorb all residual water to reduce weight and mess. |
| 3 | Disconnect Supply Line | Adjustable Wrench | Place bucket underneath. Turn nut counter-clockwise. |
| 4 | Remove Tank | Adjustable Wrench, Screwdriver (optional) | Unscrew nuts from bolts connecting tank to bowl. Lift carefully. |
| 5 | Loosen Base Bolts | Adjustable Wrench, Putty Knife/Screwdriver (for caps) | Pry off caps. Turn nuts counter-clockwise. |
| 6 | Break Seal & Lift | Putty Knife/Scraper, Gloves | Rock gently. Use scraper to break wax seal. Lift straight up. |
Step 7: Remove the Old Wax Ring and Floor Flange
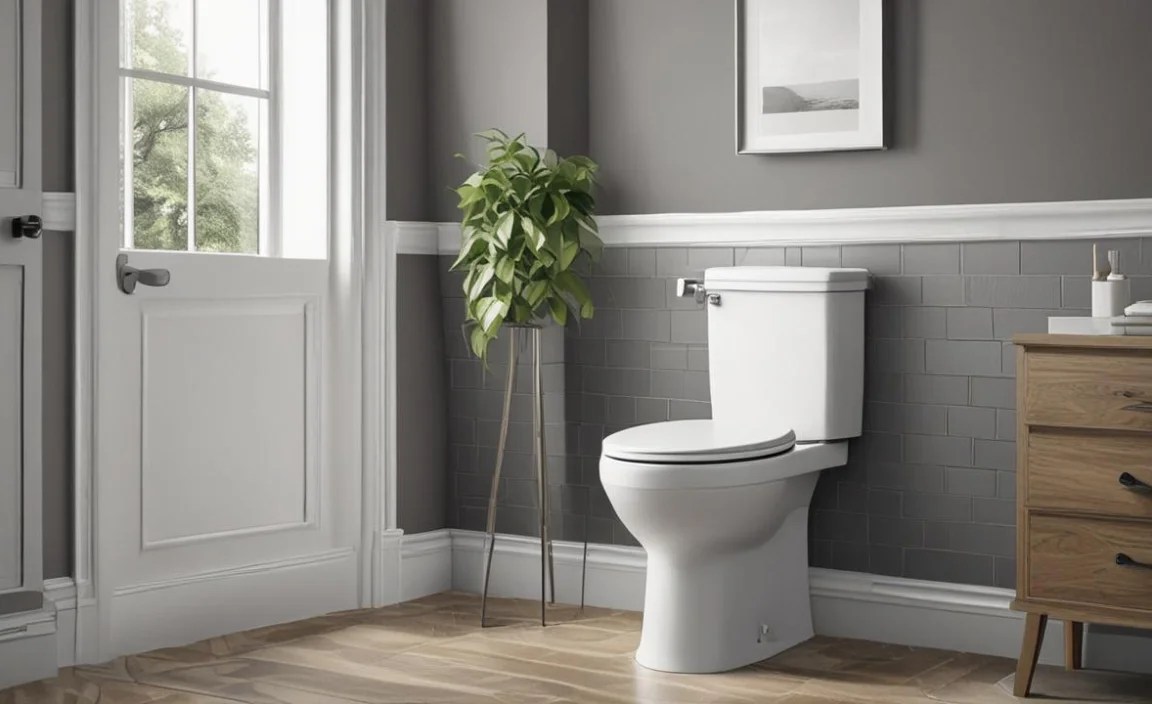
After the toilet is removed, you’ll see the floor flange and the remnants of the wax ring around it. The wax ring is a crucial seal that prevents sewer gases from entering your home and keeps water from leaking onto your floor if flushed improperly. You’ll need to scrape away the old wax completely using your putty knife or scraper.
Inspect the floor flange. This is a crucial part of your plumbing system. It’s a circular ring that attaches to the drainpipe and provides a surface for the toilet to seal against. Ensure it’s not cracked or broken. If it is damaged, it will need to be replaced. You can find information on replacing a flange from resources like This Old House, a reputable source for home improvement advice.
Step 8: Clean the Area
Once the old wax is removed, clean the floor around the flange thoroughly. Use your rags and cleaning spray to ensure the surface is clean and dry. This is essential for a good seal when you install a new toilet.
Step 9: Transport and Dispose of the Old Toilet

Toilets are heavy and awkward. If you’re moving it yourself, be prepared for the weight. You can place it in a sturdy shopping cart or use a hand truck. For disposal, check your local waste management guidelines. Some municipalities offer bulk item pick-up, while others may require you to take it to a landfill or recycling center. Transporting it carefully will avoid damage to your home or vehicle.
Cost Breakdown: Removing a Toilet Cheaply
The appeal of removing a toilet cheaply is significant when you look at the potential savings. Most of the “cost” associated with this guide is in the tools you might need to acquire, which are long-term investments for home maintenance.
Potential Tool Investments:
- Adjustable Wrench: $10 – $30
- Putty Knife/Scraper: $5 – $15
- Gloves: $5 – $10
- Bucket: $5 – $10
- Rags/Towels: Often on hand or very inexpensive
- Utility Knife: $5 – $15
- Sponge: $2 – $5
Total potential tool cost: Roughly $32 – $85, depending on what you already own.
Cost Savings vs. Professional Services:
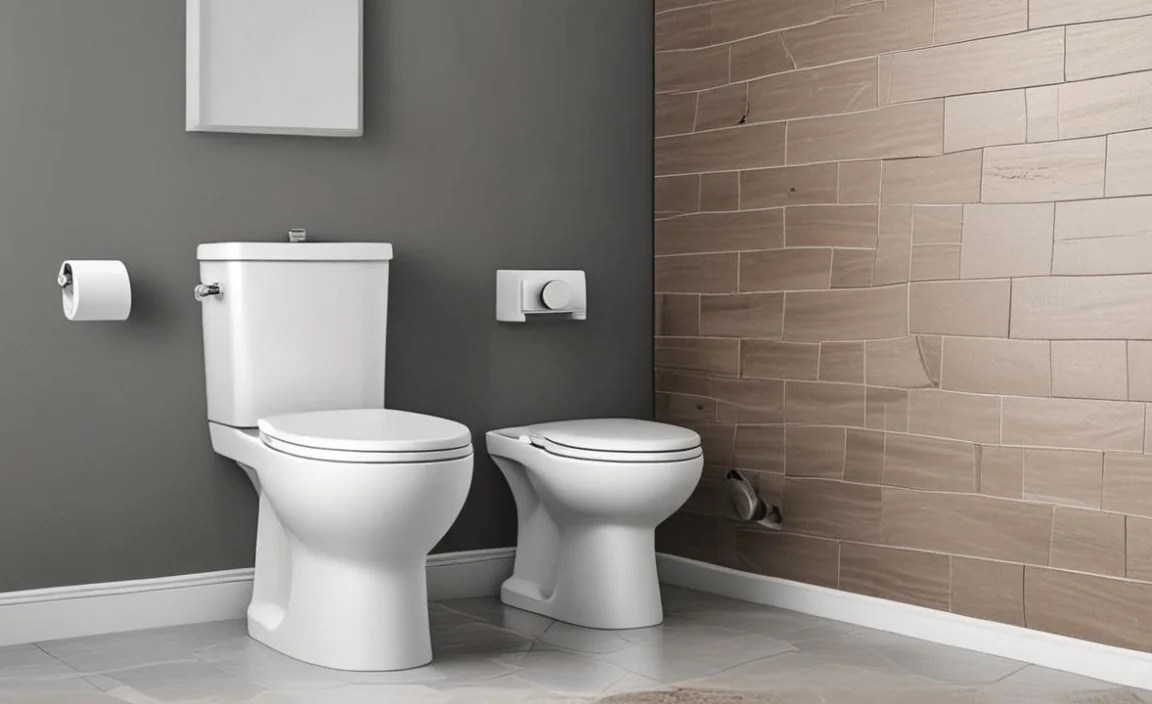
A professional plumber typically charges anywhere from $100 to $300 or more for toilet removal, depending on location and complexity. This can easily be a few hundred dollars saved by doing it yourself over time using these affordable methods.
| Item | Estimated Cost (DIY) | Estimated Cost (Professional) |
|---|---|---|
| Tool Acquisition | $32 – $85 (one-time) | $0 (assume tools are provided) |
| Toilet Removal Service | $0 (your labor) | $100 – $300+ |
| Total Potential Savings: | $100 – $300+ | $0 |
As you can see, the savings are substantial. These core tools are fundamental for many other home repair tasks, meaning you’ll likely use them again and again, further increasing their value.
What to Do After Removing the Toilet

Once the old toilet is out of the way and the area is clean, you have a few options depending on your project goals:
- Preparing for a New Toilet Installation: If you’re replacing the toilet, now is the time to install a new wax ring and re-seat your new toilet. Ensure the floor flange is in good condition. A guide on installing a new toilet can be found from reputable sources like Family Handyman.
- Plumbing Access: You might need access to the drainpipe for other repairs or renovations. Ensure the drainpipe is properly capped or plugged to prevent sewer gases from entering your home.
- Floor Repair or Refinishing: The area around the toilet base might need cleaning, sealing, or even minor repairs.
- Deep Cleaning: This is the perfect opportunity for a thorough cleaning of the bathroom floor.
Remember to keep the floor flange protected while you work on other aspects of your renovation or repair. A piece of thick cardboard or a dedicated flange cap can do the trick.
Frequently Asked Questions (FAQs) about Removing a Toilet Cheaply
Here are some common questions beginners have when looking to remove a toilet affordably:
Q1: How heavy is a toilet, and can I lift it alone?
A1: A standard toilet can weigh between 70 to 100 pounds or more, depending on the material. While it can be lifted alone by some, it’s always safer to have a second person help, especially when maneuvering it through doorways or down stairs. Brace yourself, lift with your legs, and don’t hesitate to ask for help.
Q2: What if the toilet is really stuck to the floor?
A2: This usually means the wax seal is still holding strong. After ensuring all bolts are removed, gently rock the toilet back and forth. You can also carefully slide a putty knife or metal scraper between the base of the toilet and the floor to break the seal. Avoid excessive force, which could crack the porcelain.
Q3: Can I reuse the closet bolts?
A3: Often, yes. If the closet bolts (the ones at the base of the toilet) are not corroded or damaged, they can typically be reused, especially if you are installing a new toilet. However, new toilets usually come with new bolts, which is recommended for a secure installation.
Q4: What are the risks of removing a toilet myself?
A4: The main risks involve damaging the porcelain toilet ($$$), injuring yourself due to the weight, or causing a water spill. By following these careful steps, turning off the water, draining the toilet, and lifting correctly, you significantly minimize these risks. Always wear gloves and safety glasses.
Q5: How do I know if my floor flange is okay?
A5: After removing the toilet and old wax, visually inspect the flange. It should be a solid plastic or metal ring, securely attached to the floor and the drainpipe. Look for cracks, chips, or loose connections. If it’s damaged, it needs to be repaired or replaced before installing a new toilet to prevent leaks.
Q6: What’s the best way to clean up the old wax and debris?
A6: Use a putty knife or scraper to remove the bulk of the wax. Then, use plenty of rags and a degreaser or all-purpose cleaner to wipe down the
