
Remove Toilet Cost: Proven Savings! Learn how to tackle toilet removal yourself and significantly cut down on expenses associated with plumbing services.
Dealing with a troublesome toilet can interrupt your day and your budget. Whether it’s a leaky fixture, an outdated model, or a necessary demolition for a bathroom remodel, the thought of the expense can be daunting. Many homeowners assume calling a plumber is the only option, leading to costs that can add up quickly. But what if you could handle toilet removal yourself and keep more money in your pocket? This guide will break down the process into simple, manageable steps, proving that removing a toilet is an achievable DIY task, saving you money and giving you a sense of accomplishment.
Understanding the Costs: What You’re Saving By Doing It Yourself

Before we dive into the “how-to,” let’s look at why tackling toilet removal yourself is such a smart financial move. The cost of hiring a plumber to remove a toilet can vary significantly based on your location, the complexity of the job, and the plumber’s hourly rate. However, it’s not uncommon to see estimates ranging from $100 to $300 or even more for this seemingly simple task. This often includes labor charges, transportation fees, and potentially disposal fees if the old toilet isn’t being reused or resold.
When you remove the toilet yourself, your primary costs are minimal: the potential purchase of a few basic tools if you don’t already own them, and the cost of disposing of the old fixture (which can often be done for free or a small fee at a local landfill or recycling center if it’s in good condition). The savings are substantial, especially if you’re planning on removing multiple toilets or incorporating this into a larger renovation project where you’re already doing much of the labor.
Typical Plumbing Costs for Toilet Removal:

| Service | Estimated Cost Range |
|---|---|
| Plumber’s Labor (1-2 hours) | $75 – $200 |
| Transportation/Trip Fee | $25 – $50 |
| Disposal Fee (if applicable) | $15 – $50 |
| Total Estimated Cost | $115 – $300+ |
By taking on this job yourself, you’re directly reclaiming this entire potential service cost. This DIY approach empowers you to invest those savings into other aspects of your home improvement project or simply enjoy the peace of mind that comes with completing a task efficiently and affordably.
Gather Your Tools: What You’ll Need to Remove a Toilet

Don’t let a lack of specialized tools stop you. Removing a toilet is a straightforward process that requires only a few common household items and some basic plumbing tools. Having the right equipment on hand before you start makes the job much smoother and safer. Here’s a list of what you’ll want to gather:
Essential Tools and Supplies:

- Adjustable Wrench (or Pipe Wrench): For loosening and tightening the nuts that secure the toilet to the floor and connect the water supply line.
- Putty Knife or Scraper: To carefully break the seal between the toilet base and the floor.
- Old Towels or Rags: To soak up any residual water from the tank and bowl.
- Bucket: To catch water drained from the tank and bowl.
- Sponge: To get the last bits of water out of the tank and bowl.
- Gloves: Protect your hands from dirt and germs.
- Safety Glasses: To protect your eyes from debris.
- Level (optional): To check if the new toilet is level before securing it.
- New Wax Ring and Closet Bolts (if reinstalling): While not needed for removal, it’s good to have these on hand if you plan to put a new toilet in its place.
- Trash Bags or a Dolly/Cart: For moving the old toilet.
Most of these items are likely already in your toolbox or can be found at any home improvement store. Investing in a good adjustable wrench is always a smart move for various home maintenance tasks, making it a cost-effective tool to have on hand.
Step-by-Step Guide: How to Safely Remove a Toilet

Ready to save money? Follow these simple steps to safely and effectively remove your old toilet. We’ll keep it clean and straightforward, so you can feel confident throughout the process.
Step 1: Turn Off the Water Supply
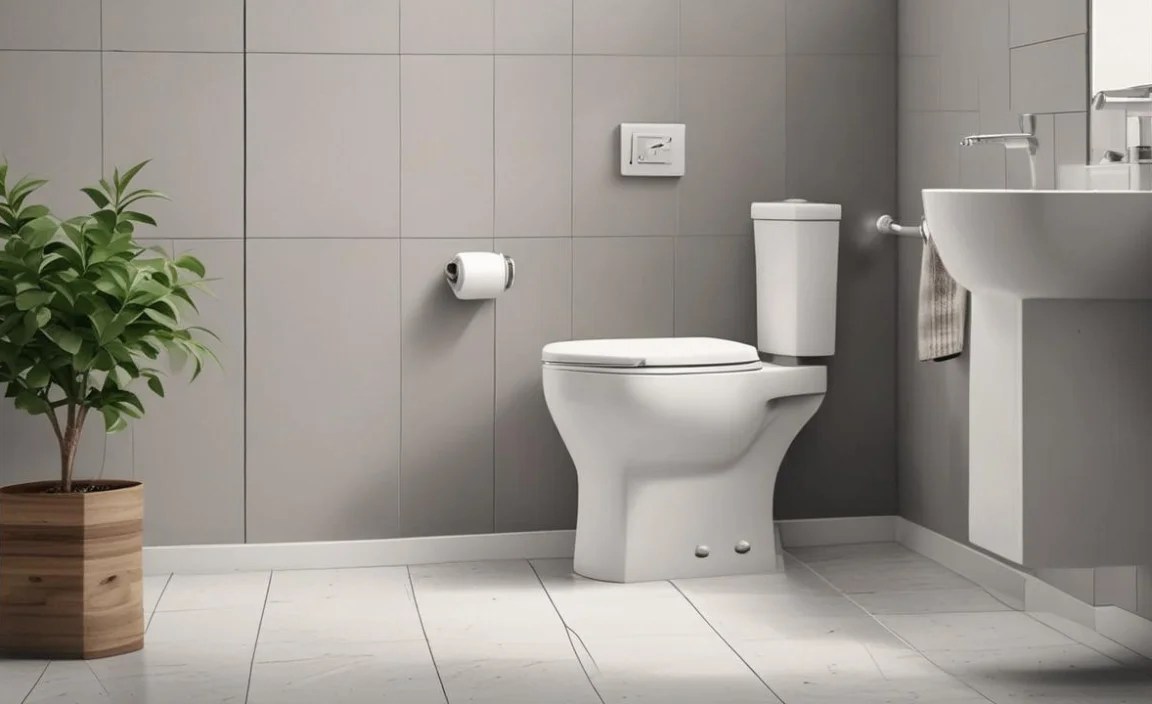
This is the most critical first step to prevent any unwanted flooding. Look behind the toilet for a small valve on the wall or floor connected to a pipe leading to the toilet tank. Turn this valve clockwise until it stops. If you can’t find a shut-off valve, you’ll need to turn off the main water supply to your entire house. This valve is usually in the basement, garage, or near your water meter.
Step 2: Drain the Toilet Tank and Bowl

Flush the toilet once to empty most of the water from the tank. After the tank is empty, use your sponge and bucket to remove any remaining water from the bottom of the tank. Then, use your sponge to soak up as much water as possible from the toilet bowl. It’s impossible to get every last drop, but the goal is to minimize the amount of water that will spill when you lift the toilet.
Step 3: Disconnect the Water Supply Line

Place your bucket or a few towels underneath the water supply line connection at the bottom of the toilet tank. Use your adjustable wrench to carefully loosen the nut connecting the supply line to the tank. You might get a small amount of residual water, which the bucket and towels will catch.
Step 4: Remove the Toilet from the Floor
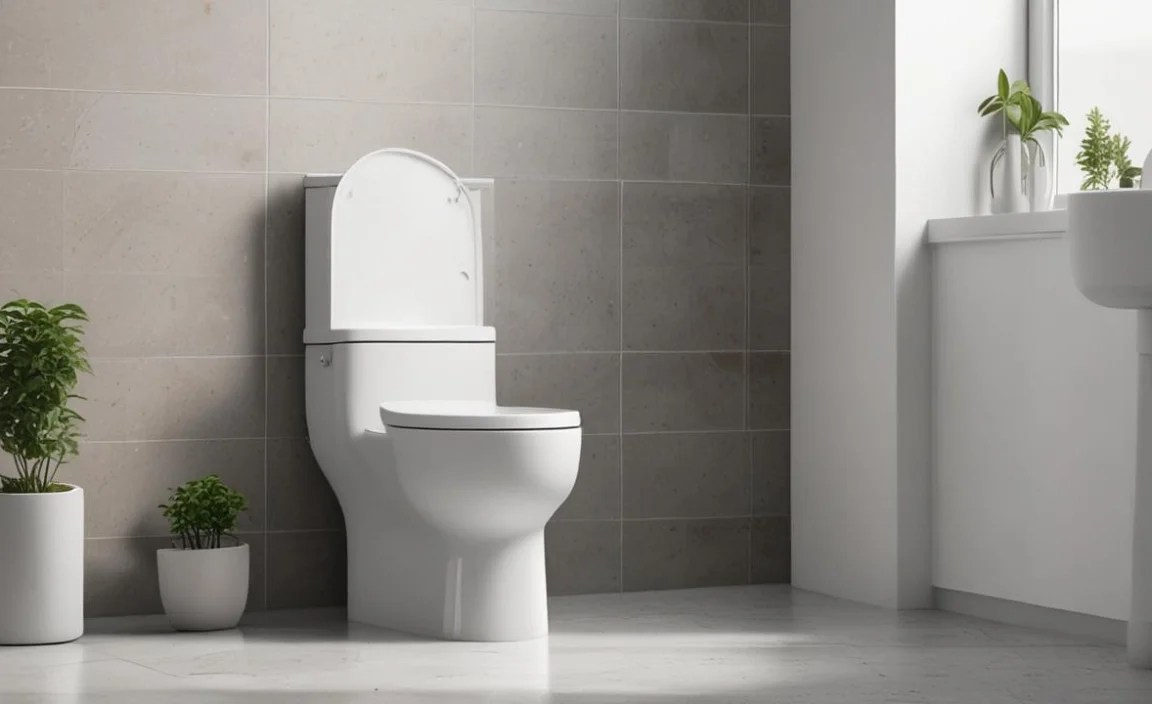
Look at the base of the toilet where it meets the floor. You’ll see two plastic caps covering the closet bolts. These bolts secure the toilet to the flange on the floor. Pry off these caps using a putty knife or by hand. Then, use your adjustable wrench to unscrew the nuts from the bolts. You may need to hold the bolt head with pliers if it spins.
Once the nuts are removed, gently rock the toilet back and forth to break the wax seal connecting it to the drainpipe. Lift the toilet straight up, trying to keep it as level as possible to avoid spilling any remaining water. Be prepared, as toilets can be heavier than they look! If you’re removing an old, heavy porcelain toilet, it’s a good idea to have a second person help lift it.
Step 5: Cover the Drainpipe

Now that the toilet is removed, you’ll reveal the drainpipe opening on the floor. It’s crucial to cover this immediately. You can use an old towel, a shop rag, or even a piece of cardboard secured with tape. This prevents sewer gases from escaping into your home and stops any debris from falling into the pipe. Sewer gases can be unpleasant and potentially harmful. A secure cover also prevents accidental drops into the pipe.
Step 6: Clean the Area and Prepare for Next Steps
Use your putty knife or scraper to remove the old wax ring and any leftover sealant from the floor around the drainpipe flange. Clean the floor area thoroughly. If you are installing a new toilet, this is the time to prepare the flange and the floor. If you are not immediately replacing the toilet, ensure the drainpipe remains covered until you’re ready for the next stage of your bathroom project.
Congratulations! You’ve successfully removed the toilet yourself, saving significant costs. This DIY feat is a major step, and you’ve just proven you can handle it.
Pros and Cons of DIY Toilet Removal

While the cost savings of DIY toilet removal are a huge advantage, it’s always good to weigh the benefits against potential drawbacks. Understanding these can help you make the best decision for your specific situation.
Advantages:
- Significant Cost Savings: As discussed, this is the primary benefit. You avoid plumber fees, keeping that money for other projects or needs.
- Sense of Accomplishment: Completing a home maintenance task yourself fosters confidence and a feeling of self-reliance.
- Convenience: You can often do it on your own schedule, rather than waiting for a plumber’s availability.
- Learning Opportunity: You gain valuable practical knowledge of your home’s plumbing system.
- Environmental Impact: If the toilet is being replaced due to condition rather than function, you can investigate responsible disposal or donation options, which a plumber might not prioritize.
Disadvantages:
- Potential for Mess: If not done carefully, residual water can spill, leading to minor messes.
- Heavy Lifting: Toilets are heavy porcelain fixtures. Lifting and moving them can be physically demanding and risk injury if not handled properly.
- Risk of Damage: Incorrect handling or tool usage could potentially damage the toilet, the floor, or the plumbing flange.
- Time Investment: While you save money, you invest your time in learning and performing the task.
- Lack of Professional Expertise: A plumber can quickly identify underlying issues with the flange or drainpipe that a DIYer might miss.
For most beginners, the advantages far outweigh the disadvantages, especially with clear instructions. The key is to be prepared, take your time, and prioritize safety.
When to Call a Professional (Even for Removal)

While this guide empowers you to remove a toilet yourself, there are situations where calling a professional plumber is the safer, more sensible choice. It’s not a sign of failure, but rather a smart decision based on circumstances.
Consider Calling a Plumber If:

- You encounter significant resistance: If the nuts are rusted solid, or the toilet feels stubbornly stuck, forcing it could cause damage. A professional has specialized tools and techniques.
- You suspect underlying problems: If you notice water damage around the base, a constantly running toilet, or strange noises, these might indicate bigger issues with your plumbing system that require expert diagnosis.
- You have mobility issues or physical limitations: Toilets are heavy and awkward. If lifting and maneuvering them pose a risk to your health or safety, it’s best to let a trained professional handle it.
- You are uncomfortable with plumbing tasks: It’s okay to recognize your limitations. If the idea of working with water lines and drainpipes makes you anxious, hiring a plumber is the right call.
- The toilet is part of a complex renovation: In a major renovation, a plumber can ensure proper disconnection and reconnection, especially if structural changes are involved.
- You want to ensure code compliance: Sometimes, there are local plumbing codes that a DIYer might overlook, especially when dealing with drainage and venting.
For example, if you find that the closet bolts are corroded and won’t budge, a plumber has lubricants and tools to address this without breaking the porcelain. Similarly, if the flange appears cracked or damaged, a plumber can assess and replace it, preventing future leaks even after a new toilet is installed. The cost of a plumber in these scenarios can prevent much larger, more expensive repairs down the line.
Disposing of Your Old Toilet

Once your old toilet is out, you’ll need to figure out what to do with it. Here are a few common disposal and repurposing options:
Disposal Options:
- Local Landfill or Transfer Station: Most municipal waste facilities accept old toilets. There might be a small tipping fee involved. Check your local waste management website for hours and accepted items. Some areas require a permit for commercial waste, but for residential disposal, it’s usually straightforward.
- Junk Removal Services: Companies like 1-800-GOT-JUNK? or local equivalents will haul away old appliances and fixtures for a fee. This is convenient but generally more expensive than self-hauling.
- Donation Centers (if in good condition): Some organizations or architectural salvage yards accept working, clean toilets for reuse. This is a great way to give your old fixture a second life and reduce waste environmentally.
- Selling it: If the toilet is relatively new or in excellent condition, you might be able to sell it online through local classifieds or platforms like Craigslist. A functional toilet can fetch anywhere from $25 to $100+.
When transporting the toilet yourself, remember it’s heavy and awkward. Use a dolly or hand truck if possible, and secure it in your vehicle to prevent shifting during transport. Proper disposal or donation is part of a responsible DIY approach.
FAQ: Common Questions About Removing a Toilet
Got questions? We’ve got answers! Here are some of the most common queries beginners have about removing a toilet.
Q1: How heavy is a standard toilet?

A: A standard porcelain toilet can weigh anywhere from 70 to over 150 pounds. This is why having a second person to help lift is often recommended, especially for older, more robust models.
Q2: What if I can’t turn off the water at the valve behind the toilet?

A: If the shut-off valve is faulty or missing, you’ll need to turn off the main water supply to your home. This valve is typically located in your basement, garage, or near the water meter. Once the main water is off, flush a few faucets to drain the pipes.
Q3: How do I know if the wax seal is broken?

A: The wax seal is broken when you are able to lift the toilet off the flange. You’ll see the old wax ring stuck to the flange or the bottom of the toilet. If you try to lift and it feels truly stuck, the wax seal is likely still intact, and you need to revisit your steps, ensuring all nuts are removed and the toilet is gently rocked.
Q4: Can I reuse the old wax ring?

A:(Absolutely not!) The wax ring is a one-time seal. It must be replaced every time a toilet is removed and reinstalled. You should plan to buy a new wax ring and closet bolts if you intend to put a toilet back in place.
Q5: How long does it take to remove a toilet?

A: For a beginner following instructions, removing a toilet typically takes between 30 minutes to 1.5 hours. If you’re experienced or have encountered minor complications, it might take a bit longer. The actual lifting of the toilet shouldn’t take more than a few minutes once it’s disconnected.
Q6: What if the closet bolts are too corroded to remove?

A: If the nuts on the closet bolts are severely rusted and won’t budge, you might need to cut them off. A hacksaw or an oscillating multi-tool with a metal-cutting blade can be used. Be very careful not to damage the floor or the drainpipe flange. If you’re unsure, this is a good time to call a plumber. The U.S. Environmental Protection Agency (EPA) provides resources on water-saving fixtures, which might be relevant if you are replacing an old toilet with a new, efficient model: EPA WaterSense.
These FAQs should help clear up any lingering confusion and prepare you for what to expect during the toilet removal process.
Conclusion: Your Savings Are Installed!
Congratulations on taking on the challenge of removing your toilet yourself! By following these straightforward steps and using the right tools, you’ve successfully bypassed costly plumbing fees and gained valuable DIY experience. Not only have you saved money—potentially hundreds of dollars—but you’ve also empowered yourself with the knowledge and confidence to tackle future home maintenance tasks. Remember, the most rewarding projects are often the ones where you learn and grow, and this is a perfect example.
Whether you’re preparing for a bathroom remodel, replacing an old fixture, or simply taking care of routine maintenance, the ability to handle tasks like toilet removal is an incredible asset. Keep that sense of accomplishment, and don’t hesitate to apply the same meticulous approach to your next DIY endeavor. Your wallet—and your home—will thank you!
