
Quick Summary:
Need to remove a toilet fast? Turn off the water supply valve, flush to drain, disconnect the water line, and remove the two nuts at the base. Lift the toilet straight up, and it’s out! This guide offers simple, safe steps for a quick and easy toilet removal, perfect for beginners.
Dealing with a leaky toilet, planning a bathroom remodel, or just replacing an old fixture? Removing a toilet can seem intimidating, but it doesn’t have to be! Many homeowners put this task off because they worry about making a mess or damaging their plumbing. The truth is, with a few simple tools and a clear set of instructions, you can remove a toilet quickly and efficiently, saving time and potential repair costs. This guide will walk you through each step, making a task that sounds complicated feel totally manageable. Get ready to tackle this DIY project with confidence!
Why You Might Need to Remove Your Toilet

There are several common reasons why someone might need to remove a toilet. Understanding these can help you prepare for the task:
- Renovations: This is perhaps the most frequent reason. When you’re remodeling your bathroom, the toilet usually needs to be removed to access the subfloor, update the surrounding tile, or completely replace the fixture.
- Leaks and Repairs: A persistent leak at the base of the toilet, a cracked tank, or a faulty flush mechanism might require removal for proper diagnosis and repair or replacement of internal parts. Sometimes, it’s easier and more thorough to take the whole unit out.
- Replacement: Old toilets can be inefficient in terms of water usage, or they might simply be outdated and unsightly. Replacing an old toilet with a new, water-saving model is a great way to update your bathroom.
- Moving or Relocating: If you’re moving to a new home or undertaking a significant plumbing project that involves relocating bathroom fixtures, toilet removal is a necessary step.
- Deep Cleaning or Maintenance: For particularly stubborn grime or to perform a more thorough inspection of the drain line and floor seal, removing the toilet can provide better access.
Essential Tools and Materials for a Fast Toilet Removal

Before you start, gathering the right tools will make the process smoother and faster. Think of it as prepping for a recipe – having everything ready beforehand makes cooking a breeze!
Tools You’ll Need:
- Adjustable Wrench or Pliers: For disconnecting the water supply line.
- Putty Knife or Scraper: To help break the seal of old wax or caulk.
- Gloves: Heavy-duty rubber gloves are a must for hygiene.
- Safety Glasses: To protect your eyes from any splashes or debris.
- Old Towels or Rags: For cleaning up residual water and wax.
- Bucket: To catch any leftover water from the tank and bowl.
- Screwdriver (Flathead or Phillips): Usually needed for tank-to-bowl bolts if you’re disassembling the toilet, though not usually for just removing the whole unit.
- Pry Bar (Optional): For gently lifting the toilet if it’s stuck.
- Large Trash Bag or Container: For disposing of the old wax ring and any debris.
Materials to Have on Hand:
- New Wax Ring: If you plan to reinstall the same toilet or install a new one immediately.
- Toilet Bolt Caps (Optional): If your new toilet doesn’t come with them.
- New Washers and Gaskets (Optional): For the water supply line.
Having these items ready means you won’t have to stop mid-job to run to the hardware store. This preparedness is key to removing a toilet fast!
Step-by-Step Guide: Removing Your Toilet Effortlessly
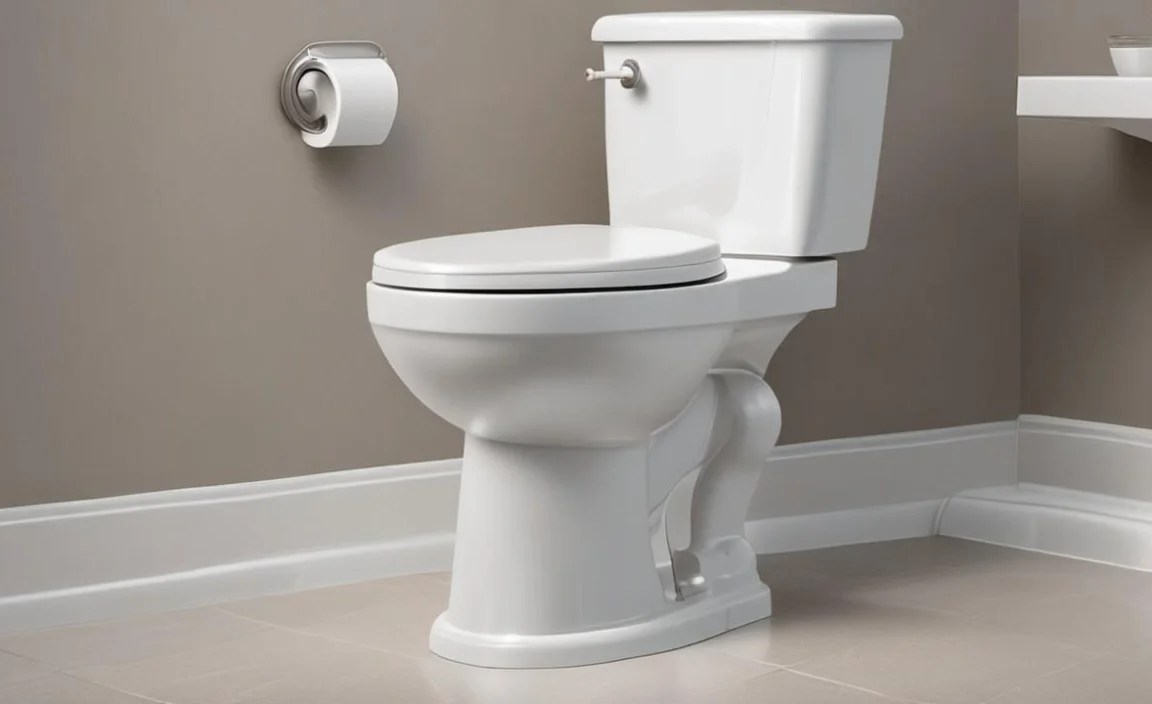
Let’s get down to business! Follow these straightforward steps to safely and efficiently remove your toilet.
Step 1: Turn Off the Water Supply
This is the most crucial first step. Locate the water supply valve, usually found on the wall behind the toilet. It’s a small knob or handle. Turn it clockwise until it stops. This cuts off the water flow to the toilet tank. If you can’t find this valve or it’s stuck, you may need to shut off the main water supply to your entire house.
Step 2: Drain the Toilet Tank and Bowl

With the water supply off, flush the toilet. Hold down the flush lever until as much water as possible drains from the tank and bowl. Some residual water will remain, which is perfectly normal. You can use your gloves and bucket to scoop out or sponge up the remaining water in the tank and bowl for less mess later.
Pro Tip: If you’re worried about splashing, place a bucket beneath the flush valve opening inside the tank before you begin scooping. For the bowl, gently push a sponge down the drain to absorb remaining water and then wring it into the bucket.
Step 3: Disconnect the Water Supply Line

Take your adjustable wrench or pliers and carefully loosen the coupling nut connecting the water supply line to the fill valve under the toilet tank. Have your bucket and towels ready, as a little bit of water might drip out. Unscrew the nut completely and detach the supply line from the tank. Be careful not to overtighten or strip the threads on the fill valve.
For guidance on identifying different types of shut-off valves, check out resources from the EPA WaterSense program, which often discusses water efficiency and components.
Step 4: Locate and Remove the Toilet Mounting Bolts

Look at the base of the toilet, where it meets the floor. You’ll see two plastic or metal caps covering bolts that anchor the toilet to the floor flange. These are the closet bolts. Pry off these caps with your putty knife or a flathead screwdriver. Then, use your wrench or pliers to unscrew the nuts from the bolts. If the bolts spin with the nuts, you might need to hold the bolt head steady with a screwdriver.
It’s common for these bolts to be corroded or stuck. If they won’t budge, you might need to use a penetrating oil and let it sit for a few minutes, or carefully cut them off with a small hacksaw if absolutely necessary. However, for a quick removal, trying to loosen them first is best.
Step 5: Break the Seal and Lift the Toilet

The toilet is now detached but still sealed to the floor by a wax ring. Gently rock the toilet side to side to break the wax seal. Once you feel it loosen, carefully lift the toilet straight up. It’s surprisingly heavy, so be prepared for the weight. If possible, have a helper assist you with this step. As soon as you lift it, try to tilt it slightly forward to keep any remaining water in the bowl from spilling.
Once the toilet is lifted, place it onto several layers of old towels or cardboard to protect your floor and contain any residual water. Immediately place a rag or old towel over the exposed floor flange opening to prevent sewer gases from escaping into your bathroom. This also helps prevent anything from falling into the drainpipe.
Step 6: Clean Up the Flange Area

Use your putty knife or scraper to remove any remnants of the old wax ring from the floor flange and the base of the toilet if you plan to reinstall it. Wipe down the area with old rags or paper towels. Dispose of the old wax ring and any debris in your trash bag.
You’ve successfully removed the toilet! The process might have taken an hour or two on your first try, but with practice, you’ll find you can do it even faster.
Understanding the Toilet Flange and Wax Ring

A key part of toilet removal is understanding the connection it makes to your plumbing system right at the floor. This connection is made via the toilet flange and the wax ring.
The Toilet Flange
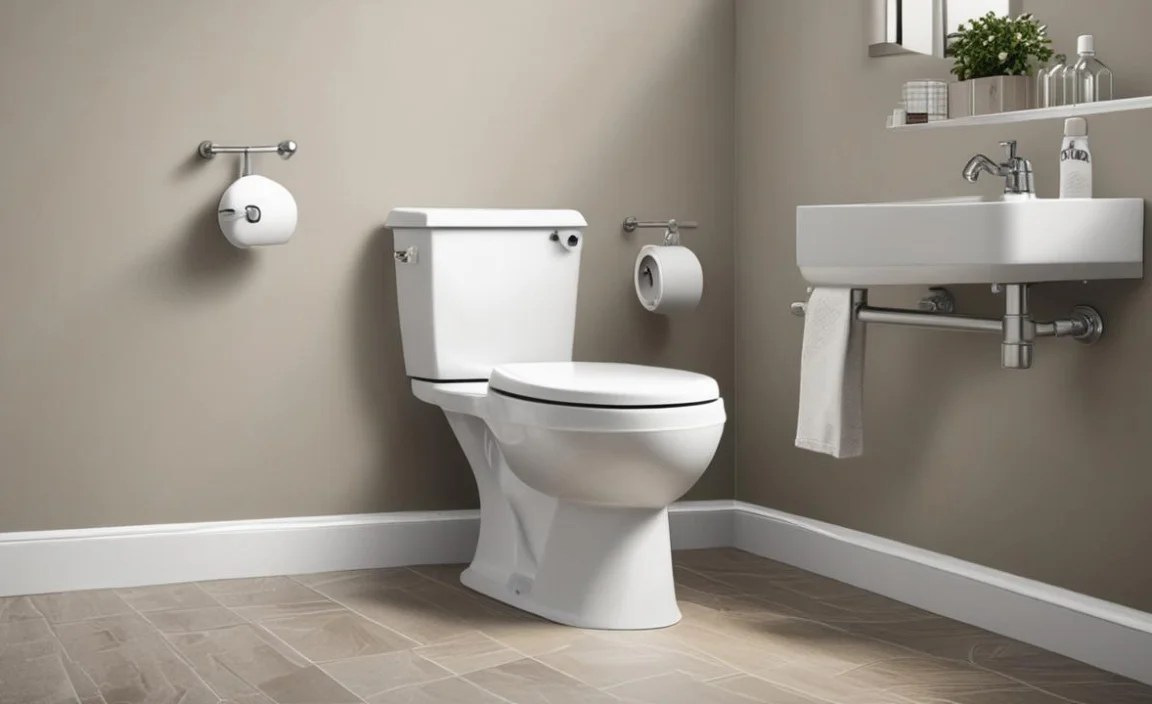
The toilet flange (also known as a closet flange) is a crucial piece of plumbing fitting. It’s attached to the drainpipe (which leads to your sewer line) and secured to the floor. Its primary functions are to:
- Hold the toilet in place.
- Create a watertight seal between the toilet and the drainpipe.
- Help align the toilet properly over the drain opening.
Flanges are most commonly made of PVC (plastic) or metal (brass or stainless steel). Over time, they can become damaged, cracked, or loose, which can lead to leaks. If you notice wobbling or leaks around the base of your toilet that a new wax ring doesn’t fix, the flange itself might need replacement – a task that often requires removing the toilet.
According to International Association of Plumbing and Mechanical Officials (IAPMO), proper installation and maintenance of flanges are critical for preventing leaks and ensuring sanitation.
The Wax Ring
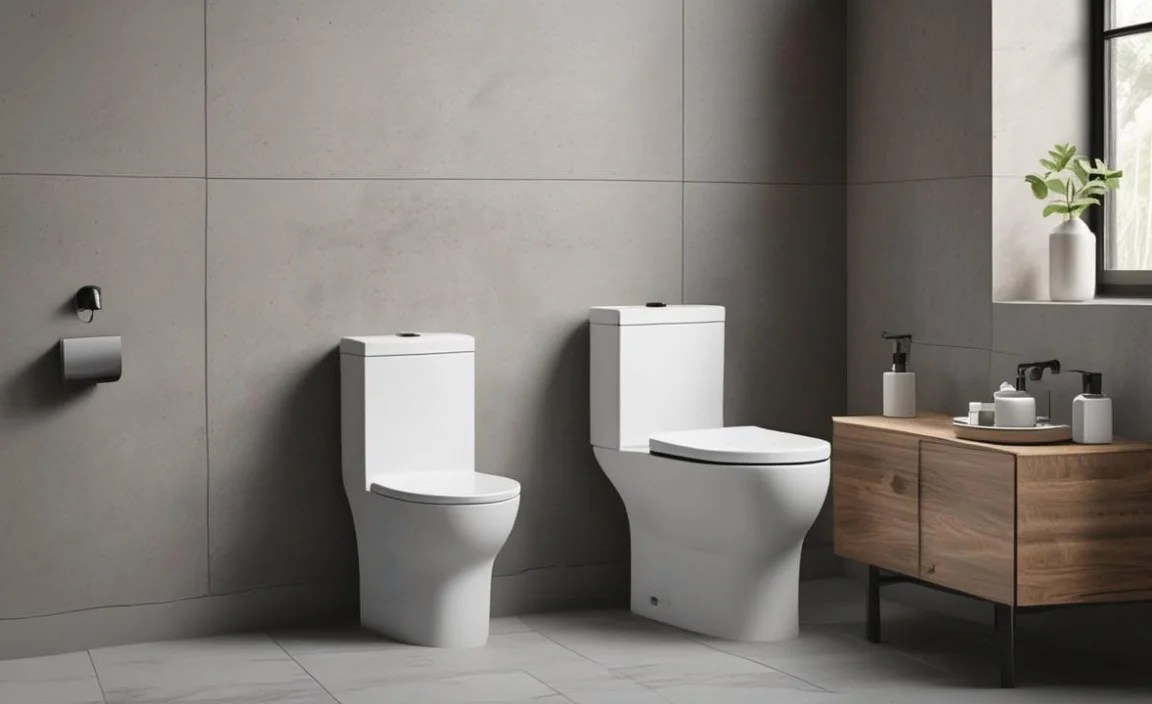
The wax ring sits between the bottom of the toilet base and the toilet flange. Its purpose is to create a tight, watertight seal that prevents water and waste from leaking out onto your floor and stops unpleasant sewer gases from entering your bathroom. When you remove a toilet, this wax ring is almost always compressed and deformed, meaning it will need to be replaced with a new one if you reinstall the same toilet or are installing a new one.
Though traditional wax rings are common, there are also “extra thick” wax rings or wax-free seals available. These can offer a more forgiving seal, especially if your floor isn’t perfectly level or if the flange is slightly damaged.
Table: Common Toilet Removal Issues and Solutions
Even with the best preparation, you might encounter a hiccup. Here’s a quick reference for common problems:
| Problem | Potential Cause | Solution |
|---|---|---|
| Toilet is stuck and won’t lift easily. | Old wax seal is very strong; caulk around the base may be adhering; toilet may be adhered to subfloor. | Gently rock the toilet side-to-side. Use a putty knife to carefully cut around the base if caulk is suspected. Apply gentle upward pressure with a helper. |
| Mounting bolt nuts are seized or corroded. | Rust and mineral buildup. | Spray with penetrating oil (like WD-40) and let it soak for 15-30 minutes. Use a wrench or pliers for extra grip. If still stuck, carefully cut using a small hacksaw blade or oscillating tool. |
| Water supply valve won’t shut off completely. | Valve is old, worn, or damaged. | Attempt to shut off the main water supply to the house. If the valve cannot be isolated, you may need to replace it, which is best done by a plumber if you’re not experienced with main water lines. |
| Toilet rocks excessively during removal. | Toilet might not have been properly seated/flushed out, or the floor is uneven. | Ensure all water is out. If the floor seems uneven, note this for reinstallation. Be prepared for a bit of water spillage and use towels. |
| Strong sewer gas smell. | Rag or cover over the floor flange opening is missing or too small during removal. | Immediately place a thick rag, plastic wrap, or cap over the floor flange to seal the drainpipe. |
Reinstallation Tips (If Applicable)
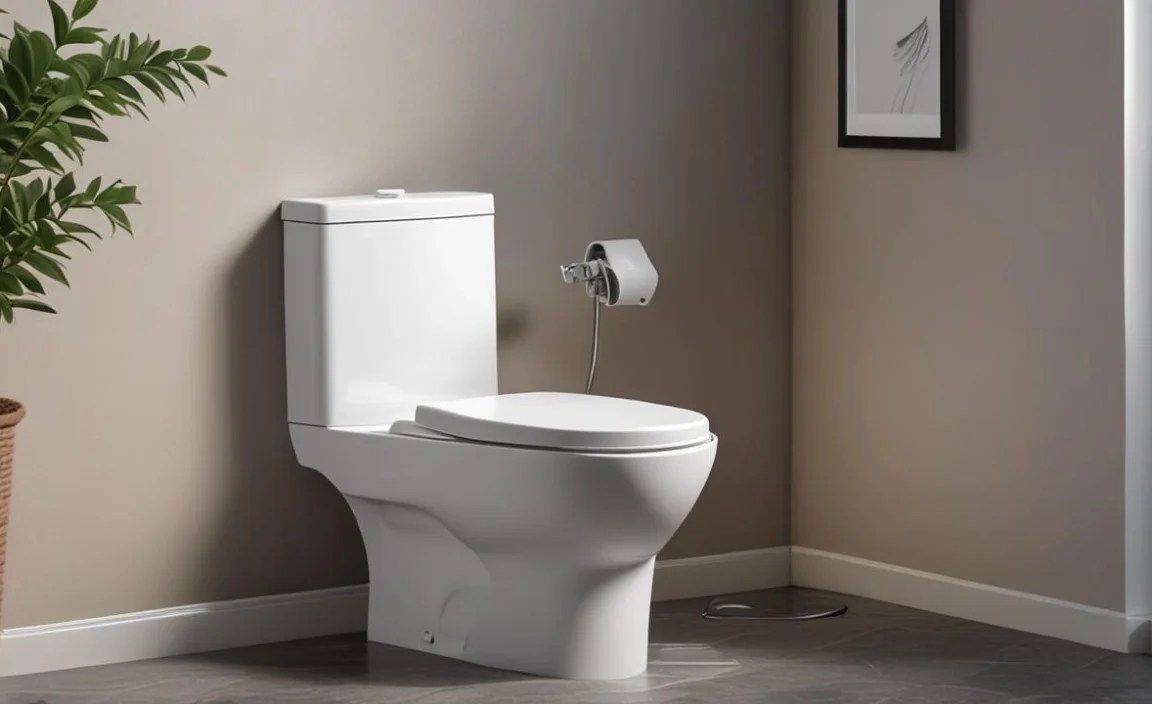
If your goal is to put the same toilet back after repairs or to install a new one faster, here are a few tips to keep in mind:
- Prepare the Flange: Ensure the old wax is completely removed from the flange and the toilet base. Check the flange for any cracks or damage. If damaged, it needs to be replaced before proceeding.
- Install a New Wax Ring: Place a new wax ring onto the flange or onto the base of the toilet rim. Most people prefer placing it on the flange to ensure proper centering.
- Align and Set the Toilet: Carefully lower the toilet onto the flange, aligning the bolt slots with the closet bolts. Press down firmly and evenly to seat the toilet and compress the wax ring.
- Secure the Toilet: Reinstall the nuts onto the closet bolts. Tighten them securely but avoid overtightening, which can crack the porcelain base. Tighten them alternately and evenly.
- Reconnect Water Supply: Reattach the water supply line to the tank’s fill valve. Turn the water supply valve back on slowly (counter-clockwise) and check for leaks.
- Test the Flush: Flush the toilet several times to ensure it’s working correctly and there are no leaks at the base.
For detailed instructions on installing a new toilet, you can refer to resources like those provided by the Homebuilding & Renovating magazine, which offers comprehensive DIY guides.
When to Call a Professional
While removing and reinstalling a toilet is a manageable DIY project, there are times when it’s best to call in a plumber. If you’re uncomfortable with any part of the process, discover significant plumbing issues like a damaged flange or a corroded pipe, or if you simply want the job done quickly and expertly without any risk of error, a professional plumber is your best bet. They have specialized tools and extensive experience that can ensure the job is done right, safely, and efficiently.
Conclusion
Removing a toilet doesn’t have to be a stressful or time-consuming ordeal. By following these straightforward steps—turning off the water, draining the system, disconnecting the supply line, unbolting the toilet, and carefully lifting it—you can achieve a fast and clean removal.
Gathering your tools beforehand, understanding the key components like the flange and wax ring, and knowing how to handle common issues will give you the confidence to tackle this task. Whether you’re preparing for a bathroom renovation, tackling a repair, or simply upgrading your fixtures, this guide provides the knowledge to make toilet removal an effortless part of your DIY journey. Remember to prioritize safety and cleanliness throughout the process, and don’t hesitate to call a professional if you encounter unexpected difficulties.
Frequently Asked Questions (FAQ)
Here are some common questions beginners have about removing a toilet:
Q1: How much water will come out when I remove the toilet?

A1: You can drain most of the water by flushing the tank and bowl before you start. However, a small amount of residual water will remain in the tank and bowl, and potentially a little more when you disconnect the water line. Having towels and a bucket ready will handle this easily.
Q2: What if the nuts on the mounting bolts are really stuck?

A2: If the nuts are corroded and won’t budge, try spraying them with a penetrating oil and letting it sit for 15-30 minutes. If that doesn’t work, you might need to carefully cut them off with a small hacksaw blade or an oscillating multi-tool.
Q3: Do I need a new wax ring every time I remove a toilet?

A3: Yes, if you are reinstalling the toilet. The wax ring is designed to be compressed and form a seal once. Each time the toilet is removed, the old wax ring is disturbed and will no longer create a reliable seal, so it must be replaced with a new one.
Q4: How heavy is a toilet, and can I move it alone?

A4: Toilets are heavier than they look, typically weighing between 70 and 150 pounds, depending on the material and design. While a lighter individual might be able to manage it briefly, it’s always safer and much easier to have a helper for lifting and maneuvering.
Q5: What is that opening at the base of the toilet called?

A5: The opening at the base of the toilet connects to a fitting in the floor called a toilet flange, which is linked to your main drainpipe. It’s crucial to cover this opening immediately after removing the toilet to prevent sewer gases from entering your home and to stop anything from falling into the drain.
Q6: Can I reuse the old water supply line?

A6: It’s generally recommended to replace the water supply line (hose) whenever you remove or reinstall a toilet or tank, especially if it’s old or shows any signs of wear, cracking, or stiffness. They are inexpensive parts, and replacing them helps prevent future leaks.
