
Quick Summary:
Don’t let a toilet leak waste water and money! This guide gives you simple, step-by-step instructions to quickly find and remove common toilet leaks at home. You’ll save water, prevent damage, and gain DIY confidence with essential fixes.
A dripping toilet is more than just an annoying sound; it’s a silent drain on your water bill and potentially your patience. Leaks can happen for many reasons, from a worn-out seal to a faulty valve. But don’t worry, fixing a leaky toilet is a totally achievable DIY project for anyone. You don’t need to be a plumbing pro to tackle this common household issue.
In this guide, we’ll walk you through exactly how to identify where that leak is coming from and provide clear, easy-to-follow instructions to fix it. We’ll cover the most common culprits and what you’ll need to get the job done, ensuring you can stop that drip and restore peace to your bathroom. Let’s get started and turn that frustrating leak into a DIY success story!
Understanding Toilet Leaks: Where Do They Come From?

Toilet leaks are common, and they can stem from a few key areas within the toilet system. Knowing these common points of failure is the first step to effectively removing a toilet leak. Think of your toilet like a carefully designed water system, and any small issue in one part can cause a bigger problem elsewhere. We’ll break down the usual suspects.
Most leaks can be categorized into a few primary areas: leaks from the tank into the bowl, leaks from the base of the toilet, or leaks from the water supply line. Each type has its own set of symptoms and common causes. Understanding these differences will help you pinpoint the source of your problem quickly and efficiently.
Tank-to-Bowl Leaks: The Silent Water Waster

This is perhaps the most common type of toilet leak. You might notice the water level in the tank dropping slowly, or hear a faint hissing sound as water continuously trickles into the bowl. This isn’t just annoying; it means your toilet is constantly refilling, wasting a significant amount of water. The usual culprits here are the flapper or a faulty flush valve seal.
The flapper is the rubber or plastic seal at the bottom of the tank that lifts when you flush and drops back down to seal the opening. If it’s warped, cracked, or dirty, it won’t create a proper seal, allowing water to seep into the bowl. The flush valve, also known as the tank ball or seal, is the larger seal at the bottom of the tank that the flapper sits on. If this seal is worn out, it can also allow water to escape into the bowl.
Base Leaks: The Unseen Danger
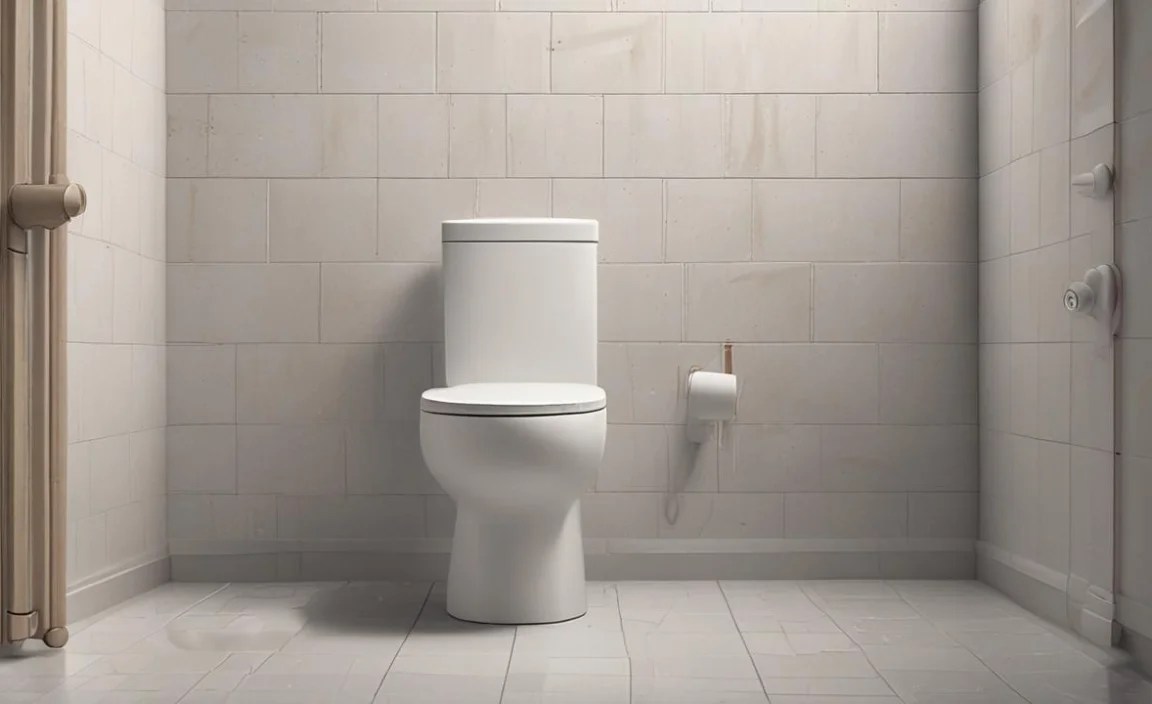
A leak at the base of the toilet is immediately more obvious and can be quite damaging if left unaddressed. You’ll see water pooling around the toilet’s foundation or on the floor surrounding it. This type of leak typically points to an issue with the wax ring or the bolts holding the toilet to the floor.
The wax ring creates a watertight seal between the toilet and the drainpipe. Over time, this seal can degrade, especially if the toilet is wobbly. Loose or corroded floor bolts can also compromise the seal, allowing water to escape. This is a leak you want to fix promptly to prevent water damage to your subfloor and the surrounding area.
Supply Line Leaks: The External Drip
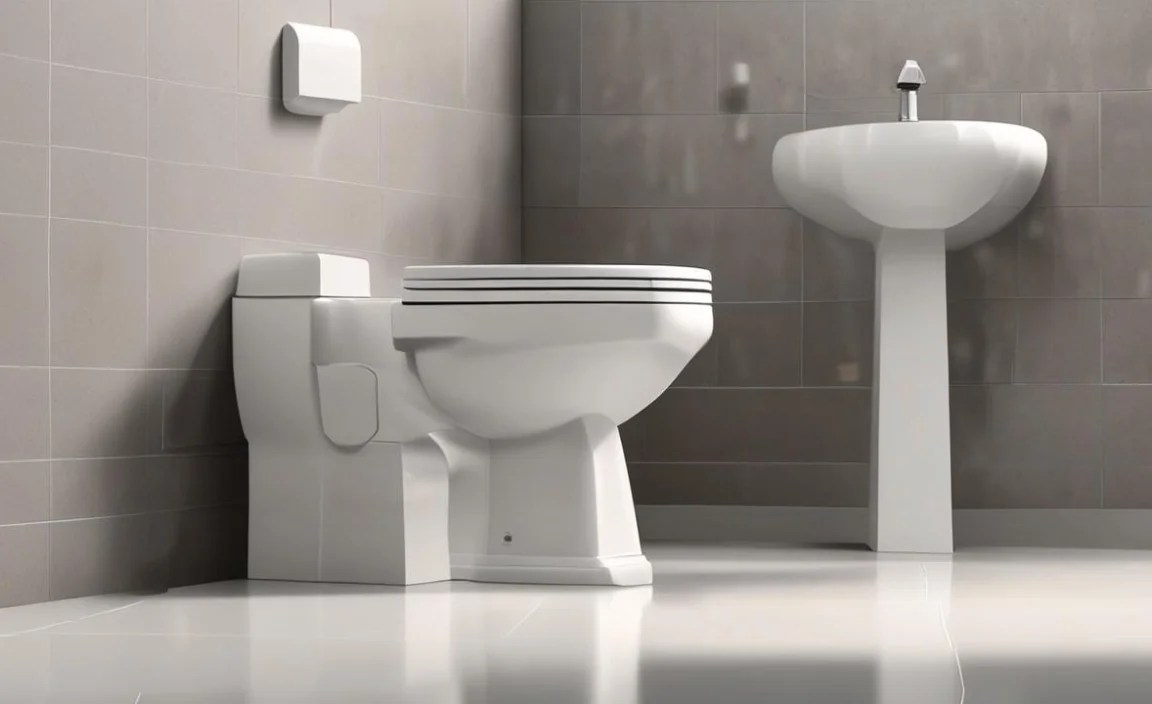
These leaks originate from the flexible hose connecting your home’s water supply to the fill valve inside the toilet tank. You might see water dripping from the connection point at the wall, at the tank, or from the hose itself. A loose connection, a damaged hose, or a faulty shut-off valve can all cause these external drips.
Fixing supply line leaks is often straightforward, but it’s crucial to ensure all connections are tight and the hose is in good condition. A damaged supply line can lead to a much larger water issue, so it’s essential to address these leaks promptly.
Essential Tools and Materials for Your Toilet Leak Fix

Before you dive into fixing your toilet leak, gather the necessary tools and materials. Having everything on hand will make the process smoother and less frustrating. Most of these are common household items or inexpensive to purchase from any hardware store. We’ve compiled a list to help you prepare.
Must-Have Tools
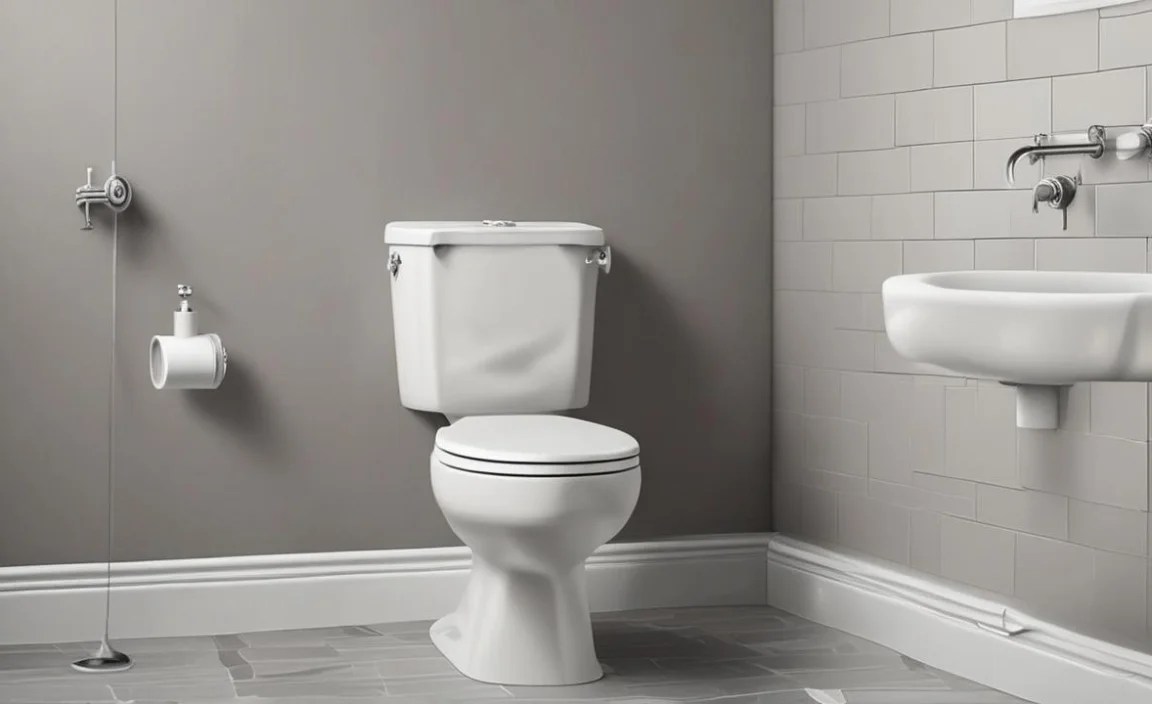
- Adjustable Wrench: For tightening or loosening nuts on the water supply line and bolts.
- Screwdriver Set: Usually a Phillips head is needed for some toilet components.
- Putty Knife or Old Credit Card: Useful for scraping away old wax or debris.
- Bucket and Towels: Essential for catching residual water and cleaning up spills.
- Gloves: To keep your hands clean and protected.
- Sponge: For soaking up remaining water in the tank or bowl.
- Plumber’s Tape (PTFE tape): For sealing threaded connections on the water supply line.
Common Replacement Parts
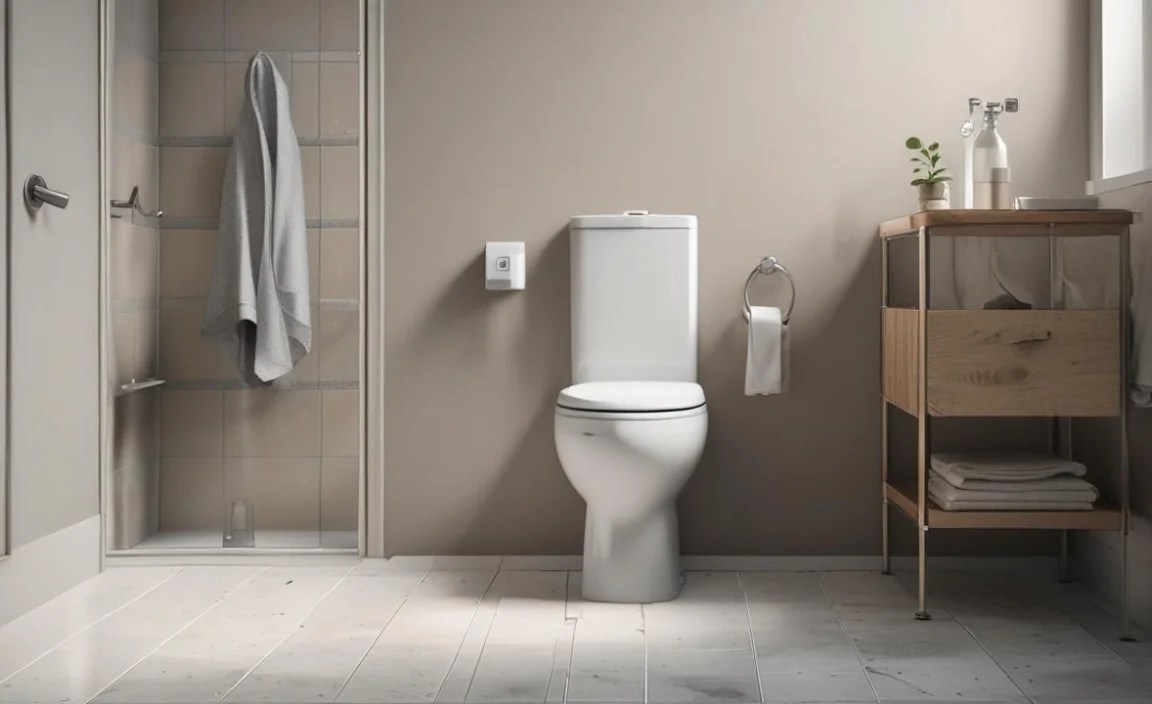
Depending on the type of leak, you might need to replace a part. It’s wise to have these on hand or know where to get them quickly.
- Toilet Flapper: A universal flapper works for most toilets, but checking your model can ensure a perfect fit.
- Flush Valve Seal (Tank Ball): If the flapper isn’t the issue, this larger seal might be.
- Wax Ring Kit: This includes a new wax ring and often new closet bolts.
- Fill Valve Assembly: If your tank is constantly running or not filling correctly.
- New Supply Line Hose: If the existing one is cracked, brittle, or leaking.
Optional (but helpful) Items
- Toilet Repair Guide/Manual: Sometimes specific to your toilet model.
- Turpentine or Denatured Alcohol: For cleaning surfaces where the wax ring sits.
- Level: To ensure the toilet is properly seated after reinstallation (for base leaks).
Having these tools and parts ready means you can usually tackle a common toilet leak in under an hour, minimizing downtime for your bathroom. Always remember to turn off the water supply before you start any repairs!
Step-by-Step Guide: How to Remove Toilet Leaks
Now that you’re prepared with your tools and an understanding of the common leak sources, let’s get to the core of it: fixing your toilet. We’ll break this down by the type of leak, making it easy to follow the path to a dry toilet.
Step 1: Identify the Leak Source
This is the most critical step. Before you start replacing parts, you need to know where the leak is coming from. Here’s how:
- Water Supply and Shut-Off Valve: Locate the valve on the wall behind your toilet. Turn it clockwise to shut off the water supply.
- Check the Tank-to-Bowl Seal:
- Remove the tank lid.
- Carefully observe the water level. If the water level is high and seems to be constantly trickling into the bowl, the issue is likely with the flapper or flush valve.
- The Dye Test: Place a few drops of food coloring or a dye tablet into the tank water. Wait about 15-20 minutes without flushing. If the color appears in the toilet bowl, you have a leak from the tank into the bowl.
- Check the Base of the Toilet:
- Dry the area around the base of the toilet thoroughly with a towel.
- Place dry paper towels around the base.
- Flush the toilet and observe. If the paper towels get wet, you have a leak at the base. The leak might be subtle, so check again after the tank refills.
- Check the Supply Line:
- Visually inspect the entire length of the supply line hose, from the wall valve to the fill valve.
- Look for any signs of moisture, drips, or corrosion around the connection points.
Step 2: Fix Tank-to-Bowl Leaks (Flapper or Flush Valve Issues)

If your dye test showed color in the bowl, or you hear a constant trickle, the issue is inside the tank. This is usually straightforward.
- Turn off Water and Drain Tank: Ensure the water supply is off, then flush the toilet to empty the tank. Hold the flush lever down to drain as much water as possible. You can use a sponge to soak up any remaining water.
- Inspect the Flapper:
- The flapper is the chain-connected rubber seal at the bottom of the tank.
- Check it for cracks, stiffness, or warping. Even a small amount of debris stuck to it can prevent a good seal.
- Clean the flapper and the flush valve seat (the rim it seals against) with a cloth or sponge.
- If the flapper looks worn or damaged, it’s time to replace it. Universal flappers are readily available and usually attach with simple ears that hook over pegs on the overflow tube.
- Replace the Flapper:
- Disconnect the chain from the flush lever arm.
- Unclip or slide the old flapper off the overflow tube.
- Install the new flapper, ensuring the chain has a little slack (not too tight, not too loose – test by pushing it slightly). Too much slack can snag, too little can prevent it from closing fully.
- Reconnect the chain to the flush lever.
- Check the Flush Valve Seal: If replacing the flapper doesn’t solve the leak, the larger flush valve seal (or tank ball) might be the problem.
- With the tank emptied, you’ll need to remove the old flush valve assembly. This usually involves unscrewing a large plastic nut on the underside of the tank.
- Carefully lift the old assembly out.
- Clean the area where the new seal will sit.
- Install the new flush valve seal according to the manufacturer’s instructions. These often involve tightening a nut from the underside of the tank and then carefully placing the new valve.
- Turn Water Back On and Test: Slowly turn the water supply valve back on. Let the tank fill. Listen for running water and check for any leaks into the bowl. Do the dye test again if you’re unsure.
For more information on specific toilet parts and their functions, the EPA’s WaterSense website provides excellent diagrams and explanations of how toilets work and common repairs.
Step 3: Fix Base Leaks (Wax Ring Issues)
Leaks at the base require a bit more work, as they involve removing the toilet itself. This is manageable but requires careful handling and re-sealing.
- Turn Off Water and Drain: Shut off the water supply valve and flush the toilet, holding the lever down. Then, use your sponge to remove any remaining water from the tank and the bowl.
- Disconnect Water Supply: Use your adjustable wrench to disconnect the supply line from the fill valve at the bottom of the tank. Have your bucket and towels ready for any residual water.
- Remove Tank Bolts: Locate the two bolts at the base of the toilet, usually covered by plastic caps. Pry off the caps and use your wrench to loosen and remove the nuts.
- Lift and Remove the Toilet:
- This is where it can get heavy! Gently rock the toilet back and forth to break the seal of the old wax ring.
- Once it feels free, carefully lift the toilet straight up and away from the floor.
- Place the toilet on old towels or cardboard to protect your floor and prevent the porcelain from chipping.
- Remove Old Wax Ring:
- You’ll see the old wax ring around the flange (the plastic or metal ring attached to the drainpipe).
- Use your putty knife or old credit card to scrape away all the old wax.
- Clean the underside of the toilet base and the flange area thoroughly. You can use a little denatured alcohol to ensure a clean surface for the new wax.
- Inspect the flange for any damage. If it’s cracked or broken, you’ll need to replace it, which is a more involved repair.
- Install New Wax Ring and Reinstall Toilet:
- Place the new wax ring onto the opening of the flange. Make sure it’s centered. Some wax rings are designed to attach to the underside of the toilet flange instead; follow the product’s instructions.
- Carefully lift the toilet and align the closet bolts on the flange with the holes in the base of the toilet.
- Lower the toilet straight down onto the wax ring and flange.
- Sit on the toilet (lightly at first!) to help create a good seal.
- Reinstall the nuts onto the closet bolts. Tighten them evenly, a little at a time, in a star pattern. Don’t overtighten, as this can crack the porcelain base.
- Ensure the toilet is stable and doesn’t rock excessively. If it does, you may need shims under the base or further tightening (but be careful).
- Reconnect Water Supply and Test: Reattach the supply line to the fill valve. Turn the water supply back on slowly. Flush the toilet several times and check around the base for any signs of leaks.
For a visual aid on the different types of wax rings and their installation, this Build Magazine guide offers clear illustrations.
Step 4: Fix Supply Line Leaks

Leaks from the water supply line are usually the easiest to fix and pose less risk of hidden water damage.
- Turn Off Water and Disconnect: Locate the shut-off valve behind the toilet and turn it clockwise to shut off the water. Have your bucket and towels ready.
- Disconnect Hose: Using an adjustable wrench, loosen and remove the nuts connecting the supply line hose to both the wall valve and the fill valve on the toilet tank.
- Inspect and Replace Hose:
- Examine the old hose for cracks, kinks, or signs of wear.
- If the hose is faulty, replace it with a new one. Ensure the new hose is the correct length and has the appropriate fittings for your water valve and fill valve. Braided stainless steel hoses are generally more durable.
- When installing, make sure the rubber washers are in place inside the connectors.
- Tighten Connections:
- Reconnect the new (or old, if it was just loose) hose to the fill valve and the wall valve.
- Hand-tighten the nuts first, then use your wrench to tighten them about a quarter to a half turn more. Be careful not to overtighten, which can strip the threads or damage the fittings.
- For extra assurance, wrap the threads of the water valve outlet with plumber’s tape before connecting the hose.
- Turn Water On and Test: Slowly turn the water supply valve back on. Inspect the connections for any drips. Let the tank fill and check again.
Ensuring all connections are secure is key. A slightly loose connection can cause a drip that gets worse over time. For detailed information on plumbing fittings and connections, resources like the International Association of Plumbing and Mechanical Officials (IAPMO) offer extensive documentation, though their handbook is quite technical; focusing on the connection types will be most helpful for this specific task.
Troubleshooting Common Toilet Leak Issues
Even with the best instructions, sometimes things don’t go exactly as planned. Here are some common issues you might encounter and how to resolve them.
Table: Troubleshooting Common Leak Problems
| Problem | Possible Cause | Solution |
|---|---|---|
| Toilet runs constantly after repair | Flapper chain too tight or too loose; Float set too high. | Adjust chain length for slight slack; Adjust float height to ensure it stops filling below the overflow tube. |
| Leak at the base, but new wax ring didn’t help | Toilet is not level; Flange is damaged; Toilet bolts are loose. | Use shims to level the toilet; Inspect and repair/replace the flange; Tighten toilet bolts evenly (do not overtighten). |
| Water level in |
