
Quick Summary
Removing a toilet is a manageable DIY task with the right tools and clear steps. This guide breaks down how to remove a toilet step by step, ensuring a safe, efficient process for beginners. Follow these instructions for a successful toilet removal.
Ever faced a leaky toilet, a cracked tank, or just decided it’s time for an upgrade? Replacing or removing a toilet might seem daunting, but it’s a common home maintenance task that many DIYers can tackle. The trick is to go slow, be prepared, and know the right sequence of actions. A common frustration is not knowing where to start or worrying about making a mess. Don’t let that stop you!
This guide is here to turn that worry into confidence. We’ll walk you through removing your toilet, piece by piece, in a way that’s easy to follow, even if you’ve never done plumbing before. We’ll cover everything from shutting off the water to safely lifting the toilet away. Get ready to learn how to remove a toilet step by step with ease!
Why Remove a Toilet?
Several reasons might lead you to remove a toilet. Understanding these can help you appreciate the process and confirm if it’s the right decision for your situation:
- Repairs: If your toilet has a persistent leak, a crack in the porcelain, or a faulty flushing mechanism that can’t be fixed in place, removal might be necessary for complete repair or replacement of parts.
- Upgrades: Modernizing your bathroom often includes replacing an old, inefficient, or aesthetically outdated toilet with a new, water-saving model or one with enhanced features.
- Renovations: During bathroom remodels, plumbing fixtures usually need to be removed to access subflooring, change pipe layouts, or simply make space for new installations.
- Deep Cleaning: Sometimes, a very thorough cleaning or access to the floor beneath the toilet is required, necessitating its temporary removal.
- Preventing Damage: If you’re leaving a property vacant during freezing temperatures, draining and removing the toilet can prevent pipes from bursting due to ice expansion.
Tools & Materials You’ll Need
Gathering the right tools before you start is crucial for a smooth and efficient process. Having everything on hand means fewer interruptions and less chance of unexpected problems.
Essential Tools:
- Adjustable Wrench or Pliers: For loosening and tightening nuts, especially on the water supply line.
- Bucket: To catch any residual water from the tank and bowl.
- Old Towels or Rags: For wiping up spills and protecting your floor.
- Putty Knife or Scraper: To help break the seal of old wax and caulk around the base.
- Utility Knife: For cutting through any caulk or sealant around the base.
- Screwdriver (Phillips and Flathead): You’ll likely need these for the tank-to-bowl bolts and sometimes for the closet bolts.
- Gloves: To protect your hands from dirt and germs.
- Safety Glasses: To protect your eyes from debris.
- Optional: Reciprocating Saw (with appropriate blade, e.g., metal or wood): If the closet bolts are rusted or stubborn and won’t come loose. Use with extreme caution.
Essential Materials:
- New Wax Ring: If you plan to reinstall the toilet or install a new one.
- New Closet Bolts and Nuts: Good practice to replace these, especially if the old ones are corroded.
- Toilet Flange Repair Kit (if needed): For when the existing flange needs reinforcing.
- Duct Tape: To seal the closet flange opening after removal and prevent sewer gases from escaping.
For more details on essential plumbing tools, you can check out resources from This Old House, a trusted source for DIY advice.
Step-by-Step Guide: How to Remove a Toilet
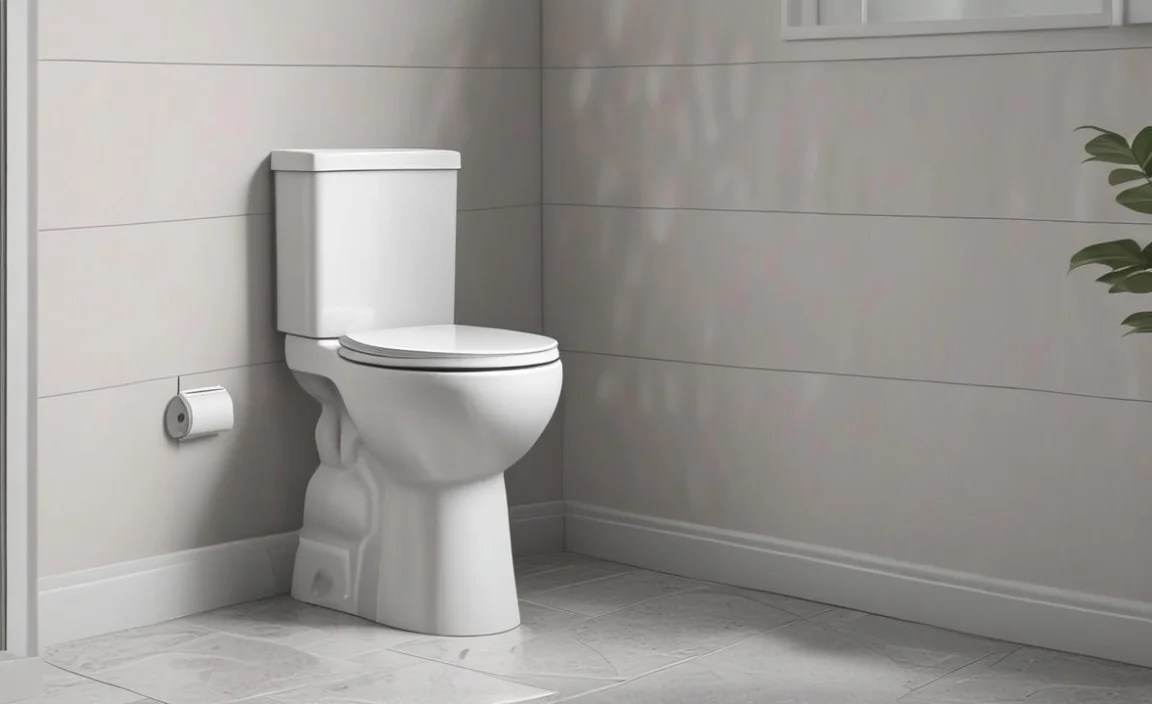
Let’s get started! Follow these steps carefully to safely and effectively remove your toilet.
Step 1: Turn Off the Water Supply
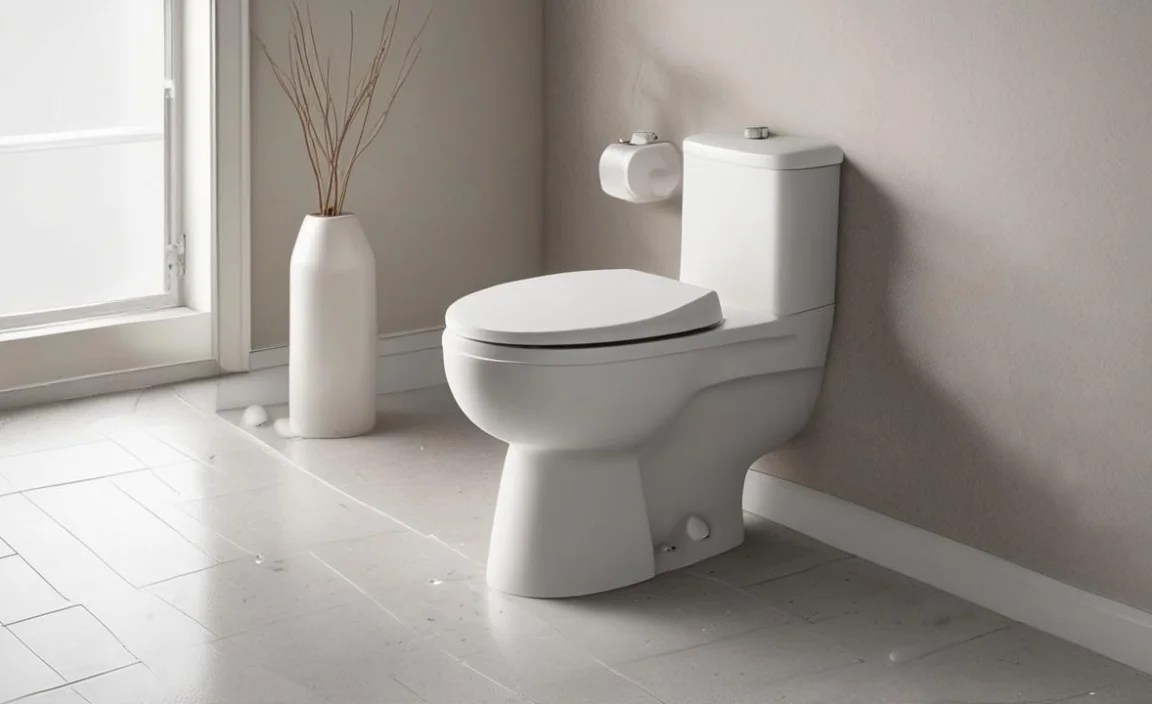
This is the most critical first step. Locate the shut-off valve for your toilet. It’s usually on the wall behind the toilet or near the base of the tank. Turn the handle clockwise until it stops. If you can’t find a shut-off valve or it won’t turn, you’ll need to turn off the main water supply to your house.
Step 2: Flush the Toilet to Empty the Tank and Bowl

With the water supply shut off, flush the toilet. Hold down the flush lever until most of the water drains from the tank. Then, use your bucket and rags to manually scoop out any remaining water from the tank and the toilet bowl. It’s important to remove as much water as possible to minimize spills during removal.
Step 3: Disconnect the Water Supply Line

Place your bucket directly under the water supply line connection at the bottom of the toilet tank. Use your adjustable wrench or pliers to loosen the coupling nut connecting the supply line to the tank. Be prepared for a small amount of residual water to leak out. Unscrew the nut completely and let any remaining water drain into the bucket.
Step 4: Remove the Toilet Tank (Optional but Recommended)

Most toilets can be removed as a single unit, but separating the tank from the bowl can make the toilet lighter and easier to maneuver. Look for two nuts on the underside of the tank where it attaches to the bowl. Use your wrench to loosen and remove these nuts. If your tank is bolted to the wall for support, ensure it is stabilized before removing tank-to-bowl bolts. Once the nuts are off, carefully lift the tank straight up and off the bowl. Place it aside on old towels or cardboard to prevent scratching.
Step 5: Remove the Toilet Bowl’s Mounting Bolts

Look at the base of the toilet bowl. You’ll see two plastic or metal caps covering the mounting bolts that secure the toilet to the floor. Use a flathead screwdriver or putty knife to gently pry these caps off. Underneath, you’ll find nuts on the bolts (called closet bolts). Use your adjustable wrench or a socket wrench to loosen and remove these nuts. If the bolts spin with the nuts, you may need to hold the bolt head steady with a screwdriver while you turn the nut, or if they are severely rusted, you might need to cut them off (see tool list for saw option).
Step 6: Break the Wax Seal
Now it’s time to detach the toilet from the floor flange. Gently rock the toilet bowl back and forth. This gentle rocking motion will help break the seal of the old wax ring that’s between the toilet base and the floor flange. Be careful not to apply too much force, as you could crack the porcelain. You might hear a “pop” as the seal breaks.
Step 7: Lift and Remove the Toilet Bowl

Once the wax seal is broken and the mounting bolts are removed, you can lift the toilet bowl. This is where having a helper is highly beneficial, as toilets are surprisingly heavy and awkward to carry. Straddle the toilet and get a firm grip on both sides. Lift the toilet straight up and away from the flange. Tilt it slightly to clear any remaining wax. Immediately place it on old towels or cardboard to protect your floor. Do not set it directly on the finished floor, as residual wax can damage some finishes.
Step 8: Cover the Toilet Flange Opening

This is a crucial step for safety and hygiene. The opening you see in the floor is connected to your sewer line. To prevent sewer gases from entering your home and to avoid anything falling into the pipe, immediately cover the opening. You can use a sturdy plastic bag or rag secured with duct tape, or a specialized flange plug if you have one. This prevents unpleasant odors and potential hazards.
For a visual guide, consider watching a DIY video. YouTube has many excellent tutorials demonstrating these steps, such as those found on popular home improvement channels.
What to Do After Toilet Removal
Once the toilet is removed and the flange is covered, you have a few options:
- Temporary Storage: If you’re not installing a new toilet immediately, move the old one to a safe location. It’s best to empty it of any remaining water and seal the flange opening to prevent odors and pests.
- Cleaning: This is the perfect time to deep clean the area where the toilet was. You can scrub the floor, check for leaks around the flange, and ensure the subfloor is sound.
- Repairing the Flange: Inspect the toilet flange closely. Is it cracked, loose, or rusted? If it’s damaged, you’ll need to repair or replace it before installing a new toilet. The height of the flange is also critical for a good seal. You can purchase flange spacers if it sits too low.
- Installing a New Toilet: If you’re installing a new toilet right away, clean the area, prepare your new wax ring and bolts, and proceed with the installation steps (which essentially reverse the removal process).
Common Toilet Removal Issues and How to Solve Them
Even with careful planning, you might encounter a few hiccups. Here are some common problems and their solutions:
| Problem | Solution |
|---|---|
| Toilet is stuck to the floor, and rocking doesn’t break the seal. | Carefully use a putty knife or utility knife to slide around the base and cut through the wax or caulk. If it’s severely adhered, you may need to gently tap the knife with a hammer. |
| Closet bolts are rusted and won’t come loose. | Apply a penetrating lubricant like WD-40 and let it sit for a while. If they still won’t budge, you may need to cut them using a reciprocating saw with a metal-cutting blade. Be extremely careful not to damage the toilet or the floor. |
| Water supply valve won’t turn off or is leaking. | If the valve is faulty, you’ll need to shut off the main water supply to the house at the meter. It’s recommended to replace the faulty valve as soon as possible. |
| Toilet is too heavy to lift alone. | Never attempt to lift a heavy toilet by yourself if you’re unsure. Ask a friend or neighbor for help. A dolly or hand truck can also be useful if you have one and your walkway or stairs allow. |
| Accidentally cracked the porcelain while trying to remove it. | If minor, it may still function, but it’s a risk for future leaks or breaks. For significant cracks especially around the tank or bowl base, the toilet will likely need to be replaced entirely. |
Safety First!
Working with plumbing involves water and waste, so safety should always be your top priority. Here’s a reminder of key safety precautions:
- Shut off the water! This cannot be stressed enough. Ensure the water supply to the toilet is completely off before you begin.
- Wear protective gear: Gloves, safety glasses, and old clothes are a must.
- Handle with care: Porcelain can be heavy and break, causing injury or damage. Lift with your legs, not your back.
- Beware of bacteria: Toilets harbor germs. Wash your hands thoroughly after the job, and consider using disinfectant wipes.
- Ventilation: Ensure the room where you’re working is well-ventilated, especially when dealing with potential sewer gases.
For extensive plumbing work or if you’re uncomfortable with any step, a qualified plumber is always a wise choice. You can find resources for finding a professional plumber from organizations like the Plumbing-Heating-Cooling Contractors Association (PHCC).
Frequently Asked Questions (FAQ)
Q1: How much water should I expect to be left in the bowl and tank?

Most of the standing water can be removed by flushing and then manually scooping. However, a small amount of residual water will remain in the trapway of the toilet bowl and a bit in the tank. This is why having buckets and towels ready is essential for cleanup.
Q2: Is it difficult to remove a toilet for the first time?

Removing a toilet is a moderately difficult DIY task. The most challenging parts can be stubborn bolts or a strong wax seal. However, with clear steps, the right tools, and careful execution, a beginner can successfully remove a toilet.
Q3: How do I know if I need to replace the wax ring?
A wax ring creates a seal between the toilet and the floor flange. It is single-use. Every time you remove a toilet, the wax ring is compromised and must be replaced with a new one before reinstalling the toilet or installing a new one to ensure a watertight seal and prevent leaks and odors.
Q4: Can I reuse the old closet bolts?

It’s highly recommended to replace the closet bolts. They are often corroded, making them difficult to remove and potentially weak if reused. New bolts are inexpensive and ensure a secure installation for your toilet.
Q5: What happens if I don’t cover the floor flange after removing the toilet?

Failing to cover the floor flange can allow unpleasant and potentially harmful sewer gases to escape into your home. It also creates an opening for a pest or small object to fall into your drain line, which can cause blockages and more complex plumbing issues.
Q6: How heavy is a standard toilet?

A typical two-piece toilet (tank and bowl are separate) can weigh between 70 to 120 pounds. A one-piece toilet is usually lighter, around 60 to 100 pounds. Tank lids are also fragile and add to the weight distribution challenge. Always be prepared for the weight and consider getting help.
Conclusion
You’ve now got a complete understanding of how to remove a toilet step by step. From gathering your tools to covering the flange, each stage has been laid out to make this task accessible and achievable. Remember, preparation is key – have your supplies ready, shut off the water, and don’t hesitate to ask for assistance if the toilet feels too heavy.
By following these instructions, you can confidently tackle toilet removal for repairs, upgrades, or renovations. This knowledge empowers you to take on more DIY projects around your home, saving you time and money while building your home maintenance skills. Take your time, work safely, and enjoy the satisfaction of a job well done. Happy DIYing!
