
Quick Summary:
Need to remove a toilet? It’s simpler than you think! Follow these easy steps to safely and effectively remove an old toilet for repair, replacement, or renovation, ensuring a clean and stress-free process.
Dealing with a toilet that needs to go can feel like a big plumbing challenge. Whether you’re upgrading to a new, water-saving model, fixing a persistent leak, or just giving your bathroom a facelift, knowing how to remove a toilet properly is a valuable DIY skill. Many homeowners shy away from this task, fearing leaks, damage, or complicated steps. But with the right guidance and a little preparation, you can tackle this project with confidence. This guide breaks down the process into simple, manageable steps, making toilet removal surprisingly effortless.
Why Remove a Toilet? Common Reasons and When to Act

There are several situations where removing a toilet becomes necessary. Understanding these can help you decide if it’s time to take on this DIY project:
- Replacement: Old toilets can be inefficient, using far more water than modern, low-flush models. Replacing a commode is also common if it’s cracked, stained beyond repair, or simply dated.
- Repair: Sometimes, access to the floor or plumbing behind the toilet is needed for repairs to the subfloor, drain pipes, or water supply lines that are otherwise inaccessible.
- Renovation: When remodeling a bathroom, the toilet is often one of the first fixtures to be removed to allow for changes in layout or the installation of new flooring.
- Preventative Maintenance: In cases of severe clogs, persistent leaks, or if you’re going away for an extended period during freezing weather, removing and inspecting the toilet can be a proactive measure.
Signs It’s Time for a Change (or a Move!)
Don’t wait for a disaster! Keep an eye out for these common issues:
- Constant Leaks: Water pooling around the base of the toilet, or a constantly running tank, are clear indicators for repair or replacement.
- Cracks in the Porcelain: Even small cracks can lead to leaks and potential breakage.
- Wobbly Toilet: A toilet that rocks back and forth usually means the wax ring has failed or the floor flange is loose.
- Inefficient Flushing: If your toilet struggles to clear waste, it’s likely an older, less efficient model.
- Unpleasant Odors: Persistent sewer smells can indicate a faulty wax seal.
Essential Tools and Materials You’ll Need
Gathering all your tools and materials beforehand makes the process smoother and safer. Here’s a checklist of what you’ll want to have on hand:
Tools for the Job:
- Adjustable Wrench or Pliers: For disconnecting the water supply line.
- Towel or Rags: Plenty of these will be needed to soak up residual water.
- Putty Knife or Scraper: To remove the old wax ring.
- Gloves: To protect your hands.
- Safety Glasses: To protect your eyes from splashes or debris.
- Bucket: To catch any water during the process.
- Screwdriver (Flathead and Phillips): Usually for removing the tank-to-bowl bolts.
- Old Clothes: This job can get a bit dirty!
- Tarp or Old Towels: To protect your flooring from water or the toilet itself.
Materials for a Clean Removal:

- New Wax Ring (if reinstalling or replacing): Always recommended to ensure a good seal.
- New Supply Line Hose (if needed): It’s often a good idea to replace this if it looks old or worn.
- Trash Bags or Container: For disposing of old parts or debris.
Step-by-Step Guide: How to Remove a Toilet Effortlessly
Removing a toilet involves a few key stages, each designed to ensure safety and minimize mess. Follow these steps carefully.
Step 1: Prepare the Area and Turn Off Water

Before you start unscrewing anything, it’s crucial to prepare your workspace and shut off the water supply. Lay down a tarp or old towels around the toilet to protect your floor from any spills. This also makes cleanup easier later.
Next, locate the shut-off valve for your toilet. It’s typically a small, oval or round handle found on the wall behind the toilet, near the floor, connected to the water supply pipe. Turn this valve clockwise until it’s completely closed. To confirm the water is off, flush the toilet. The tank should not refill.
Step 2: Drain the Tank and Bowl

With the water supply off, you need to remove as much water as possible from the tank and bowl. Start by flushing the toilet one last time. Hold the flush lever down to drain as much water as you can from the tank. Once the tank is mostly empty, use your bucket and rags or towels to soak up any remaining water in the tank. You can also use the rags to wipe down the inside of the tank.
For the bowl, use your rags or towels to absorb the water. You might need to push some water into the drain trap with a brush or plunger, then absorb it. The goal is to remove as much standing water as possible to prevent spills when you lift the toilet.
Step 3: Disconnect the Water Supply Line

Now, find the flexible hose connecting the shut-off valve to the bottom of the toilet tank. Use your adjustable wrench or pliers to loosen the nut at the end of this hose. Remember, this is a nut, so you’ll typically turn it counter-clockwise to loosen. Be prepared for a small amount of residual water to drip out, so keep your bucket and rags handy.
Once disconnected from the tank, you can also disconnect the other end from the wall valve if it makes it easier to move the toilet. Clean up any spilled water immediately.
Step 4: Undo the Tank-to-Bowl Bolts

Most toilets have bolts that connect the tank to the bowl. These are usually located at the bottom of the tank, on either side. You’ll often see plastic caps covering them. Pop these caps off with a screwdriver if necessary. Reach under the tank and into the bowl to find the nuts on these bolts. Use your wrench or pliers to unscrew these nuts. You may need a screwdriver to hold the bolt head steady from the inside of the tank if it spins.
Once the nuts are off, the tank should be free from the bowl. You can now lift the tank straight up and off the bowl. Place the tank aside on your protected floor area.
Step 5: Remove the Toilet Bowl Bolts and Lift the Bowl

At the base of the toilet bowl, you’ll see bolts that attach the toilet to the floor flange. These are often covered by plastic caps or decorative strips. You can usually pry these caps off with a flathead screwdriver. Loosen and remove the nuts from these bolts. Sometimes, the bolts themselves will pull out of the flange. If they don’t, you may need to cut them or break them off, but typically they are designed to be unscrewed or pulled out.
Once the nuts are removed, the toilet bowl is loose. This is the point where it can be heaviest. Grip the bowl firmly on both sides, near the base, and lift straight up. Gently rock it side-to-side if it seems stuck. You may need to break the wax seal. With a steady upward pull, lift the bowl away from the floor flange.
Step 6: Clean Up and Prepare for Next Steps
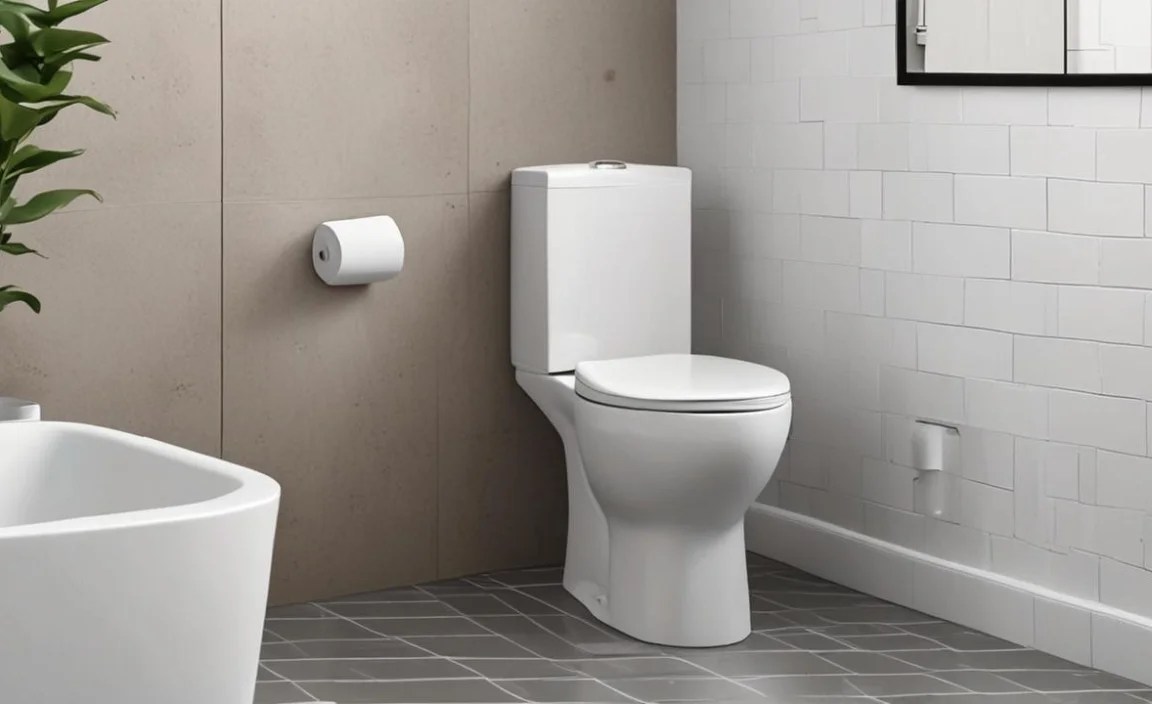
Once the toilet bowl is removed, immediately inspect the wax ring that was sealing the toilet to the floor flange. It will likely be smashed and messy. Use your putty knife or scraper to carefully remove the old wax ring from both the toilet flange and the underside of the toilet bowl. Dispose of the old wax and any debris.
Cover the floor flange opening with a rag or old towel to prevent sewer gases from entering your home and to avoid anything falling into the drain. Clean up any remaining water or debris from the floor around the flange. Now your toilet is removed and you’re ready for installation of a new one or to tackle other repairs!
Troubleshooting Common Issues During Toilet Removal
Even with careful planning, you might encounter a few hitches. Here’s how to handle them:
The Toilet Seems Stuck or Wiggles Unevenly

This often means the wax seal is still holding strong, or the toilet is sitting unevenly on the floor. Try gently rocking the toilet back and forth while lifting. Avoid excessive force, which can crack the porcelain. If it’s a minor rocking issue, you might need to use a thin pry bar under the edge (with a piece of wood to protect the floor) to help break the seal. Ensure you are lifting straight up, not twisting.
The Floor Flange Bolts Are Rusted or Difficult to Remove

If the nuts on the floor flange bolts are rusted tight, a penetrating lubricant like WD-40 can help. Let it soak in for a few minutes before trying to loosen them again. If the bolts themselves are badly corroded and spin with the nuts, you might need to cut them off with a hacksaw or a small reciprocating saw, being extremely careful not to damage the flange or the floor.
Water Leaks from the Tank or Bowl After Shutting Off the Valve

This is why draining is so important. If significant water continues to leak, ensure the shut-off valve is fully closed and properly seated. Sometimes, old valves can fail. If the valve won’t shut off completely, you may need a temporary water shut-off for the entire house. Make sure you’ve pushed as much water out of the bowl as possible using rags or by manipulating the flush mechanism.
The Toilet is Heavier Than Expected
Toilets, especially older ones made of cast iron or thicker porcelain, can be surprisingly heavy. If you find it too heavy to lift safely, don’t hesitate to ask a friend or family member for help. A two-person lift is much safer and easier.
Toilet Removal vs. Toilet Installation: What’s Different?

While removing a toilet is a critical first step for many DIY projects, it’s worth noting what’s different when it comes to installation. Installation involves ensuring a perfect seal with a new wax ring, correctly positioning the toilet over the flange, tightening the mounting bolts evenly, and reconnecting the water supply. The goal during removal is to get the old unit out cleanly, while installation focuses on creating a watertight and stable connection for the new one. Both tasks require attention to detail, but installation is where precision is paramount to prevent future leaks and issues. For tips on installation, consider resources from plumbing associations or reputable hardware stores.
When to Call a Professional Plumber
While this guide aims to make toilet removal manageable for most DIYers, there are times when calling a professional plumber is the wisest choice:
- Unfamiliarity with Plumbing: If you’re entirely new to home repairs and feel uncomfortable at any stage, a plumber can save you potential headaches.
- Visible Pipe Damage: If you notice cracked, corroded, or otherwise damaged pipes leading to or from the toilet, a plumber can address these serious issues.
- Stubborn Fixtures: If the toilet is exceptionally old, fused to the floor, or bolts are impossible to budge without significant risk of damage, a pro has specialized tools.
- Multiple Toilet Issues: If you have multiple toilets in your home experiencing problems or if this is part of a larger plumbing overhaul, a professional can offer comprehensive solutions.
- Concerns About Water Damage: If you suspect existing water damage under or around the toilet, a plumber can assess and repair the underlying problem safely.
A professional plumber has the experience and tools to handle unexpected complications quickly and efficiently, ensuring the job is done right the first time.
Frequently Asked Questions (FAQ) About Removing a Toilet
Q1: How long does it typically take to remove a toilet?

A: For a first-timer following instructions, removing a toilet usually takes between 30 minutes to an hour. If you’re experienced, it can be done in as little as 15-20 minutes.
Q2: What is a floor flange, and why is it important?

A: The floor flange is the fitting that connects your toilet’s drainpipe to the toilet itself and secures the toilet to the floor. It’s crucial for creating a watertight seal and preventing sewer gases from entering your home. You’ll see it at the base of the opening where the toilet used to sit.
Q3: Can I reuse the old wax ring?
A: It’s highly recommended NOT to reuse an old wax ring. Once a toilet has been removed, the wax ring is compressed and its seal is broken. Reusing it can lead to leaks and odor issues. Always use a new wax ring when reinstalling a toilet.
Q4: What should I do with the old toilet?

A: Many municipalities have specific disposal guidelines for plumbing fixtures. You can often arrange for bulk item pickup from your waste disposal service, take it to a local landfill or recycling center, or donate it to a habitat for humanity restore if it’s still in good condition.
Q5: Is it safe to remove a toilet if I’m pregnant or have health conditions?

A: If you have any health concerns or physical limitations, it’s best to avoid this task. Toilets can be heavy and awkward to maneuver, and the work involves bending and lifting. It’s safer to have someone else assist or to hire a professional.
Q6: How do I ensure there are no lingering water issues after removal?

A: After the toilet is removed and the area is cleaned, thoroughly dry the floor and surrounding pipes. Check for any dampness or signs of past leaks that might need further attention. Ensure the floor flange seal is intact or properly covered.
Conclusion: Toilet Removal Mastered!
You’ve learned the essential steps to confidently remove a toilet. From shutting off the water to lifting the old fixture, each stage has been broken down into clear, actionable advice. You’ve equipped yourself with the right tools, understood common pitfalls, and even know when it’s best to call in a professional. This knowledge empowers you to tackle bathroom upgrades, repairs, or renovations with greater independence.
Remember, preparation is key. Having your tools ready and following the steps methodically will ensure a safe and clean removal process. Don’t be intimidated; with this guide, you’ve proven that a task like removing a toilet can be managed with skill and ease, opening the door to future DIY successes in your home maintenance journey.
