
Quick Summary: Removing a toilet can seem daunting, but with the right tools and a few simple secrets, it’s a manageable DIY task. Essential tools include an adjustable wrench, putty knife, old towel, bucket, and a wax ring. Following these proven removal secrets ensures a safe, clean, and successful toilet uninstallation.
Toilet removal is a common home maintenance task, often needed for repairs, upgrades, or deep cleaning. It might sound intimidating, especially if you’re new to DIY projects. But don’t worry! With clear instructions and the right tools, you can confidently tackle this job. We’ll break down exactly what you need and how to use it, making the entire process straightforward and stress-free. Get ready to demystify toilet removal!
Understanding the Toilet Removal Process
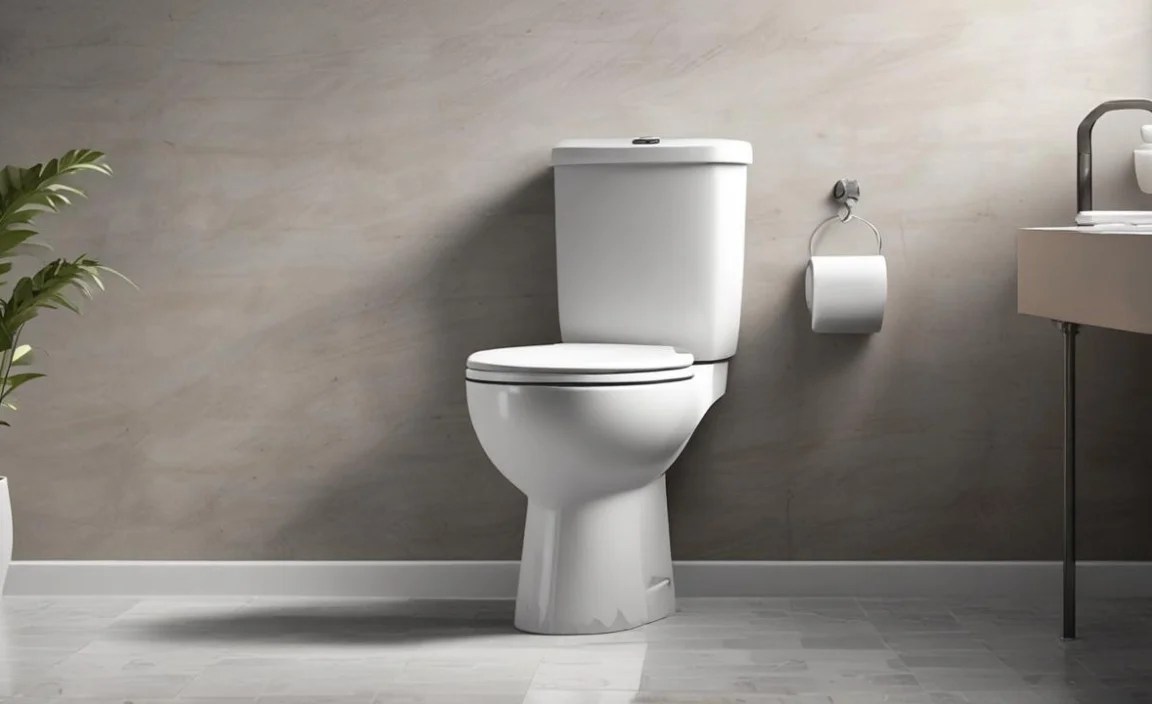
Removing a toilet involves several key steps, each requiring specific tools and a bit of care. The primary goal is to disconnect the toilet from the water supply, detach it from the floor, and lift it away without causing damage or making a mess. It’s crucial to work systematically, as mistakes can lead to water spills or damage to your toilet or flooring.
Before we dive into the tools, let’s briefly outline what’s involved:
- Shutting off the water supply to the toilet.
- Draining as much water as possible from the tank and bowl.
- Disconnecting the water supply line.
- Unbolting the toilet from its base.
- Breaking the wax seal and lifting the toilet away.
- Preparing the floor for a new toilet or for cleaning.
Each of these steps requires specific tools to ensure efficiency and safety. Using the wrong tool can make the job harder, risk damage, or even cause injury. That’s why having the right arsenal is so important.
Essential Toilet Removal Tools: Your DIY Toolkit
Gathering the right tools before you start is half the battle. Here’s a list of the essential items you’ll need to remove a toilet smoothly and safely. Think of these as your secret weapons for a successful DIY mission!
The Must-Have Tools
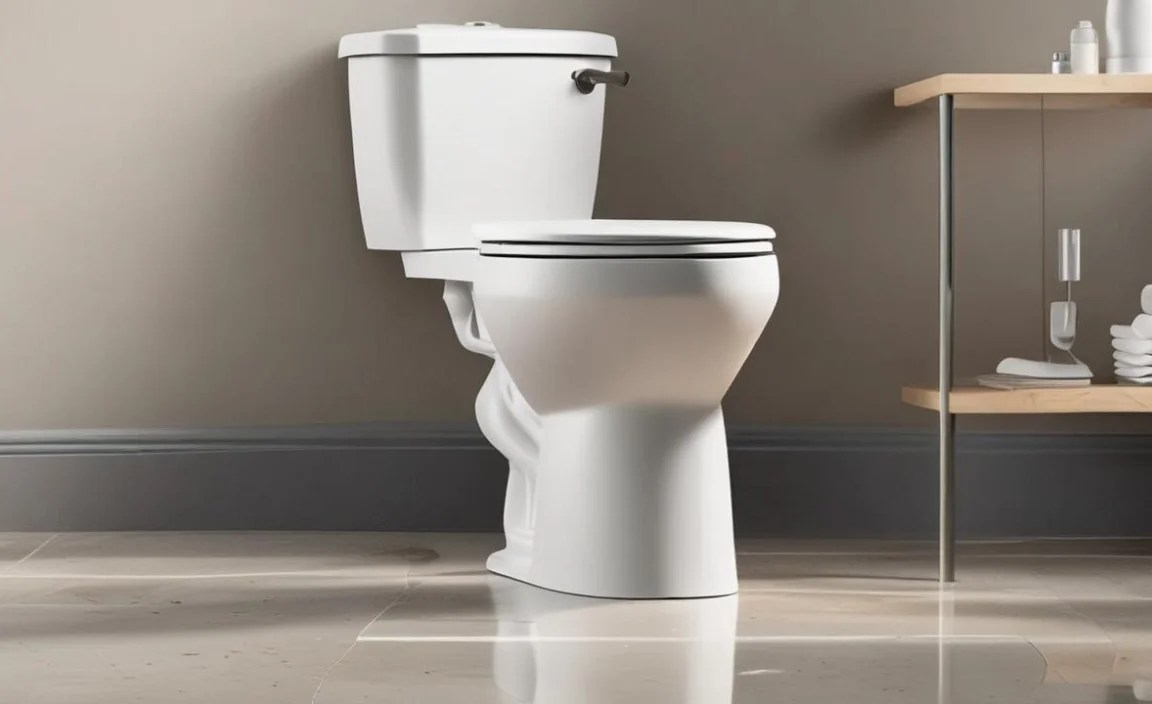
These are the items you absolutely cannot do without. They are designed to make each part of the removal process easier and more effective.
- Adjustable Wrench: This is your go-to for loosening and tightening nuts, especially those connecting the water supply line or securing the toilet to the floor. An adjustable wrench is versatile and can fit various nut sizes.
- Putty Knife: A stiff putty knife is essential for gently prying the toilet away from the floor and breaking the stubborn wax seal at the base.
- Old Towels or Rags: You’ll need these to absorb any residual water in the tank or bowl, and for general cleanup throughout the process.
- Bucket: A bucket is indispensable for catching water that drains from the tank and bowl, and for holding removed parts.
- Screwdriver (Flathead and Phillips): You might need a screwdriver to remove any decorative caps covering the bolts at the base of the toilet and to detach the toilet seat if necessary.
- Pliers (Optional but Recommended): Channel-lock pliers can be helpful if bolts are particularly stubborn or corroded.
- Utility Knife (Optional): Useful for scoring any caulk around the base of the toilet left from previous installations.
- Work Gloves: Protect your hands from dirt, grime, and potential sharp edges.
- Safety Glasses: It’s always a good idea to protect your eyes from debris or splashes, especially when dealing with old plumbing.
- New Wax Ring (if reinstalling): While not strictly a removal tool, if you plan to reinstall the same toilet or install a new one right away, you’ll need a new wax ring. This creates a watertight seal between the toilet and the drainpipe.
Optional but Helpful Additions
These aren’t strictly necessary but can make the job even smoother:
- Toilet Plunger: Can help remove excess water from the bowl before you start.
- Floor Scraper: For cleaning up old wax or adhesive residue from the floor.
- Old Sponge: Excellent for soaking up the last bits of water.
Step-by-Step Toilet Removal Secrets
Now that you have your tools ready, let’s walk through the removal process. We’ll break it down into easy-to-follow steps, giving you the confidence to tackle this project.
Step 1: Turn Off the Water Supply

This is the most crucial first step. Without turning off the water, you’ll have a flood on your hands. Look behind the toilet for a small valve, usually on the wall or floor. Turn this valve clockwise until it stops. If you can’t find this valve or it doesn’t work, you’ll need to shut off the main water supply to your entire house.
- Locate the shut-off valve behind the toilet bowl.
- Turn the valve handle clockwise until it is fully closed.
- If the valve is stuck or missing, find the main water shut-off valve for your home and close it.
Step 2: Drain the Toilet Tank and Bowl

With the water off, you need to remove as much water as possible. This prevents spills when you disconnect the toilet from its supply line.
- Flush the toilet. Hold the handle down longer than usual; this allows most of the water in the tank to drain into the bowl.
- Use an old towel or sponge to soak up any remaining water in the tank.
- Use your bucket and rags to remove water from the bowl. You won’t get all of it, but get as much as you can.
This step may seem minor, but it makes a significant difference in the cleanliness and ease of the rest of the job.
Step 3: Disconnect the Water Supply Line

Now, you’ll disconnect the flexible hose that brings water to your toilet tank. This hose connects from the shut-off valve to the bottom of the toilet tank. You’ll already have your adjustable wrench handy for this.
- Place your bucket directly under the connection point at the bottom of the toilet tank to catch any drips.
- Use the adjustable wrench to loosen the coupling nut connecting the water supply line to the fill valve in the tank. Turn it counter-clockwise.
- Once loose, unscrew it by hand. Some residual water may drip out, which the bucket will catch.
If the nut is corroded or difficult to turn, a bit of penetrating oil might help, but be patient and avoid forcing it too much.
Step 4: Remove Toilet Tank Bolts
Most toilets have bolts that secure the tank to the bowl. These are usually located on the bottom of the tank and accessible from inside the tank. They are typically covered by plastic caps.
- Locate the large nuts on the underside of the toilet tank, where it meets the bowl.
- You might need to remove plastic caps or covers from the bolts. A flathead screwdriver can help gently pry these off.
- Use your adjustable wrench to loosen and remove the nuts.
Be careful not to overtighten or strip the bolts. If they seem stuck, a shot of penetrating oil can be useful. Once the nuts are off, the tank should be free from the bowl.
Step 5: Remove the Toilet Bowl Bolts

This is where the toilet is secured to your floor. These bolts are usually covered by plastic caps at the base of the toilet bowl. They screw into flange bolts that anchor the toilet to the drainpipe.
- Locate the caps at the bottom sides of the toilet base.
- Gently pry off these caps with a flathead screwdriver or putty knife.
- Underneath, you’ll find nuts securing the toilet to the floor flange.
- Use your adjustable wrench to loosen and remove these nuts. If the bolts spin with the nuts, you might need to use pliers to hold the bolts steady while you turn the nuts.
Step 6: Break the Wax Seal and Lift the Toilet

This is the trickiest part, but with the right tools and technique, it’s manageable. The wax ring seals the toilet to the drainpipe. You need to break this seal to lift the toilet.
- Once the nuts securing the toilet to the floor are removed, gently rock the toilet side to side. This helps loosen the wax seal.
- If it doesn’t budge easily, carefully insert your putty knife between the toilet base and the floor. Wiggle it around the entire base to break the seal. Be patient and don’t force it too hard, as this could crack the porcelain.
- Once the seal is broken, carefully lift the toilet straight up and away from the floor. It’s heavy, so it’s best to have a helper for this step if possible.
- Immediately place the toilet on old towels or cardboard to protect its base and your flooring.
Be aware that there will be some residual water and wax remaining in the toilet bowl and on the floor flange. Have your bucket and rags ready.
Step 7: Clean the Floor Flange and Area
After the toilet is removed, you’ll see the floor flange with the drainpipe. There will likely be old wax and possibly debris around it.
- Use your putty knife or a floor scraper to carefully remove all residual wax and debris from the floor flange.
- Ensure the flange is clean and intact. You can refer to resources from organizations like EPA’s WaterSense program for best practices on ensuring a proper seal.
- Inspect the floor flange for any cracks or damage. If it’s damaged, it will need to be repaired or replaced before you can install a new toilet.
A clean flange ensures a good seal for your new toilet, preventing leaks.
Table: Essential Tools vs. Optional Tools

To help you organize your shopping list, here’s a quick comparison of the tools:
| Essential Tools | Optional but Helpful Tools |
|---|---|
| Adjustable Wrench | Pliers (Channel-lock) |
| Putty Knife | Utility Knife |
| Old Towels/Rags | Toilet Plunger |
| Bucket | Floor Scraper |
| Screwdriver (Flathead & Phillips) | Old Sponge |
| Work Gloves | |
| Safety Glasses | |
| New Wax Ring (if reinstalling) |
Tips for a Smooth Toilet Removal
Beyond the tools and steps, a few extra tips can make your toilet removal experience even better. These are the little secrets experienced DIYers swear by.
- Do it with a Buddy: Toilets are surprisingly heavy and awkward to maneuver. Having a second person can prevent strain and potential damage to the toilet or your back.
- Prepare for the Sweat: Even with the water shut off, there will be some residual water. Have plenty of towels and your bucket ready to go. Covering the floor around the toilet with old towels or drop cloths can protect it from moisture or accidental drops.
- Be Patient with Old Fixtures: Older toilets might have corroded bolts or especially stubborn seals. Don’t rush the process. Gentle persuasion and the right tools are key. If nuts are truly stuck, a bit of penetrating oil applied and allowed to sit can work wonders.
- Know When to Call a Pro: If you encounter major problems like a cracked flange, severely corroded pipes, or if you’re simply not comfortable, don’t hesitate to contact a plumber. It’s better to pay for professional help than to cause significant damage. You can find great resources on plumbing best practices from sites like IAPMO (International Association of Plumbing and Mechanical Officials) for understanding codes and standards.
- Seal the Drain: Once the toilet is removed, cover the drainpipe opening with a rag or tape. This prevents sewer gases from entering your home and stops items from accidentally falling into the pipe.
Troubleshooting Common Removal Issues
Even with the best preparation, you might run into a few snags. Here are common problems and how to solve them.
- Stubborn Water Supply Line Nut: If the nut won’t budge, try gently tapping it with the wrench or applying penetrating oil. Wait a few minutes for the oil to work before trying again.
- Spinning Floor Bolts: If the bolt spins when you try to remove the nut, you’ll need to hold the bolt head. This can sometimes be done with a screwdriver or pliers, depending on the bolt type. If it continues to spin freely, the anchor in the floor may be damaged and might require more extensive repair.
- Toilet Won’t Budge After Bolts are Removed: The wax seal might be very strong. Ensure you’ve tried rocking the toilet gently and using the putty knife around the entire base. Sometimes, carefully using a bit more force with the putty knife or even a rubber mallet (tapping very lightly around the underside edge) can help.
- Corroded Bolts: For heavily corroded bolts, you might need a hacksaw to cut through them. This should be a last resort and requires careful cutting to avoid damaging the flange or your flooring.
Frequently Asked Questions (FAQ)
Q1: How long does it typically take to remove a toilet?
A1: For a DIYer with all the right tools and clear instructions, removing a toilet usually takes about 30 minutes to an hour. It can take longer if you encounter stubborn bolts or a very strong wax seal.
Q2: Do I really need to replace the wax ring?
A2: Yes, absolutely. The wax ring creates a watertight and airtight seal. Once broken during removal, it cannot be re-sealed effectively. Always use a new wax ring when reinstalling a toilet, whether it’s the same one or a new one.
Q3: What can I do if the floor bolts are rusted and won’t come off?
A3: You can try applying a penetrating oil like WD-40 and let it soak for a while. If that doesn’t work and the bolts are accessible, you might need to cut them off with a hacksaw. Be very careful not to cut into the floor flange itself.
Q4: Can I just use a regular wrench or pliers for toilet bolts?
A4: An adjustable wrench is highly recommended because it can fit different nut sizes and provides good leverage. While regular pliers might work for some smaller nuts, they often don’t offer enough grip or leverage for the larger nuts found on toilet installations and can easily strip them.
Q5: What should I do with the old toilet?
A5: Many municipalities have specific guidelines for disposing of old plumbing fixtures. You can often take it to a local landfill or recycling center. Some community waste services offer special pick-up days for large items. Check with your local waste management authority for proper disposal methods.
Q6: Is it safe to remove a toilet myself?
A6: Yes, removing a toilet is generally safe for DIYers if you follow the steps carefully, especially turning off the water supply. Always wear gloves and safety glasses, and be mindful of the weight of the toilet. If you’re unsure at any point, it’s best to consult a professional plumber.
Q7: How do I prevent sewer gas smell after removing the toilet?
A7: Once the toilet is removed, cover the open drainpipe with a thick rag or heavy-duty tape. This creates a temporary seal that prevents sewer gases from escaping into your home. Make sure the covering is secure.
Conclusion
You’ve navigated the essential toilet tools and learned the proven removal secrets! What once seemed like a daunting task is now a clear, achievable project. By gathering the right equipment—your adjustable wrench, putty knife, towels, bucket, and a new wax ring—and following these step-by-step instructions, you can confidently remove an old toilet. Remember to prepare, be patient, and always prioritize safety. With this knowledge, you’re well-equipped for your next DIY plumbing endeavor, ensuring a clean and successful outcome.
