
Quick Summary:
Breathe easy and save money by learning how to remove and replace HVAC vents safely and affordably. This guide breaks down the simple steps, required tools, and common pitfalls to help you tackle vent tasks yourself, turning potential repair costs into smart DIY savings.
Dealing with your home’s ventilation system can sometimes feel like a puzzle. You might notice a vent that’s not quite right, maybe it’s loose, damaged, or you’re just ready for an upgrade. The thought of calling a professional for something like a vent might pop into your head, and with it, the worry about the potential remove vent cost. What if you could handle some of these tasks yourself and pocket the savings? It’s entirely possible! Many vent-related jobs are simpler than they appear. This guide is here to demystify the process, offering clear, step-by-step instructions that even a DIY beginner can follow. We’ll equip you with the knowledge and confidence to tackle these jobs, saving you money and giving you a real sense of accomplishment.
Understanding Your HVAC Vents

Before we dive into the “how-to,” let’s quickly understand what we’re dealing with. Your HVAC (Heating, Ventilation, and Air Conditioning) system is the lungs of your home, circulating conditioned air. The vents, also known as registers or diffusers, are the openings where this air enters and exits your rooms. They’re not just decorative; they play a crucial role in directing airflow, controlling room temperature, and maintaining air quality.
There are a few common types of vents you’ll encounter:
- Supply Vents: These deliver the heated or cooled air from your HVAC system into the room. They often have adjustable louvers to control airflow direction.
- Return Vents: These pull air from the room back into the HVAC system to be filtered and reconditioned. They typically have a larger grille and are often found on walls or ceilings.
- Exhaust Vents: Common in bathrooms and kitchens, these vents remove moisture, odors, or smoke directly from a specific area.
The reason you might need to remove a vent could be simple wear and tear, an upgrade to a more modern or efficient model, or even just a thorough cleaning. Whatever the reason, understanding the basic function of each vent type helps in handling them correctly.
Why Remove or Replace a Vent?

The decision to remove or replace an HVAC vent usually stems from a few common scenarios:
- Damage: Over time, vents can become dented, cracked, or their louvers might break. This can impede airflow and look unsightly.
- Upgrades: You might want to update the style of your vents to match your home’s decor. Newer vents can also sometimes offer better airflow control or filtration options.
- Renovations: During home renovations, existing vents might be in the way or need to be moved to accommodate new layouts or structures.
- Deep Cleaning: Sometimes, a thorough cleaning requires removing the vent cover to get to dust buildup deep within the ductwork.
- Drafts or Leaks: If you suspect air is leaking around the vent, removing and resealing it can be a solution.
Addressing these issues yourself can prevent minor problems from becoming major ones and significantly reduce costs compared to professional HVAC service calls for simple vent replacements. The typical remove vent cost can often be just the price of a new vent, which is a fraction of labor charges.
Tools You’ll Need for Vent Removal
The good news is that removing most standard HVAC vents is a straightforward DIY task that requires very few tools. You likely already have most of them in your home toolbox. Safety first, so always ensure your HVAC system is off at the thermostat before you begin!
Essential Tools:
- Screwdriver Set: Most vents are secured with screws. You’ll primarily need a Phillips head screwdriver, but having a flathead screwdriver can be useful for prying gently if needed.
- Drill/Driver (Optional but Recommended): If you have many vents to replace or if the screws are tight, a cordless drill with appropriate bits can speed up the process considerably.
- Putty Knife or Flathead Screwdriver: For gently prying away a vent that might be stuck or caulked to a surface. Be very careful not to damage the wall or vent surround.
- Gloves: To protect your hands from dust, sharp edges, or potential debris.
- Safety Glasses: Always a good idea when working with tools, especially if there’s a risk of dust falling from the ceiling or wall cavity.
- Vacuum Cleaner with Hose Attachment: Handy for cleaning out dust and debris from the vent opening and ductwork once the vent is removed.
- Measuring Tape: Crucial if you plan to replace the vent, ensuring you buy the correct size.
Optional but Helpful Tools:

- Utility Knife: For scoring old caulk or paint around the vent.
- Drop Cloth: To protect your flooring from any falling dust or debris.
- Stud Finder: If you’re mounting a new vent and need to ensure it’s securely attached to wall studs.
Having these tools ready will make the process of removing and installing vents smooth and efficient, and prevent you from needing an emergency trip to the hardware store.
Step-by-Step: How to Remove an HVAC Vent

Let’s get down to business! This is where you’ll see how manageable the remove vent cost becomes when you’re doing it yourself. Follow these steps carefully for a safe and successful vent removal.
Step 1: Safety First – Turn Off Your HVAC System

This is the most critical step. Before you touch any vent, go to your thermostat and turn off your HVAC system completely. This prevents accidental fan activation, which could blow dust into your face or cause the vent cover to be ripped out of your hands. Ensure it’s truly off by checking that no air is coming from any vents.
Step 2: Identify the Screws
Most vent covers are secured with screws. Look closely around the edges of the vent. Often, there will be two to four small screws, usually set into holes near the corners or along the sides of the frame. In some cases, especially with older vents, the screws might be hidden behind the louvers, requiring you to open the damper (the part that controls airflow) slightly to access them. Some newer, decorative vents might use a clip system instead of screws; these usually require pressing a small tab to release them.
Step 3: Unscrew the Vent Cover

Using the appropriate screwdriver (likely a Phillips head), carefully unscrew each screw. Turn them counter-clockwise. Keep the screws in a safe place, like a small container or a magnetic tray, so they don’t get lost. If a screw is difficult to turn, avoid forcing it, which could strip the screw head. You might need to apply a little pressure while turning, or try a drop of penetrating oil if it’s particularly stubborn, but usually, a firm grip is enough.
Step 4: Remove the Vent Cover
Once all the screws are removed, the vent cover should detach from the wall or ceiling. Gently pull it away from the opening. If it feels stuck, it might be lightly caught on paint or a bit of drywall. Use a putty knife or a flathead screwdriver very carefully to gently pry around the edges. Work slowly and deliberately to avoid damaging the surrounding surface. Sometimes, a gentle wiggle is all that’s needed.
Step 5: Inspect and Clean
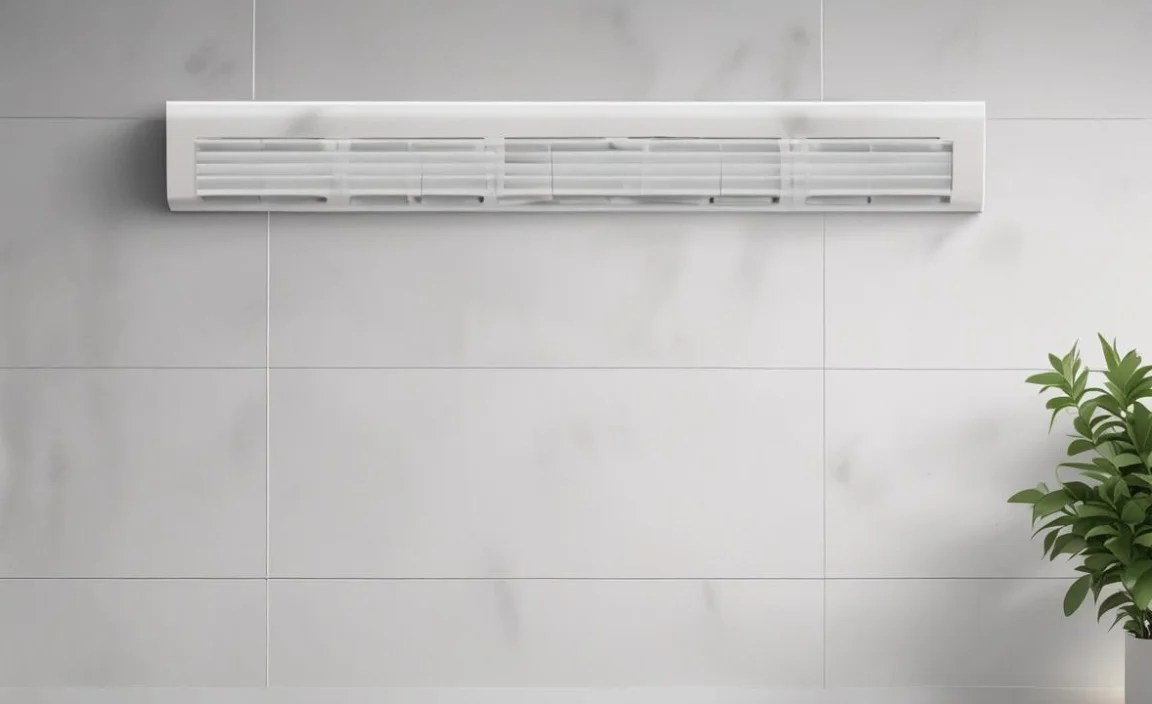
With the vent cover off, you have a clear view of the duct opening. This is a perfect opportunity to:
- Inspect the Duct: Look for any obvious damage, blockages, or signs of pest intrusion.
- Clean the Area: Use your vacuum cleaner with the hose attachment to remove accumulated dust, cobwebs, and debris from the duct opening and the immediate area. You can also wipe down the inside of the vent cover if you plan to reuse it.
- Check for Leaks: Feel around the edges of the duct opening for any drafts. If you find any, this is a good time to note it for potential repair when you reinstall or replace the vent.
Step 6: Reinstall or Replace

If you’re reinstalling the original vent, align it back over the opening, insert the screws, and tighten them clockwise until snug. Don’t overtighten, as this can strip the holes or crack the vent. If you’re installing a new vent, ensure it’s the correct size. Place the new vent cover, align the screw holes, and secure it with the provided screws (or the ones you saved if compatible).
For more information on HVAC best practices, you can refer to resources from the ENERGY STAR program, which offers excellent tips on home energy efficiency, including ductwork. Their guidance often touches upon the importance of properly sealed and functioning vents.
Replacing a Vent: What to Consider

When it’s time to replace a vent, it’s more than just putting a new one in the same spot. Thinking about the right type and size can make a difference in your home’s comfort and energy efficiency.
Choosing the Right Replacement Vent:

- Size: This is paramount. Measure the duct opening accurately. For wall and ceiling vents, measure the hole in the drywall. For floor vents, measure the opening between the floor joists. The new vent should ideally cover the opening with a little overlap around the edges. Standard sizes are common, like 4×10 inches, 4×12 inches, or 6×14 inches for rectangular vents.
- Material: Vents come in various materials.
- Style: From basic functional grilles to decorative stamped metal or modern plastic designs, choose a style that complements your room’s decor.
- Functionality: Some vents offer features like fully closable dampers (use with caution, as closing too many can strain your system), or multi-directional louvers for better air distribution.
Where to Buy Vents:

You can find HVAC vents at most major home improvement stores like Home Depot, Lowe’s, or specialized HVAC supply stores. Online retailers also offer a vast selection.
Cost Savings: A Closer Look
Let’s break down the potential savings. A professional HVAC technician might charge anywhere from $100 to $250 or more for a simple vent replacement service call, which includes labor and a basic vent. However, the cost of a new vent cover itself can range from as little as $10 for a basic metal grille to $50 or more for a decorative or high-performance model. By performing the removal and installation yourself, you’re essentially saving the technician’s labor costs, which can be substantial. If you replace multiple vents or have several vents that need attention, these savings can add up quickly.
Consider this comparison:
| Task | DIY Cost (Estimate) | Professional Cost (Estimate) | Savings Potential |
|---|---|---|---|
| 1 Basic Vent Replacement | $10 – $50 (Cost of vent) | $100 – $250+ (Labor + Vent) | $90 – $200+ |
| 5 Basic Vent Replacements | $50 – $250 (Cost of vents) | $500 – $1250+ (Labor + Vents) | $450 – $1000+ |
This table clearly illustrates how investing a little time and effort into DIY can lead to significant financial benefits. The primary factor in the remove vent cost when DIYing is simply the price of the replacement part.
Common Vent Problems and Solutions
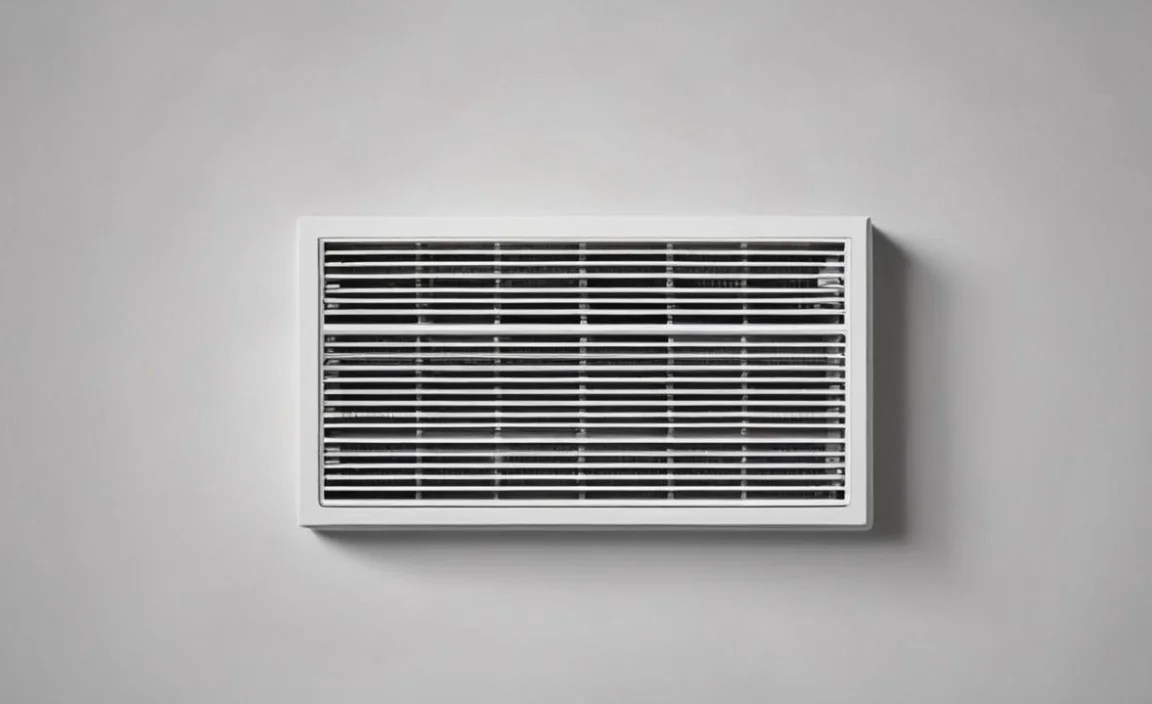
Even with simple vents, issues can arise. Knowing how to address them can save you trouble down the line.
Problem 1: Vent Cover is Loose or Wobbly
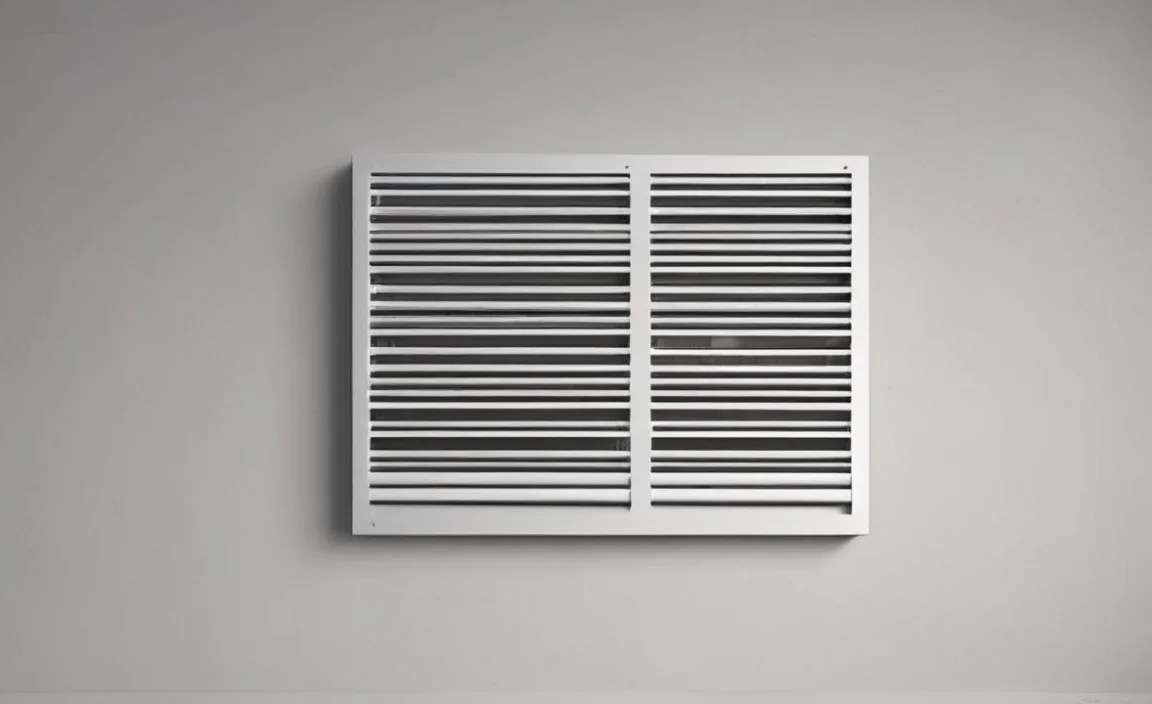
- Cause: Screws have loosened over time, or the mounting holes in the wall/duct are stripped.
- Solution: Tighten the existing screws. If the holes are stripped, you can often use slightly longer or wider screws. For wall vents, you might be able to use wall anchors if the screws aren’t hitting wood. Sometimes, a bit of wood filler or even a toothpick inserted into the stripped hole before re-inserting the screw can provide enough grip.
Problem 2: Vent Cover Won’t Come Off

- Cause: Painted over, caulked in place, or a hidden locking mechanism.
- Solution: Carefully score around the edges with a utility knife to break the paint seal. If caulked, gently cut the caulk line. For hidden mechanisms, re-examine the vent for small slots or tabs that might need to be pressed. Never force it, as this can damage the vent and surrounding wall.
Problem 3: Damaged Louvers or Frame
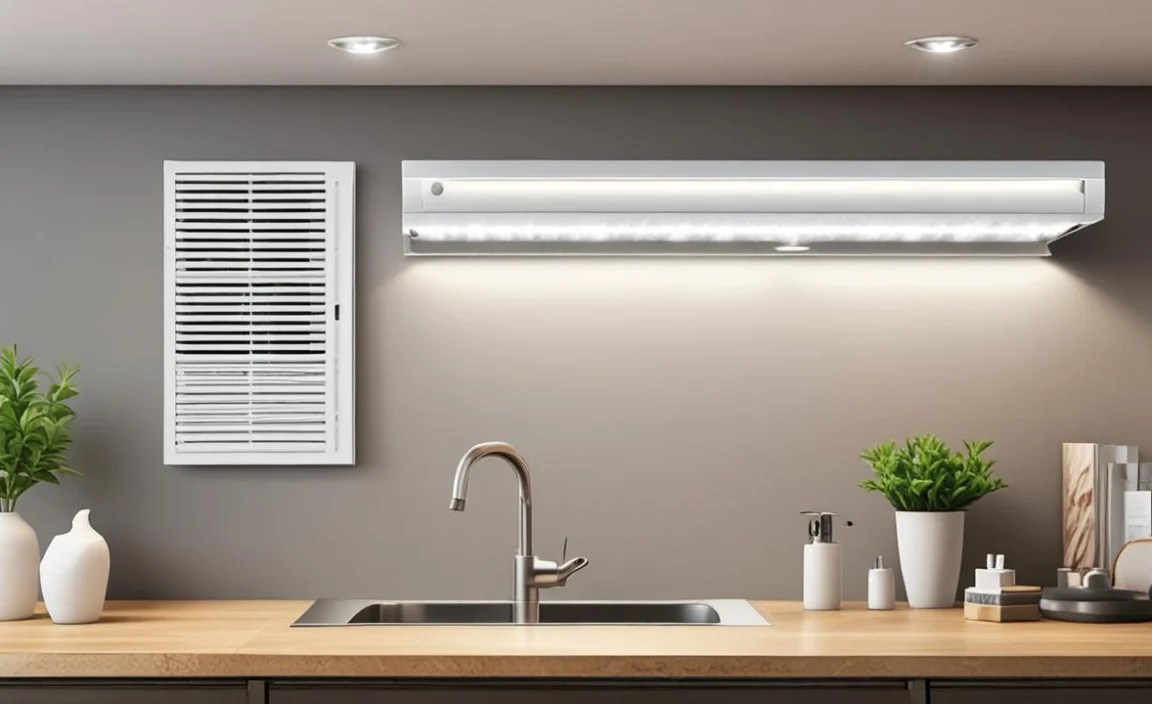
- Cause: Accidental impact, wear and tear.
- Solution: If minor, you might be able to bend louvers back into place very carefully with pliers. If significant, replacement is usually the best option. This is where the DIY replacement steps are key.
Problem 4: Air Leaks Around the Vent

This affects energy efficiency and can be a source of drafts.
- Cause: Gaps between the vent and the wall or duct, or a leaky duct connection behind the wall.
- Solution: Remove the vent cover. Inspect the seal. You can use HVAC-appropriate mastic or foil tape to seal any gaps between the duct and the vent box. For gaps between the vent and the wall, you can use a bead of paintable caulk after reinstallation. However, be aware that supply vents should generally not be airtightly sealed to the wall itself, as slight air gaps are often designed in. Focus on sealing the connection to the ductwork. For more complex duct sealing, resources like those from the Building America program offer in-depth guidance on duct system efficiency.
Problem 5: Excessive Noise from Vent

- Cause: Loose parts, debris in the duct, or high airflow velocity.
- Solution: Ensure the vent cover is securely fastened and all louvers are properly seated. Remove and clean the vent and duct opening. If the noise persists and is a constant hum or whistle, it might indicate an issue with the HVAC system itself (like a fan issue or undersized ductwork) rather than the vent.
Addressing these common problems promptly and effectively is key to maintaining your home’s comfort and your HVAC system’s health, all while keeping the remove vent cost firmly in the DIY savings category.
When to Call a Professional
While many vent-related tasks are simple DIY projects, there are times when it’s best to enlist the help of an HVAC professional. This ensures safety and prevents potential damage to your system.
Situations Requiring Professional Help:

- Suspected Ductwork Issues: If you discover significant damage, collapsed sections, or extensive leaks within the ductwork itself (i.e., behind the walls or ceiling), this is beyond simple vent replacement and requires professional assessment and repair.
- HVAC System Malfunctions: If the reason for vent removal is related to your HVAC system not working correctly (e.g., no air blowing, strange noises from the unit), it’s essential to have a technician diagnose the larger system problem.
- Electrical Components: Some vents (like in high-end exhaust fans) might have electrical wiring. If you’re uncomfortable or unsure about working with electrical components, always call an electrician or HVAC professional experienced with such systems.
- Accessibility Issues: If vents are located in extremely hard-to-reach areas (very high ceilings, tight crawl spaces combined with other access issues), the risk of injury or damage might outweigh the DIY savings.
- Extensive Renovations: If you’re undertaking a major renovation that involves rerouting or significantly altering ductwork, a professional HVAC contractor is necessary.
Remember, the goal is confident DIY, not risky work. If a task feels daunting or unsafe, calling a professional for advice or service is always the wisest choice.
Frequently Asked Questions About Removing Vents
Here are some common questions beginners have about tackling vent removal and replacement:
Q1: Do I need to turn off my HVAC unit before removing a vent?

A: Absolutely yes. Turning off your HVAC system at the thermostat is a crucial safety step. It prevents air from blowing forcefully through the opening and ensures you don’t
