
Quick Summary: Effortlessly remove vents with our proven method! This guide offers simple, step-by-step instructions and essential tool tips to make removing vents, from air grilles to dryer vents, quick and easy for any beginner. Get it done right the first time!
Ever stared at a vent and wondered how to get it off without causing damage? You’re not alone! Vents can be tricky. They might be covering important ductwork, protecting your dryer’s exhaust, or simply part of your home’s airflow system. Sometimes, you need to remove them for cleaning, repair, or replacement. The good news is that removing a vent doesn’t have to be a struggle. With the right approach and a few simple tools, you can tackle this task confidently. This guide is designed to be your go-to resource, breaking down the process into easy-to-follow steps. Let’s get started and learn how to remove any vent with ease!
Understanding Vent Types: What You Might Be Dealing With
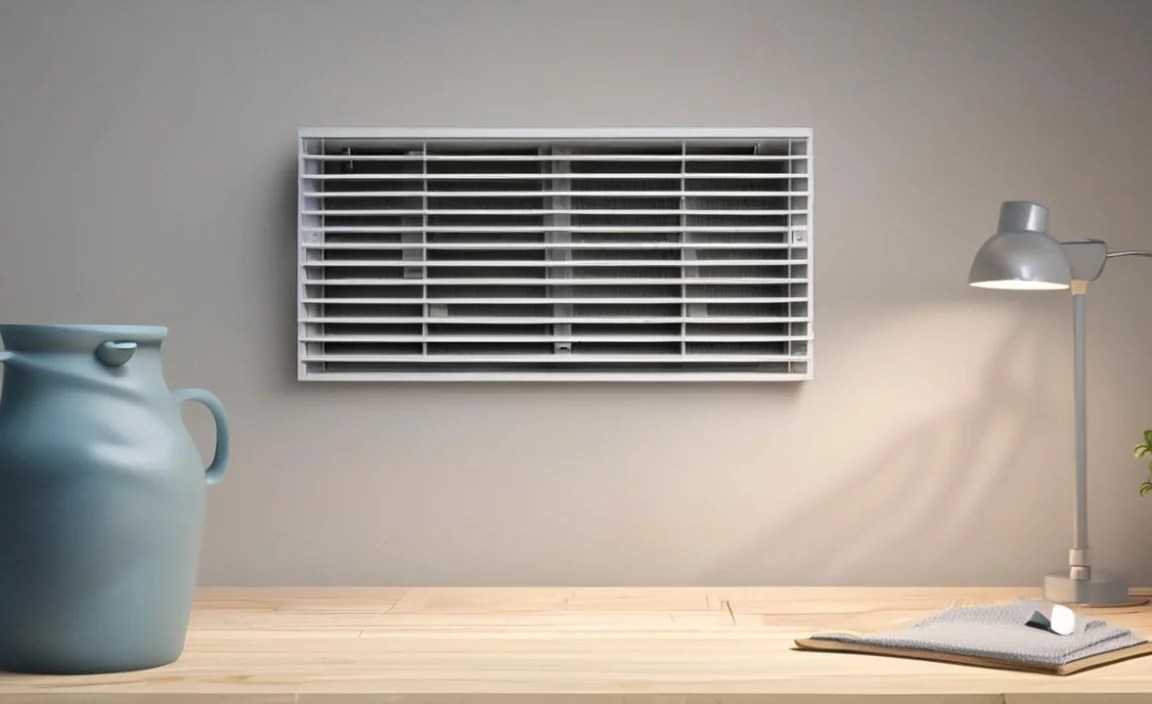
Before we dive into the “how-to,” it’s helpful to know that not all vents are created equal. They come in various shapes, sizes, and serve different purposes. Recognizing the type of vent you have will make the removal process much smoother. Think of it like knowing what kind of screw you’re dealing with – a Phillips head needs a different screwdriver than a flathead.
Here are some common types of vents you’ll encounter around your home:
- HVAC Air Grilles: These are the most common vents you see on walls, ceilings, and floors. They direct the heated or cooled air from your heating, ventilation, and air conditioning (HVAC) system. They often have louvers or slats.
- Dryer Vents: These are specifically designed to exhaust lint and warm, moist air from your clothes dryer to the outside of your home. They are usually found on an exterior wall.
- Bathroom Exhaust Fans: Similar to dryer vents in function, these remove moisture and odors from bathrooms. They often have a cover that hides the fan mechanism.
- Range Hood Vents: These vents capture smoke, grease, and odors from your stovetop and exhaust them outdoors.
- Duct Access Grilles: Sometimes, you might find larger grilles that provide access to the ductwork itself, for inspection or cleaning.
The method for removing these can vary slightly, but the core principles remain the same: identify how it’s attached and carefully detach it. For most HVAC grilles, the attachment is usually straightforward. Dryer vents and exhaust fans might be a bit more involved as they connect to the exterior or have specific housings. We’ll cover the most common scenarios, starting with those ubiquitous HVAC air grilles.
Essential Tools for Vent Removal

Gathering the right tools before you start is key to a successful and frustration-free DIY project. You don’t need a complex toolkit for most vent removals, just a few handy items. Having these ready will save you time and prevent you from having to stop mid-job to find something you’re missing. Safety first, so always ensure you have the right gear!
Here’s a look at some of the most useful tools:
- Screwdriver Set (Phillips and Flathead): This is your primary tool for unscrewing any visible screws. Having a set with various sizes ensures you can match them to different screw heads.
- Putty Knife or Flat Pry Tool: A thin, flat blade is excellent for gently prying open covers or separating vents that might be stuck with paint or age.
- Utility Knife: Useful for scoring around the edges of a vent if it’s been painted over, helping to break the seal.
- Gloves: Protect your hands from dust, sharp edges, and any other debris.
- Safety Glasses: Crucial for protecting your eyes from falling dust or debris.
- Step Stool or Ladder: If your vents are on the ceiling or high on a wall, you’ll need a stable way to reach them safely.
- Vacuum Cleaner with Hose Attachment: For cleaning up dust and debris as you work, and for cleaning the vent itself once removed.
- Drill/Driver (Optional but helpful): If you have many vents to remove or they are particularly stubborn, a drill/driver with appropriate bits can speed things up.
Remember, the goal is to be gentle. Force can easily damage the vent, the surrounding wall, or ceiling. We’ll focus on applying just enough pressure and using the right technique for each step.
Proven Method: How to Remove an HVAC Air Grille Vent
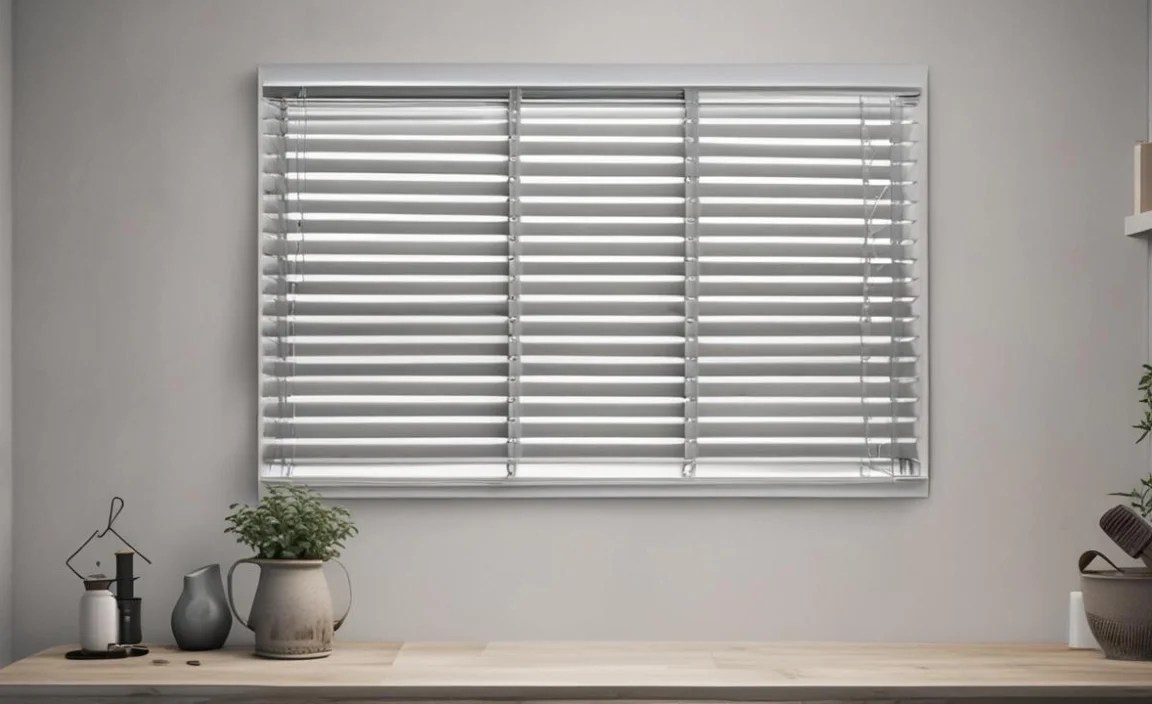
This is the most common task for homeowners. HVAC vents are designed to be relatively accessible for cleaning and maintenance. Most are attached with screws, but some might have clips or a friction fit. Let’s break down the easy-to-follow steps.
Step 1: Identify the Attachment Mechanism
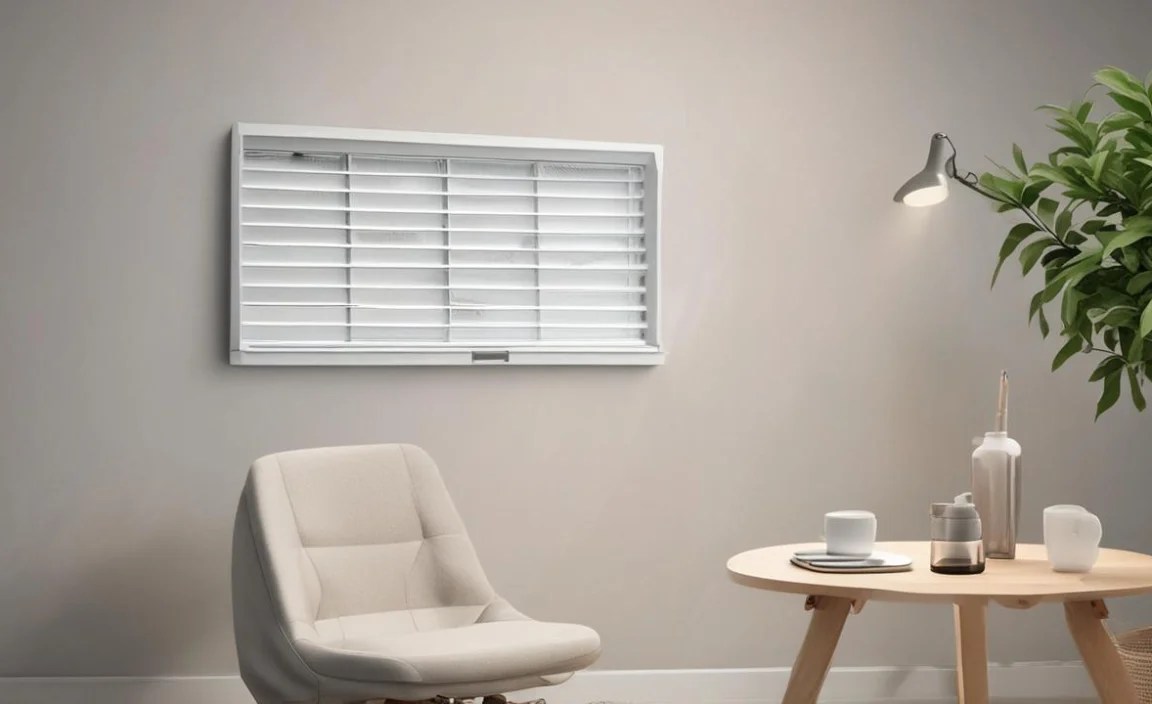
Take a close look at your vent. Most HVAC grilles are secured with screws. You’ll typically find them either:
- On the face of the grille, near the corners.
- Hidden behind the louvers (you might need to gently pull a louver open to see them).
If you don’t see any screws, it might be a clip system or a vent that simply pushes into a frame. For clip systems, you’ll often see small slots around the edge where a flat tool can be used to disengage the clips.
Step 2: Prepare the Area
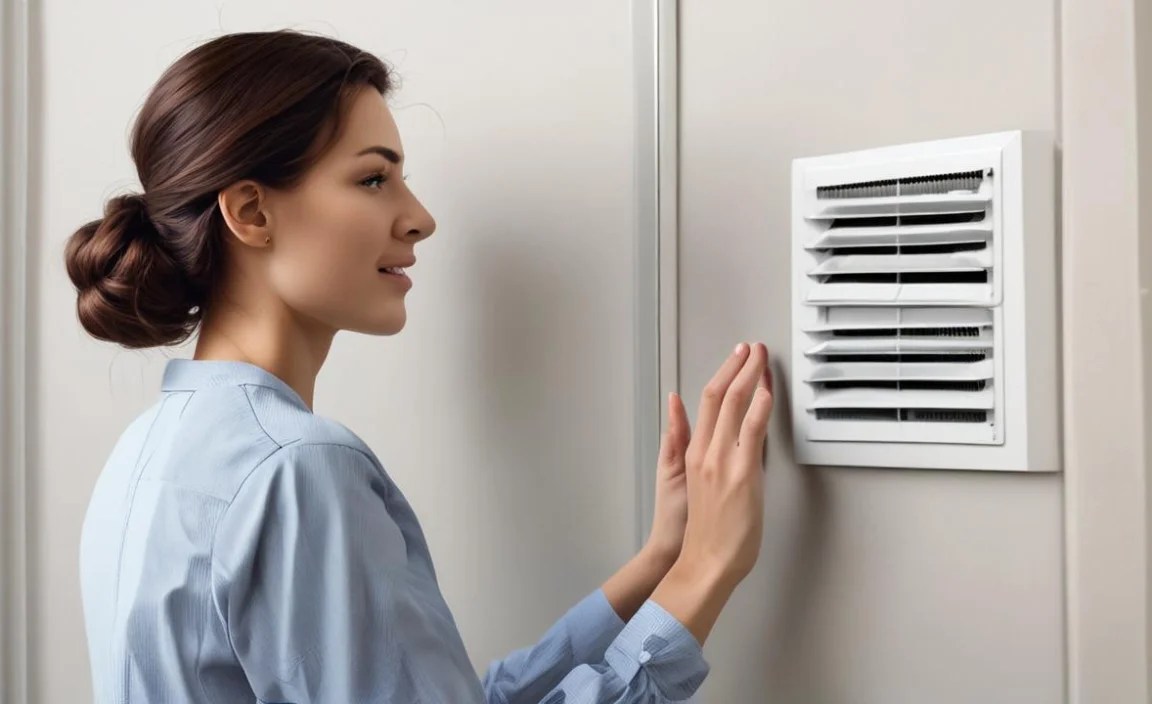
Place a drop cloth or some old newspaper on the floor directly beneath the vent. This will catch any dust or debris that falls, making cleanup much easier. If you’re working on a ceiling vent, consider using a small stool or ladder for a clear, safe view and working space.
Step 3: Protect Your Eyes and Hands
Put on your safety glasses and gloves. Dust and old paint chips can fall, and you don’t want them in your eyes or on your hands.
Step 4: Remove Any Screws
Using the appropriate screwdriver (Phillips, usually), carefully turn each screw counter-clockwise. If the screws are painted over, you might need to use a utility knife to gently score around the screw head first. This helps break the paint seal without stripping the screw. As you loosen the screws, keep them in a safe place, like a small bowl or a magnetic tray, so they don’t get lost.
Step 5: Gently Detach the Vent

Once all screws are removed (or if there were no screws), try to gently pull the vent away from the wall or ceiling. If it doesn’t budge easily:
- Check for missed screws: Double-check all edges and behind louvers.
- Look for clips: If you saw small slots, carefully insert a putty knife or flat pry tool into the slot and gently twist to disengage the clip. Work your way around the vent if necessary.
- Paint Seals: If it seems stuck by paint, use your utility knife to carefully score around the inside edge of the vent where it meets the wall. Be cautious not to cut too deep and damage the drywall.
- Gentle Wiggling: Try a very gentle, side-to-side rocking motion.
The goal is to coax it off, not rip it off. If it’s extremely stubborn, revisit the screws or clips. Sometimes, a vent might be attached from the inside of the wall cavity via a frame, which is less common for standard grilles but possible.
Step 6: Inspect and Clean

Once the vent is free, inspect the opening. Remove any loose debris, cobwebs, or insulation. This is also a great time to clean your vent cover itself. You can usually wash plastic or metal vents with soap and water. For stubborn dust buildup inside the ductwork, a vacuum with a long hose attachment can reach inside a few inches.
Step 7: Reinstallation (If Applicable)
When you’re ready to put it back, align the vent cover with the opening and the screw holes. Reinsert the screws and tighten them gently counter-clockwise until snug. Be careful not to overtighten, which can strip the screws or crack plastic vents.
This method works for most standard rectangular or square HVAC grilles found on walls, floors, and ceilings. The key is patience and consistent gentle pressure.
Removing a Dryer Vent Cover and Duct

Dryer vents require a bit more attention because they lead outside and can accumulate lint, which is a fire hazard. Proper maintenance and removal are crucial for safety.
A dryer vent system typically consists of:
- The duct hose connecting the dryer to the wall outlet.
- The wall outlet or termination hood on the exterior of your house.
- Sometimes, a screen cage around the exterior termination hood to prevent pests.
Removing the interior vent cover is usually like removing an HVAC grille. However, the hose and the exterior part can be different.
Step 1: Disconnect the Dryer

First, carefully pull your dryer away from the wall. This will give you access to the vent hose. Unplug the dryer from the electrical outlet or, if it’s a gas dryer, turn off the gas supply valve and disconnect the gas line.
According to the U.S. Department of Energy, regularly cleaning your dryer vent (at least once a year) is essential for efficiency and safety.
Step 2: Detach the Vent Hose
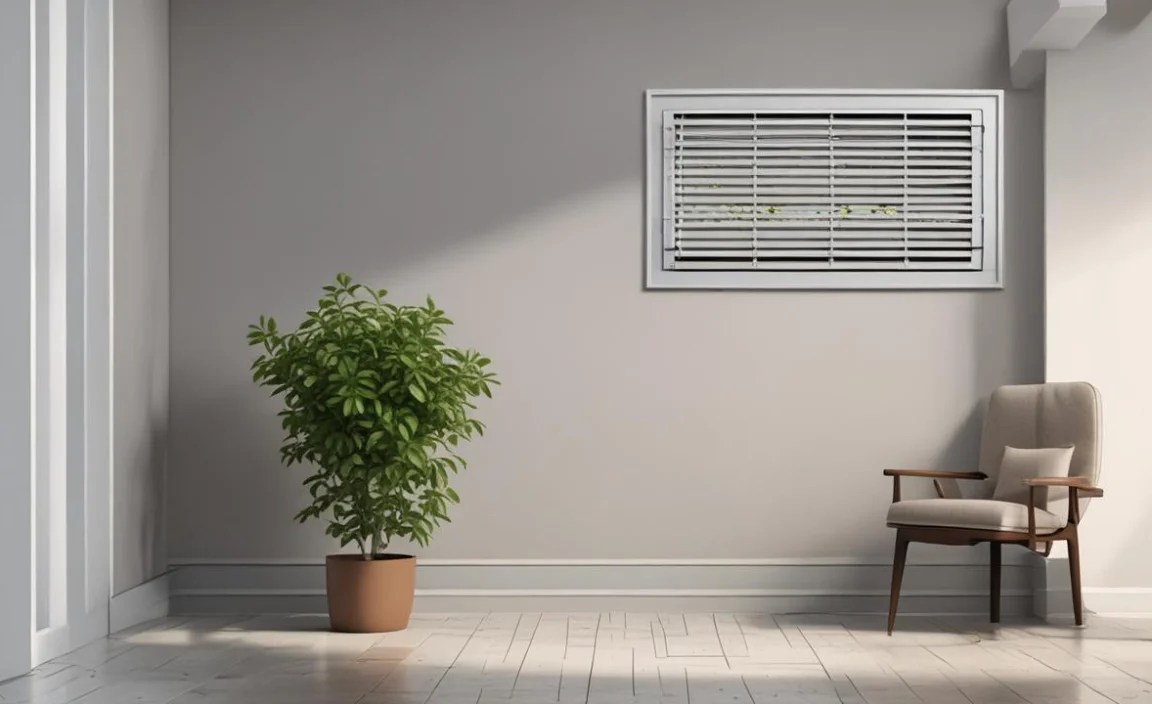
The flexible duct hose behind the dryer is usually attached to the dryer exhaust port and the wall fitting with a clamp. Look for a clamp (often a spring clamp or a screw clamp). Use pliers or a screwdriver to loosen this clamp. Once loose, you should be able to pull the hose off the dryer’s exhaust port. Do the same for the other end connected to the wall fitting.
Step 3: Remove Interior Wall Vent Cover
If there’s a cover plate or grille inside the wall where the hose connects, remove it the same way you would an HVAC air grille – look for screws or clips.
Step 4: Detach Exterior Vent Hood
On the outside of your house, you’ll see the dryer vent hood that allows air to escape. These are typically attached to the siding or exterior wall with screws. Some may have a small cage or screen over the opening. Remove any screws holding the hood in place. If there’s a cage, it might detach separately or be part of the hood assembly.
Step 5: Clean the Entire System

Once all parts are detached, it’s the perfect time for a thorough cleaning. Use a specialized dryer vent cleaning brush kit (they are flexible and designed for this) or a stiff brush to remove lint from the hose, wall duct, and exterior hood. A vacuum cleaner can help suck out loose debris. Ensure the exterior opening is completely clear.
Step 6: Reassemble
Reverse the process. Reattach the exterior hood, secure the interior wall cover, connect the duct hose to the wall fitting and dryer exhaust port, and tighten the clamps. Push the dryer back into place carefully, ensuring the hose isn’t kinked or crushed.
A properly functioning dryer vent should allow air to flow freely, which is critical. If you notice long drying times or excessive heat, your vent may be clogged.
Removing Shower/Bathroom Exhaust Fan Covers
Bathroom exhaust fans are crucial for controlling moisture, which prevents mold and mildew growth. The covers for these fans are usually designed for easy removal for cleaning or fan maintenance.
Step 1: Identify the Cover Attachment
Most bathroom exhaust fan covers are attached using small spring clips. When the fan motor is installed in the ceiling, these clips are inserted into the housing. You won’t typically see screws on the exterior cover.
Step 2: Locate and Gently Pull Down
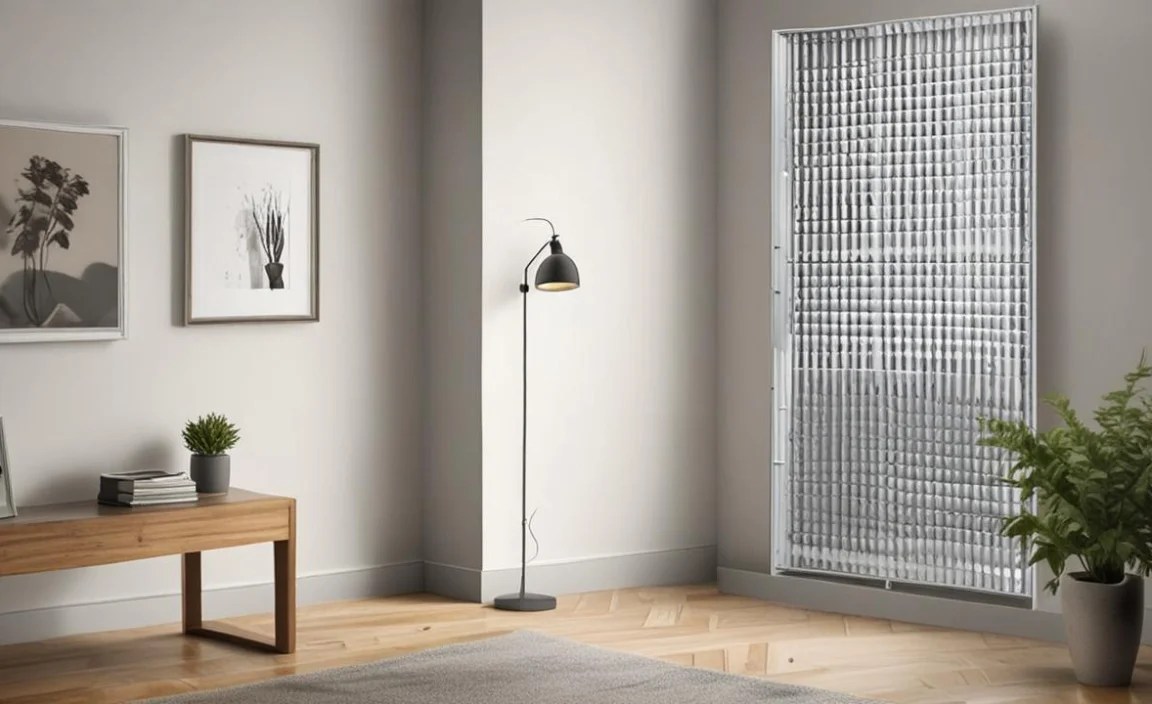
Look for the edges of the cover. You should be able to get your fingers underneath one of the corners. Gently pull the cover downwards. You’ll feel some resistance as the springs stretch, but it should release smoothly.
Step 3: Disengage the Springs

As you pull down, you’ll see the spring mechanism. If the cover doesn’t fully detach, you might need to gently bend the spring or use a small tool to help it release from the housing clips.
Step 4: Once Detached

Clean the cover. It can often be washed with soap and water. Inspect the fan itself for dust buildup on the blades and motor. You can use a vacuum with a brush attachment or a soft brush to clean the fan components carefully. Ensure the fan is off and the power is safely disconnected before attempting to clean the fan motor.
Step 5: Reinstallation

To reinstall, align the cover with the housing. You’ll see small holes or slots on the cover where the spring arms attach. Push the spring arms back into these slots, and then gently push the cover upwards until it snaps into place, retracting the springs back into the motor housing.
These covers are usually made of plastic and can become brittle over time, so handle them with care to avoid cracks.
Removing Range Hood Vent Covers
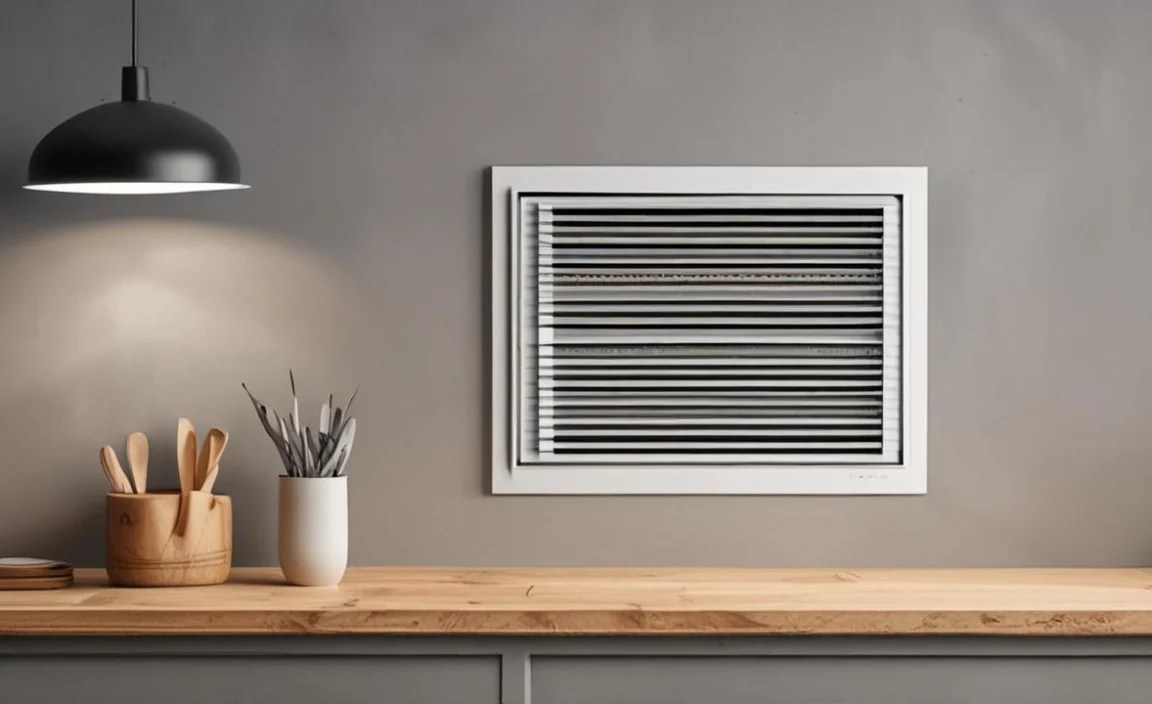
Range hood vents are designed to capture grease and cooking fumes. They often have removable filters that need frequent cleaning or replacement. The cover protecting these filters is usually designed for this purpose.
Range hood vent designs vary greatly, but most have:
- Removable filters (mesh or baffle).
- A housing that might have a decorative cover plate.
Step 1: Locate the Filters
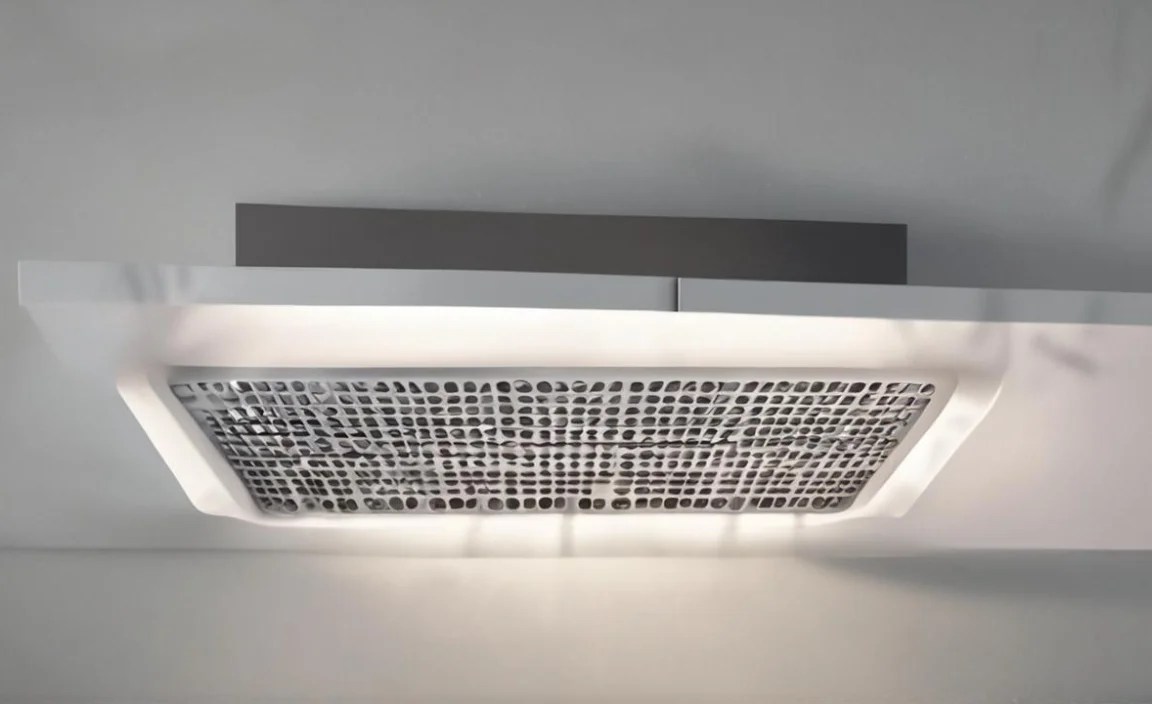
The most common removable part is the filter. These are usually located directly above your cooktop, underneath the hood. Slide or pull them out. They might have a small latch or handle.
Step 2: Inspect for Cover Screws or Latches

After removing the filters, look at the main body of the range hood. Some decorative covers might be attached with small screws, often found on the inner edges or underside. Others might have small latches or simply slide into place and are held by the filter frame.
For guidance on kitchen appliance safety and efficiency from the FTC, understanding proper installation and maintenance is key.
Step 3: Remove if Necessary
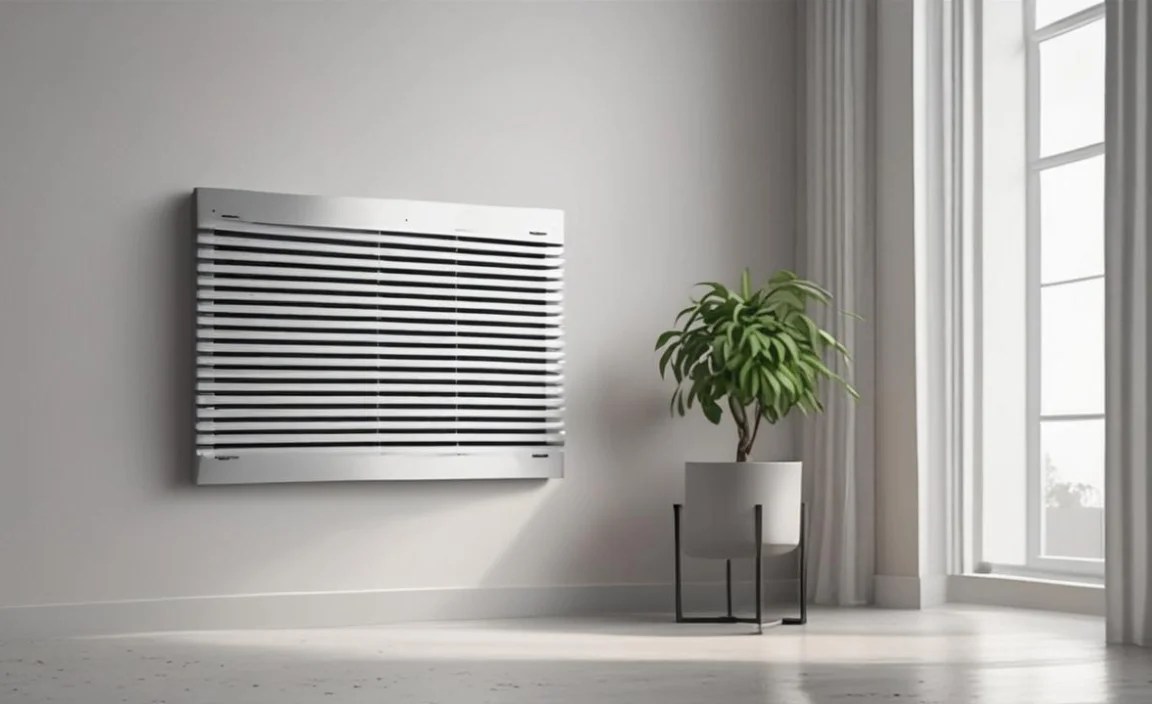
If there are screws, remove them gently. If it’s a latch system, press or slide the latch to release the cover. Most range hood covers are not permanently attached and are meant to be opened for filter maintenance or motor access.
Step 4: Cleaning and Reassembly
Filters are often made of metal mesh and can usually be washed with hot soapy water or run through a dishwasher (check manufacturer instructions). If you’re cleaning the inside of the hood, wear gloves as grease can be sticky.
Reassemble by reversing the steps. Slide filters back in until they click or lock. Reattach any cover plates with screws or latches.
Troubleshooting Stubborn Vents: What If It Won’t Budge?

Sometimes, despite your best efforts, a vent might refuse to budge. Don’t panic! Here are some common reasons and solutions:
| Problem | Cause | Solution |
|---|---|---|
| Vent is stuck by paint | The vent cover has been painted over multiple times, sealing it to the wall or frame. | Use a sharp utility knife to carefully score around the edge of the vent where it meets the wall. Apply steady, gentle pressure. You might need to score it in multiple passes. |
| Screws are stripped | The head of the screw is damaged, and the screwdriver can no longer grip it. | Try using a rubber band between the screwdriver and the screw head for added grip. If that fails, a screw extractor kit or drilling out the screw might be necessary (this is more advanced). |
| Hidden clips or fastenings | The vent is held by clips or fasteners not immediately visible. | Carefully examine the edges for small gaps or slots where a thin tool like a putty knife can be inserted. Gentle prying might release the clips. |
| Vent is warped or damaged | The vent itself or the frame it sits in has shifted or been damaged. | Assess if the damage is preventing removal. Gentle persuasion may work, but be prepared for the possibility that the vent might need replacement. If it’s a metal vent, ensure you are not bending it excessively. |
| Caulking or adhesive | The vent might have been sealed with caulk or adhesive for some reason. | Carefully use a utility knife or painter’s multi-tool to cut through any caulk or adhesive bead around the perimeter. |
Always remember to work slowly and deliberately. Rushing is the quickest way to cause damage. If a vent feels
