
Quick Summary:
Removing a vent is a straightforward DIY task. This guide explains how to safely and easily remove various types of vents, from floor and wall registers to dryer and gable vents, with clear steps and essential tips for beginners. Get ready to tackle this common home maintenance with confidence!
Ever found yourself staring at a vent, wondering how on earth it got there and, more importantly, how to get it out? You’re not alone! Vents are a crucial part of our homes, handling everything from airflow and heating to air intake and exhaust. But sometimes, you need to remove one – maybe for a quick clean, a repair, or even a renovation project. It can seem a bit daunting, especially if you’re new to DIY. Don’t worry! This guide is designed to make removing vents super simple. We’ll break down the process step-by-step, covering different types of vents, and share helpful tips to ensure you do it safely and effectively. By the end, you’ll have the confidence to tackle this task like a pro!
Understanding Your Vent: What You Need to Know
Before we dive into the “how-to,” let’s quickly talk about what a vent is and why you might need to remove one. Vents, often called registers or grilles, are openings in your home designed to allow air to pass through. They are key components of your home’s HVAC (Heating, Ventilation, and Air Conditioning) system, play a role in bringing fresh air into your home, and are essential for appliances like dryers. Knowing the type of vent you’re dealing with is the first step to a successful removal. We’ll explore common types and the general principles involved in their removal.
Why Remove a Vent? Common Reasons

- Cleaning and Maintenance: Dust, debris, and pet hair can accumulate inside vents, impacting air quality and HVAC efficiency.
- Repairs: A damaged vent cover or ductwork might need replacement.
- Upgrades: You might want to install more modern, decorative, or functional vent covers.
- Renovations: During painting, flooring installation, or major remodels, vents often need to be temporarily removed.
- Pest Control: Sometimes, access is needed to check for or remove pests that have entered through vents.
Essential Tools for Vent Removal
Gathering the right tools makes any DIY job smoother and safer. For vent removal, you generally won’t need a massive toolkit. Here are some common items you might find helpful, depending on the vent type:
- Screwdriver Set: Philips head and flathead screwdrivers are essential for most screw-fastened vents. A set with various sizes is ideal.
- Pliers: Needle-nose pliers can be useful for gripping small screws or pulling out stubborn clips.
- Putty Knife or Thin Flat Pry Tool: Great for gently prying open vents that are held by clips or are a tight fit, especially if you don’t want to scratch the surrounding surface.
- Utility Knife: Can be helpful for cutting through old paint or caulk sealing a vent.
- Work Gloves: Protect your hands from sharp edges or debris.
- Safety Glasses: Always a good idea to protect your eyes from dust or falling debris.
- Flashlight: For seeing into dark ductwork or identifying fasteners.
- Drill/Driver (Optional): If dealing with many screws, a cordless drill can speed up the process.
- Drop Cloth: To protect floors or furniture from dust and debris.
For more specialized vents, like dryer vents, you might need additional tools such as a wrench or pliers for hose clamps. Always assess the vent you’re working with and adjust your tool selection accordingly.
How to Remove Common Vent Types: Step-by-Step

Vents come in many shapes and sizes, but the removal process often follows similar principles. Let’s break down how to tackle some of the most common types:
1. How to Remove Floor Vents (Registers)

Floor vents, also known as floor registers, are common in many homes. They are typically designed for easy removal for cleaning or access to the ductwork below.
Steps to Remove Floor Vents:

- Safety First: Ensure your HVAC system is off. This prevents any sudden drafts or blasts of air while you’re working.
- Inspect the Vent: Look closely at the vent cover. Most floor vents are held in place by friction and the pressure of the flooring around them. Some might have small screws partially hidden along the edges, often painted over.
- Check for Screws: If you see any screw heads, carefully use a screwdriver to remove them. If they are painted over, you might need to gently scrape away a bit of paint with a utility knife or the edge of a putty knife to expose the screw head.
- Loosen and Lift: For vents without visible screws, they are usually held in by a snug fit. Place the tip of a flathead screwdriver or a thin pry tool into a small gap between the vent and the floor. Gently pry upwards. Work your way around the vent, prying in a few different spots, to loosen it evenly.
- Lift Out: Once loosened, you should be able to lift the vent cover straight up and out of the floor opening. If it feels very stuck, double-check for hidden screws or paint. Avoid excessive force, which could damage the vent or the floor.
- Clean and Store: Once removed, you can clean the vent thoroughly. If you’re not replacing it immediately, store it in a safe place where it won’t be damaged.
Table: Floor Vent Removal Considerations

| Vent Type | Typical Fasteners | Removal Method | Potential Issues |
|---|---|---|---|
| Standard Floor Register | Friction fit, hidden screws (sometimes) | Prying gently, unscrewing | Painted-over screws, tight fit, damaged flooring if pried too aggressively |
| Decorative Floor Register | Often friction fit, some may have concealed screws. | Gentle prying, careful inspection for screws. | Delicate materials can chip or scratch. |
2. How to Remove Wall and Ceiling Vents (Grilles)

Wall and ceiling vents, often called grilles, serve similar purposes to floor vents but are found on vertical or horizontal surfaces. They are usually secured with screws.
Steps to Remove Wall/Ceiling Vents:

- Safety First: Turn off your HVAC system.
- Locate Fasteners: Examine the vent grille. Most wall and ceiling vents are held in place by visible screws, usually located at the corners or along the edges of the grille frame.
- Remove Screws: Use the appropriate screwdriver (Philips or flathead) to unscrew all fasteners. Keep the screws in a safe place, like a small container or a magnetic tray, so you don’t lose them.
- Gently Pull: Once all screws are removed, the grille should detach from the wall or ceiling. Grasp the grille firmly and pull it straight towards you. It might be a bit stiff if it’s been painted over or has some caulking around the edges.
- Check for Paint/Caulk: If the grille won’t budge, check if it’s been painted shut or sealed with caulk. You may need to carefully score the paint or caulk line with a utility knife. Be careful not to cut too deep, especially on walls.
- Remove: Once any seal is broken, gently pull the grille free.
- Clean and Store: Clean the grille and store it safely if needed.
Tips for Painting Over Vents:
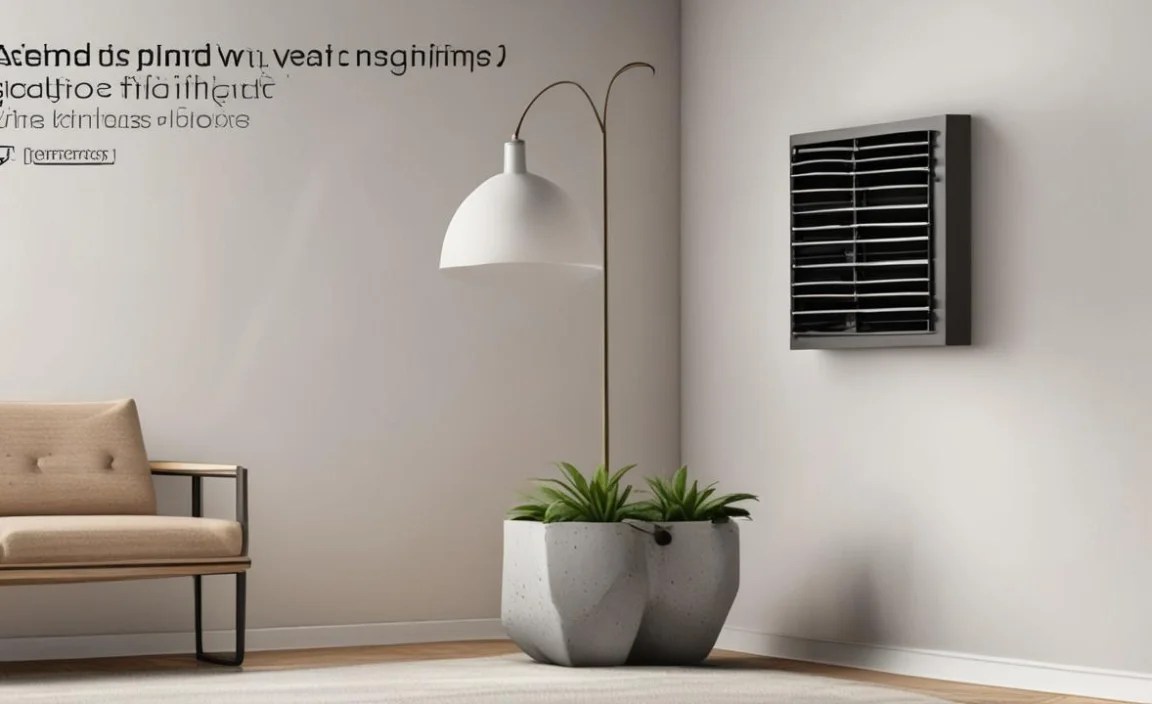
If you’re painting and want to avoid removing the vents, ensure you cover them completely with painter’s tape and plastic sheeting. For a cleaner finish, sometimes removing them is the best option, allowing you to paint the grille separately and achieve a more professional look.
3. How to Remove Dryer Vents
Dryer vents are essential for venting hot, moist air and lint outside your home. They consist of the vent hood on the exterior and the ducting behind the dryer. Removing the flexible ducting from the dryer’s exhaust port is a common maintenance task.
Steps to Remove Dryer Venting (from dryer):

- Safety First: Crucially, unplug your dryer from the electrical outlet. For gas dryers, turn off the gas supply valve.
- Locate the Vent Connection: Behind the dryer, you’ll see a flexible duct (often foil or plastic) connected to the back of the dryer and usually to a wall fitting or the exterior vent hood.
- Identify the Clamp: The vent hose is typically secured with a clamp. This might be a screw-type clamp, a spring clamp, or a wire clamp.
- Loosen the Clamp:
- Screw Clamp: Use a screwdriver to loosen the screw.
- Spring Clamp: Use pliers to squeeze the clamp’s tabs together and pull it away from the connection.
- Wire Clamp: These might simply pull apart or require specific pliers.
- Detach the Hose: Once the clamp is loosened or removed, gently twist and pull the vent hose off the dryer’s exhaust port. Be prepared for a small amount of lint or dust to fall out.
- Inspect and Clean: Now you can access the dryer’s exhaust port for cleaning. Check the vent hose itself for blockages or damage. Cleaning your dryer vent regularly is vital for fire safety and dryer efficiency. According to the U.S. Fire Administration, clogged dryer vents are a leading cause of residential fires. Learn more about dryer safety from the USFA.
- Replace or Reconnect: Reconnect the hose securely once cleaning and inspection are done, ensuring the clamp is tightened properly.
Exterior Dryer Vent Hood Removal:
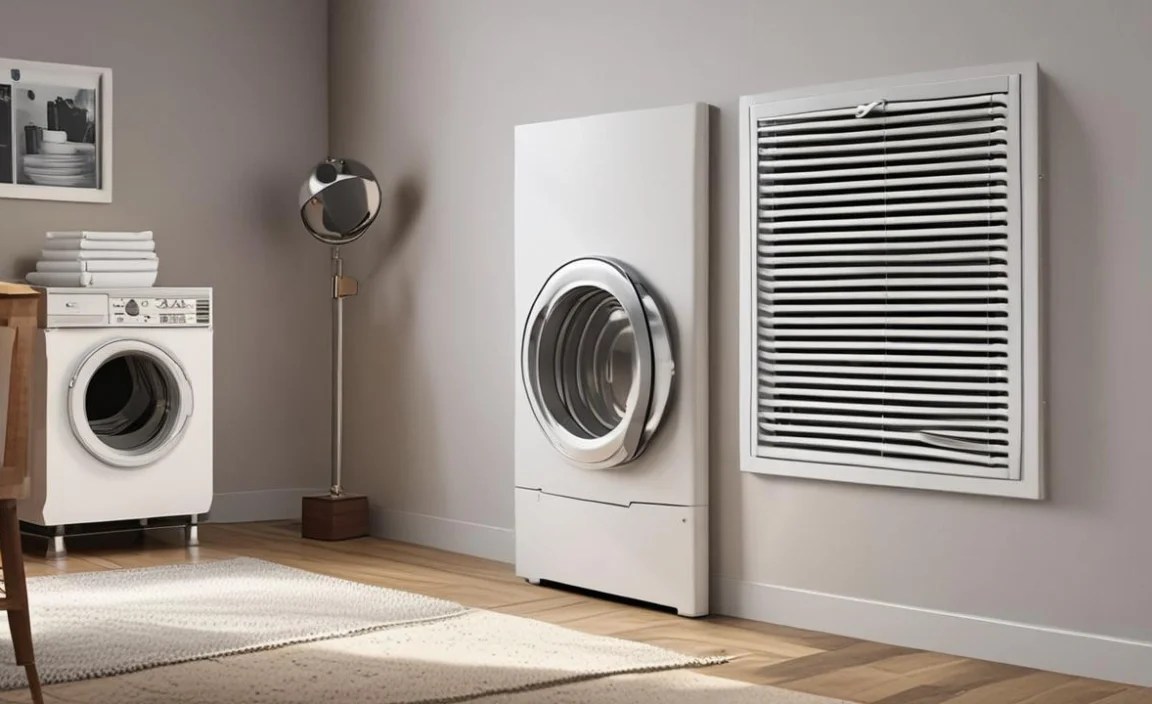
Removing the exterior vent hood (the part on the outside of your house) usually involves unscrewing it from the siding. Look for screws around the frame. Sometimes caulk seals them in place. Carefully cut through caulk with a utility knife and then unscrew. Ensure you have a good exterior-grade sealant to reapply when installing a new one.
4. How to Remove Gable Vents and Attic Ventilation

Gable vents are usually found on the peak of a house, allowing air to circulate in the attic. Their removal is typically part of a larger exterior project.
Steps to Remove Gable Vents:

- Safety First & Access: Ensure ladders are stable. You may need scaffolding or professional help for high vents. Wear appropriate safety gear for working at heights.
- Locate Fasteners: Gable vents are typically attached from the outside. Look for screws or nails around the perimeter of the vent, often secured through the louver frame into the siding or sheathing. In some cases, they might be held by clips or have a flange behind the siding.
- Remove Exterior Fasteners: Use a screwdriver or a pry bar to carefully remove screws or nails. If the vent is painted on, you might need to score the paint line.
- Check from the Inside (if accessible): If you can access the attic, check if there are any additional fasteners or clips holding the vent in place from the interior side.
- Gently Pry or Pull: Once all fasteners are removed, gently try to pry the vent out of its opening. Work from the edges, applying even pressure. Be mindful of siding or roofing material around the vent.
- Clean Opening and Vent: Clean the opening and the vent itself. If the vent is damaged or you’re replacing it, ensure the area where it mounts is clean and ready for the new installation.
Working with attic ventilation is crucial for regulating your home’s temperature and preventing moisture buildup. For more on attic ventilation, resources from organizations like the U.S. Department of Energy’s Energy Saver provide excellent insights into its importance and types.
General Tips for Safe and Easy Vent Removal
Regardless of the vent type, a few universal tips can make your DIY experience much better:
- Always Turn Off Power/Gas: For any vent connected to an HVAC system or appliance (like a dryer), ensure the power (and gas, if applicable) is completely shut off before you start.
- Work in Good Lighting: Poor lighting can hide screws or make it hard to see what you’re doing, increasing the risk of mistakes or injury.
- Be Gentle: Don’t force anything. If a vent is stuck, take a moment to inspect it again. Forcing it can damage the vent, the surrounding material (like drywall or flooring), or even cause injury.
- Keep Track of Parts: Small screws and clips are easily lost. Use a magnetic tray, a small bowl, or even an ice cube tray to keep them organized.
- Use Drop Cloths: Dust and debris can fall from vents, especially when they haven’t been cleaned in a while. Protect your floors and furniture.
- Take Pictures: Before you start, take a picture of the vent and its surroundings. This can be a helpful reference if you need to remember how it was installed.
- Clean as You Go: Once a vent is removed, it’s the perfect opportunity to clean the vent itself and the immediate duct opening. A vacuum cleaner with a crevice tool is excellent for this.
- Know When to Call a Professional: If you encounter a vent that is unusually complex, sealed in a way you can’t manage, or if you’re uncomfortable with any part of the process, don’t hesitate to call a qualified handyman or HVAC technician.
Troubleshooting Common Vent Removal Problems

Even with the best preparation, you might run into a snag. Here are a few common issues and how to fix them:
Vent is Painted Shut
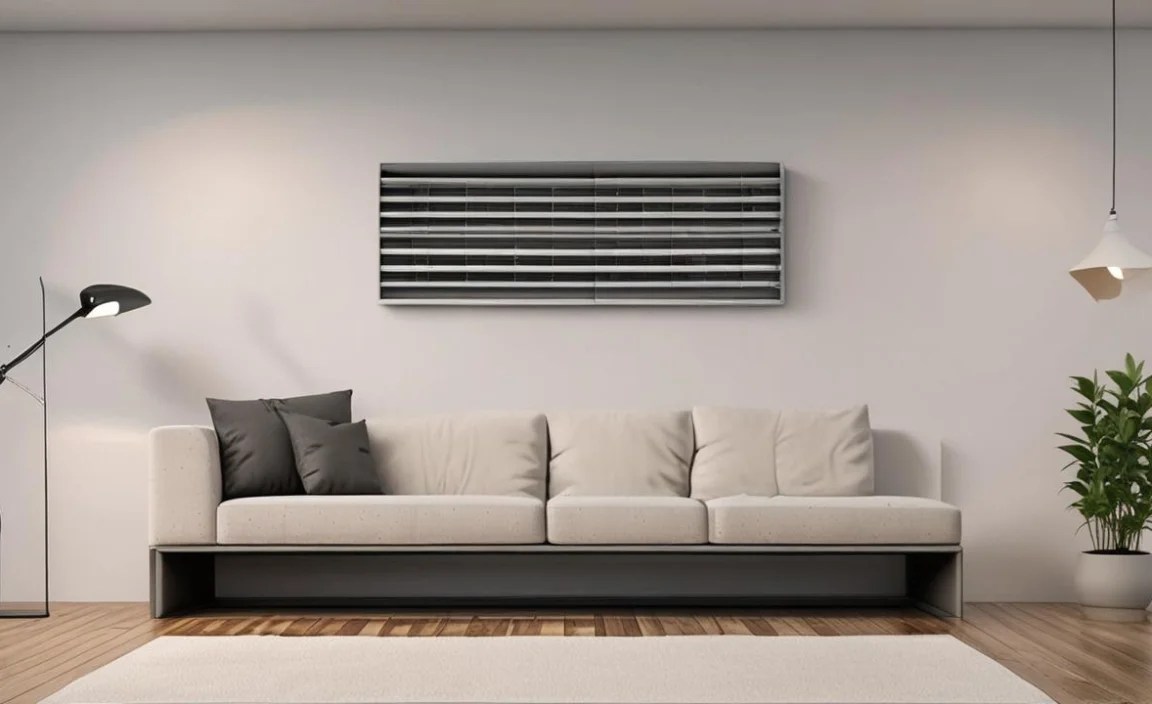
Problem: Years of painting have sealed the vent cover to the wall, floor, or frame.
Solution: Use a sharp utility knife or the edge of a putty knife to carefully score along the seam between the vent and the surface. Go slowly and apply consistent pressure, cutting through the paint layers. You may need to score it multiple times. Then, try gentle prying again.
Screws are Stripped
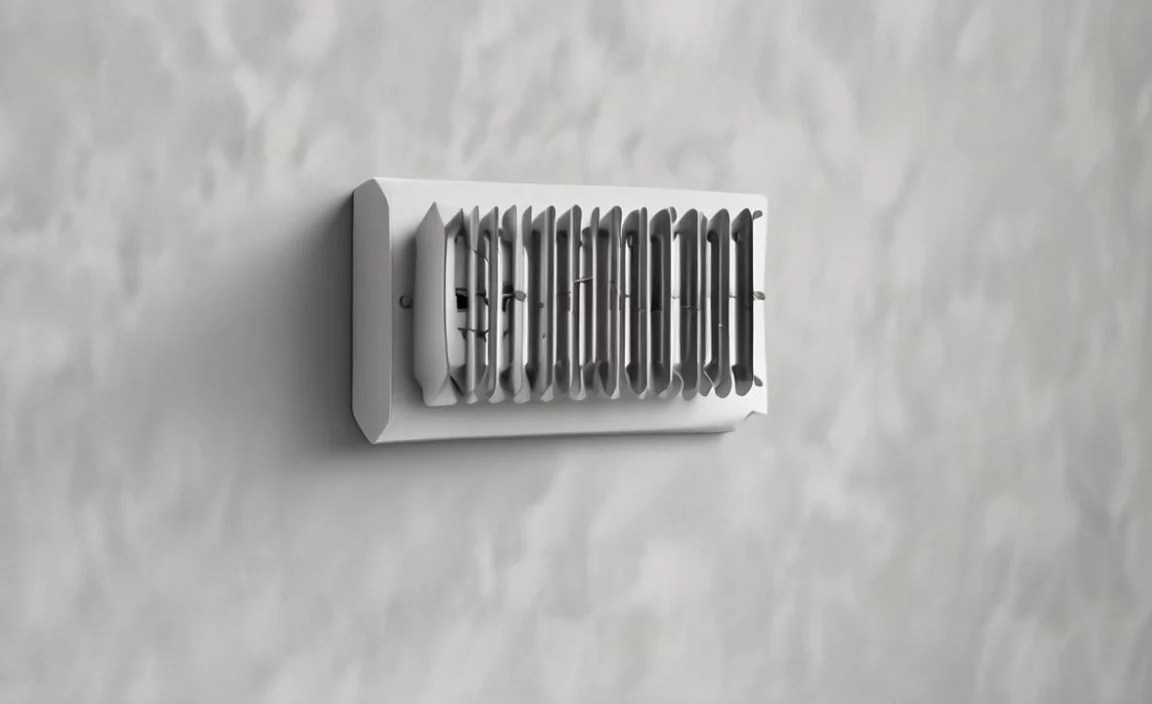
Problem: The head of a screw is damaged, making it impossible for the screwdriver to grip.
Solution: You can try a rubber band. Place a wide rubber band over the screw head, then place your screwdriver on top and press firmly while turning slowly. If that doesn’t work, a screw extractor kit (available at hardware stores) can be very effective, or you might need to carefully use pliers to grip the sides of the screw head if it’s protruding.
Vent is Stuck Tight (No Visible Screws)
Problem: The vent cover is simply wedged in very tightly.
Solution: Insert a thin, flexible tool (like a paint scraper or a sturdy putty knife) into a seam and carefully work your way around, applying gentle outward pressure. Listen for any clicks or pops indicating it’s loosening. If it’s a floor vent, ensure the surrounding flooring isn’t pressing down on it too hard.
Damaged Vent During Removal
Problem: You accidentally bent or broke a piece of the vent.
Solution: If the damage is cosmetic and the vent is still functional, you might be able to live with it or repair minor bends carefully with pliers or a rubber mallet. If it’s significantly damaged, it’s best to replace it. Note the dimensions and style so you can find a suitable replacement.
Frequently Asked Questions (FAQ)
Q1: How do I know if my vent is screwed in or just a push-fit?
A1: Inspect the edges of the vent cover carefully. Look for visible screw heads. If you don’t see any, especially on floor or wall vents, it’s likely a push-fit or friction-fit design.
Q2: Can I paint over my vents?
A2: Yes, but for the best look, it’s often recommended to remove the vent, paint it separately, and then reinstall it. If you choose to paint it while installed, cover it meticulously with painter’s tape and plastic sheeting, and be aware that paint can build up and make future removal more difficult.
Q3: How often should I clean my vents?
A3: It’s a good idea to vacuum accessible vents regularly (e.g., monthly). For a deeper clean, removing them every 6-12 months, or more frequently if you have
