
Quick Summary:
Removing a vent is a simple DIY task. Follow these step-by-step instructions to easily detach your vent cover cleanly and safely, ensuring you can access ductwork for cleaning, repairs, or upgrades without hassle.
Ever found yourself staring at a vent, wondering how it’s attached and if you can remove it yourself? You’re not alone! Many homeowners face this common situation when it’s time for a little home maintenance, like dust removal, air filter changes, or even minor repairs. The good news? Removing a vent is a surprisingly straightforward DIY project that doesn’t require a toolbox full of specialized equipment. With a few basic tools and clear instructions, you’ll be able to tackle this task confidently. We’ll walk you through each stage, making sure you understand every step, so you can save time and money by doing it yourself. Let’s get started on making your home environment a little cleaner and a lot more manageable.
Understanding Your Vent and Why You Might Need to Remove It

Before we dive into the “how-to,” it’s helpful to know what you’re dealing with. Vents, also known as registers or grilles, are the openings in your walls, floors, or ceilings that allow conditioned air from your HVAC (Heating, Ventilation, and Air Conditioning) system to enter a room. They also serve as the return air path, pulling air back to your HVAC unit to be reconditioned. These covers aren’t just decorative; they play a functional role in your home’s air circulation.
So, why would you need to remove one? There are several common reasons:
- HVAC Cleaning and Maintenance: Over time, dust, debris, and allergens can accumulate inside your ductwork. Removing vent covers is often the first step to accessing these areas for thorough cleaning, ensuring better air quality.
- Filter Replacement: In some systems, a return air vent may house a large, reusable air filter that needs regular cleaning or replacement.
- Repairs or Upgrades: If a vent is damaged, or if you’re planning to replace old ductwork or add new air vents, you’ll need to detach the existing ones.
- Pest Control: Sometimes, you might need to check for or address pest issues within the duct system, which requires vent removal.
- Deep Cleaning: Even without specific ductwork issues, a good spring cleaning might involve removing vent covers to get at those hard-to-reach spots.
Understanding these reasons helps demystify the process. It’s about gaining access to the inner workings of your home’s ventilation system. Thankfully, most vent covers are designed for relatively easy removal by homeowners.
Tools You’ll Need for Vent Removal
The beauty of removing a vent is that it typically requires only a few common household tools. You won’t need to be a seasoned handyman to gather what’s necessary. Here’s a list of tools that will make the job smooth and efficient:
- Screwdriver: This is your primary tool. You’ll likely need either a Phillips head screwdriver (the one with a ‘+’ shaped tip) or a flathead screwdriver (the one with a ‘-‘ shaped tip). Sometimes, vents use screws that require a specific type, but often they’re standard.
- Putty Knife or Thin, Flat Tool: For vents that don’t have visible screws, there might be clips or a tight fit. A putty knife or even an old credit card can help gently pry the cover away without damaging the wall or vent.
- Gloves (Optional but Recommended): Vent interiors and ductwork can be dusty and sometimes have sharp edges. Wearing work gloves will protect your hands.
- Dust Mask (Optional but Recommended): If you anticipate a lot of dust, wearing a dust mask will help you breathe easier during and after the removal.
- Safety Glasses (Optional but Recommended): Protecting your eyes from falling dust or debris is always a good idea.
- Vacuum Cleaner with Hose Attachment: Once the vent is off, you’ll likely want to clean up any dust or debris, and a vacuum is perfect for this.
It’s always a good idea to have these basic tools on hand for various home maintenance tasks. For most vent removal jobs, a simple screwdriver will do the trick. If you’re unsure about the types of screws, it’s best to have both a Phillips and a flathead screwdriver available.
Step-by-Step Guide: How to Remove a Vent Cover
Let’s break down the process into easy-to-follow steps. We’ll cover the most common types of vent installations so you’re prepared for almost any situation.
Step 1: Identify the Type of Vent and Fasteners

Take a close look at your vent cover. How is it attached?
- Screw-Mounted Vents: Most commonly, vent covers are held in place by screws. These screws are often located around the perimeter of the vent, either visible on the face of the cover or sometimes hidden on the sides.
- Spring-Loaded or Clip Vents: Some vents, especially ceiling or wall types, might use a spring mechanism or clips. These usually don’t have visible screws.
- Friction Fit Vents: Less commonly, vents might simply be pushed into place and held by friction.
This initial assessment will guide which tools you need and how you’ll proceed.
Step 2: Gather Your Tools

Based on Step 1, grab the appropriate screwdriver (Phillips or flathead) or your thin, flat tool for prying. Have your gloves and dust mask ready if you think you’ll need them.
Step 3: Loosen or Remove the Screws (if applicable)
If your vent has visible screws, this is where your screwdriver comes in. Insert the correct screwdriver head into the screw and turn it counter-clockwise. You’re aiming to loosen the screws until they are free from the wall or mounting bracket. You don’t necessarily need to remove the screws completely from the vent cover itself; just loosening them enough so the cover can detach is often sufficient. If the screws come all the way out, keep them in a safe place (like a small bowl or your pocket) so you don’t lose them.
Pro Tip: If the screws are difficult to turn, they might be painted over. You can try carefully scoring around the screw head with a utility knife to break the paint seal before attempting to turn them.
Step 4: Gently Detach the Vent Cover
Once screws are loosened or removed, or if you have a vent without screws, it’s time to carefully pull the cover away. If it was screw-mounted, the cover should now have some give. Gently pull the top edge of the vent cover away from the wall or ceiling. It might need a slight wiggle. If it’s still stuck, check if there are any remaining screws or if the cover is snagged on something.
If you have a spring-loaded or clip vent, you’ll typically need to create a small gap. Insert your thin, flat tool (like a putty knife) or your fingers into the seam between the vent and the wall/ceiling. Gently pry outwards. You should feel or hear the clips disengaging. Work your way around the edges if necessary until the vent pops loose. Be patient and avoid excessive force, as you don’t want to break the clips or damage the surrounding surface.
For friction-fit vents, a gentle, even pull should remove it. If it’s very tight, you might use your thin tool to gently work around the edges to break the seal before pulling.
Step 5: Inspect and Clean the Area
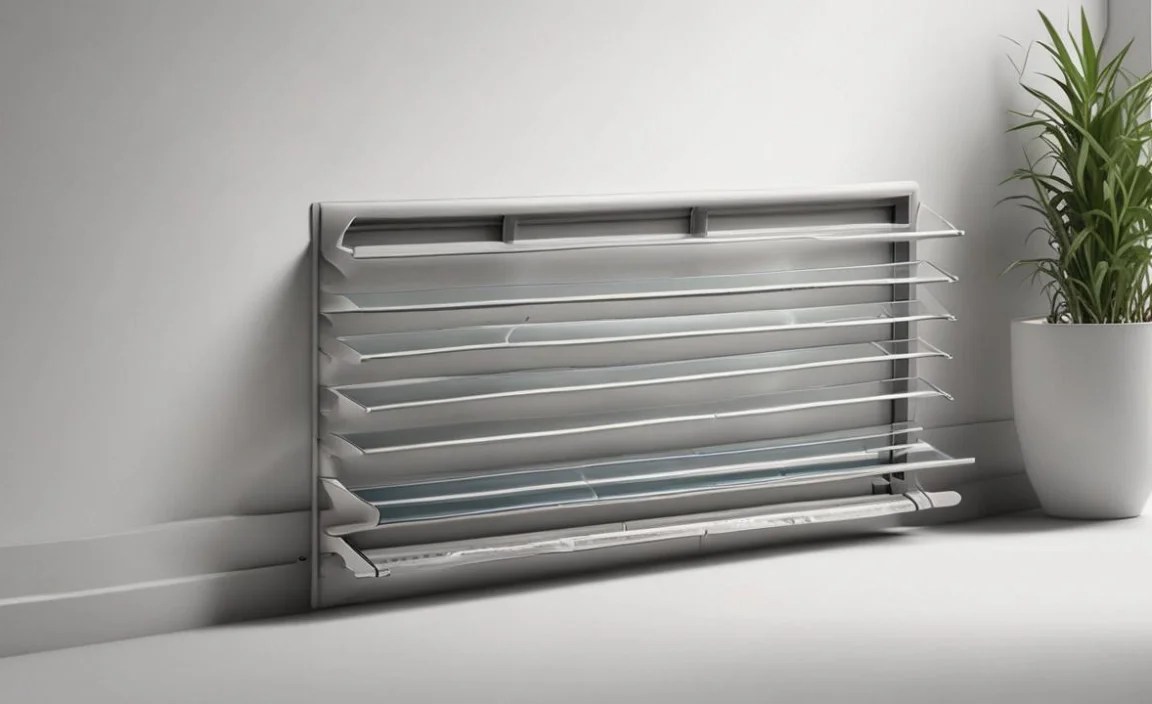
With the vent cover removed, you now have access to the duct opening. Take this opportunity to inspect the area. You can use your vacuum cleaner with a hose attachment to remove dust, cobwebs, or any other debris from the duct opening and the inside of the vent cover itself. For stubborn dust, a damp cloth or a soft brush can be helpful. This is also a moment to check for any signs of damage or leaks in the ductwork or around the vent opening.
Referencing resources from the U.S. Environmental Protection Agency (EPA) on indoor air quality can highlight the importance of keeping these areas clean: EPA Indoor Air Quality Information.
Step 6: Reinstall the Vent Cover
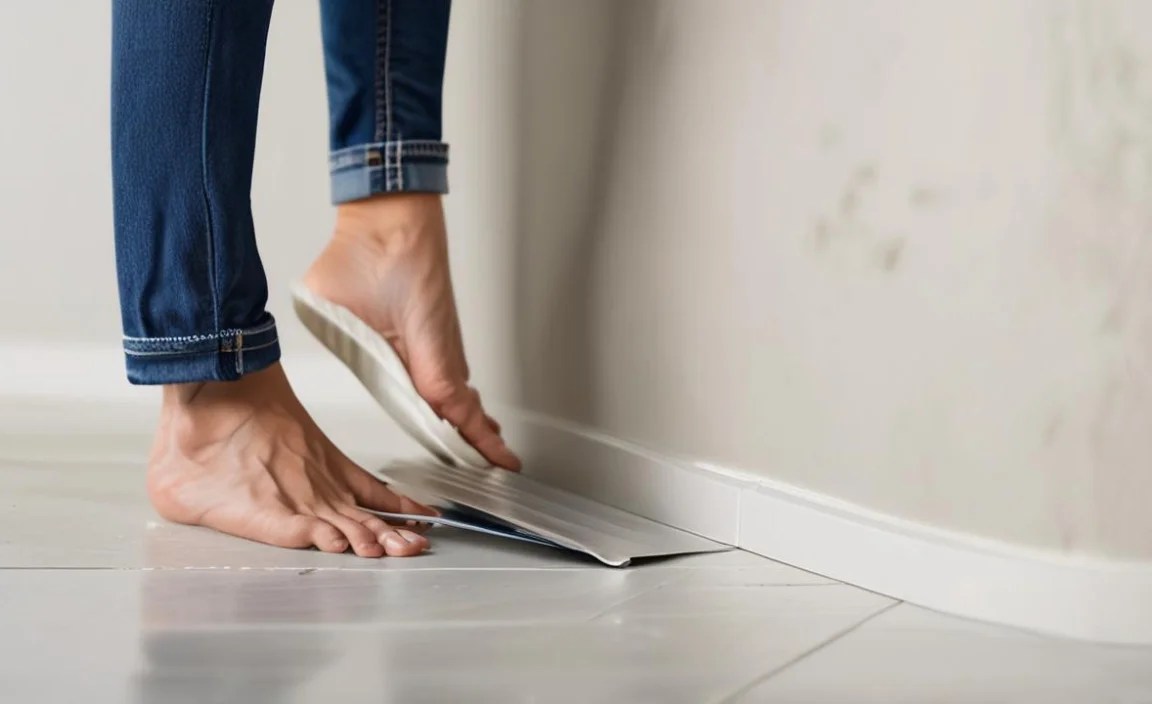
Once you’re finished with your inspection, cleaning, or any necessary work behind the vent, it’s time to put it back. Align the vent cover with the opening. If you removed screws, carefully guide them back into their holes and tighten them clockwise with your screwdriver until snug. Be careful not to overtighten, as this can strip the screw threads or damage the vent cover or wall. If it’s a spring-loaded or clip vent, align the tabs or clips and gently push the cover back into place until it clicks or sits flush.
Double-check that the vent cover is secure and flush with the wall or ceiling. You’ve successfully removed and reinstalled a vent!
Types of Vents and Specific Removal Tips

Not all vents are created equal. While the basic principles remain the same, different types might have slight variations in their removal process. Understanding these can make the task even smoother.
Floor Vents
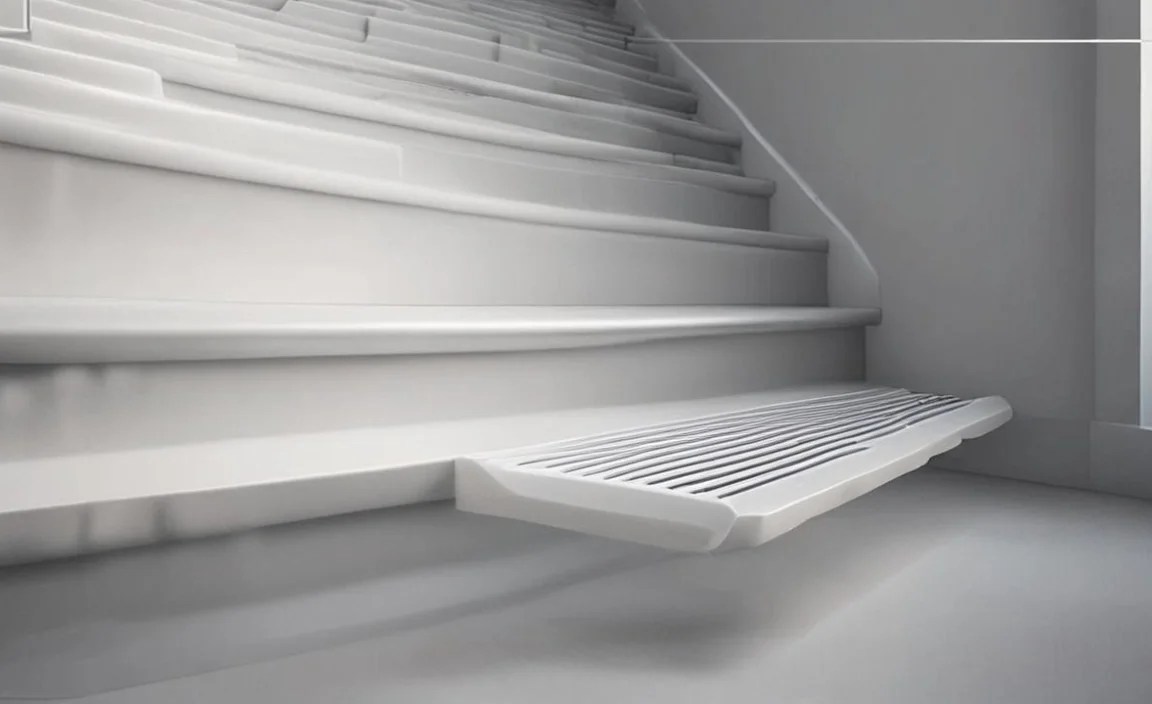
Floor vents are often exposed to more foot traffic and potential debris. They can be screw-mounted or sometimes have a frame that sits flush with the floor.
- Screw-Mounted: Similar to wall vents, locate screws around the edges. Loosen them and gently lift the cover.
- Drop-In/Frame Style: Some floor vents have a decorative cover that is held in place by a metal frame that sits within the floor opening. The actual air grille might then clip or screw into this frame. You might need to remove the grille first, then potentially remove the frame itself if access to the duct beneath is needed. This often involves lifting the grille, then using a flat tool to gently pry up the frame.
Always be mindful of the flooring material around the vent to avoid scratches when prying.
Wall Vents

These are the most common type most people encounter. They can be for supply air (blowing air in) or return air (sucking air in).
- Screw-Mounted: As described in the main steps, these usually have screws you can see or feel along the edges.
- Hidden Fasteners: Some newer or more decorative wall vents might have small tabs or clips that you press inward to release. This often requires inserting a small, flat tool into a specific notch or gap.
Ceiling Vents

Ceiling vents are often similar to wall vents, particularly return air grilles which may house filters.
- Spring-Loaded: Many ceiling vents use spring clips. You typically need to pull down slightly on the grille to expose the springs, then push the springs inward to release the grille from its housing.
- Screw-Mounted: Less common for ceiling vents, but possible, especially for older systems or larger grilles.
For spring-loaded ceiling vents, standing on a sturdy ladder and having someone to assist or hold the vent as it releases can be helpful for safety and to prevent it from dropping.
Table: Common Vent Fastening Methods
| Vent Type | Common Fastenings | Tools Needed | Difficulty Level |
|---|---|---|---|
| Floor Vents (Standard) | Screws (visible on top), sometimes clips or friction fit | Screwdriver, putty knife (optional) | Easy |
| Wall Vents (Residential) | Screws (visible or on side), sometimes hidden clips | Screwdriver, putty knife (optional) | Easy |
| Ceiling Vents (Residential) | Spring clips, sometimes screws | Screwdriver (if applicable), light prying tool | Easy to Moderate |
| HVAC Return Grilles (often larger) | Screws, sometimes latches or clips | Screwdriver, possibly pliers for latches | Easy to Moderate |
| Shower/Bathroom Vents (Exhaust Fan Grilles) | Clips or sometimes screws hidden behind the face | Screwdriver, small flat tool | Moderate (due to location and potential for spring loading) |
Troubleshooting Common Vent Removal Issues

Even with the easiest DIY tasks, you might run into a snag. Here are a few common issues and how to resolve them when removing a vent cover:
- Stuck Screws: If a screw won’t budge, it might be stripped, rusted, or painted over.
- Painted Over: Carefully score around the screw head with a sharp utility knife to break the paint seal.
- Stripped Screw Head: If the screwdriver can no longer grip the screw head, you might need a screw extractor kit or, in a pinch, try using a pair of pliers to grip the head and twist. If all else fails, you might need to drill out the screw (a more advanced task) or call a professional.
- Rusted: Apply a penetrating lubricant (like WD-40) and let it sit for a few minutes before trying to unscrew it again.
- Vent Cover Doesn’t Budge After Loosening Screws: The cover might still be attached by hidden clips, or it could be stuck due to old paint or grime.
- Check for Hidden Clips/Tabs: Run your fingers along the edges of the vent cover and the wall. Look for small gaps or notches where a thin tool can be inserted to release a clip.
- Gentle Wiggling: Try gently wiggling the vent cover up and down, or side to side, while applying a slight outward pull.
- Paint Sealant: If the vent has been painted repeatedly, the paint might be acting like glue. Carefully use a utility knife or scraper to score along the edge where the vent meets the wall.
- Broken Clips or Tabs: If you accidentally break a clip while prying, don’t panic.
- Temporary Fix: For reinstallation, you might be able to secure the vent with a small amount of strong double-sided tape, or by simply using fewer screws if it’s a screw-mount type.
- Replacement: For a more permanent solution, you may need to purchase a replacement vent cover. Vent covers are relatively inexpensive and readily available at hardware stores.
- Damaged Wall/Ceiling Surface: If you accidentally gouge the drywall or plaster, it’s a cosmetic issue.
- Repair: These small imperfections can typically be fixed with a bit of drywall compound (spackle), sanded smooth, and then repainted to match the surrounding area once the vent is reinstalled.
Remember, patience is key. Forcing a stubborn vent cover can lead to damage. If you’re struggling, take a short break, re-evaluate, and try again, or consider seeking advice from a home improvement resource like This Old House’s screwdriver guide, which covers basic tool usage.
When to Call a Professional
While removing a vent is generally a simple DIY task, there are situations where it’s best to call in a professional. If you encounter any of the following, it might be time to reach out:
- Extensive Ductwork Issues: If you discover significant damage, leaks, or blockages within the ductwork that require specialized tools or knowledge to repair.
- Electrical Components: If the vent is part of an exhaust fan system and you’re unsure about safely disconnecting or reassembling electrical components.
- Structural Concerns: If removing the vent reveals any potential structural issues with your walls, floors, or ceiling.
- Very Old or Damaged Vents: If the vent system is extremely old, brittle, or appears unsafe to handle, a professional can assess and replace it.
- Persistent Problems: If you try the DIY steps and simply cannot remove the vent, or if you’re uncomfortable with any part of the process.
For most common vent removals, however, the steps outlined here should serve you well. Professionals have the expertise and tools to handle complex situations efficiently and safely.
Frequently Asked Questions (FAQ)
Q1: How do I know if I have the right screwdriver?

A: Look at the screw head. If it has a ‘+’ shape, you need a Phillips head screwdriver. If it has a ‘-‘ shape, you need a flathead screwdriver. Match the size of the screwdriver tip to the size of the screw head for the best grip.
