
Quick Summary: Removing a vent without a plumber is achievable for DIYers. This guide provides simple, safe steps to detach vent covers, registers, and grilles, ensuring you can clean or inspect them easily and efficiently, saving you time and money on unnecessary service calls.
Ventilation is key to a comfortable home, but sometimes you need to get to those vents – maybe to clean them, check for blockages, or even replace them. It’s a common home maintenance task that might seem a bit intimidating at first glance. Do you need a plumber for this? Absolutely not! With a few simple tools and our step-by-step guidance, you’ll be able to remove most standard vents yourself. This guide is designed to make the process clear, safe, and stress-free, empowering you to handle this task with confidence. Let’s get your home’s air flowing freely again!
—
Why You Might Need to Remove a Vent
Understanding why you’d want to remove a vent can help you appreciate the importance of this simple DIY task. Vents are the gateways for your home’s heating, ventilation, and air conditioning (HVAC) system to do its job. Over time, they can become more than just openings; they can become dust magnets, allergen traps, or even hiding spots for small pests.
Here are some common reasons homeowners need to remove a vent:
Deep Cleaning and Air Quality Improvement

Your vents are part of your home’s respiratory system. Dust, pet dander, pollen, and other airborne particles can accumulate on and inside the vent grilles. Regularly removing and cleaning these can significantly improve your indoor air quality. This is especially important for households with allergy sufferers or young children. A clean vent means cleaner air circulating throughout your home.
Inspecting for Obstructions or Damage
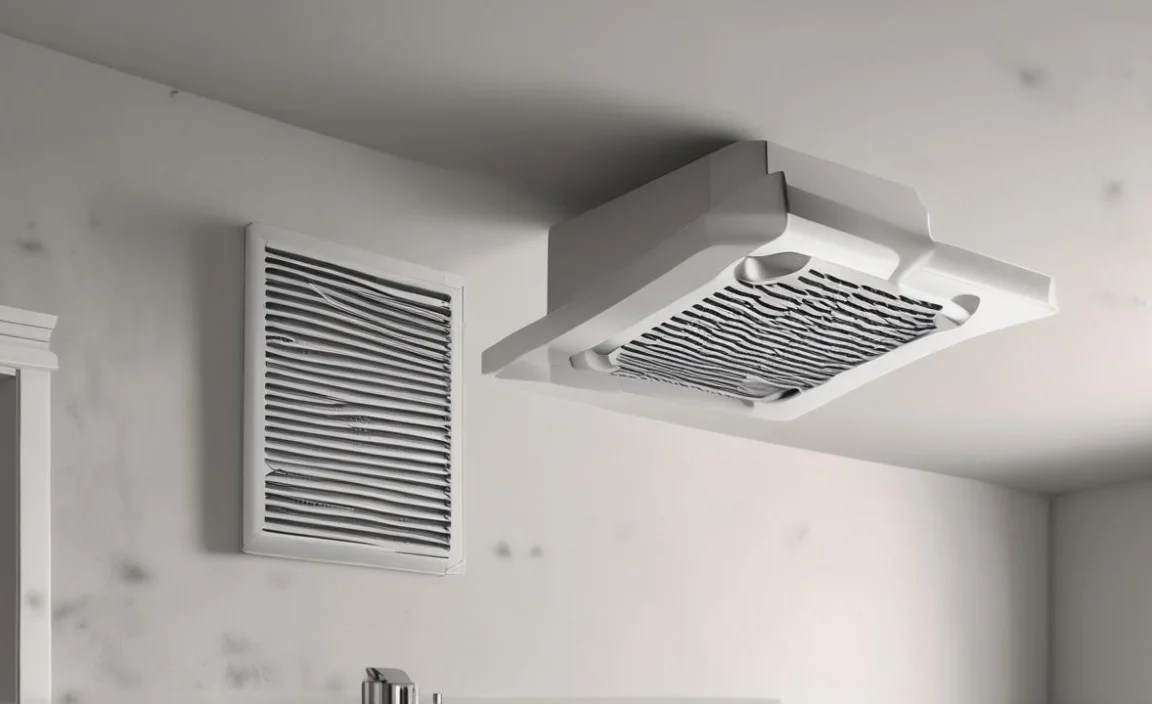
Sometimes, airflow can feel reduced, or you might hear strange noises coming from your vents. Removing the vent is the first step to visually inspect if something is blocking the airflow from the indoors side. This could be anything from a fallen toy to accumulated debris. You can also check the vent cover itself or the duct opening for any signs of damage, rust, or wear and tear that might need attention.
Replacing Old or Damaged Vents
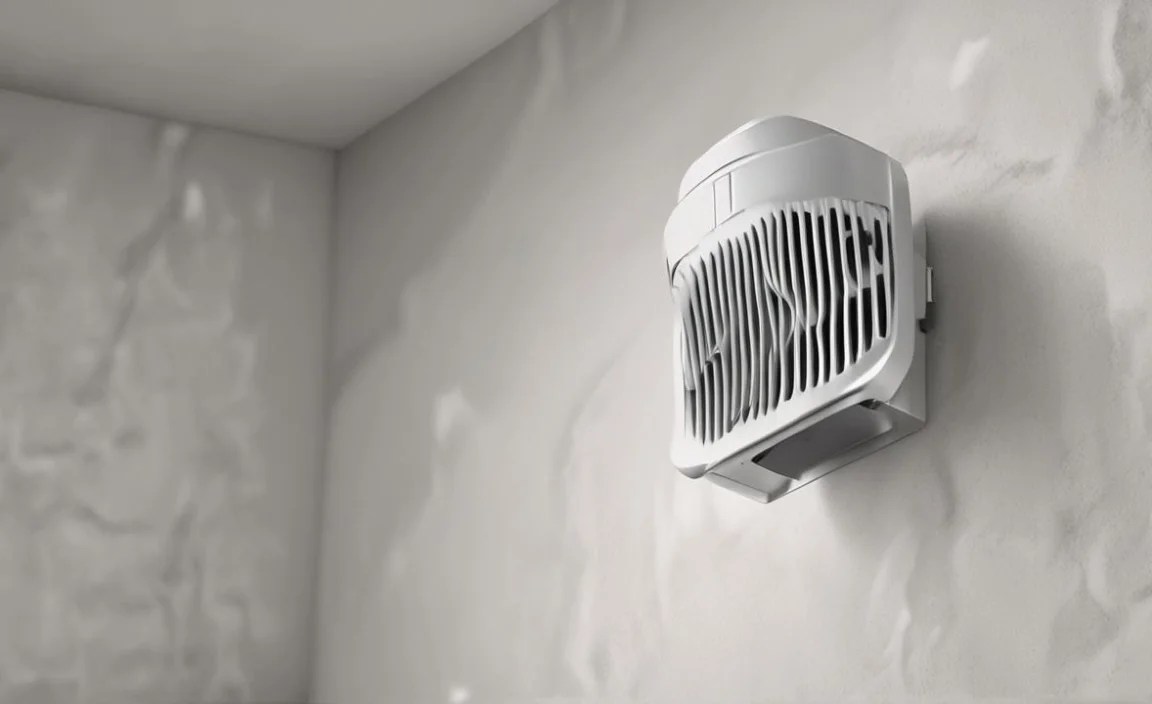
Vent covers aren’t just functional; they contribute to your home’s aesthetic. If your current vents are outdated, discolored, rusted, or simply don’t match your décor, removing them is the necessary first step to replacing them with newer, more stylish options. This is a straightforward way to make a noticeable improvement to any room’s appearance.
Accessing Ductwork for Minor Repairs or Maintenance
While major ductwork repairs are usually best left to professionals, sometimes you might need to access a section of ductwork visible behind a vent for very minor tasks. This could involve sealing a tiny seam with mastic tape or checking the condition of the insulation immediately behind the vent. Always proceed with caution and consult with an HVAC professional if unsure about any repairs.
Pest Control and Prevention
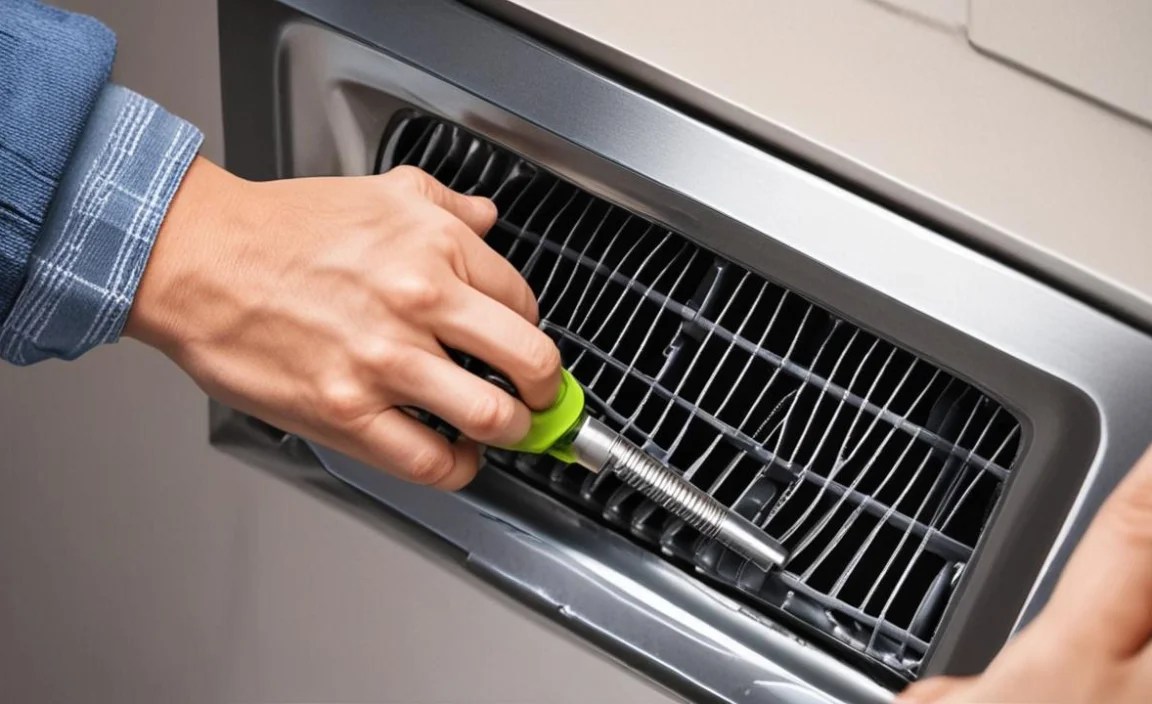
Unfortunately, vents can sometimes provide an entry point or a hiding place for small pests like insects. Removing the vent allows for a thorough inspection and cleaning of the area, helping to deter or remove any unwelcome visitors and prevent future infestations.
Essential Tools for Vent Removal
Before you start, it’s crucial to gather the right tools. Most vent removal tasks require very common household items, making this a truly accessible DIY project. Having these ready will ensure the process is smooth and efficient, preventing frustration and potential damage to your vents or walls.
Here’s a list of tools you’ll likely need:
- Screwdriver Set: This is your primary tool. You’ll need both Phillips head and flathead screwdrivers. Many vent screws are Phillips, but some older or different types might use flatheads. Having a set with various sizes is ideal.
- Putty Knife or Flat Pry Tool: For vents that don’t have obvious screws, a thin, flat tool can help gently pry them open. Be very careful not to apply too much force, as this could damage the wall or the vent. A plastic scraper is often safer than a metal one.
- Needle-Nose Pliers: These can be helpful for gripping and turning small screws or for gently manipulating clips that might be holding a vent in place.
- Gloves: To keep your hands clean, especially if the vents are dusty or dirty.
- Safety Glasses: Always a good idea when working with tools to protect your eyes from dust or debris.
- Vacuum Cleaner with Hose Attachment: Essential for cleaning up dust and debris once the vent is removed.
- Optional: Drill/Driver with Screwdriver Bits: If you have many vents to remove or if the screws are particularly stubborn, a cordless drill can speed up the process. Make sure to use a low torque setting to avoid stripping the screw heads or damaging the drywall.
Remember to identify the type of vent you have first, such as a floor vent, wall vent, or ceiling vent, as the removal method might vary slightly.
Step-by-Step Guide to Removing a Vent
Removing a vent is generally a straightforward process, but it requires a gentle approach. We’ll break it down into clear steps to ensure you can tackle it with confidence.
Step 1: Identify the Fasteners
The first and most critical step is to look closely at your vent. Most vents are secured with screws.
- Visible Screws: Many vents have screws located around the perimeter of the cover. These are usually small and can be easily removed with a screwdriver.
- Hidden Screws: Some vents have screws that are concealed behind the louvers or slats. You might need to gently bend a slat outwards or use a thin tool to access them.
- Clips or Springs: Less commonly, some vents might be held in place by spring clips or internal mechanisms. These often require a gentle levering motion to release.
It’s important to identify how your specific vent is attached before you start trying to pry or unscrew anything.
Step 2: Loosen or Remove Screws
Once you’ve located the fasteners, use the appropriate screwdriver to remove them.
- For Visible Screws: Insert the screwdriver bit into the screw head and turn counter-clockwise. Apply gentle, steady pressure. If a screw is difficult to turn, try wiggling the vent cover slightly to loosen any binding.
- For Hidden Screws: If the screws are behind the louvers, you might need to carefully manipulate the screwdriver between the slats. Sometimes, a slight bend of a slat very close to the frame can give you enough access. Be patient and avoid forcing it.
- For Clips/Springs: If you suspect clips, you might need to gently insert a thin, flat tool (like a putty knife or a flathead screwdriver) into the gap between the vent and the wall/floor and carefully lever it outwards. You might hear a click as the clip releases.
Pro Tip: If you’re using a drill/driver, set it to a low torque setting and use the correct bit. Start slowly to feel the screw turning and stop as soon as it’s loose.
Step 3: Gently Remove the Vent Cover

After all fasteners are removed or loosened, the vent cover should be free.
- Pull Straight Out: For most vents, you can now gently pull the cover straight away from the wall, floor, or ceiling.
- If it’s Sticking: If the vent doesn’t come off easily, double-check for any missed screws or clips. Sometimes, a buildup of paint can seal the edges. In such cases, use your putty knife or pry tool very cautiously around the edges to break the seal. Work your way around slowly.
- For Louvered Vents: You might need to pull the entire grille and damper assembly if they are attached, or sometimes just the grille separates from the damper.
Be mindful of the weight of the vent cover, especially for larger ones. You don’t want it to fall and cause damage.
Step 4: Inspect and Clean
With the vent cover removed, you have direct access to the opening and potentially the ductwork.
- Inspect the Opening: Look for any dust buildup, debris, or obstructions directly inside the duct opening.
- Clean the Vent Cover: Take the vent cover outside or to a well-ventilated area. Use a vacuum cleaner with a brush attachment to remove loose dust. For deeper cleaning, you can wash it with soap and warm water, then let it dry completely before reinstallation.
- Clean Around the Opening: Use your vacuum cleaner’s hose attachment to carefully clean out any dust and debris from the immediate area around the duct opening in your wall, floor, or ceiling.
This is the perfect opportunity to give your home’s ventilation a thorough refresh!
Step 5: Reinstall the Vent Cover
Once you’re done cleaning and inspecting, it’s time to put things back together.
- Align the Vent: Carefully position the vent cover back over the opening, ensuring it sits flush against the wall, floor, or ceiling. If it has louvers, make sure they are oriented correctly.
- Reinsert Screws: Re-drive the screws you removed. If you’re using a drill, set it to a very low torque to avoid stripping the screws or the drywall. Tighten them until the vent cover is snug but not overly tight.
- Test Stability: Gently push on the vent cover to ensure it’s securely in place and doesn’t rattle.
Congratulations! You’ve successfully removed and replaced a vent.
Types of Vents and Their Removal Nuances

While the general steps remain similar, different types of vents might have slight variations in their attachment methods. Understanding these can help you approach each removal with more precision.
Floor Vents (Registers)
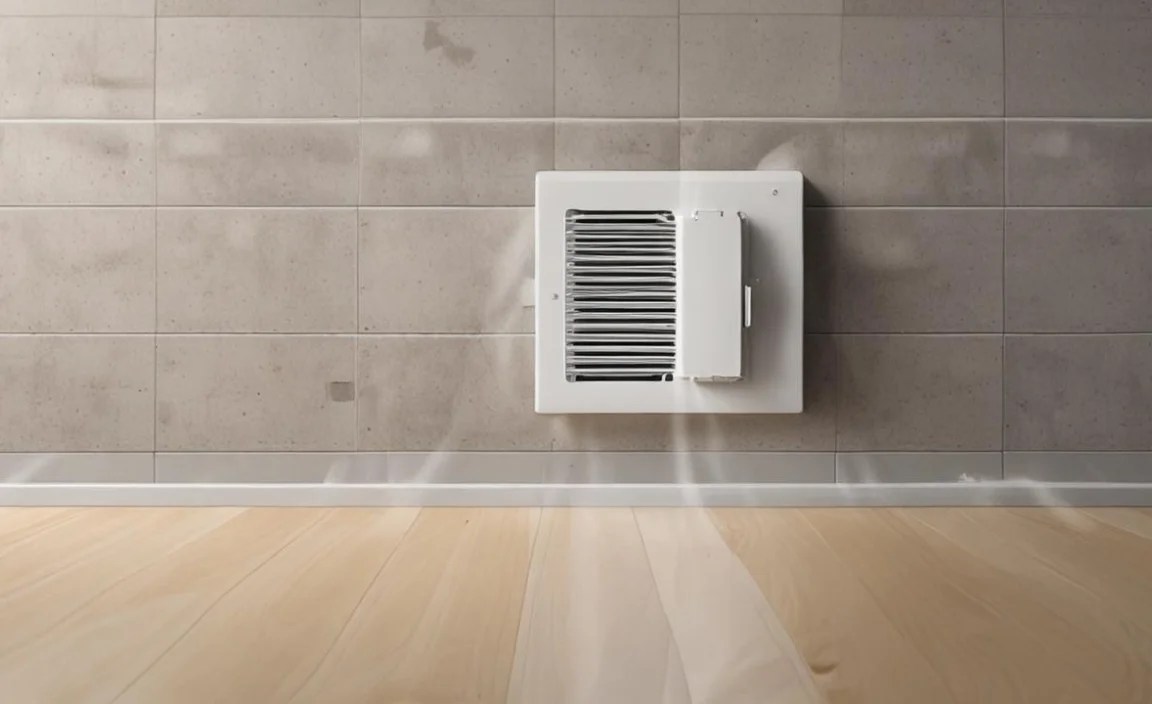
Floor vents, often called registers, are typically located in the flooring of your home. They usually have a decorative cover and an adjustable damper underneath that controls airflow.
- Common Attachment: Most floor vents are held in place by screws around the perimeter. These screws might be visible on the top surface of the vent cover, or they might be recessed and slightly hidden.
- Removal Tip: Sometimes, the decorative cover can be lifted off by itself, revealing screws that hold the damper box to the subfloor. Other times, the entire unit (cover and damper) is secured by screws. Always look for screws first. If no screws are apparent, gently try to lift the edge with a putty knife.
- Considerations: Be aware of the floor material. Carpet can sometimes hide the edges of a vent, and you might need to pull back a small section of carpet (or trim away any excess) to access the full perimeter and any screws.
According to the ENERGY STAR program, ensuring your ductwork is properly sealed contributes to energy efficiency. While you’re there, check if the duct connection behind the vent looks secure.
Wall Vents (Grilles)
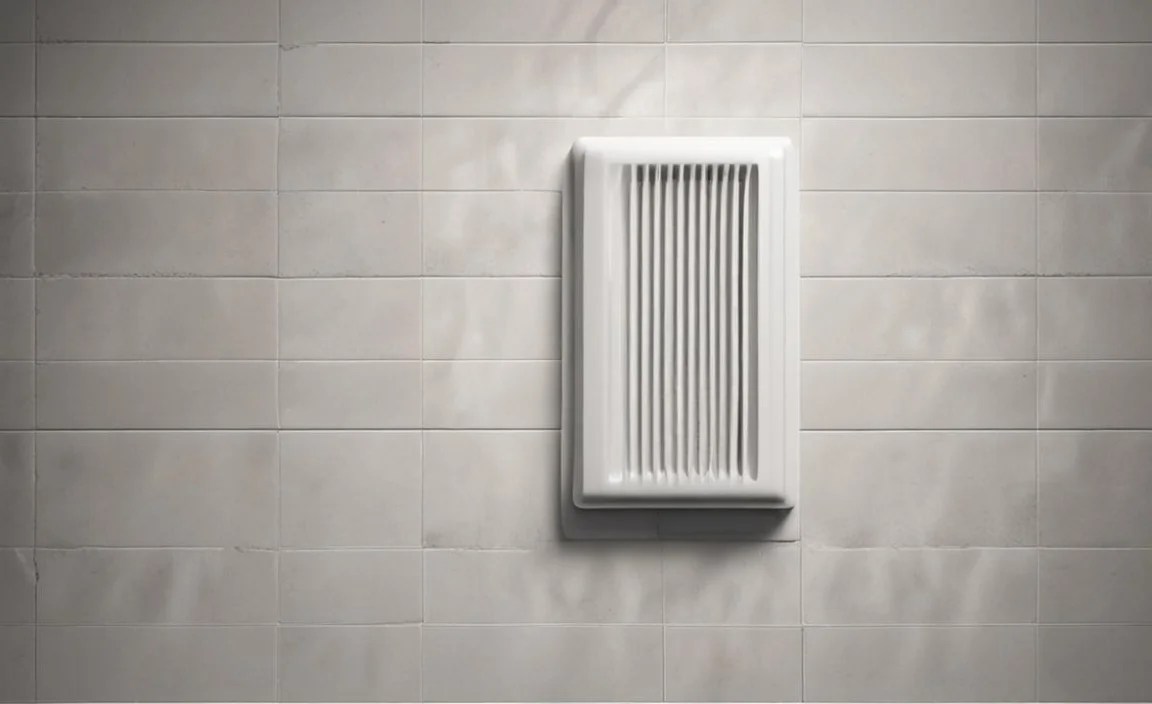
Wall vents are commonly found in living rooms, bedrooms, and hallways. They can be for supply air (pushing conditioned air in) or return air (drawing air back to the HVAC system).
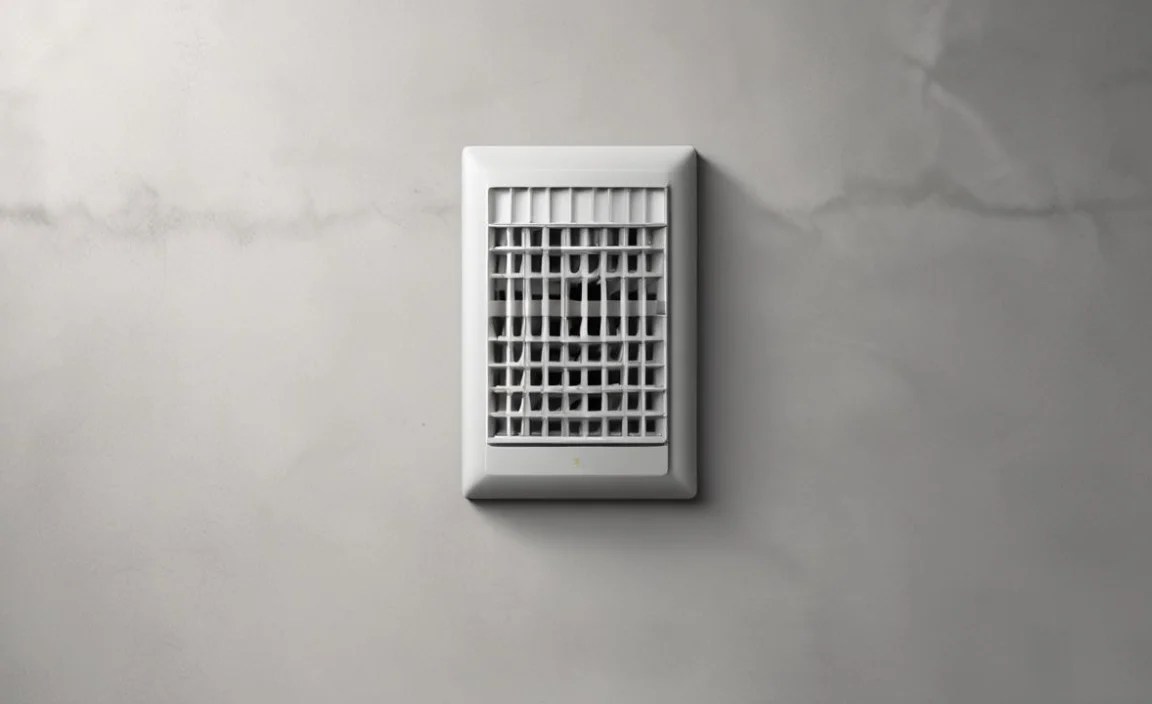
- Common Attachment: Wall vents are very often secured with visible screws. Some might have screws located on the face of the grille itself. Others might have screws hidden behind the louvers or at the very top and bottom edges.
- Removal Tip: For grilles with screws on the face, remove them, then pull the grille straight out. If screws are hidden, you might need to gently pry at the edges with a putty knife once you’ve determined there are no remaining fasteners.
- Considerations: Return air grilles are often larger and heavier, so be prepared for their weight. They also tend to accumulate more dust, so wear gloves!
Ceiling Vents (Diffusers)
Ceiling vents are less common for typical HVAC systems but are found in some kitchens and bathrooms for exhaust or in specific heating/cooling setups.
- Common Attachment: Ceiling vents often use a spring-loaded mechanism or clips. You might see a central screw or knob which, when turned or loosened, releases springs that hold the vent in place within the ceiling opening.
- Removal Tip: Look for a central screw or a means to turn a part of the vent. If it’s spring-loaded, turning the center might retract the springs. If it’s clips, gentle prying might be needed.
- Considerations: Be extra cautious when working overhead. Make sure you have a stable ladder and that you can support the vent’s weight once it’s detached.
Baseboard Vents
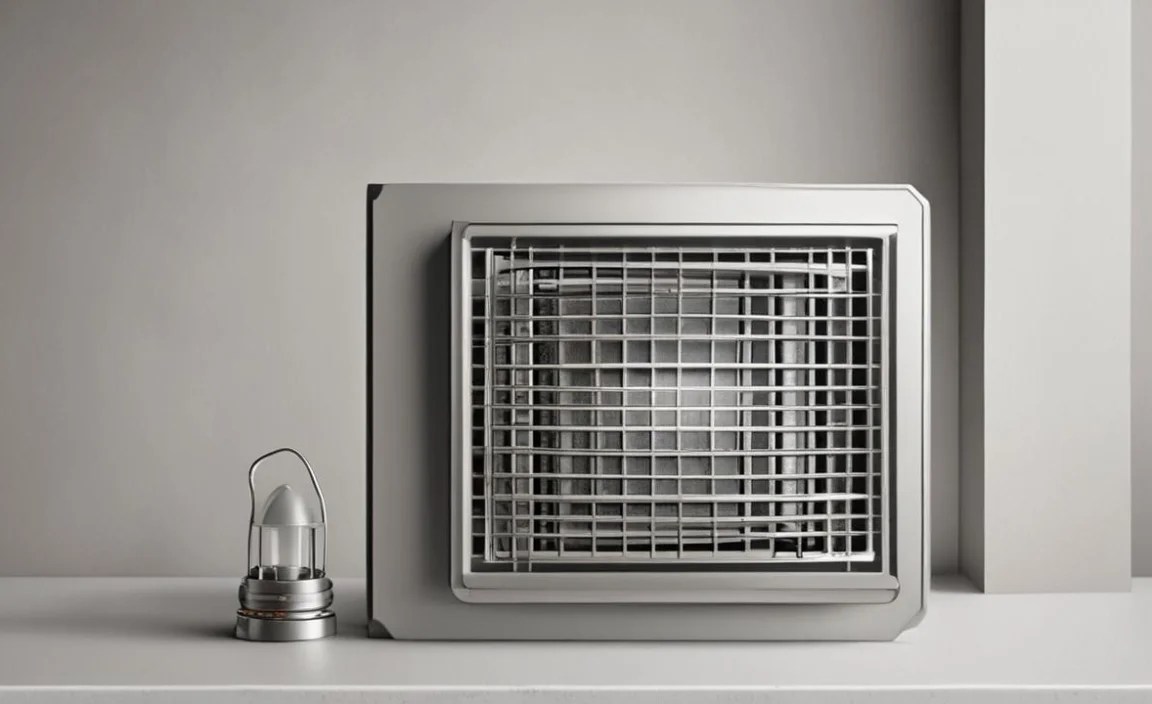
These are typically found along the bottom of walls, often integrated into the baseboard. They can be for heating or cooling.
- Common Attachment: Baseboard vents can be attached to the wall with screws, or sometimes they are part of a larger system that is secured at the ends or the back.
- Removal Tip: Look for screws along the top or bottom edge where the vent meets the wall or the baseboard. Some might also have screws hidden on the sides.
- Considerations: The airflow direction for baseboard vents is often angled upwards, so dust can collect on the fins. Cleaning them effectively can make air delivery much better.
Table: Vent Types and Common Removal Methods
| Vent Type | Description | Common Fasteners | Key Removal Tip |
| :————- | :————————————————– | :———————– | :——————————————————————— |
| Floor Vent | Located in the floor, often with an adjustable damper | Perimeter screws | Check for screws on top of cover; may need to lift decorative part first |
| Wall Vent | Located on walls, for supply or return air | Visible or hidden screws | Screws often behind louvers or on the face; gentle prying if needed |
| Ceiling Vent | Located in ceilings, often for exhaust or specific HVAC | Springs or clips | Look for central mechanism to release springs; gentle prying for clips |
| Baseboard Vent | Integrated into the baseboard along the floor | Perimeter or side screws | Examine top, bottom, and side edges for screws; may be integrated |
Troubleshooting Common Vent Removal Issues
Even with the best intentions, you might run into a few snags. Don’t worry; these are usually minor and fixable. Here are some common problems and how to solve them.
Stuck Screws
Sometimes screws can be difficult to turn due to rust, paint, or being overtightened.
- Solution: Try using a manual screwdriver with a good grip. Apply firm, steady pressure while turning. If the screw head is slightly stripped, you can try using a rubber band between the screwdriver tip and the screw head to get better traction. For extremely stubborn screws, a drop of penetrating oil (like WD-40) applied carefully and allowed to sit for a few minutes can help loosen rust. Be sure to clean off any excess oil.
Paint-Sealed Vents
Paint can act like glue, sealing the vent cover to the wall or floor.
- Solution: Use a sharp utility knife to carefully score the line of paint around the edge of the vent. This breaks the seal. Then, try gently prying with a thin putty knife or flathead screwdriver. Work your way around slowly.
Vent Cover Won’t budge after Screws are Out

If all screws are out and the vent still feels stuck, there might be hidden clips or it’s just wedged in place.
- Solution: Look very closely at the gaps between the vent and the surrounding surface. Are there any small tabs or clips that might be catching? If not, try gently wiggling the vent from side to side and up and down to loosen it. If it feels very tight, consider if there might be a hidden screw or a different type of fastener you missed.
Damaged Vent or Wall During Removal
Accidents happen, but they can usually be minimized if you’re careful.
- Solution: If you slightly dented the wall or trim, it can often be repaired with spackling paste and a bit of touch-up paint. Minor dents are usually easy to máke disappear. If a screw head gets stripped badly, you might need a screw extractor tool. For significant damage, assess if a professional is needed for repair.
Damaged Ductwork

While you’re not typically working inside the ductwork, sometimes you might notice a small issue.
- Solution: If you see a tear or a poorly sealed seam on the duct material immediately behind the vent, it’s good you noticed it! For very small issues like a minor seam separation, you might be able to seal it with foil HVAC tape. However, significant damage to ductwork often requires professional assessment and repair to ensure proper airflow and prevent energy loss. The Environmental Protection Agency (EPA) highlights the importance of sealed ducts for both efficiency and air quality.
Cleaning and Maintenance Tips for Vents
Once you’ve successfully removed your vent, it’s a great chance to perform some essential cleaning and maintenance that goes beyond just dust removal.
Deep Cleaning the Vent Cover
Don’t just dust it off; give it a proper wash!
- Soak and Scrub: If the vent is metal or durable plastic, you can soak it in a tub or large sink with warm water and a mild detergent. Use an old toothbrush or a soft scrub brush to get into the fins and remove stubborn grime or grease.
