
Quick Summary: Don’t let a worn tub get you down! This guide offers simple, step-by-step solutions for common bathtub repairs like chips, cracks, and leaks. We’ll cover essential fixes, necessary tools, and safety tips to help you restore your bathtub’s shine and functionality with confidence. Get ready to tackle these fixes and save money!
Your bathtub is a sanctuary, a place for relaxation and a vital part of your daily routine. But what happens when that pristine surface gets a chip, a crack appears, or a stubborn leak starts to form? It can feel like a big, overwhelming problem. The good news is that many common bathtub issues are surprisingly easy to fix yourself, even if you’re new to DIY projects. With the right approach and a few simple tools, you can bring your tub back to its former glory. This guide is designed to walk you through the most common bathtub repairs, making the process clear, manageable, and confidence-building. Let’s dive into how you can become a bathtub repair pro!
Common Bathtub Problems and How to Fix Them

Bathtubs, like anything else in our homes, can develop wear and tear over time. From minor cosmetic blemishes to more functional issues, understanding what’s wrong is the first step to fixing it. We’ll cover the most frequent culprits and provide clear, beginner-friendly solutions.
1. Repairing Chips and Scratches

A small chip or scratch might seem minor, but it can quickly gather dirt and become more noticeable. Luckily, these are often simple fixes using a bathtub repair kit. These kits typically contain a filler compound and touch-up paint.
Tools and Materials You’ll Need:

- Bathtub Repair Kit (epoxy or acrylic based, suitable for your tub material)
- Fine-grit sandpaper (around 400-grit)
- Rubbing alcohol
- Soft cloths or rags
- Masking tape (optional)
- Putty knife or applicator (usually included in the kit)
Step-by-Step Guide for Chips and Scratches:

- Clean the Area: Thoroughly clean the chipped or scratched area with soap and water. Then, wipe it down with rubbing alcohol to ensure it’s completely dry and free of any oils or residue. This is crucial for the repair material to adhere properly.
- Prepare the Repair Compound: Follow the instructions on your bathtub repair kit. Most kits involve mixing a two-part epoxy or compound. Mix it only in the amount you’ll need for the repair, as it often sets quickly.
- Apply the Filler: Using the provided applicator or a clean putty knife, carefully apply the mixed filler into the chip or scratch. Overfill slightly to allow for sanding later. If you’re filling a larger chip, you might need to apply it in thin layers, letting each layer cure slightly before adding the next, as per the kit’s instructions.
- Allow to Cure: Let the filler dry completely according to the kit’s instructions. This can take several hours. Avoid touching or using the tub during this time.
- Sand Smooth: Once fully cured, gently sand the repaired area smooth. Start with a slightly coarser grit if needed, but finish with fine-grit sandpaper (400-grit or higher) to match the surrounding surface. Sand in a circular motion, being careful not to remove too much material or damage the surrounding tub finish.
- Clean and Touch-Up (if needed): Wipe away any dust from sanding. If your kit includes touch-up paint and the repair area still stands out, apply a thin layer of paint to blend it in. Allow the paint to dry completely.
- Final Clean: Give the area a final wipe-down with a soft cloth. Your tub should look as good as new!
2. Sealing a Leaky Bathtub Drain

A leaky drain is more than just annoying; it can lead to water damage beneath your tub. The culprit is often a faulty drain flange or a worn-out gasket. This repair requires a bit more effort but is definitely achievable.
Tools and Materials You’ll Need:

- Plumber’s putty or silicone sealant (specifically for plumbing applications)
- Adjustable wrench or channel-lock pliers
- Strap wrench (optional, to prevent scratching)
- Old towels or rags
- Bucket
- Screwdriver (if your drain stopper needs removal)
- Replacement drain flange gasket (if the old one is deteriorated)
Step-by-Step Guide for Drain Leaks:

- Turn Off Water (Not Strictly Necessary for Drain): While you won’t be directly working with water flow, it’s good practice to be mindful of potential water. Ensure no water is running.
- Remove the Drain Stopper: Depending on your drain type, you might need to remove the stopper. Some lift out, while others may unscrew or have a small screw hidden under a cover.
- Unscrew the Drain Flange: This is often the trickiest part. Place a bucket underneath to catch any residual water. Use your adjustable wrench or channel-lock pliers to grip the crosshairs of the drain flange from inside the tub. Turn it counter-clockwise to unscrew it. If it’s very tight, a strap wrench can help provide grip without damaging the finish.
- Inspect and Clean: Once the flange is out, inspect the rubber gasket (if present) underneath it. If it’s cracked, brittle, or compressed, it needs replacing. Clean the opening where the flange was and the flange itself thoroughly. Remove any old putty or sealant.
- Apply New Plumber’s Putty or Sealant: Roll a rope of plumber’s putty about 1/2 inch thick and press it firmly around the underside of the drain flange. Ensure a continuous, even seal. Alternatively, if you’re using silicone sealant intended for drains, apply a bead around the opening in the tub where the flange will sit. For more DIY plumbing tips, resources like Plumbing-Heating-Cooling Contractors Association (PHCC) offer valuable advice.
- Reinstall the Drain Flange: Carefully insert the flange back into the drain opening, pressing down firmly to compress the putty. Screw it back into the drain pipe by hand as tightly as you can.
- Tighten with Wrench: Use your wrench or pliers to tighten the flange a bit more (about a quarter turn past hand-tight). Be careful not to overtighten, which can crack the tub or the flange.
- Wipe Away Excess Putty: Immediately wipe away any excess putty that squeezed out around the flange with a damp cloth.
- Test for Leaks: Once the putty or sealant has had a chance to set slightly (check product instructions), run water in the tub. Fill it partially and let it sit for a few minutes. Then, drain the tub and check underneath (if accessible) or around the drain for any signs of moisture.
3. Repairing Cracks in Acrylic and Fiberglass Tubs

Acrylic and fiberglass tubs are common, but they can develop cracks, especially on the bottom or along the edges. These can be repaired with a fiberglass repair kit. The process involves filling the crack and then smoothing and reinforcing the area.
Tools and Materials You’ll Need:

- Fiberglass Bathtub Repair Kit (specifically for acrylic/fiberglass)
- Masking tape
- Sandpaper (various grits: 100, 220, 400, 600)
- Rubbing alcohol
- Sharp utility knife or razor blade
- Mixing cups and stir sticks (usually in the kit)
- Gloves and eye protection
- Small roller or squeegee (often included in kits)
- Optional: Gelcoat or touch-up paint to match tub color
Step-by-Step Guide for Acrylic/Fiberglass Cracks:

- Clean Thoroughly: Clean the cracked area and a few inches around it with soap and water, followed by a wipedown with rubbing alcohol. Ensure the area is completely dry.
- Prepare the Crack: For deeper cracks, you might need to lightly sand the edges to create a smooth surface for adhesion. If the crack is deep, you may need to use a utility knife to carefully open it up slightly and remove any loose material. The goal is to create a clean channel for the repair material.
- Apply Tape: If the crack is linear, you can use masking tape to create a dam on either side to help contain the filler and keep it from spreading to unwanted areas.
- Mix Repair Resin: Follow the instructions in your fiberglass repair kit precisely. Typically, you’ll mix a resin and a hardener. Mix only what you can use before it cures. Wear gloves and eye protection.
- Apply the Resin: Carefully apply the mixed resin into the crack using a spatula or the applicator provided in the kit. Ensure the resin fills the entire depth of the crack. For larger cracks, multiple applications might be needed, with curing time in between.
- Apply Fiberglass Cloth (for structural cracks): If your kit includes fiberglass cloth or matting for structural reinforcement (recommended for deeper or longer cracks), you’ll typically lay a piece over the resin-filled crack, then saturate it with more resin using a brush or roller. Smooth it out to eliminate air bubbles.
- Allow to Cure: Let the resin cure completely. This is a critical step and can take several hours or even a full day depending on the product and temperature.
- Sand Smooth: Once cured, begin sanding. Start with a coarser grit (like 100 or 220) to level the repaired area. Gradually move to finer grits (400, then 600) to achieve a smooth finish that matches the surrounding tub surface. Use a sanding block for even pressure.
- Optional: Gelcoat or Paint: If the repaired area is still discolored or you want a perfect match, you can apply a thin layer of gelcoat or touch-up paint that matches your tub’s color. Allow it to dry completely.
- Final Buffing: Lightly buff the entire mended area with a soft cloth to restore its sheen.
4. Fixing a Stubborn Bathtub Faucet or Showerhead

When your faucet drips, or your showerhead sputters, it’s usually due to worn-out cartridges, O-rings, or washers. Replacing these small parts can often resolve the issue and save water.
Tools and Materials You’ll Need:

- Screwdriver set (Phillips and flathead)
- Adjustable wrench
- Pliers (needle-nose and standard)
- Replacement parts (cartridge, O-rings, washers – specific to your faucet model)
- Plumber’s grease (silicone-based)
- Old towels or rags
- Bucket
- Penetrating oil (optional, if parts are stuck)
Step-by-Step Guide for Faucet/Showerhead Fixes:
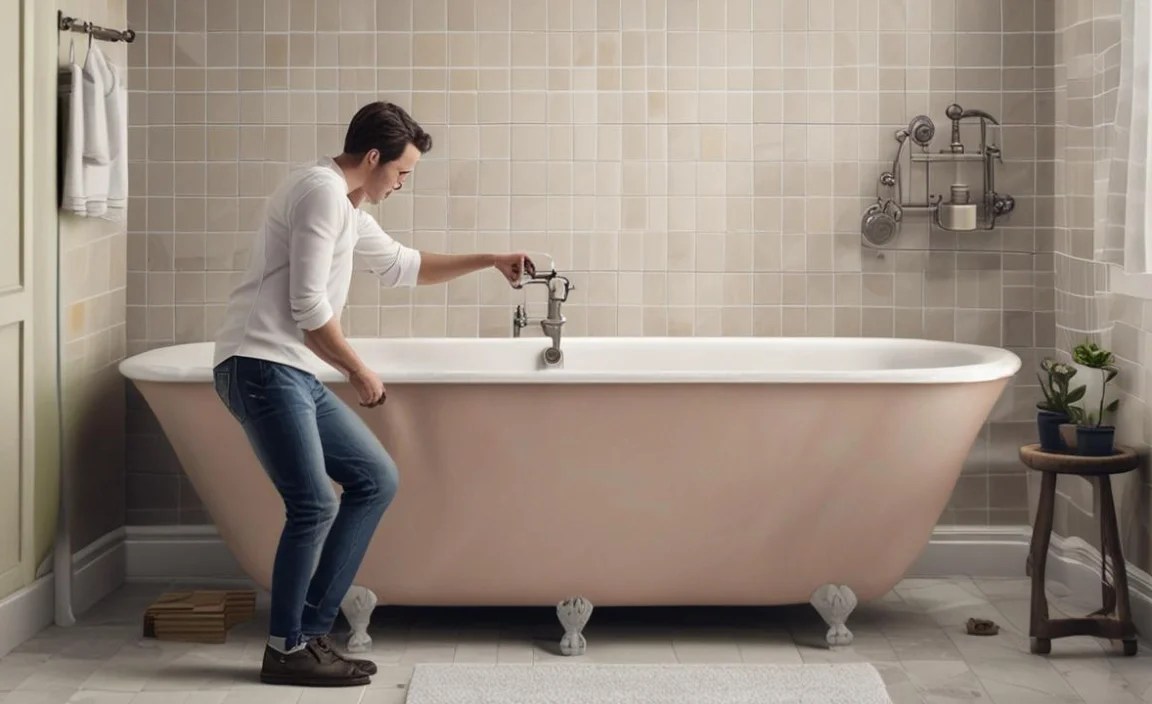
- Identify Your Faucet Type: Before you begin, try to identify the brand and model of your faucet. This will help you find the correct replacement parts. Many parts are model-specific.
- Turn Off the Water Supply: Locate the shut-off valves for your bathroom (usually found under the sink). Turn them clockwise to shut off the water completely. If you can’t find them, you may need to turn off the main water supply to your house.
- Remove the Handle: Faucet handles usually have a decorative cap that hides a screw. Pry off the cap gently with a small flathead screwdriver and then unscrew the retaining screw. Pull the handle straight off. If it’s stuck, a handle puller tool might be needed, or try gently wiggling it.
- Access the Cartridge or Stem: Once the handle is off, you’ll see the faucet’s internal mechanism. In many modern faucets, this is a cartridge. Older faucets might have a stem with washers and O-rings. You might need to remove a retaining clip or nut to take out the cartridge or stem. For showerheads, the issue might be a clogged aerator or a worn washer inside the connection.
- Replace Worn Parts:
- Cartridge: If you have a cartridge, note its orientation. Pull it straight out (you might need pliers or a cartridge puller tool). Install the new cartridge, ensuring it’s oriented correctly.
- Washers and O-rings: If your faucet has a stem with washers and O-rings, remove them carefully. Replace any worn or brittle parts. Lubricate new O-rings with plumber’s grease before installing them.
- Showerhead: For showerheads, unscrew it from the arm. Clean the aerator screen and check for any washers that may have fallen out or are damaged. Replace if necessary.
- Reassemble: Reinstall any retaining clips or nuts, then replace the handle and its screw. Don’t forget to put the decorative cap back on.
- Test for Leaks: Turn the water supply valves back on slowly. Check for leaks around the handle and at the spout or showerhead. Run the water and ensure the drips have stopped.
Bathtub Repair Materials: A Quick Comparison

Choosing the right repair material is key to a lasting fix. Here’s a look at common options:
| Material Type | Best For | Pros | Cons | Typical Cost |
|---|---|---|---|---|
| Epoxy Repair Kits | Chips, cracks, gouges on all tub types (porcelain, enamel, acrylic, fiberglass) | Durable, strong, good adhesion, often includes color matching or paint | Can be messy to work with, requires precise mixing, may chip again if not applied well | $15 – $30 |
| Acrylic/Fiberglass Repair Kits | Cracks and chips specifically in acrylic or fiberglass tubs | Designed to bond with these materials, good flexibility, often a smooth finish | Less versatile for other tub materials, can be labor-intensive for larger cracks | $20 – $40 |
| Plumber’s Putty | Sealing drain flanges and fixtures | Malleable, easy to use, creates a watertight seal, inexpensive | Can dry out over time, not for structural repairs, can stain porous materials | $5 – $10 per tub |
| Silicone Sealant (Plumbing Grade) | Sealing around edges of tubs, around drains, flexible seals | Waterproof, flexible, long-lasting, mildew-resistant options available | Requires careful application for neatness, difficult to remove once cured, not for rigid structural fixes | $5 – $15 per tube |
Safety First! Essential Precautions for Bathtub Repairs

Working on plumbing and with repair materials always calls for caution. Prioritizing safety ensures you have a successful repair experience without any unwelcome incidents.
- Ventilation is Key: Many repair compounds and sealants release fumes. Ensure the bathroom is well-ventilated by opening windows and running the exhaust fan.
- Wear Protective Gear: Always wear gloves to protect your skin from chemicals. Safety glasses are a must when sanding or working with anything that could splash or break.
- Read Product Labels: Follow the manufacturer’s instructions for each product you use. Pay close attention to curing times, mixing ratios, and application methods.
- Water Shut-Off: When working with faucets and drains, always turn off the water supply at the shut-off valves or main line to prevent flooding.
- Electrical Hazards: Be mindful of nearby electrical outlets or fixtures, especially if you’re dealing with water. Ensure tools and hands are dry.
- Proper Disposal: Dispose of leftover mixed compounds and empty containers according to local regulations.
When to Call a Professional

While this guide covers many common DIY fixes, there are situations where it’s best to call in a professional plumber or contractor:
- Extensive Cracks or Structural Damage: If your tub has large, spreading cracks or the material seems compromised, professional repair might be more effective and safer.
- Recurring Leaks: If you’ve tried to fix a leak and it keeps returning, there might be a bigger underlying issue in the plumbing.
- Damage to Underlying Structures: If you suspect water damage to subflooring, walls, or joists, a professional can assess and repair the damage.
- Unfamiliarity or Discomfort: If at any point you feel unsure or uncomfortable with a repair step, it’s always wise to seek expert help.
- Porcelain Chip Repairs (Deep): Deep chips in porcelain tubs can be tricky to repair seamlessly. Professionals have specialized materials for this.
