
Repair bathtub step by step with proven fixes for common issues like chips, cracks, and leaks. This guide offers clear, beginner-friendly instructions to restore your bathtub’s look and function safely, saving you time and money.
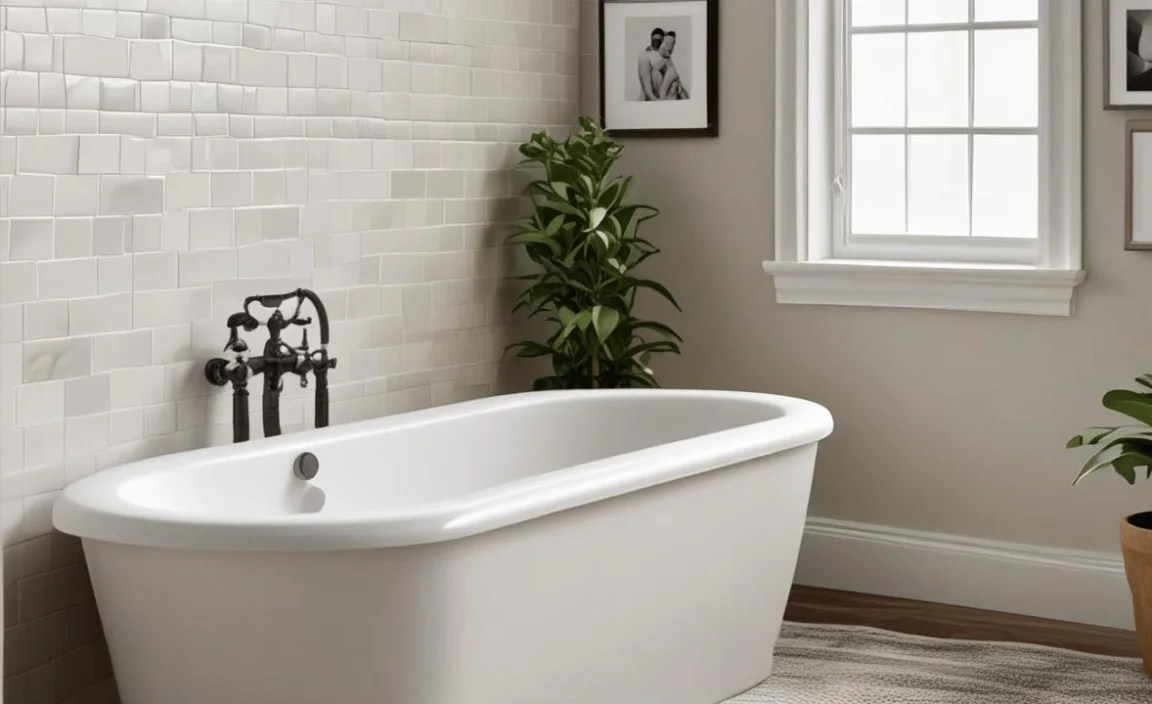
Having a bathtub that isn’t in tip-top shape can be a real mood-killer. Minor damage, like small chips or a persistent leak, might seem daunting to fix, but it doesn’t have to be! Many common bathtub problems are actually quite manageable with the right guidance and a few simple tools.
This article will walk you through how to repair your bathtub step by step. We’ll cover the most frequent issues and provide easy-to-follow instructions so you can tackle them confidently. Get ready to revive your bathtub and bring back that spa-like feel to your bathroom. Let’s dive in!
Common Bathtub Problems and When to Repair
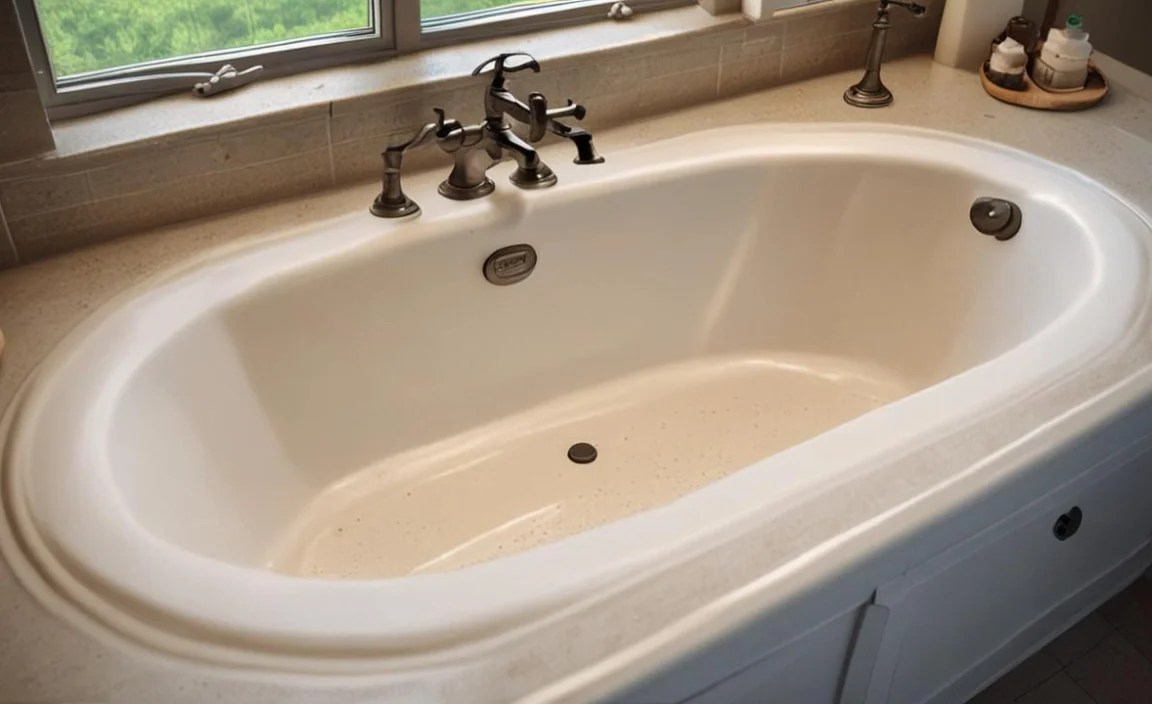
Bathtubs, like any part of your home, can experience wear and tear. Understanding the common problems is the first step to a successful fix. Here’s a breakdown of what to look for:
Chips and Scratches: These are usually superficial and can be caused by dropped items or regular use. They can be an eyesore and, if deep enough, can lead to rust if not addressed.
Cracks: Cracks, especially larger ones, can be more serious. They can compromise the bathtub’s structural integrity and lead to leaks. Small surface cracks might be repairable, but deep or widespread cracks often require professional attention or even bathtub replacement.
Leaks: A leaking faucet, drain, or overflow pipe is a common issue. These can waste water and cause damage to your bathroom floor and subfloor if not fixed promptly.
Stains: While often cosmetic, deep-set stains can be frustrating. They can stem from hard water, rust, mold, or certain cleaning products.
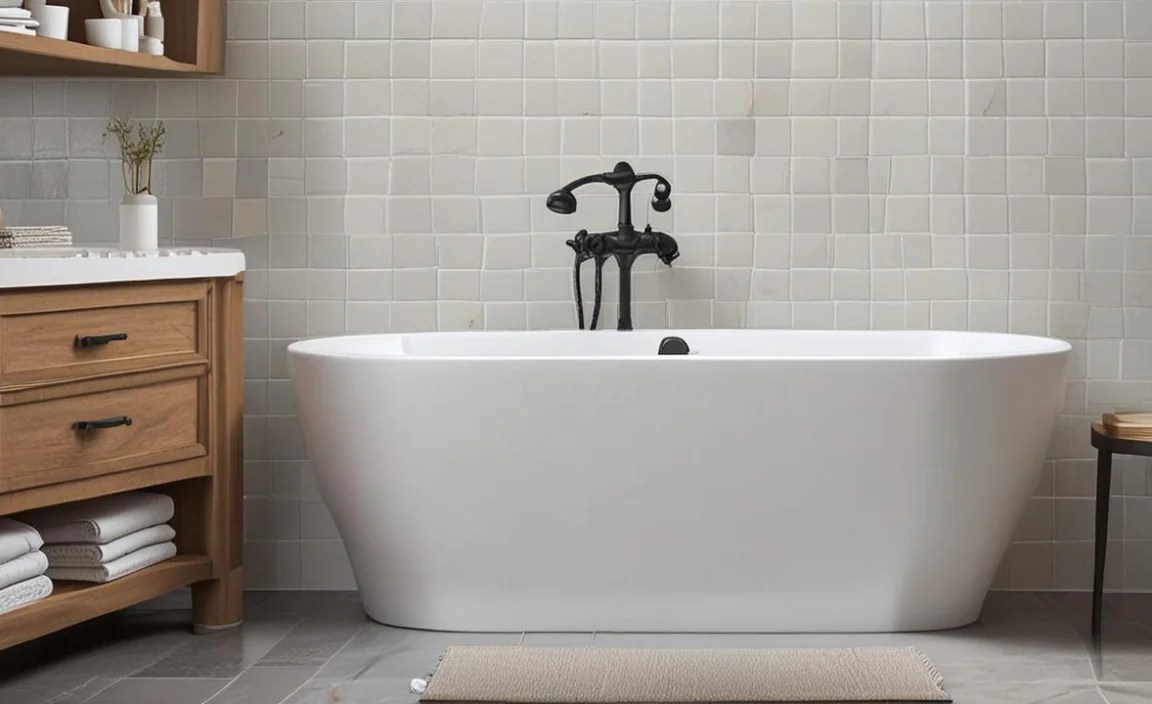
Dull or Worn Finish: Over time, the glossy finish of your bathtub can become dull or scratched, making it look old and uninviting.
When is it Time to Call a Professional?

While many bathtub repairs are DIY-friendly, some situations are best left to the experts. Consider calling a plumber or a bathtub repair specialist if:
You suspect major structural damage to the tub itself.
The leak is extensive and you can’t locate the source, or it’s coming from behind the walls.
You’re uncomfortable with any step of the repair process.
The repair involves complex plumbing behind the wall.
The bathtub is made of a material you’re unfamiliar with and worried about damaging.
Gathering Your Tools and Materials

Before you begin any repair, it’s essential to have all the necessary tools and materials on hand. This will save you trips to the hardware store and ensure a smoother repair process.
Essential Tools for Bathtub Repair:

Safety Gear: Gloves, safety glasses, and a mask are crucial for protecting yourself from chemicals and dust.
Cleaning Supplies: Mild detergent, a scrub brush, rags, and microfiber cloths for thorough cleaning.
Putty Knife or Scraper: For removing old caulk or smoothing filler.
Caulking Gun: For applying new sealant.
Utility Knife: For cutting stubborn caulk.
Sanding Block or Sandpaper: (Various grits, typically 120-220) for preparing surfaces.
Applicators: Small brushes, foam applicators, or even toothpicks for applying repair compounds.
Drop Cloths or Old Towels: To protect your bathroom floor.
Common Repair Materials:

The materials you’ll need depend on the type of repair:
Bathtub Repair Kit: These kits are designed for specific bathtub materials (e.g., acrylic, porcelain, fiberglass) and usually contain filler, hardener, and color-matching agents.
Epoxy or Bondo: For filling deeper chips and cracks.
Tub and Tile Caulk: Silicone or latex-based caulk for sealing edges and gaps.
Primer and Paint: For refinishing or color matching in some repair kits.
Replacement Parts: For leaky faucets and drains (e.g., O-rings, washers, cartridges).
Repairing Chips and Scratches: A Step-by-Step Guide

Small imperfections like chips and scratches are common and can often be fixed with a DIY bathtub repair kit. These kits are readily available at most home improvement stores and are designed for various bathtub materials.
Step 1: Clean the Damaged Area Thoroughly

Start by cleaning the chipped or scratched area with a mild detergent and water.
Use a scrub brush to remove any soap scum, dirt, or mildew.
Rinse the area completely and let it dry thoroughly. A clean, dry surface is essential for the repair material to adhere properly.
If there’s any rust present, use a rust remover according to its product instructions.
Step 2: Prepare the Damaged Area

For deeper chips, you might need to slightly roughen the edges of the damage with fine-grit sandpaper (around 220 grit). This helps the repair material get a better grip.
Wipe away any dust created by sanding.
If the chip is very deep, you might need to build up layers of filler rather than applying one thick coat.
Step 3: Mix the Repair Compound

Most bathtub repair kits come with a two-part compound (e.g., resin and hardener) or a filler and a touch-up paint.
Carefully follow the manufacturer’s instructions for mixing. It’s crucial to get the ratio right for proper curing.
Mix only the amount you’ll need for the immediate repair, as it can harden quickly. Use a disposable container or a small mixing tray.
Step 4: Apply the Repair Compound

Using a small brush or applicator provided in the kit, carefully fill the chip or scratch with the mixed compound.
Apply it slightly above the surface level, as it may shrink slightly when drying.
For larger chips, you might need to apply the compound in thin layers, allowing each layer to set slightly before applying the next. This prevents sagging and ensures a stronger repair.
Smooth the compound as much as possible to minimize the need for sanding later.
Step 5: Let It Cure

Allow the repair compound to dry and cure completely according to the kit’s instructions. This can take anywhere from a few hours to 24 hours, depending on the product and humidity.
Avoid using the bathtub or disturbing the repaired area during this time.
Step 6: Sand and Finish
Once fully cured, carefully sand the repaired area smooth. Start with a slightly coarser grit sandpaper (e.g., 180 grit) and progressively move to finer grits (e.g., 220 or 320 grit) to achieve a smooth finish.
Sand gently to avoid damaging the surrounding bathtub surface.
Wipe away all dust with a damp cloth.
If your kit includes touch-up paint, apply it carefully with a small brush to match the surrounding color. You may need thin coats.
Allow the paint to dry according to instructions. Some kits might have a final clear coat application for shine.
Fixing Cracks in Your Bathtub
Repairing cracks requires a bit more attention, especially if they are significant. The method for fixing cracks often overlaps with repairing chips, but crack repair emphasizes structural integrity.
Step 1: Assess the Crack

Determine the extent and depth of the crack. If it’s a hairline crack, the process is similar to filling a scratch.
If the crack is deep, or if you suspect it might be growing, it’s a sign of a more serious issue and professional consultation might be wise. For deeper cracks, you’ll need a sturdy filler like epoxy.
Step 2: Clean and Prepare the Area

Clean the cracked area thoroughly with soap and water, then rinse and dry completely.
For deeper cracks, you may need to gently widen the crack slightly with a utility knife or a small chisel. This helps the filler penetrate the full depth of the crack, creating a stronger bond. Be careful not to enlarge the crack unnecessarily or damage the tub material.
If the crack extends to a hole or a significantly damaged area, ensure all loose material is removed.
Sand the area around the crack lightly to ensure good adhesion of the filler. Wipe away dust.
Step 3: Apply a Strong Filler (for Deeper Cracks)

For cracks that penetrate the surface, an epoxy repair kit is often the best choice. These are designed to bond strongly and fill voids.
Follow the manufacturer’s instructions for mixing the epoxy. Work in a well-ventilated area.
Carefully apply the mixed epoxy into the crack using a putty knife or applicator. Ensure the filler is pressed firmly into the crack to eliminate air bubbles.
For very deep cracks, you might need to fill them in stages, allowing each layer to cure slightly before applying the next, ensuring the crack is completely filled. Overfill slightly to allow for sanding.
Step 4: Cure and Sand

Allow the epoxy to cure completely, which can take 24 hours or more.
Once cured, sand the filled area flush with the bathtub surface. Start with a medium-grit sandpaper (e.g., 150-180) and finish with finer grits (e.g., 220-320) for a smooth finish.
Ensure the repaired area is perfectly smooth and level with the rest of the tub.
Step 5: Finish and Seal (if necessary)

If the crack repair kit includes color-matching paint, apply it using thin coats.
Once the paint is dry, you can apply a sealant around the edges of the crack if it’s near a grout line or wall to prevent water ingress. Use a high-quality tub and tile caulk.
Addressing Leaky Faucets and Drains

Leaks are not just annoying; they can cause significant water damage if left unfixed. Most leaks stem from worn-out seals, washers, or cartridges.
Repairing a Leaky Faucet

A dripping faucet is usually caused by a worn-out washer or O-ring inside the handle or stem.
Step 1: Turn Off the Water Supply

Locate the shut-off valves for your bathtub faucet. These are typically found under the sink or behind an access panel.
Turn the handles clockwise to shut off the hot and cold water supply to the faucet.
Turn on the faucet to drain any remaining water in the pipes and to test that the water is off.
Step 2: Disassemble the Faucet Handles

Remove the decorative caps on the faucet handles (if any). These might pop off or be held by a small screw.
Unscrew the handle assembly from the faucet stem. You might need a screwdriver or an Allen wrench.
Carefully remove the bonnet nut or packing nut that holds the stem in place.
Step 3: Inspect and Replace Worn Parts

Slide out the faucet stem.
Examine the rubber O-ring and the washer at the bottom of the stem. If they appear worn, cracked, or flattened, they are likely the culprits.
Take the old parts to your local hardware store to find exact replacements. It’s often best to replace both the washers and O-rings while you have the faucet disassembled. For more information on faucet repair, the U.S. Department of Energy’s Energy Star program offers great advice on saving water by fixing leaks.
Step 4: Reassemble the Faucet

Reinstall the new washer and O-ring onto the faucet stem.
Slide the stem back into the faucet body.
Tighten the bonnet nut or packing nut. Don’t overtighten, as this can damage the new parts.
Reattach the faucet handle and its decorative cap.
Step 5: Turn the Water Back On and Test

Slowly turn the water supply valves back on (counter-clockwise).
Check for leaks at the faucet handle and stem.
Turn on the faucet to ensure water flows correctly and that the drip has stopped.
Repairing a Leaky Drain or Overflow Drain

Leaks around the drain or overflow plate are often due to degraded plumber’s putty or a loose connection.
Step 1: Turn Off Water and Drain

Ensure the tub is empty.
If the leak is suspected to be from the overflow, you might need to remove the overflow plate to access the mechanism.
Step 2: Remove and Inspect the Overflow Plate

Locate the screws holding the overflow plate to the tub wall.
Carefully unscrew and remove the plate. Be prepared for some residual water to drip out.
Examine the gasket or plumber’s putty behind the plate. If it’s old, hardened, or cracked, it’s likely the cause of the leak.
Check the drain assembly for any signs of loose fittings. A quick tightening might solve minor issues.
Step 3: Replace Plumber’s Putty or Gasket

Clean away all old putty or residue from the overflow opening and the back of the overflow plate.
Apply a fresh, continuous bead of plumber’s putty around the back of the overflow plate where it meets the tub wall. Alternatively, if your unit uses a rubber gasket, ensure it’s clean and in good condition, or replace it if it’s damaged.
Press the overflow plate firmly back into place to seat the putty or gasket.
Reinstall the screws, tightening them evenly to create a watertight seal. Don’t overtighten.
Step 4: Check the Bathtub Drain Stopper and Seal

Sometimes, a faulty drain stopper or a worn gasket at the base of the drain can cause leaks.
You may need to unscrew the drain flange from the bathtub. This often requires a drain wrench or pliers, and sometimes you need to fill the tub with a small amount of water to create a buffer against torque.
Clean off the old putty or sealant around the drain flange.
Apply a new bead of plumber’s putty or waterproof silicone sealant around the underside of the drain flange.
Press the flange back into the drain opening and screw it into the drain shoe below.
Tighten securely and clean off any excess material.
Step 5: Test for Leaks
Once everything is reassembled, run water into the tub.
Check the overflow area and the drain from the outside (if accessible) or by checking for water on the floor below.
Fill the tub and let it sit to ensure the drain seals properly.
Refinishing or Resurfacing Your Bathtub
If your bathtub has lost its shine, is heavily stained, or has minor surface imperfections that repair kits can’t fully address, refinishing or resurfacing might be an option. This process involves applying a new coating to the tub’s surface. While often done professionally, a DIY kit can be used for a mid-level refresh.
Important Note: DIY bathtub refinishing kits use strong chemicals and require excellent ventilation and safety precautions. If you have respiratory issues or are sensitive to chemicals, it’s highly recommended to hire a professional for this process.
Step 1: Preparation is Key
Clean the Tub: This is the most critical step. The tub must be immaculately clean and free of all soap scum, mildew, and existing coatings. Use a heavy-duty cleaner and degreaser.
Repair Damage: Fill any chips, cracks, or holes using an epoxy filler as described earlier. Sand and smooth these repairs perfectly.
Etch or Sand: The existing surface needs to be etched or lightly sanded to provide a surface the new coating can adhere to. Most kits include an etching solution or recommend specific grit sandpaper (often 220-320). Follow the kit’s instructions precisely.
Rinse and Dry: Thoroughly rinse away all cleaning and etching residue. Allow the tub to dry completely. You might use a fan to speed this up. Any moisture will lead to coating failure.
Masking: Use painter’s tape and plastic sheeting to meticulously mask off all surrounding fixtures, tiles, walls, and the floor. Ensure a tight seal to prevent overspray.
Step 2: Apply the Primer (if applicable)
Some refinishing kits require a primer coat for better adhesion and color uniformity.
Mix the primer according to instructions and apply it in a thin, even coat using a foam roller or a sprayer.
Allow the primer to dry for the time specified by the manufacturer.
Step 3: Apply the New Coating
Bathtub refinishing kits typically come with a two-part epoxy or urethane coating. Mix these components very carefully according to the instructions. Work quickly once mixed, as they often have a limited pot life and can cure rapidly.
Application Methods:
Roller Application: Use a high-density foam roller designed for smooth finishes. Apply in long, even strokes, overlapping slightly. Avoid applying too thickly, which can cause runs.
Sprayer Application: If using a sprayer (included in some kits or a separate purchase), follow the instructions for proper nozzle settings and spray pattern. This method often provides the smoothest finish but requires more masking to protect surrounding areas.
Apply the coating in thin, even coats. It’s usually better to apply 2-3 thin coats than one thick one.
Allow each coat to dry to the touch (or slightly tacky, depending on the product) before applying the next.
Step 4: Cure and Reassemble
* Allow the final coat to cure completely. This is a critical step and can take 2
