
Quick Summary:
Your kitchen cabinets deserve a refresh! This guide offers straightforward, beginner-friendly fixes for common cabinet problems like loose hinges, sticky drawers, and minor cosmetic damage, empowering you to restore their functionality and appearance with simple tools and techniques.
Cabinets, the workhorses of our kitchens and bathrooms, often show their age with everyday wear and tear. A loose door, a sticky drawer, or a chipped edge can be more than just an eyesore; they can make your space less enjoyable to use. But don’t worry! You don’t always need a professional to tackle these common cabinet woes. With a few basic tools and this easy-to-follow guide, you can confidently repair your cabinets, saving time and money.
We’ll walk you through essential fixes that are perfect for beginners. You’ll learn how to address wobbly hinges, stubborn drawers, and surface blemishes, bringing new life to your beloved cabinets. Let’s get started on making your cabinets feel and look their best!
Frequently Asked Questions About Cabinet Repairs
Here are answers to some common questions DIYers have about fixing their cabinets.
- Q1: What are the most common cabinet problems?
- A1: The most frequent issues include loose or sagging hinges, sticky or misaligned drawers, damaged door fronts, and worn-out drawer slides. Surface scratches and dings are also very common.
- Q2: What tools do I need for basic cabinet repairs?
- A2: For most simple repairs, you’ll need a Phillips head screwdriver, a flathead screwdriver, a tape measure, and possibly wood glue. For cosmetic fixes, wood filler, sandpaper, and touch-up paint or stain are useful. For more involved fixes like drawer slides, you might need a drill and a level.
- Q3: How do I fix a loose cabinet hinge?
- A3: Start by tightening the screws on the hinge that attach it to the cabinet door and the cabinet frame. If the screw holes are stripped, you can often repair them by inserting a toothpick or a wooden dowel coated in wood glue into the hole, letting it dry, and then re-drilling a pilot hole for the screw.
- Q4: My cabinet drawer is sticking. What’s the easiest fix?
- A4: First, check for anything obstructing the drawer’s path. Then, examine the drawer slides. Often, simply cleaning and lubricating the slides with a silicone-based spray can resolve sticking. If the drawer is misaligned, you may need to adjust the slides or check if the drawer itself has warped.
- Q5: How can I repair small chips or scratches on my cabinet doors?
- A5: For minor chips and scratches, wood filler is your friend. Apply it with a putty knife, let it dry completely, then sand it smooth to match the surrounding surface. For minor scratches, a wood crayon or touch-up stain pen in a matching color can often do the trick.
- Q6: Do I need special skills to repair cabinet hinges?
- A6: Not at all! Fixing loose hinges is one of the most accessible DIY repairs. It primarily involves basic tools and a bit of patience. Ensuring you have the correct screwdriver and understanding how the hinge attaches will make the process straightforward.
- Q7: When should I call a professional for cabinet repairs?
- A7: If the damage is extensive, like a warped cabinet box, severely delaminated doors, or if you’re dealing with complex drawer slide systems you’re unsure about, it’s wise to consult a professional. Also, if your cabinets are valuable or antique, professional restoration might be the best option.
Fixing Loose Hinges: The Most Common Cabinet Culprit
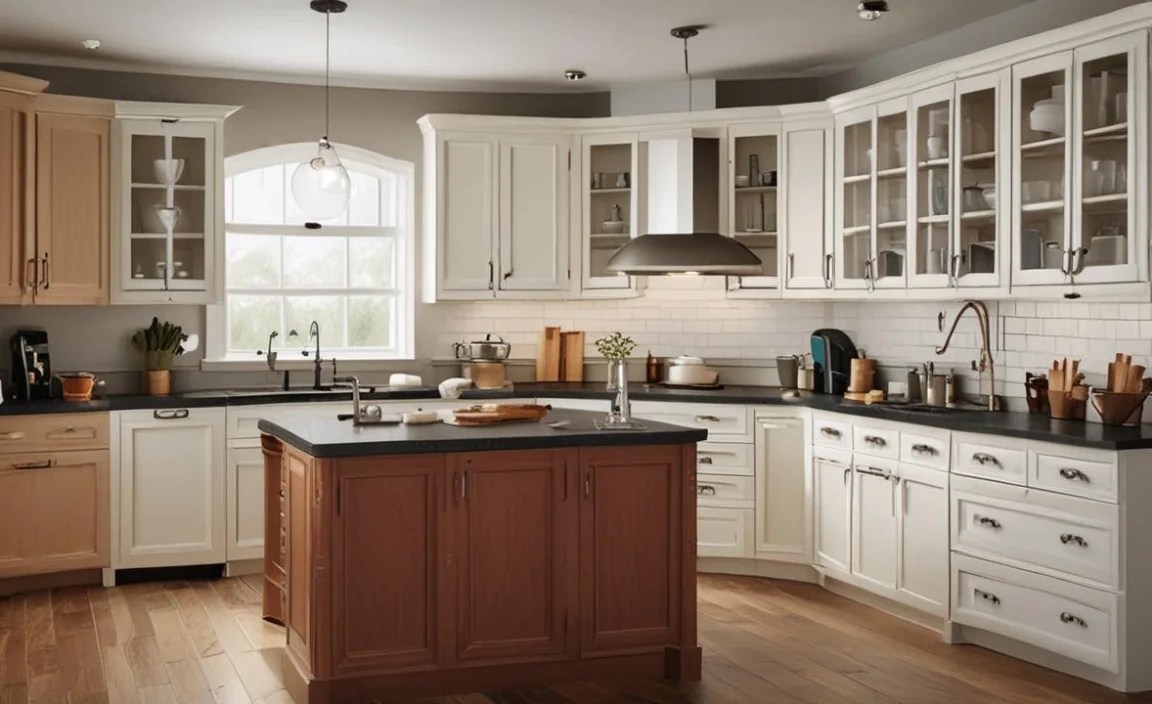
Loose cabinet hinges are probably the most common issue homeowners face. A door that sags or doesn’t close properly is usually a sign of this. Thankfully, this is often an easy fix that can bring a cabinet back to its best performance.
Understanding Cabinet Hinges
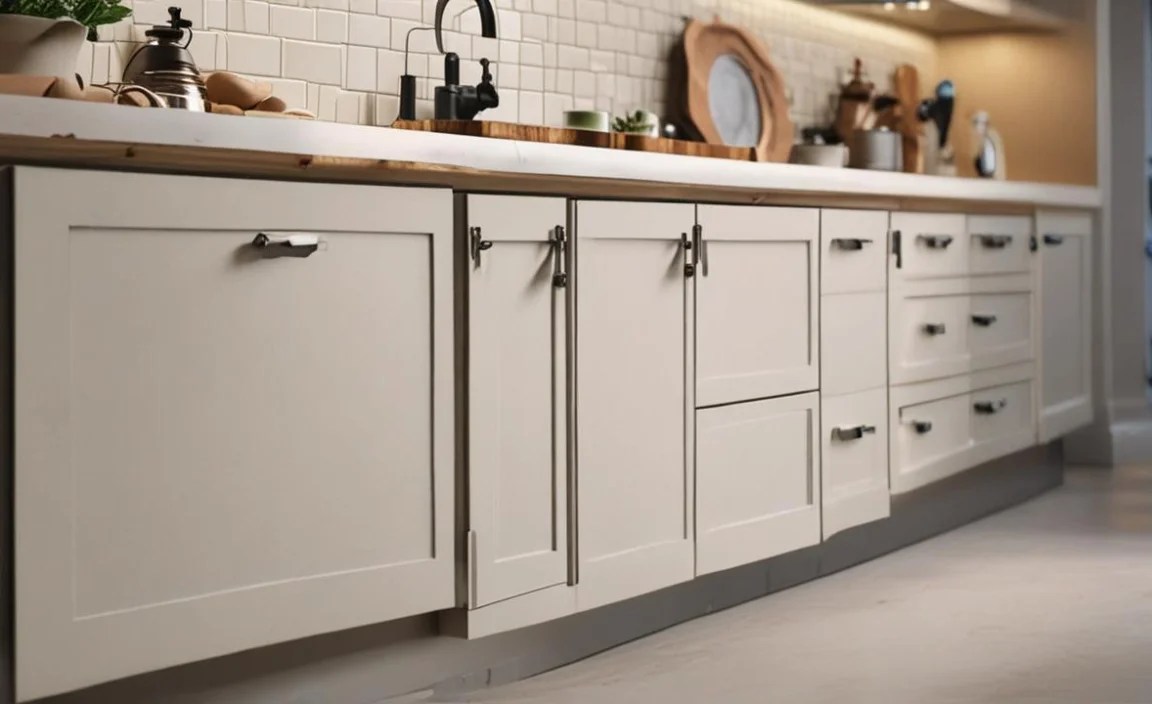
Cabinet hinges are what connect your cabinet doors to the cabinet box, allowing them to swing open and closed. They come in various types, but most kitchen and bathroom cabinets use either:
- Surface-mounted hinges: These attach directly to the surface of the cabinet frame and door. They are often the easiest to adjust and repair.
- Inset hinges (or Euro/Concealed hinges): These are recessed into the cabinet door and frame, offering a cleaner look. They can be a bit more intricate but are still manageable for DIYers.
The screws that hold these hinges in place can loosen over time due to the weight of the door and frequent use, or the wood they are screwed into can wear out.
Tools and Materials You’ll Need
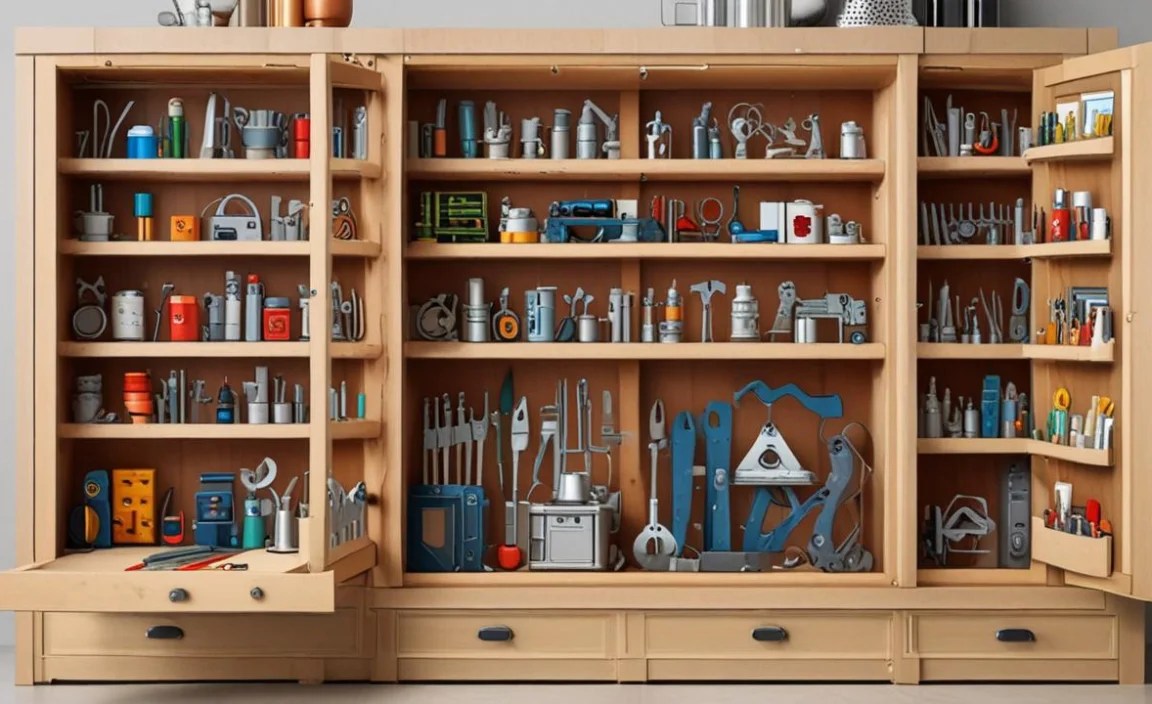
- Phillips head screwdriver (often a #2 size)
- Flathead screwdriver (for some hinge adjustments)
- Wood glue
- Wooden toothpicks or small wooden dowels
- A small hammer (optional, for tapping dowels)
- A level (optional, to check door alignment)
- A helper (optional, but recommended for holding doors steady)
Step-by-Step: Tightening Loose Screws
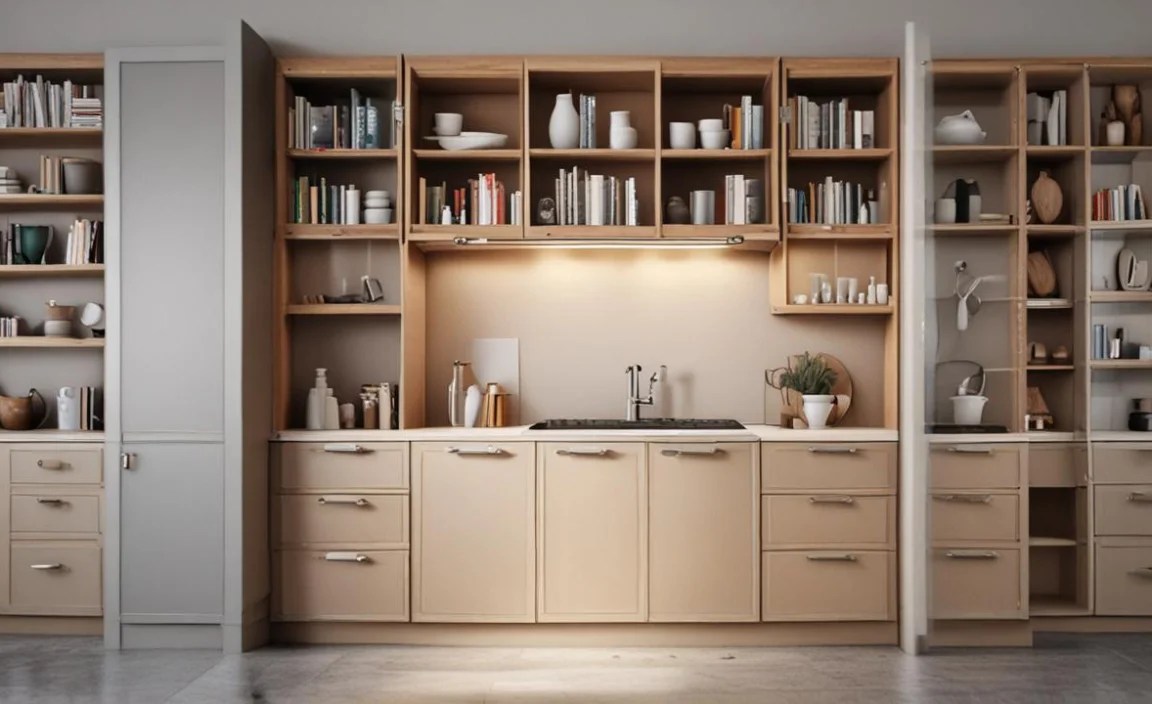
This is your first line of defense for a sagging or loose cabinet door.
- Identify the Loose Screws: Open the cabinet door and carefully inspect the hinges. You’ll see screws attaching the hinge plate to the cabinet frame and screws attaching the hinge arm to the cabinet door itself.
- Tighten Gently: Using your Phillips head screwdriver, gently try to tighten any screws that appear loose. Work slowly and avoid overtightening, which can strip the screw head or damage the wood. Tighten both the screws on the hinge plate (attached to the frame) and the screws on the hinge arm (attached to the door).
- Test the Door: Close the door and open it a few times to see if the sagging or looseness has improved. If it feels more secure and hangs straight, you’re done!
Taking It a Step Further: Repairing Stripped Screw Holes

If tightening the screws didn’t help, it’s likely the screw holes have become stripped. This means the wood fibers are worn, and the screw can no longer get a good grip.
Here’s how to fix that:
- Remove the Hinge: Unscrew the hinge completely from either the door or the frame, depending on which side has the stripped hole. It’s often easier to remove the hinge from the door first.
- Prepare the Hole: Take a wooden toothpick or a slender piece of wooden dowel. Dip it in wood glue.
- Fill the Hole: Insert the glued toothpick(s) or dowel piece into the stripped screw hole. Fill the hole as much as possible so the screw will have something to bite into. You might need to break off the excess toothpick flush with the surface. If using a dowel, you might need to tap it in gently with a hammer.
- Let It Dry: Allow the wood glue to dry completely. This usually takes at least 30 minutes, but overnight is best for a strong bond. Refer to your wood glue’s instructions for drying times.
- Re-drill and Reattach: Once the glue is dry, use a drill bit that is slightly smaller than your screw diameter to carefully drill a new pilot hole into the glued area. This creates a fresh, solid anchor for the screw. Then, reattach the hinge using the original screw.
- Repeat if Necessary: If you have multiple stripped holes on a hinge, repeat the process for each one.
Adjusting Hinges for Perfect Alignment
Sometimes, a door isn’t loose, but it’s just not hanging straight or closing flush. Many modern hinges have adjustment screws that allow you to fine-tune the door’s position.
Common Adjustment Screws on Euro-style Hinges:
| Screw Designation | Effect on Door |
|---|---|
| Screw 1 (Typically closest to the door edge) | Adjusts the door’s side-to-side position (left/right). |
| Screw 2 (Typically in the middle) | Adjusts the door’s in-and-out depth (forward/backward). |
| Screw 3 (Typically furthest from the door edge, on the mounting plate) | Adjusts the door’s vertical position (up/down). Sometimes this is adjusted by slightly loosening the mounting plate screws. |
How to Adjust:
- Identify the Problem: Observe how the door is misaligned. Is it too close to the cabinet frame on one side? Does it stick out too much? Is it hanging too low?
- Make Small Adjustments: Turn one adjustment screw a quarter turn at a time. Observe the effect on the door. It’s best to have a helper hold the door steady while you make adjustments.
- Test and Repeat: Close the door to check the alignment. Continue making small adjustments until the door hangs straight and closes properly. Resetting hinges can be a bit of trial and error, so be patient!
For more information on hinge types and adjustments, resources like The Home Depot’s guide on cabinet hinges can offer visual aids and additional details.
Taming Stubborn Drawers: Making Them Glide Smoothly
A drawer that sticks, squeaks, or is difficult to open and close can be incredibly frustrating. The culprits are often a misaligned drawer, worn-out slides, or just a need for a little lubrication.
Identifying Drawer Issues
Before you start fixing, take a moment to understand what’s causing the problem:
- Is it simply stiff to open/close? This might be a lubrication issue.
- Does it rub against the cabinet frame? This often indicates misalignment or warped wood.
- Does it fall off the tracks? The drawer slides might be damaged or not properly installed.
- Is it difficult to close completely? Check for obstructions or if the drawer box itself has expanded.
Simple Fixes, Simple Tools
- Phillips head and flathead screwdrivers
- Lubricant (silicone spray, wax, or even a bar of soap)
- A clean cloth or paper towels
- Wood glue and clamps (if drawer box is loose)
- Sandpaper (medium and fine grit)
- Putty knife or scraper
- Optional: Replacement drawer slides
Step 1: Lubricate and Clean
This is the easiest and most common fix for stiff drawers.
- Empty the Drawer: Remove all contents from the drawer.
- Inspect Slides: Pull the drawer out as far as it will go. Look at the drawer slides (the metal runners on the sides of the drawer and inside the cabinet opening). Clean off any dust, debris, or old gunk with a cloth.
- Apply Lubricant:
- Silicone Spray: This is often the best choice as it doesn’t attract as much dust. Spray a light, even coat onto the metal tracks of the drawer slides.
- Wax: Rub a bar of paraffin wax (or even a candle) along the wooden or metal tracks.
- Soap: A dry bar of soap can also work as a temporary lubricant.
- Work the Drawer: Open and close the drawer several times to distribute the lubricant evenly.
- Wipe Excess: Use a clean cloth to wipe away any excess lubricant to prevent it from attracting dirt.
Step 2: Adjusting for Misalignment and Rubbing
If lubrication doesn’t solve it, the drawer might be rubbing because it’s not sitting square or straight.
- Identify the Rubbing Point: Close the drawer slowly while watching for where it catches or rubs against the cabinet frame. Squeezing it slightly can help reveal the spot.
- Check Drawer Slides: Ensure the drawer slides attached to the cabinet frame and the drawer itself are screwed in tightly and are level. Loose screws here are a common cause of misalignment. Tighten them. If the holes are stripped, use the toothpick/wood glue trick mentioned earlier.
- Sanding Rubbing Spots: If the drawer box itself is rubbing against the frame, identify the exact spot. Lightly sand down the high spot on the drawer or the frame where the rubbing occurs. You only need to remove a tiny amount of material for the drawer to glide smoothly. Sand in the direction of the wood grain.
- Leveling Drawer Slides: Sometimes, the drawer slides on one side are slightly higher or lower than the other. You can try using small shims (thin pieces of wood or cardboard) behind the rear of the slide to level it.
Step 3: Repairing a Loose Drawer Box
A drawer box that is coming apart at the joints will not slide smoothly and can cause significant problems.
- Disassemble (Carefully): If the drawer box is loose, you might need to carefully take it apart at the joints.
- Apply Wood Glue: Apply a generous amount of strong wood glue to the edges of the wood pieces that form the joints.
- Assemble and Clamp: Reassemble the drawer box, ensuring everything is square. Use clamps to hold the pieces together tightly while the glue dries. A carpenter’s square can help ensure the corners are at a perfect 90-degree angle.
- Reinforce (Optional): For extra durability, you can add small screws or nails into the joints after gluing and clamping.
- Let Dry: Allow the glue to dry completely according to the manufacturer’s instructions.
Step 4: Replacing Worn-Out Drawer Slides
If the drawer slides are bent, broken, or excessively worn, lubrication and adjustments won’t be enough. They’ll need replacement.
- Measure and Purchase: Carefully measure your old drawer slides (length, width, and extent of extension). Take photos of your existing slides to show a hardware store associate. Purchase new slides of the same type and size. If the style is no longer available, look for universal replacements that match the mounting dimensions. Rockler’s guide to choosing drawer slides can help you understand different types.
- Remove Old Slides: Unscrew and remove the old slides from both the drawer box and the cabinet frame.
- Install New Slides: Follow the manufacturer’s instructions for installing the new slides. Ensure they are level and parallel to each other.
- Test: Reattach the drawer and test its movement.
Refreshing the Look: Fixing Dents, Scratches, and Chips

Beyond functional issues, cabinets often suffer from minor cosmetic damage that can make them look tired. These fixes are about restoring their finish and appearance.
Supplies for Cosmetic Repairs

- Wood filler (in a color that matches your cabinets or paintable)
- Putty knife or small trowel
- Sandpaper (various grits: 120, 220, and maybe 320)
- Tack cloth or damp cloth
- Wood stain, paint, or touch-up markers/crayons (to match your cabinet finish)
- Clear protective finish (polyurethane or lacquer, if needed)
- Optional: Small brush or foam applicator
<h3 id=”fixing-dents-and
