
Repair caulking easily with our proven fix! This guide breaks down how to remove old caulk and apply new, creating a watertight seal that prevents leaks and looks great. Get ready to tackle this common home repair with confidence!
Leaky or cracked caulk is a common sight around bathrooms and kitchens. It’s not just unsightly; it can lead to bigger problems like water damage and mold. But don’t worry! Repairing caulk doesn’t require a professional. With a few simple tools and this easy-to-follow guide, you can achieve a neat, watertight seal that keeps your home looking its best and protected from moisture.
We’ll walk you through every step, from peeling away the old, stubborn caulk to smoothing in a fresh bead. You’ll learn what supplies you need and how to use them safely and effectively. Get ready to refresh your space and gain that DIY satisfaction!
Why Does Caulk Need Repairing?
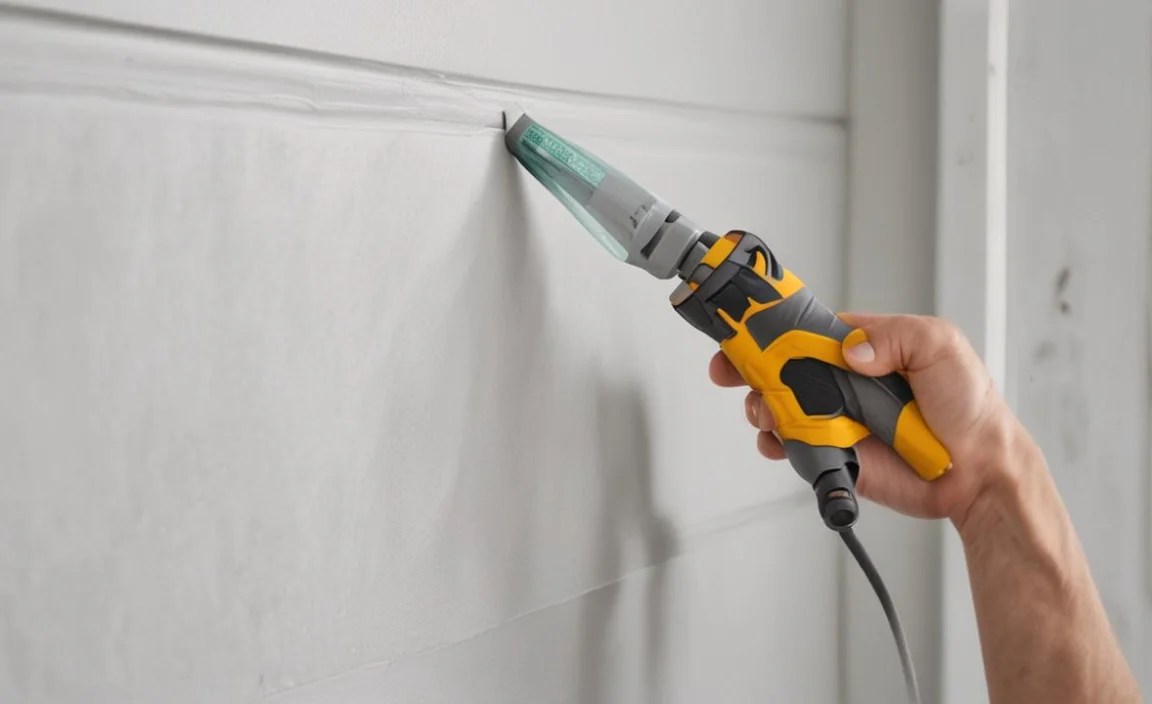
Caulking is like the silent guardian of your home’s wet areas. It’s that flexible, rubbery material you see filling the gaps between your bathtub and the wall, around sinks, or along window frames. Its main job? To create a watertight barrier. This prevents water from seeping into cracks and crevices, which can cause all sorts of trouble.
Over time, caulk can dry out, crack, shrink, or even peel away. This often happens due to:
- Age and Wear: Like anything, caulk has a lifespan. It degrades with exposure to moisture, temperature changes, and general use.
- Mold and Mildew: In damp environments, mold can grow on or within the caulk, making it discolored and difficult to clean.
- Shrinking and Cracking: As caulk ages, it can lose its flexibility and shrink, leading to small gaps or visible cracks where water can get through.
- Poor Initial Application: Sometimes, caulk fails because it wasn’t applied correctly the first time, leading to premature deterioration.
Ignoring failing caulk can lead to more serious issues such as wood rot, damaged drywall, and even the growth of unhealthy mold. Thankfully, learning how to repair caulk is a straightforward DIY fix that saves you money and prevents bigger headaches down the line.
What You’ll Need: Your Caulking Repair Toolkit

You don’t need a workshop full of fancy tools for this job. Most of what you’ll need can be found at your local hardware store or even in your existing toolbox. Having the right supplies makes the job much smoother and the results far better.
Essential Tools for Removing Old Caulk
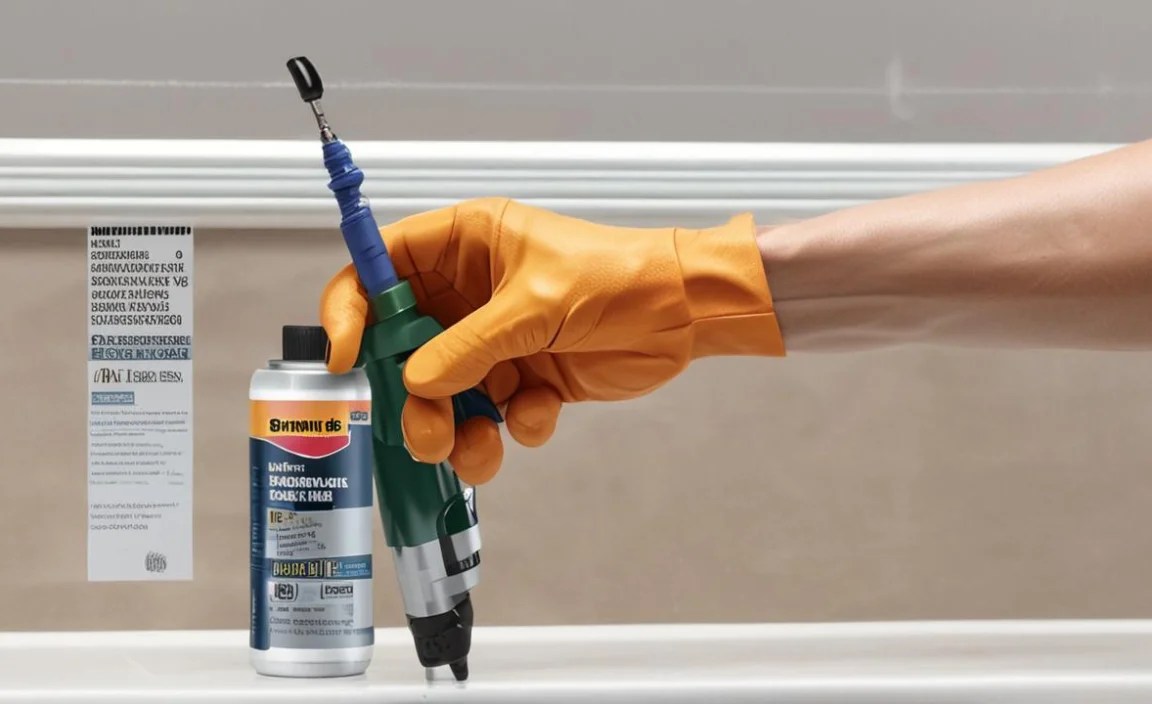
- Utility Knife or Caulk Removal Tool: This is your primary tool for cutting and prying away old caulk. A dedicated caulk removal tool often has angled blades that are perfect for getting into tight spots.
- Putty Knife or Scraper: A flat metal putty knife is great for scraping away stubborn residue after the bulk of the caulk is removed.
- Gloves: Protect your hands from sharp tools and any lingering cleaning chemicals.
- Safety Glasses: Especially important when cutting or scraping, to prevent debris from getting into your eyes.
- Trash Bags or Bucket: To collect all the removed caulk and debris.
Cleaning Supplies
- Cleaning Cloths or Rags: For wiping down the area.
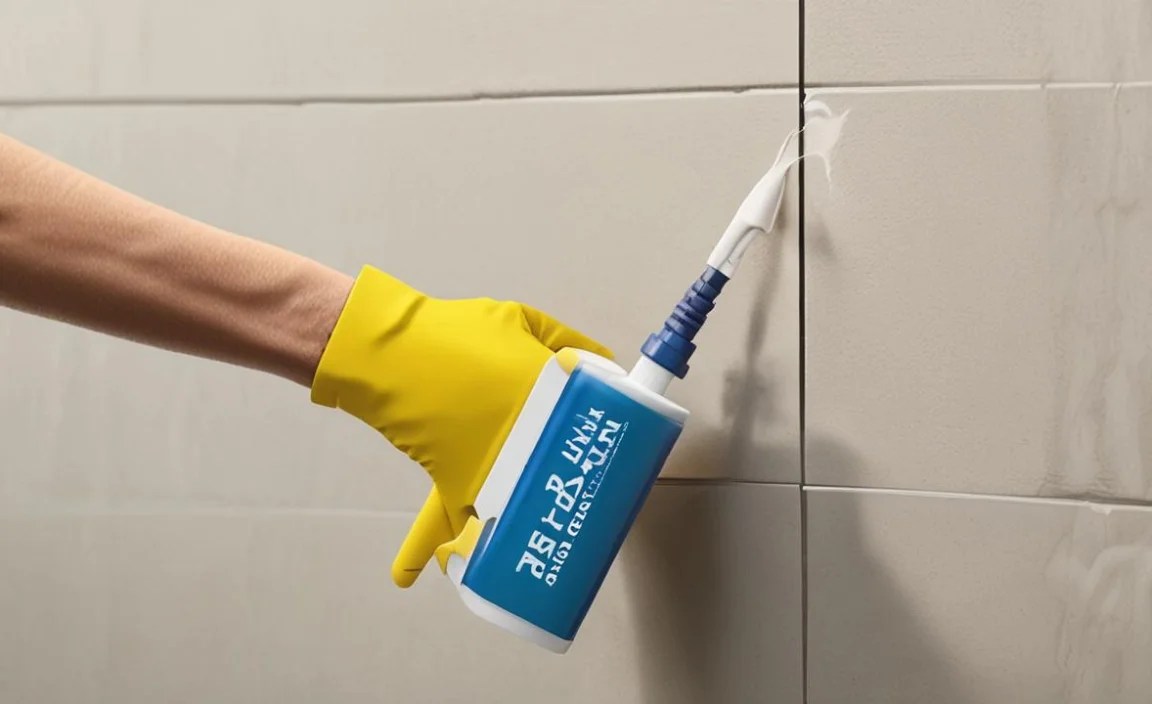
- All-Purpose Cleaner or Mildew Remover: To thoroughly clean the surface before applying new caulk. A good mildew remover is key for bathroom areas.
- Rubbing Alcohol (Isopropyl Alcohol): This is excellent for a final wipe-down to ensure the surface is completely dry and free of residues that could prevent the new caulk from adhering properly.
- Painter’s Tape (Optional but Recommended): For creating crisp, clean lines if you’re aiming for a very professional look.
Tools and Materials for Applying New Caulk
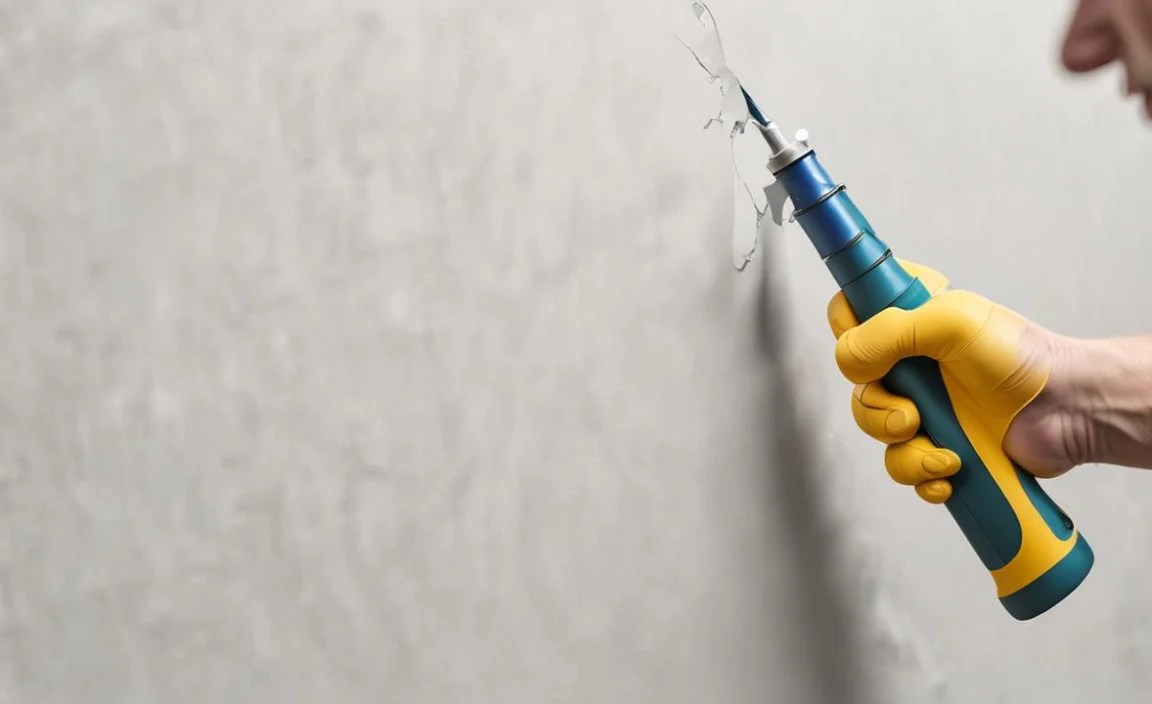
- Caulk Gun: This is the dispenser for your caulk tube. Look for one with a comfortable grip and a release trigger.
- Caulk Selection: Choose the right type of caulk for your project. For bathrooms and kitchens, a 100% silicone or siliconized acrylic latex caulk with mildew resistance is best. Check the product label for suitability (e.g., kitchen/bath, waterproof).
- Caulk Smoothing Tool or Your Finger (with a Glove/Plastic Wrap): To create a smooth, finished bead. Specialized tools offer different profiles for a perfect finish.
- Paper Towels or Damp Cloth: For wiping away excess caulk immediately.
Step-by-Step: How to Repair Caulking Easily

Ready to get started? Follow these simple steps, and you’ll have perfectly sealed joints in no time. We focus on making this a truly easy repair.
Step 1: Prepare the Area
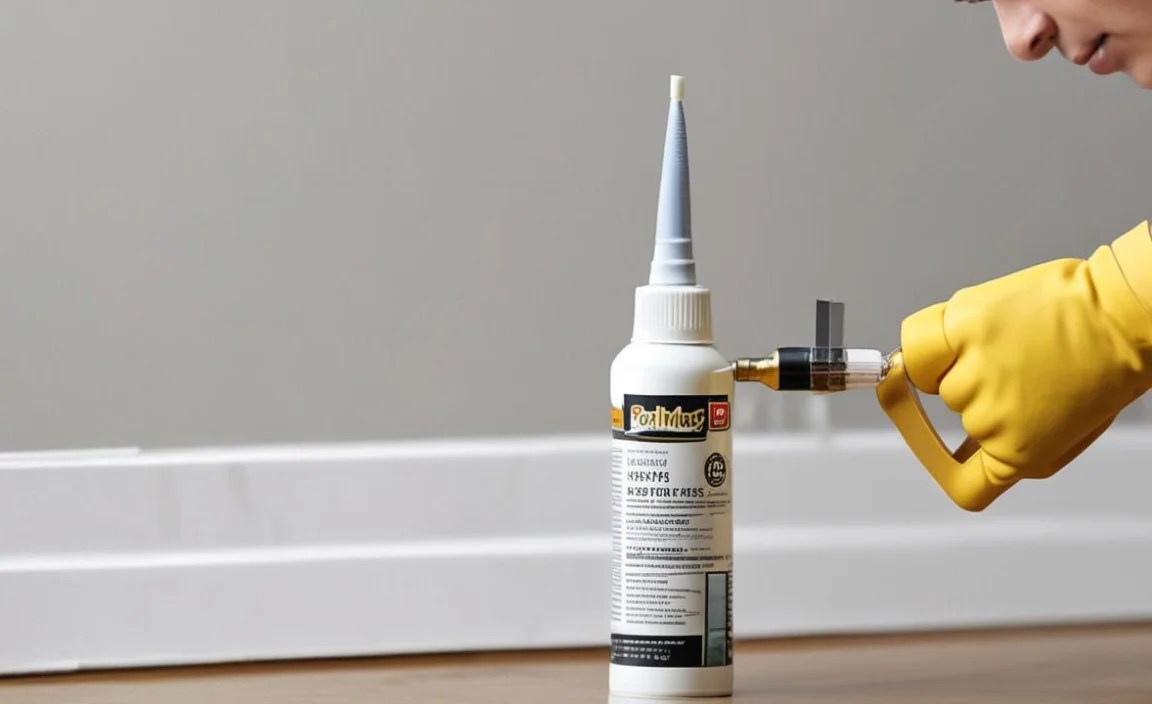
Before you start peeling, clear away any clutter from your workspace. This means moving bottles, soap dishes, or anything else that’s in the way. You’ll want open access to the entire length of caulk you need to repair.
If you’re working in a tub or shower, it’s a good idea to ensure the area is as dry as possible. This makes removing the old caulk easier. For really stubborn caulk, you might consider a caulk softener or remover, but often, diligent scraping is enough. Always follow the product instructions if you opt for a chemical remover.
Step 2: Remove the Old Caulk
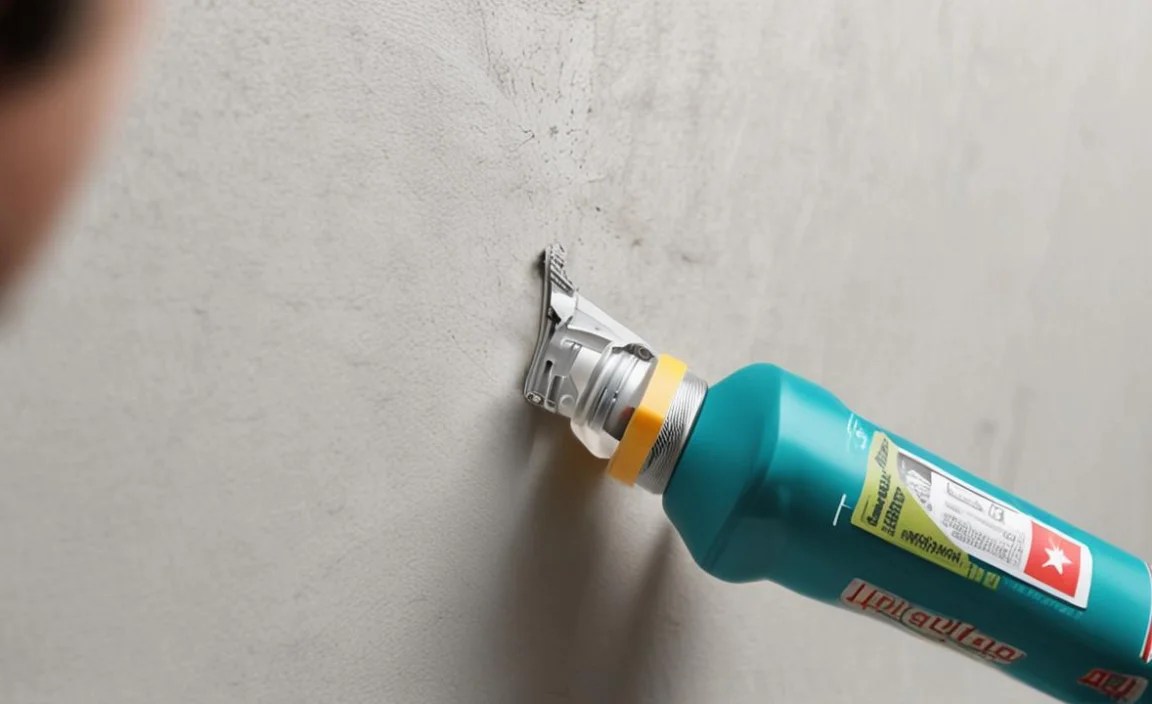
This is where your utility knife or caulk removal tool comes in. The goal is to get under the edge of the old caulk and pull or cut it away.
- Score the Caulk: Carefully insert the blade of your utility knife or caulk removal tool into the seam between the caulk and the surface (e.g., the tile and the tub). Angle it slightly to get under the caulk.
- Cut Along the Edges: Run the blade along both edges of the caulk bead – where it meets the tub/sink and where it meets the tile/wall. This breaks the caulk’s seal.
- Pry and Pull: Once scored, you should be able to get your tool (or a putty knife) underneath the caulk. Gently pry and pull the caulk away from the surface. Work in small sections.
- Repeat as Needed: Continue this process until all the old caulk is removed. Be patient; some sections may be tougher than others.
Tip: If you find old caulk is very hard to remove, sometimes scoring it more deeply or using a heat gun on a low setting (be very careful not to damage surrounding surfaces!) can help soften it. However, for most beginner projects, careful scoring and scraping are sufficient.
Step 3: Clean the Surface Thoroughly
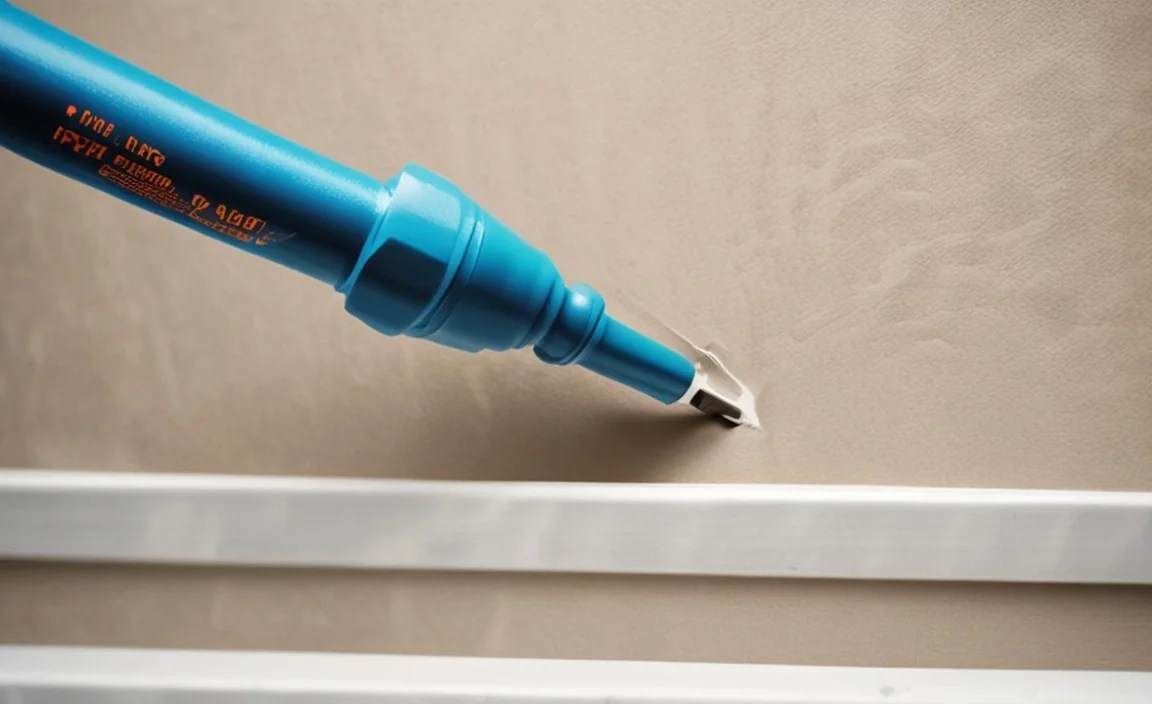
This is a CRITICAL step for ensuring your new caulk adheres properly and lasts. Any residue left behind will prevent a good seal.
- Scrape Away Residue: Use your putty knife or the scraping edge of your caulk removal tool to gently scrape away any small bits or remnants of the old caulk.
- Clean the Area: Wash the entire seam and surrounding surfaces with an all-purpose cleaner or a dedicated mildew remover. Scrub gently to remove soap scum, grime, and any mold.
- Rinse and Dry: Thoroughly rinse the area with clean water to remove all cleaning solution. Let it air dry completely, or use a clean cloth to speed up the process.
- Final Wipe with Alcohol: For the best adhesion, make a final pass over the clean, dry seam with a cloth dampened with rubbing alcohol. This removes any lingering soap residue, oils, or moisture. Ensure the area is completely dry before proceeding.
A clean, dry, and residue-free surface is your ticket to a long-lasting caulk repair. This step is often the most overlooked but yields the biggest difference in the final outcome.
Step 4: Apply Painter’s Tape (Optional but Recommended)
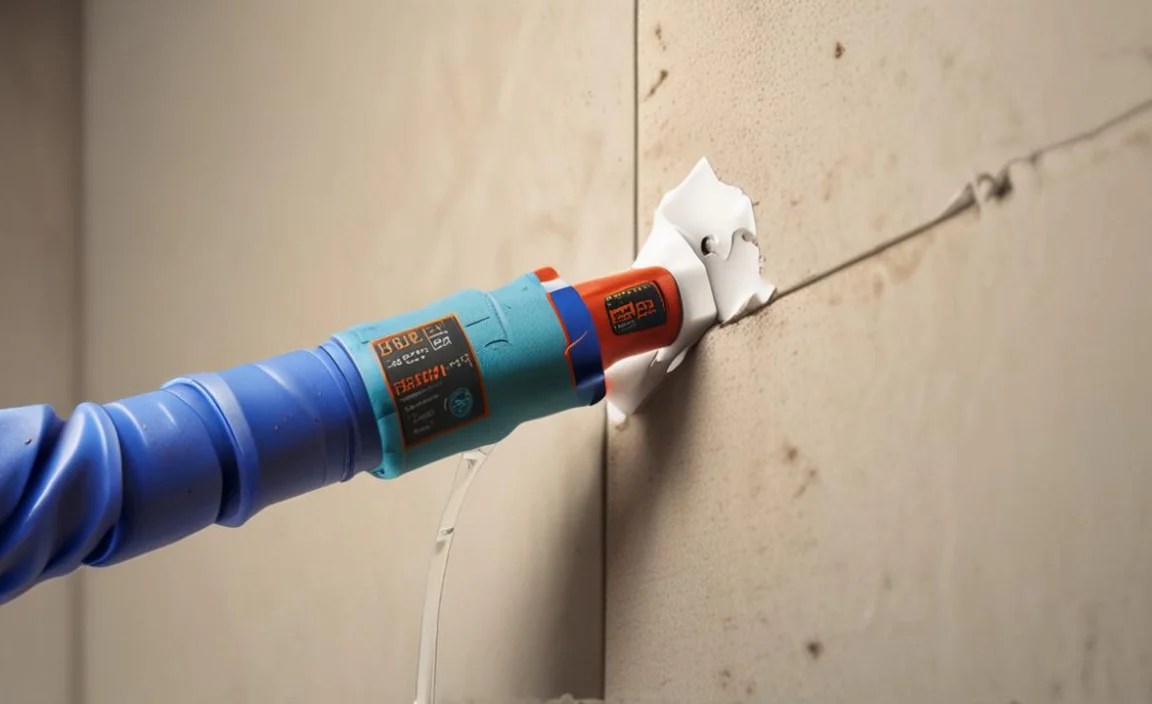
If you want those super-straight, professional-looking caulk lines, painter’s tape is your best friend. It’s like a stencil for your caulk.
- Apply Tape to Edges: Place strips of painter’s tape along the edges of the joint you’re about to caulk. For example, if you’re caulking between a tub and tile, place one strip along the top edge of the tub and another along the bottom edge of the tile.
- Create a Straight Line: Ensure the tape creates a clean, straight line, defining how wide your caulk bead will be. You’ll want about a 1/4-inch gap between the two tape lines for a standard bead.
- Press Firmly: Press down on the edges of the tape to ensure a good seal. You don’t want any caulk seeping underneath!
Applying tape takes a little extra time upfront, but it dramatically simplifies the process of getting clean lines and minimizes the need for extensive cleanup later. You’ll remove it before the caulk dries!
Step 5: Prepare and Load the Caulk Tube

Now for the star of the show: the new caulk!
- Cut the Nozzle Tip: Most caulk tubes have a long nozzle. Using your utility knife, cut a small tip off the end at a 45-degree angle. Start small! You can always cut more off if you need a wider bead, but you can’t put it back. A good starting point is about a 1/4-inch opening.
- Puncture the Inner Seal: Inside the nozzle, there’s usually a foil or plastic seal. Most caulk guns have a long metal rod for this purpose. Insert the rod into the nozzle and puncture the seal.
- Load the Caulk Gun: Pull back the plunger on the caulk gun. Insert the caulk tube into the gun, nozzle-first. Push the plunger rod firmly against the back of the tube.
- Release Trigger: Press the trigger a few times to engage the plunger and start pushing caulk through the nozzle. You may need to release the pressure on the gun (usually by pressing a small lever on the handle) when you stop applying caulk to prevent it from oozing out.
Step 6: Apply the New Caulk
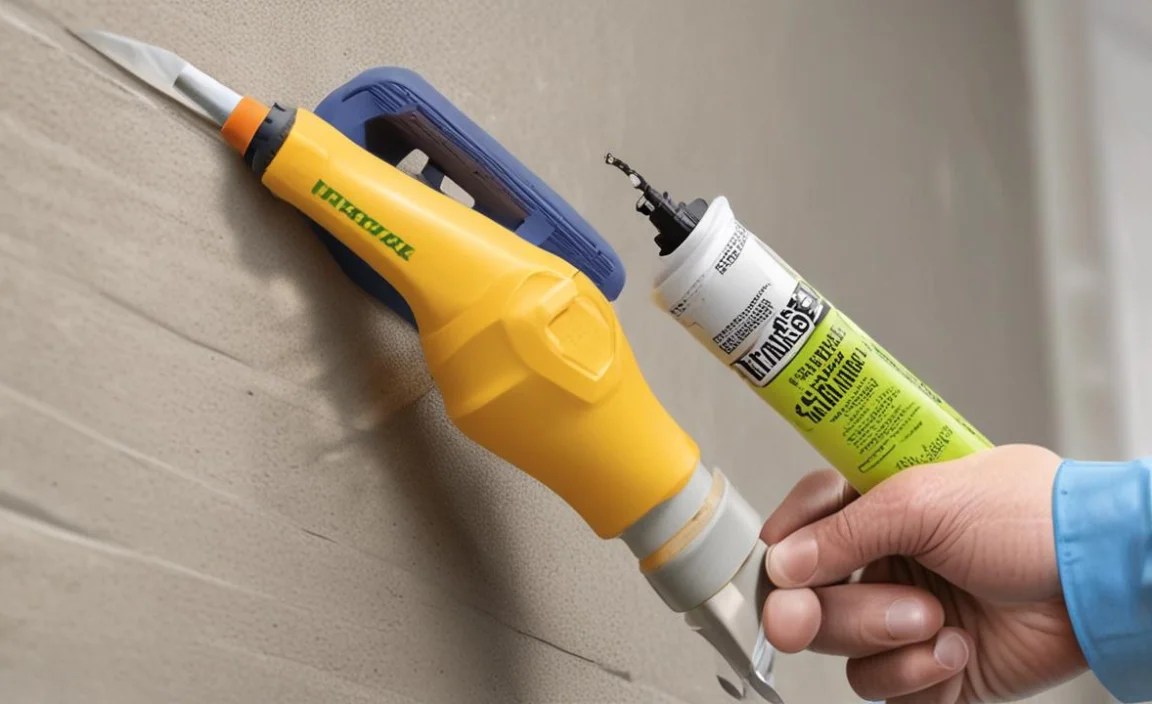
This is the moment of truth! The key is steady pressure and a consistent speed.
- Position the Gun: Hold the caulk gun at the 45-degree angle you cut the nozzle to. Place the tip of the nozzle at the very beginning of the seam you want to fill.
- Squeeze and Move: Squeeze the trigger of the caulk gun with steady, even pressure. As you squeeze, move the gun smoothly along the seam. Try to apply caulk in one continuous bead if possible.
- Maintain Consistent Speed: The speed at which you move the gun and the pressure you apply to the trigger should be balanced to create a consistent bead of caulk. It takes a little practice, so don’t be discouraged if your first attempt isn’t perfect. Think of it as drawing a continuous line.
- Beat the Ooze: When you need to stop, release the trigger and press the small metal tab on the caulk gun handle. This releases the pressure and stops the caulk from flowing out unexpectedly.
Work in manageable sections, especially if you’re new to this. It’s better to have a few shorter, well-applied beads than one long, messy one.
Step 7: Smooth the Bead
This step transforms a chunky line of caulk into a neat, professional-looking seal.
- Work Quickly: You need to do this while the caulk is still wet.
- Use a Smoothing Tool or Finger: If you used painter’s tape, you have a nice channel to work with. You can use a specialized caulk smoothing tool, the rounded back of a spoon, or even a gloved finger (or a finger wrapped in a damp paper towel or plastic wrap) to gently run along the bead of caulk.
- Apply Even Pressure: The goal is to press the caulk into the seam and remove excess, creating a slightly concave surface that allows water to run off. Don’t press too hard, or you’ll just smear it everywhere.
- Wipe Away Excess: Have damp paper towels or cloths ready. Wipe off any excess caulk that squeezes out onto your tool or finger after each pass. If you used painter’s tape, this is also when you’ll carefully peel the tape away, pulling it back at an angle away from the fresh caulk line.
Again, work with a steady hand. Remove your painter’s tape immediately after smoothing the caulk, pulling it back slowly at a 45-degree angle. Going too slow might let the caulk become tacky and stick to the tape, ruining your clean line.
Step 8: Clean Up and Cure
Almost there! A little cleanup ensures a great final look.
- Final Wipe-Down: Use damp cloths to carefully wipe away any stray caulk marks on your tiles, tub, or walls that you might have missed. Be gentle so you don’t smudge the fresh bead.
- Dispose of Materials: Gather all your used tools, rags, and caulk scraps into your trash bag.
- Let it Cure: This is crucial! Check the caulk tube for drying and curing times. Most bathroom/kitchen caulks need at least 24 hours to cure fully before being exposed to water. Resist the temptation to test it too soon!
Once cured, your new caulk will be a flexible, waterproof seal, protecting your home and looking fantastic.
Types of Caulk and When to Use Them

Choosing the right caulk is as important as the application itself. Different environments and materials call for different types of sealants. For general home repairs, especially in wet areas, you’ll most commonly encounter or need these:
| Caulk Type | Key Features | Best For | Pros | Cons |
|---|---|---|---|---|
| 100% Silicone | Highly waterproof, flexible, excellent adhesion, good for extreme temperature fluctuations. Resists mold and mildew. | Bathrooms, kitchens, around tubs, showers, sinks, tile. Anywhere high moisture is present. | Superior waterproofing, very durable, stays flexible. | Can be difficult to paint over, can be messier to apply cleanly, may require mineral spirits for cleanup if using certain types. |
| Siliconized Acrylic Latex | Water-based, easier to clean up with soap and water, can be painted over once dry. Offers good flexibility. Contains silicone for improved adhesion and water resistance. | Windows, doors, trim, baseboards, general interior sealing. Can be used in kitchens and baths if labeled for it and mildew-resistant. | Easy to use and clean, paintable, good adhesion. | Less flexible and durable than 100% silicone in the long run, may shrink more over time. |
| Acrylic Latex (Painter’s Caulk) | Water-based, very easy to clean up, adheres to most surfaces, easily paintable. | Interior trim, baseboards, molding, drywall seams, anywhere paintable is a priority. Not recommended for high-moisture areas. | Very easy to apply and clean, readily accepts paint. | Not waterproof, not resistant to mold/mildew, can shrink significantly, brittle over time, limited flexibility. |
| Hybrid (e.g., Polyurethane, Advanced Silicones) | Combines properties of silicone and latex, offering excellent flexibility, durability, waterproofing, adhesion, and often paintability. | All-purpose in kitchens, baths, indoors and outdoors. Excellent for challenging applications. | Highly durable, extremely flexible, excellent adhesion, often waterproof and paintable. | Can be more expensive, sometimes requires specific cleaning solvents. |
For most DIYers tackling bathroom and kitchen repairs, a caulk designed for kitchens and baths is your go-to. Look for phrases like “waterproof,” “mildew-resistant,” and check if it’s 100% silicone or a quality siliconized acrylic latex. These offer the best balance of performance and ease of use for beginners.
Troubleshooting Common Caulking Issues
Even with the best intentions, sometimes things don’t go exactly as planned. Here are a few common issues and how to fix them:
The Caulk Bead Is Uneven or Lumpy
Problem: Your caulk line looks like a miniature mountain range instead of a smooth curve.
