
Repair caulking fast with these proven, effortless fixes. This guide provides simple, step-by-step instructions and expert tips to quickly seal leaks, prevent damage, and refresh your home’s look. Get professional results without the hassle!
Got a leaky sink, a drafty window, or a grout line that’s seen better days? Chances are, it’s the caulk! Over time, old, cracked, or missing caulk can lead to water damage, energy loss, and an unsightly appearance. It’s a common home maintenance issue that can feel daunting, but it doesn’t have to be. You can repair caulking fast and achieve a clean, secure seal with the right approach. This guide will walk you through everything you need to know, from choosing the right caulk to applying it like a pro.
We’ll break down the process into simple, manageable steps, making it easy for even the most complete beginner to tackle this task with confidence. You’ll learn what tools you need, how to prepare the area properly, and the best techniques for a smooth, durable finish. Get ready to say goodbye to those annoying gaps and hello to a beautifully sealed home!
Let’s dive into how you can repair caulking fast and give your home a quick, effective refresh!
Why Caulking Matters More Than You Think
Caulking might seem like a small detail, but it plays a crucial role in the health and efficiency of your home. Think of it as a flexible sealant that bridges gaps between different surfaces, such as where a countertop meets a wall, or around a bathtub and the surrounding tile. Its primary jobs are:
- Preventing Water Intrusion: This is its most critical function. Water can seep into tiny cracks and crevices, leading to mold, mildew, rot, and structural damage. Properly caulked areas keep water where it belongs.
- Sealing Against Drafts: Gaps around windows and doors allow heated or cooled air to escape, making your HVAC system work harder and increasing your energy bills. Caulk is a simple, cost-effective way to improve insulation.
- Improving Aesthetics: Fresh, smooth caulk lines create a clean, finished look that enhances the overall appearance of your kitchen, bathroom, or any area with joints and seams.
- Preventing Pest Entry: Small cracks can be an invitation for insects and other small pests to enter your home.
When caulk deteriorates, it loses its flexibility and seal. You might notice it cracking, shrinking, pulling away from surfaces, or even developing mold and mildew. Addressing these issues promptly is key to preventing bigger problems down the line. Luckily, repairing caulking fast is an achievable DIY project.
What You’ll Need: Your Caulking Repair Toolkit

Before you start, gathering the right tools and materials is essential for a smooth and efficient repair. You don’t need a professional workshop; most of these items are readily available at your local hardware store.
Essential Tools for Caulking Repair
- Caulking Gun: This is the tool that holds and dispenses the caulk tube. Look for one with a smooth rod and a dripless feature for better control.
- Utility Knife or Caulk Removal Tool: For cutting open caulk tubes and, more importantly, for removing old caulk. Specialized caulk removal tools often have angled blades or scrapers that make this job much easier.
- Putty Knife or Scraper: Useful for scraping away any stubborn old caulk residue.
- Cleaning Supplies: This includes rags or paper towels, rubbing alcohol, and a mild detergent. Cleanliness is key for good adhesion.
- Painter’s Tape: For creating clean, straight lines, especially for beginners.
- Caulk Finishing Tool or Your Finger: To smooth the applied caulk into a neat bead.
Choosing the Right Caulk
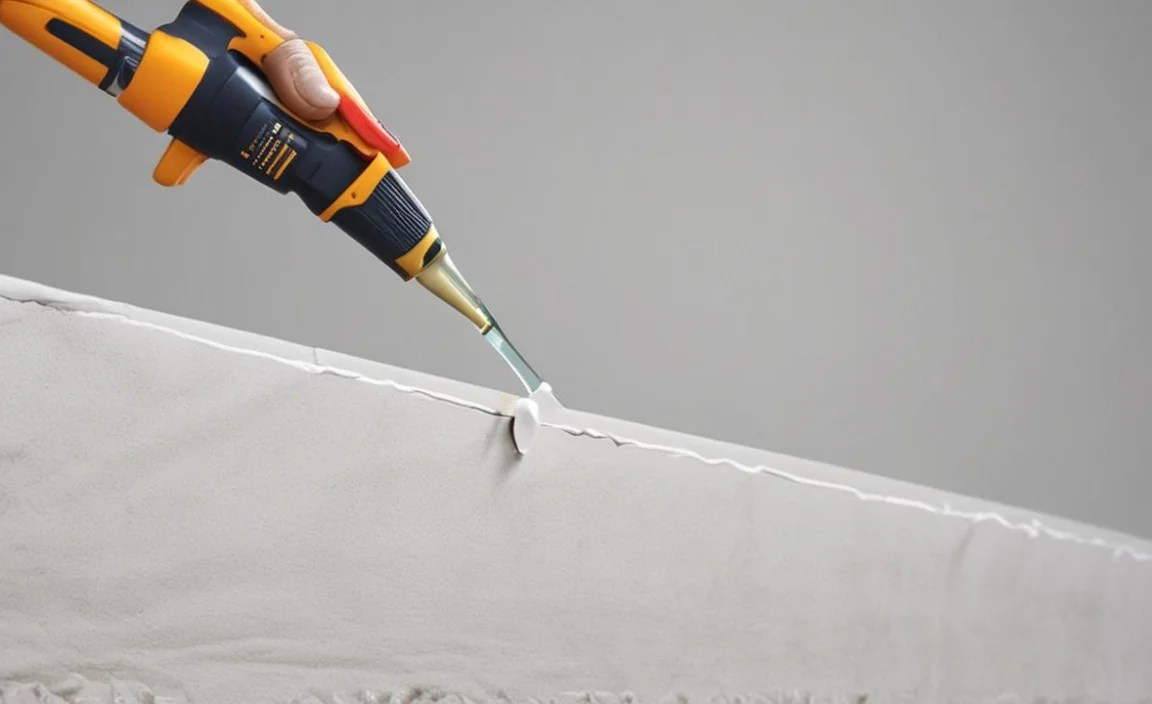
This is where many beginners get stuck. The type of caulk you choose depends on the location and material it will be sealing.
Here’s a quick guide to common types:
| Caulk Type | Best For | Key Features | Pros | Cons |
|---|---|---|---|---|
| 100% Silicone Caulk | Bathrooms, kitchens, windows, areas needing high moisture and mold resistance. | Highly flexible, waterproof, excellent adhesion to non-porous surfaces (glass, tile, metal, laminate). | Extremely durable, excellent waterproofing, resists mold and mildew well. | Difficult to paint over, can be messy to apply smoothly, strong odor during application. |
| Acrylic Latex Caulk (with or without silicone) | General-purpose interior use, trim, baseboards, windows, door frames. Often called “Alex Caulks” or similar. | Water-based, easy to apply and clean up, paintable. | Easy to use, cleans up with water, can be painted to match decor. | Less durable than silicones in wet areas, may shrink over time, not as flexible. |
| Polyurethane Caulk | Exterior use, highly durable seals, joints that experience a lot of movement (e.g., around concrete, masonry). | Very strong adhesion, durable, flexible, waterproof, UV resistant. | Excellent for demanding applications, long-lasting, good for exterior use. | Can have a strong odor, requires mineral spirits for cleanup, not always paintable. |
Bryan’s Tip: For most bathroom and kitchen repairs, a high-quality “kitchen and bath” acrylic latex caulk with mildew resistance is a great beginner-friendly choice. If you need maximum waterproofing for a shower surround or a very high-traffic area, consider a silicone or siliconized acrylic. Always check the product label for specific application instructions and suitability.
For exterior repairs, the U.S. Environmental Protection Agency (EPA) recommends looking for caulk that offers good thermal performance and durability to withstand weather changes. For more information on sealing your home’s envelope, check out the ENERGY STAR program’s guide to air sealing.
Step-by-Step: How to Repair Caulking Fast

Repairing old caulk and applying new caulk is a straightforward process. Follow these steps carefully for a professional-looking finish.
Phase 1: Preparation is Key
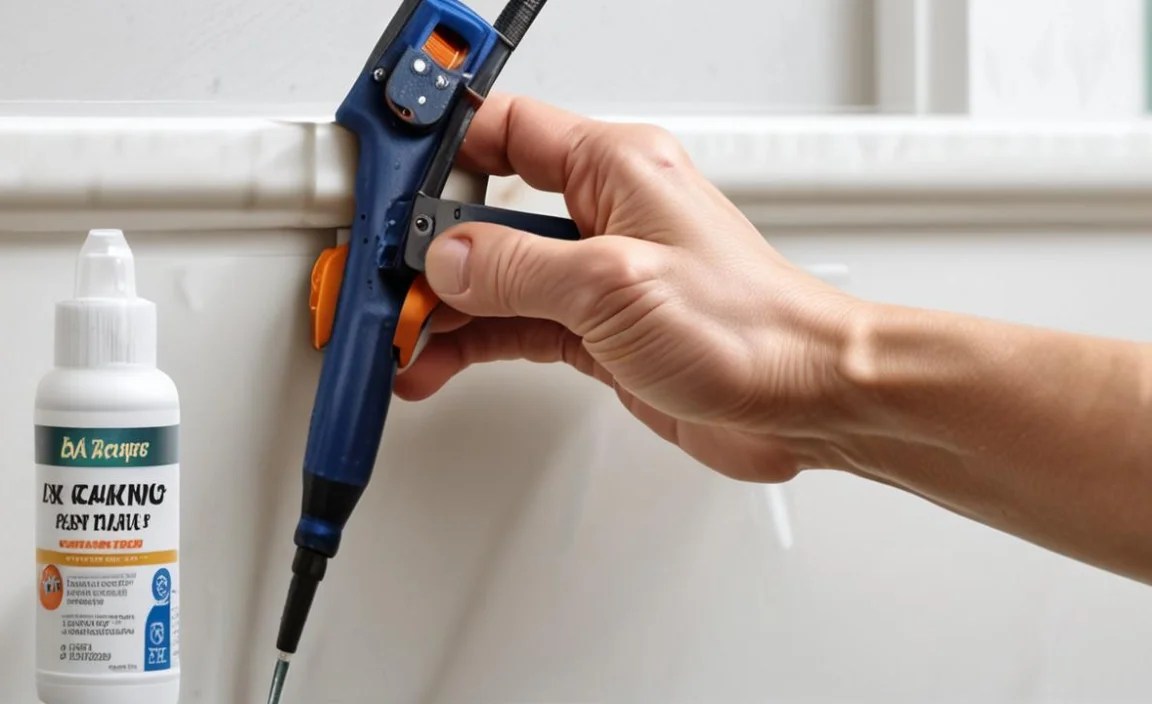
This is arguably the most important step and where rushing can lead to poor results. Old caulk must be removed for the new caulk to adhere properly and create a watertight seal.
- Inspect the Old Caulk: Identify all areas where the caulk is damaged, cracked, peeling, moldy, or missing.
- Remove Old Caulk:
- Use a utility knife or a specialized caulk removal tool to cut along the edges of the old caulk bead.
- Gently pry the caulk away from the joint. Work slowly and carefully to avoid damaging the surrounding surfaces (like tile or drywall).
- For stubborn bits, a putty knife or scraper can help.
- If the caulk extends into tight corners or around fixtures, a flexible caulk removal tool or scraper can be very effective.
- Clean the Area Thoroughly:
- Once all the old caulk is removed, clean the joint and surrounding surfaces with a mild detergent and water.
- Wipe down the area with rubbing alcohol. This removes any remaining soap residue, grease, or grime that could prevent the new caulk from adhering.
- Ensure the area is completely dry before proceeding. A damp surface will compromise the seal.
- Apply Painter’s Tape (Optional but Recommended for Beginners):
- For perfectly straight lines, apply painter’s tape along the edges of the gap, creating a clean border for your new caulk bead. Leave a gap between the tape strips that is slightly wider than you want your caulk bead to be.
- Ensure the tape is pressed down firmly so caulk doesn’t seep underneath.
Phase 2: Applying the New Caulk
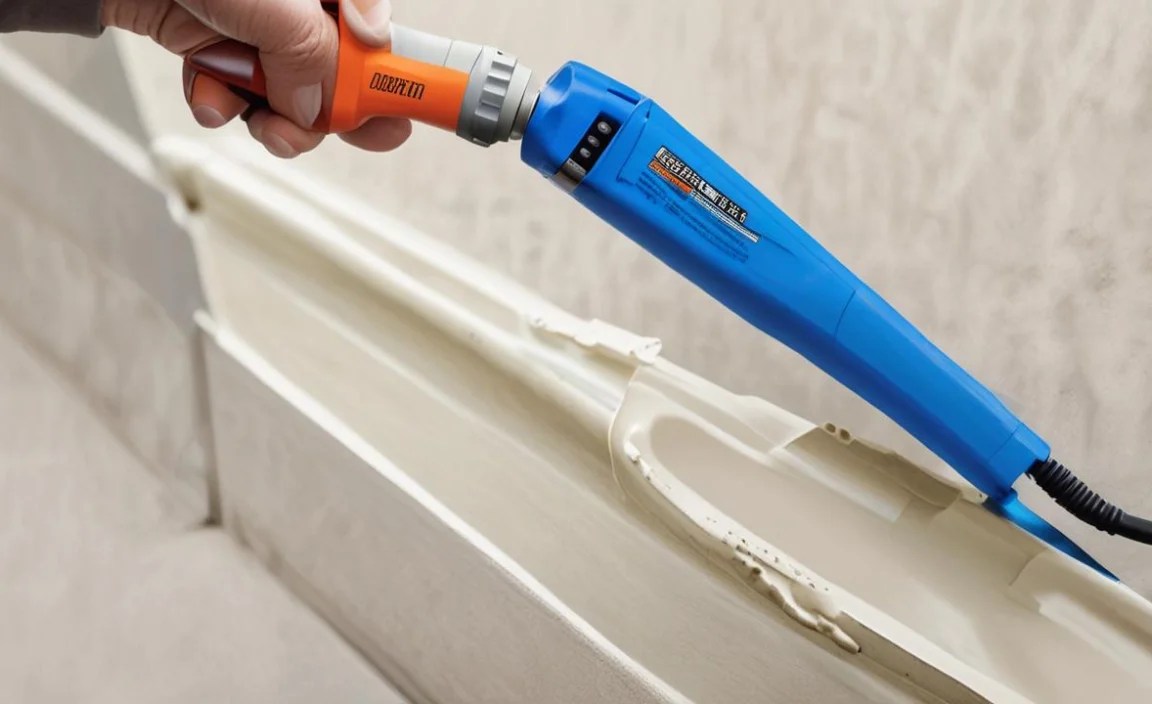
Now, for the satisfying part – applying the new caulk! This looks intimidating but is quite manageable with practice.
- Prepare the Caulk Tube:
- Using your utility knife, carefully cut the tip of the caulk tube at a 45-degree angle. Start with a small opening; you can always cut it wider if needed. A smaller opening gives you more control.
- Puncture the inner seal of the tube. Most caulk guns have a long poker for this, or you can use a nail or wire.
- Insert the tube into your caulk gun.
- Load the Caulk Gun: Pull the trigger rod all the way back. Squeeze the trigger to engage the caulk.
- Test the Flow: Before applying to your joint, place the nozzle on a piece of scrap cardboard or paper and squeeze the trigger. Adjust the pressure and opening size as needed. Release the trigger and push the thumb tab back to release pressure on the caulk and stop the flow.
- Apply a Consistent Bead:
- Place the tip of the caulk tube at the beginning of the joint, holding it at the same 45-degree angle you cut the tip.
- Squeeze the trigger gently and steadily, moving the gun along the joint to create a continuous bead of caulk. Aim for a bead that fills the gap nicely without being too thick or too thin.
- Try to move at a consistent pace. It’s often easier to work in sections that you can smooth out immediately.
- Maintain steady pressure on the trigger. A consistent bead comes from consistent pressure and movement.
- Release and Stop Flow: When you reach the end of a section or your bead, release the trigger and pull back the small metal rod on the caulk gun to stop the flow.
Phase 3: Smoothing and Finishing
This is where you turn that raw bead of caulk into a professional-looking seal.
- Smooth the Bead:
- This should be done immediately after applying a section of caulk, before it starts to skin over.
- Using a Caulk Finishing Tool: These tools have various shaped edges designed to create a smooth, concave bead. Gently run the tool along the caulk bead at a consistent angle and pressure.
- Using Your Finger (If not using painter’s tape): Dampen your finger with water (for latex caulk) or a bit of mineral spirits (check caulk instructions, especially for silicone). Gently run your fingertip along the bead to smooth it and push it into the joint. Wipe excess caulk from your finger onto a rag frequently.
- Using a Wet Rag (for latex caulk): Sometimes, a slightly damp cloth can also be used to gently wipe away excess and smooth the bead.
- Remove Excess Caulk: As you smooth, wipe any excess caulk onto a damp rag or paper towel. This is much easier if you’ve used painter’s tape.
- Remove Painter’s Tape (If Used): If you applied painter’s tape, carefully and slowly peel it away while the caulk is still wet. Pull the tape away from the caulk bead at an angle. This leaves a perfectly straight, clean seam.
- Clean Up: Wipe away any minor smudges or drips immediately with a damp rag (for latex) or appropriate cleaner (for silicone).
Phase 4: Curing and Drying
Allow the caulk to cure completely before exposing it to water or heavy use. Drying and curing times vary significantly by product, so always check the manufacturer’s instructions on the tube. Latex caulk typically dries to the touch in an hour or two but needs 24 hours to cure fully. Silicone caulk can also take 24-48 hours to fully cure. Avoid cleaning the area vigorously or applying pressure until the caulk is completely cured.
Troubleshooting Common Caulking Issues
Even with careful application, you might encounter a few hiccups. Here’s how to fix them:
- Uneven or Lumpy Bead: If it’s still wet, you can try to smooth it out with a finishing tool or finger. If it has started to dry, you might need to carefully scrape it off and reapply.
- Caulk Shrinking or Cracking: This usually happens when a cheap, low-quality caulk is used, or when a gap is too wide for the caulk. For minor shrinkage, a second bead can sometimes fill the gap. For major issues, consider a more robust caulk type or a filler material before caulking.
- Poor Adhesion (Peeling Away): This is almost always due to improper surface preparation. The area wasn’t clean, dry, or had old caulk remaining. You’ll need to remove the faulty caulk and start again.
- Mold or Mildew After Application: Ensure you used a caulk specifically designed for kitchens and baths with mildew resistance. If mold appears, clean it with a bleach solution, ensure the area is dry, and reapply a mildew-resistant caulk. Proper ventilation is also key to preventing mold.
Tips for Faster and Better Caulking
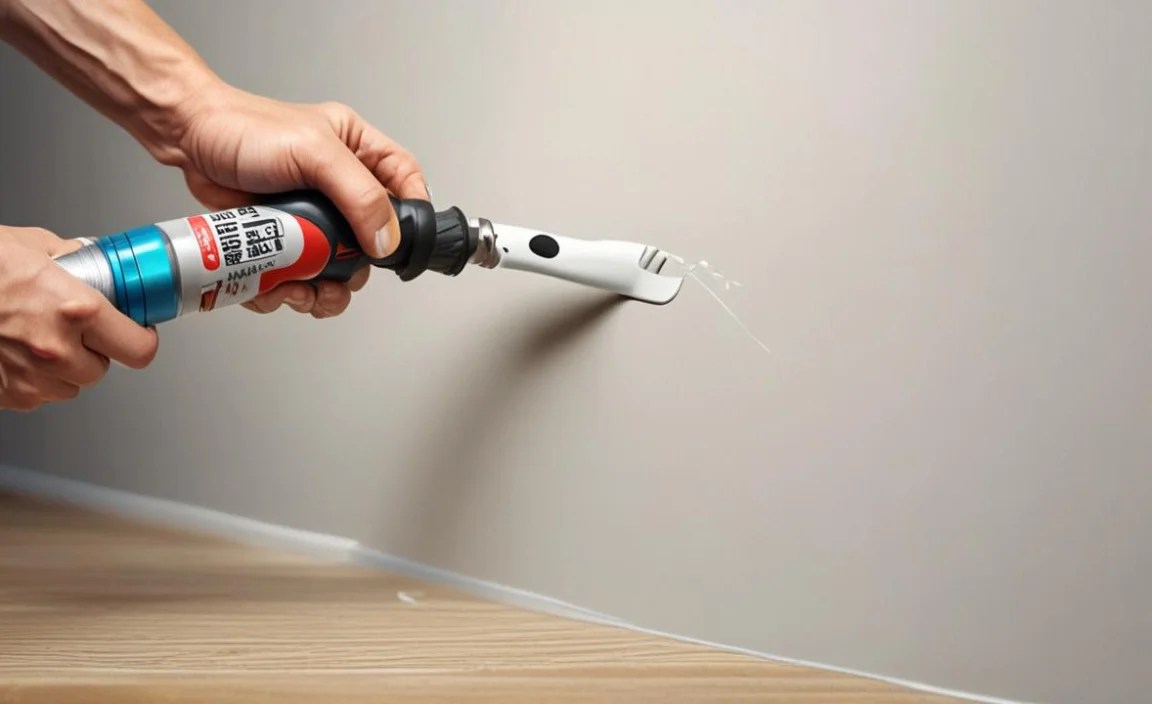
Want to speed up the process without sacrificing quality? Here are some pro tips:
- Practice on Cardboard: Before tackling your walls or counters, draw a few lines on a piece of cardboard and practice applying and smoothing caulk. This helps you get a feel for the caulk gun pressure and speed.
- Work in Short Sections: Don’t try to caulk an entire bathtub at once. Work in 2-3 foot sections. This allows you to apply and smooth the caulk before it starts to set.
- Keep a Damp Rag Handy: For latex caulk, a damp rag is your best friend for wiping excess and smoothing. For silicone, a slightly damp rag or paper towel can work, but be careful not to spread it too thinly.
- Use a Caulking Tool Kit: These inexpensive kits offer various shapes and sizes for a professional finish. They are far superior to a messy finger for most applications.
- Cut the Tip Wisely: A smaller opening means more control. You can always cut it bigger if you need a wider bead, but you can’t make it smaller once cut.
- Ventilate the Area: Good airflow can help caulk dry and cure faster, and it’s essential for preventing mold and mildew.
For those looking for advanced sealing techniques or specific product recommendations for extreme conditions, resources like the Fine Homebuilding website often feature in-depth articles and guides from seasoned professionals.
Maintaining Your New Caulk for Longevity
Once you’ve beautifully repaired your caulking, you’ll want it to last. Here’s how:
- Clean Gently: Use non-abrasive cleaners. Harsh scrubbing can damage the surface of the caulk, making it more susceptible to mold and wear.
- Ensure Good Ventilation: Especially in bathrooms, use exhaust fans or open windows during and after showers to reduce moisture, which is the main culprit for mold and mildew growth on caulk.
- Wipe Up Spills Immediately: Don’t let water or other liquids sit on caulk lines, as this can lead to staining or breakdown over time.
- Check Periodically: A quick visual inspection every few months can help you catch small issues before they become big problems.
Frequently Asked Questions About Caulking Repair
Q1: How do I quickly remove old caulk?
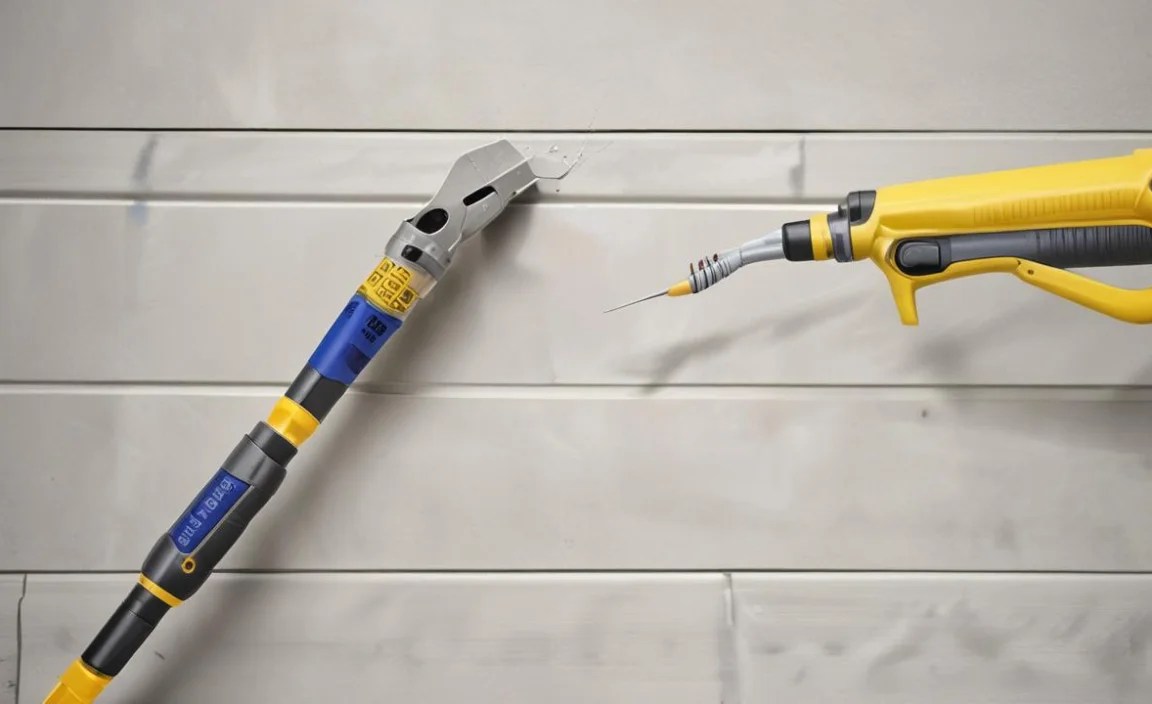
Use a utility knife or a dedicated caulk removal tool to cut along the old caulk seams. Then, gently pry and pull to remove it. For stubborn pieces, a putty knife or scraper can help dislodge them. It’s crucial to get as much old caulk off as possible.
Q2: What’s the easiest type of caulk for a beginner?

Acrylic latex caulk, especially those marketed as “kitchen and bath” or “paintable caulk,” is generally the easiest for beginners. It cleans up with water, is less sticky than silicone, and dries relatively quickly. Painting over it is also a plus for matching decor.
Q3: Can I just apply new caulk over old caulk?

No, this is strongly discouraged. New caulk won’t adhere properly or create a good seal over old, damaged caulk. It will likely peel, crack, and fail quickly, leading to water leaks and mold. Always remove the old caulk first.
Q4: How do I get a smooth, professional-looking bead of ca

