
Repair caulking guide: Proven essential for sealing leaks and protecting your home. This guide offers clear, step-by-step instructions with essential tools and techniques to successfully repair old caulk and apply new, ensuring a watertight and visually appealing finish for beginners.
Are you seeing those little gaps around your windows, doors, bathtubs, or sinks? That’s usually where caulk lives, and when it starts to crack or pull away, it can let in water, drafts, and even pests. It’s a common home problem, but thankfully, fixing it is a task you can absolutely handle. This guide will walk you through everything you need to know, from removing the old stuff to applying a fresh, sealed bead. You’ll feel confident tackling this DIY project and keeping your home in top shape. Let’s get started on making those seals perfect again!
Why Repairing Caulking is Essential for Your Home

Think of caulk as the unsung hero of your home’s defenses. It’s that flexible sealant that bridges gaps, keeping unwanted elements out and comfortable elements in. When caulk fails, it’s more than just an eyesore; it’s an invitation for trouble.
Water damage is a major concern. Even small leaks from faulty caulk around a bathtub or shower can lead to mold, mildew, and rot over time. This isn’t just unsightly; it can affect your home’s structural integrity and your family’s health. For more on the dangers of water damage, the Environmental Protection Agency (EPA) offers valuable insights.
Beyond water, damaged caulk allows air to escape or infiltrate. This means higher energy bills as your heating and cooling systems work harder to maintain a comfortable temperature. Drafts can make rooms feel chilly in winter and stuffy in summer. Properly sealed gaps contribute significantly to a home’s energy efficiency. The U.S. Department of Energy provides extensive resources on home energy savings, highlighting the role of sealing air leaks.
Aesthetically, cracked or peeling caulk looks messy and can make even the cleanest room feel neglected. A fresh bead of caulk can instantly improve the appearance of kitchens, bathrooms, and window frames, giving your home a well-maintained feel.
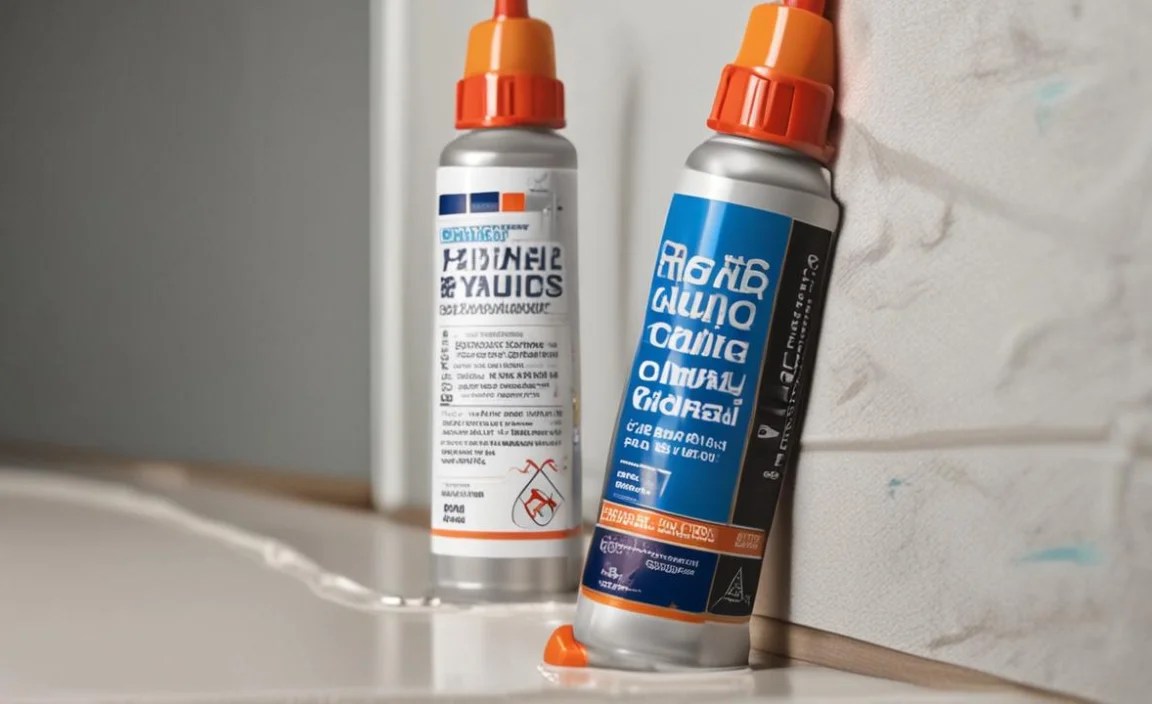
Understanding Your Caulking Needs: Types of Caulk

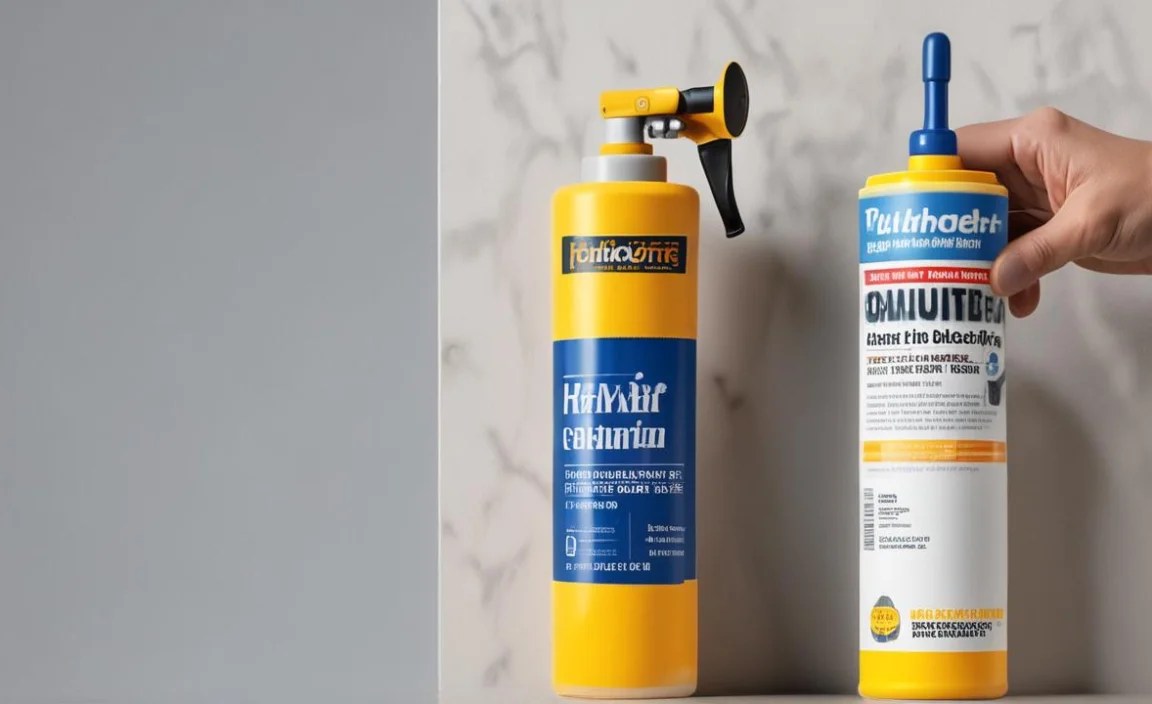
Before you grab a tube, it’s good to know there are different kinds of caulk, each best suited for specific jobs. Choosing the right type ensures a durable, long-lasting seal.
1. Acrylic Latex Caulk (Paintable Caulk)

This is the most common type for DIYers. It’s water-based, easy to clean up with water, and dries relatively quickly. Acrylic latex caulk is perfect for interior projects like sealing around baseboards, trim, and window frames where it won’t be constantly exposed to moisture.
- Pros: Easy to use, water cleanup, paintable, good for interior low-moisture areas.
- Cons: Less flexible than silicone, not ideal for high-moisture areas or extreme temperature changes.
2. Silicone Caulk
Silicone caulk is highly flexible, waterproof, and durable, making it the go-to choice for areas with high moisture and temperature fluctuations, such as bathrooms (around tubs, showers, sinks) and kitchens. It adheres well to non-porous surfaces like glass, tile, and metal.
- Pros: Excellent water resistance, very flexible, durable, good for kitchens and bathrooms.
- Cons: Difficult cleanup (requires mineral spirits), generally not paintable, can be a bit trickier to apply smoothly.
3. Polyurethane Caulk
This is a heavy-duty option that offers excellent adhesion, flexibility, and durability. It’s waterproof and weather-resistant, making it suitable for both interior and exterior applications, including gaps in siding, around windows and doors (exterior), and in high-traffic areas. It’s also paintable.
- Pros: Very strong adhesion, durable, waterproof, paintable, suitable for interior and exterior use.
- Cons: Can have a strong odor during application, cleanup may require mineral spirits, can be a bit more expensive.
4. Silicone-Acrylic (Hybrid) Caulk

These are a great compromise, offering the water resistance and flexibility of silicone with the easier application and paintability of acrylic latex. They are a good all-around choice for many household sealing tasks.
- Pros: Good balance of flexibility, water resistance, and paintability; easier to work with than pure silicone.
- Cons: May not be as robust as pure silicone or polyurethane for extreme conditions.
Pro Tip: Always check the product label to ensure it’s designed for your specific application and the materials you’re sealing.
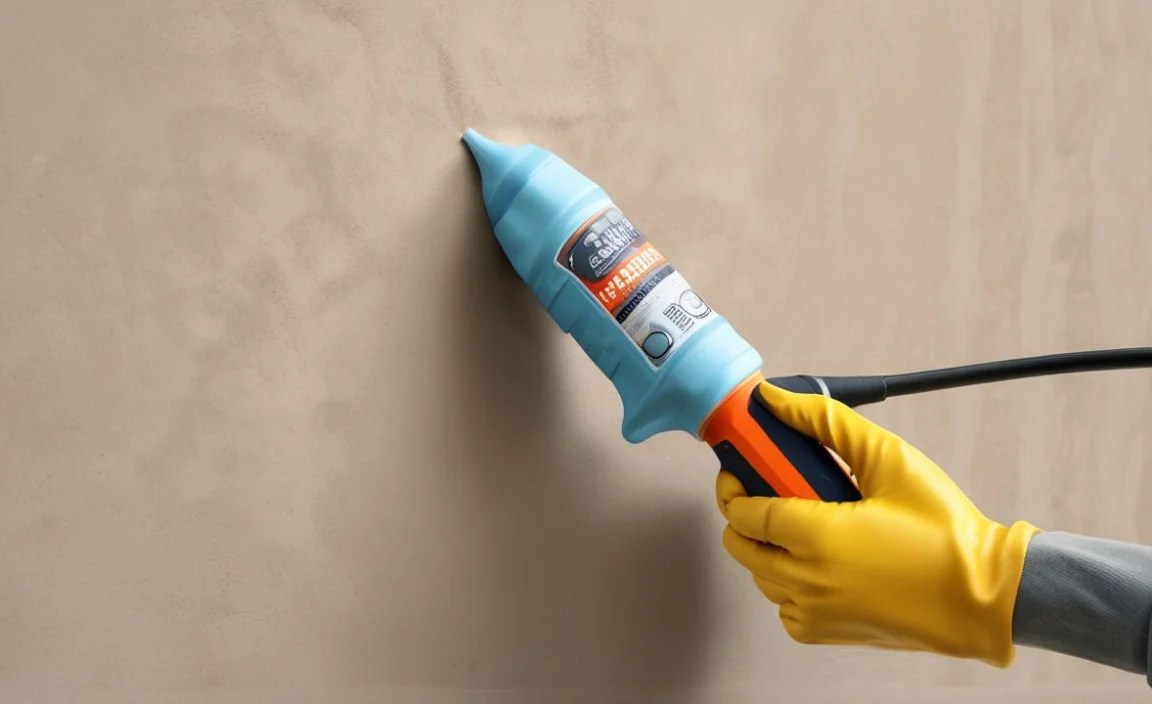
Essential Tools and Materials for Caulking Repair

Gathering the right tools makes the job smoother and leads to a better finish. Don’t worry if you don’t have everything; most are affordable and reusable for future projects.
| Tool/Material | Purpose | Why it’s Essential |
|---|---|---|
| Caulk Gun | To dispense caulk evenly from the tube. | Ensures controlled application and smooth beads. Look for one with a drip-stop feature. |
| Utility Knife or Caulk Removal Tool | To cut away old caulk. | Essential for cleanly removing the old, cracked caulk without damaging surfaces. |
| Putty Knife or Chisel Blade | To scrape away stubborn old caulk residue. | Helps remove any remaining bits of caulk left behind after cutting. |
| Cleaning Rags or Paper Towels | For cleaning surfaces and wiping up excess caulk. | Crucial for a clean application and spill management. Have plenty on hand! |
| Rubbing Alcohol or Mineral Spirits | To clean the surface thoroughly and remove any residue. | Ensures caulk adheres properly. The type depends on the caulk you’re removing and applying (check product instructions). |
| Painter’s Tape | To create a clean edge for your caulk line. | Optional, but highly recommended for beginners to achieve crisp, straight lines. |
| Caulk Tube (of your chosen type) | The sealant itself. | Make sure it’s the right type for the job! |
| Caulking Tool or Wet Finger/Spatula | To smooth the caulk bead. | Helps create a professional, uniform finish. Specialized tools offer great control. |
| Bucket of Water | For cleaning tools and smoothing (if using water-based caulk). | Essential for latex/acrylic caulk cleanup and smoothing. |
Step-by-Step Guide to Repairing Caulking

This process breaks down into two main parts: removing the old caulk and applying the new. Each step is crucial for a successful, long-lasting repair.
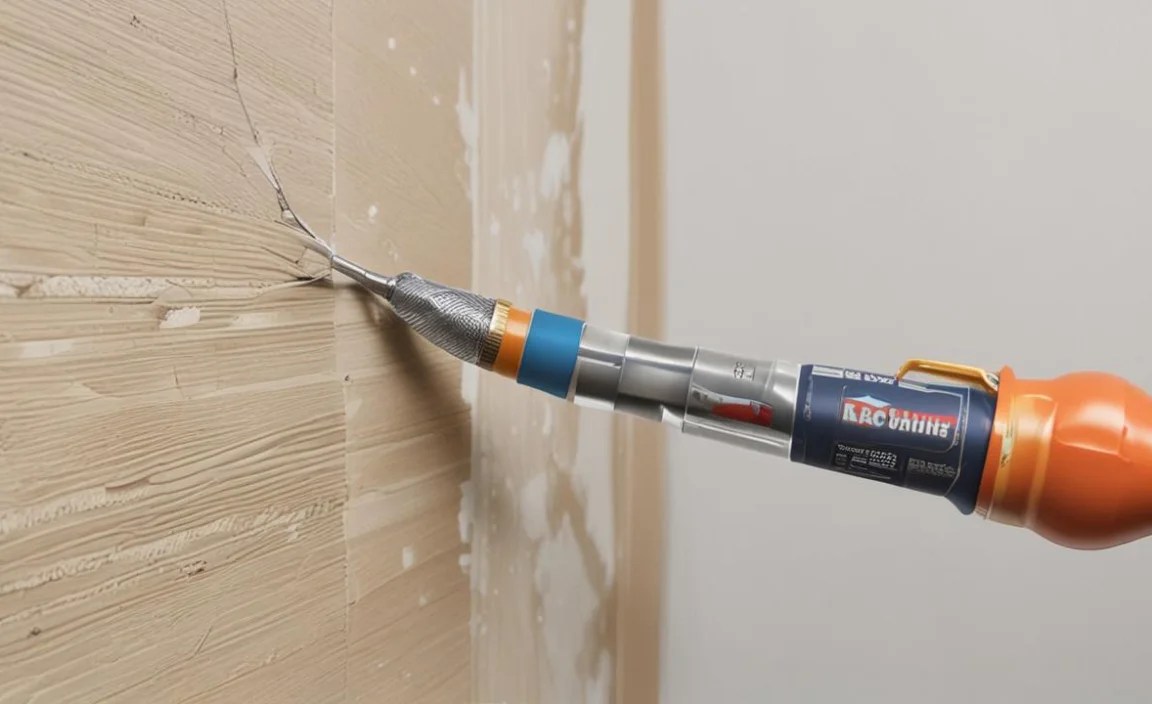
Part 1: Removing Old Caulk
This is arguably the most important part. If you don’t remove all the old, loose caulk, the new caulk won’t adhere properly and will likely fail.
-
Inspect the Old Caulk

Look for areas that are cracked, peeling, discolored, or loose. These are your targets for removal.
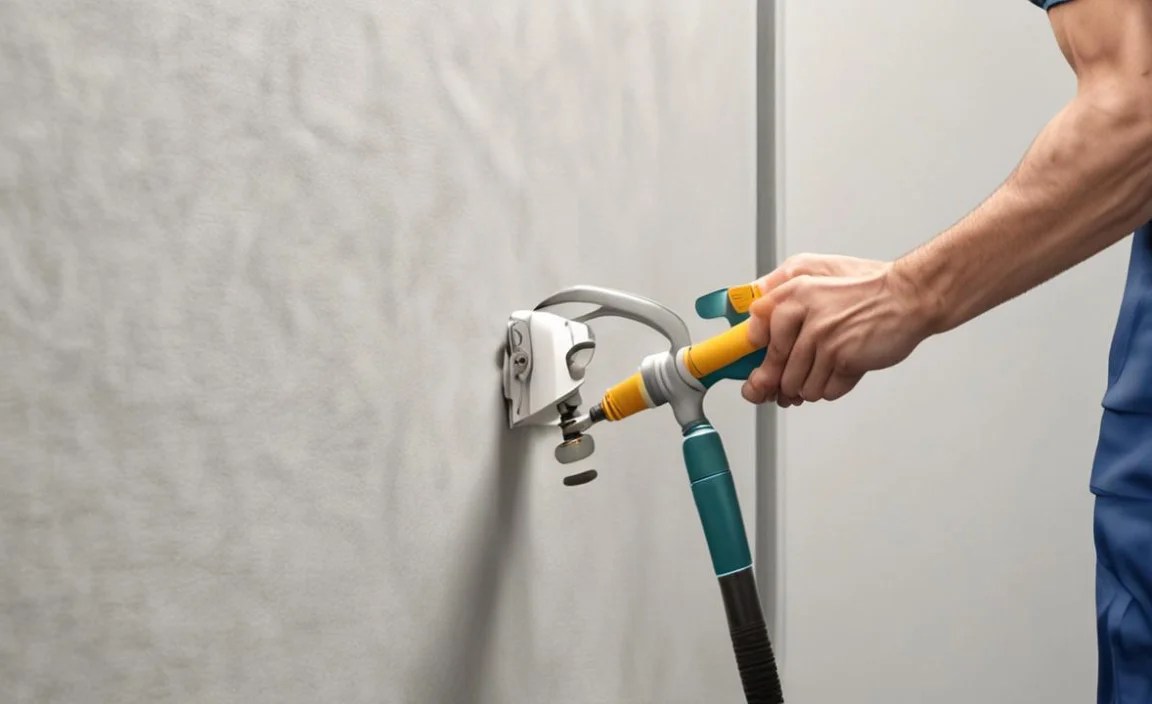
-
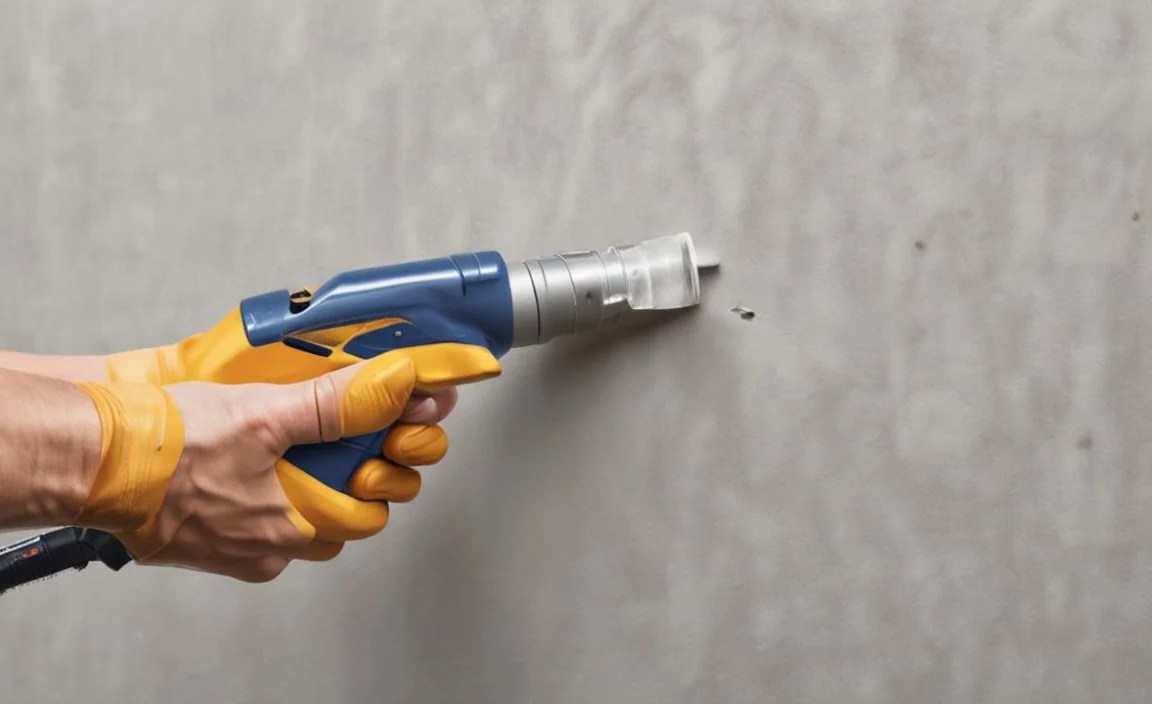
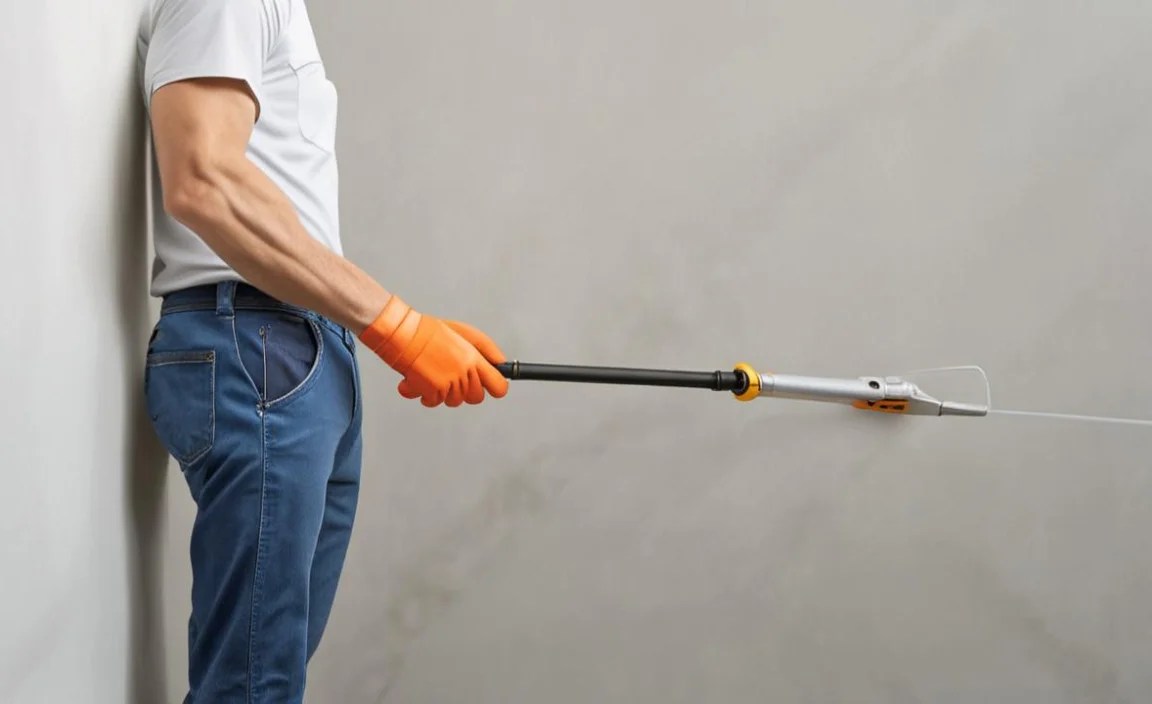
Cut Along the Edges
Use a utility knife or a dedicated caulk removal tool. Carefully insert the blade at an angle between the caulk and the surface you’re sealing (e.g., between the caulk and the tile, or caulk and the wall). Make a shallow cut along the entire length of the caulk bead on both sides. This loosens the caulk.
Safety First: Always cut away from yourself and be mindful of the surfaces you’re cutting into. You don’t want to gouge the drywall or tile.
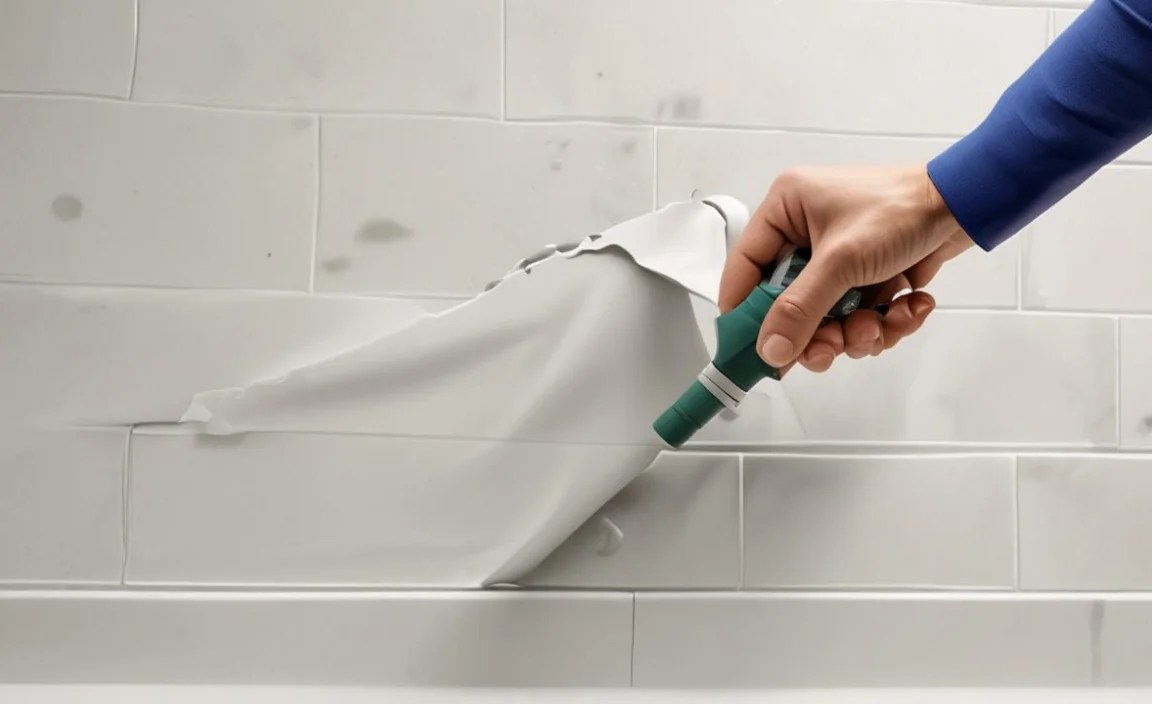
-
Peel or Pry Away the Caulk
Once cut, try to grab an edge of the caulk and peel it away. If it’s stuck, use your utility knife, putty knife, or caulk removal tool to gently pry it up and out. Work slowly and in sections.
-
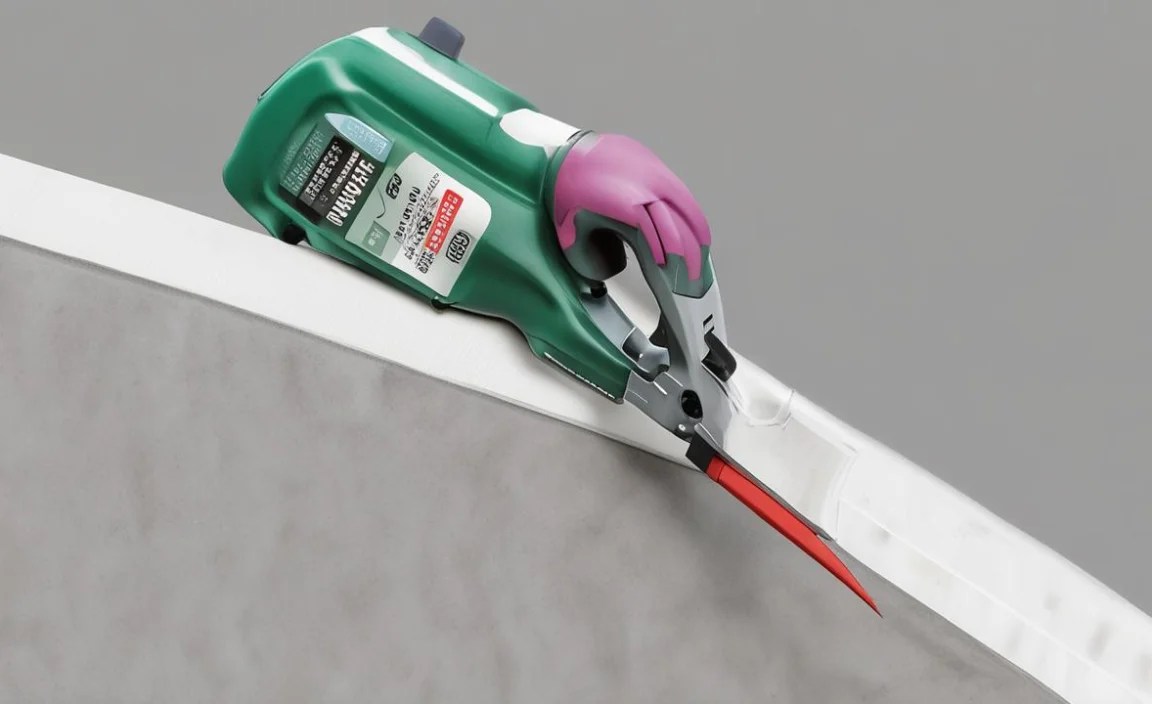
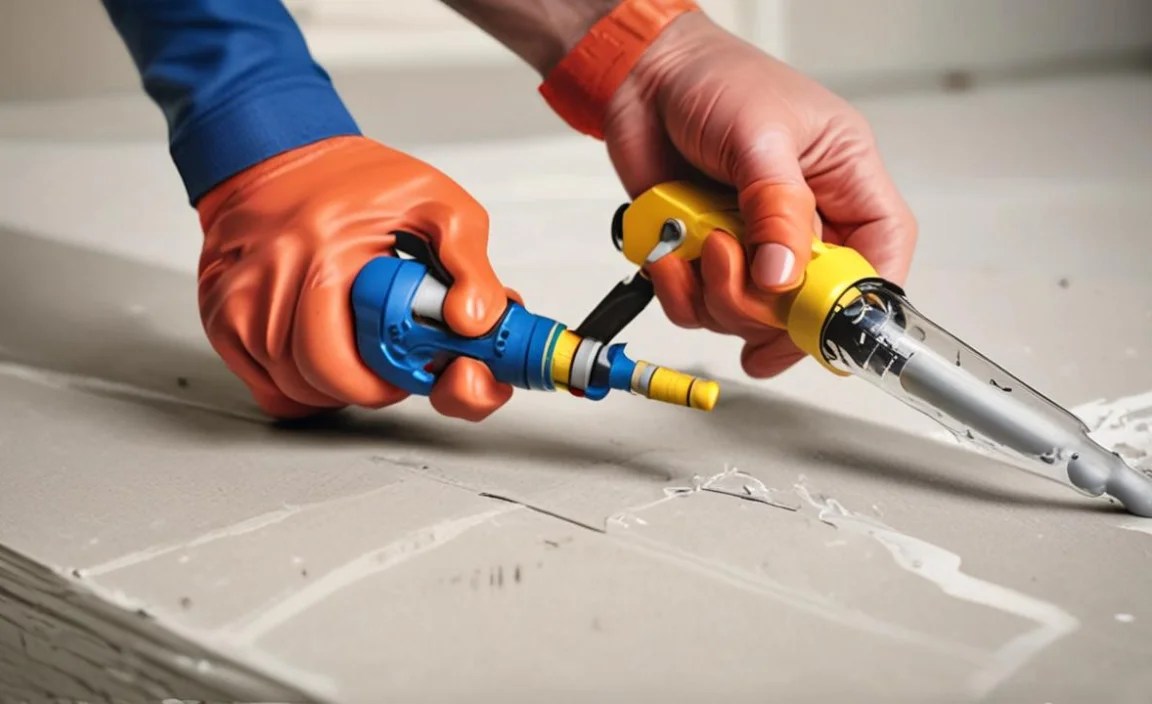
Scrape Away Residue
Often, there will be thin remnants or a sticky residue left behind. Use your putty knife, a chisel blade, or even a plastic scraper to carefully scrape these bits away. For stubborn residue, especially with silicone caulk, you might need a solvent like mineral spirits. Always test solvents in an inconspicuous area first.
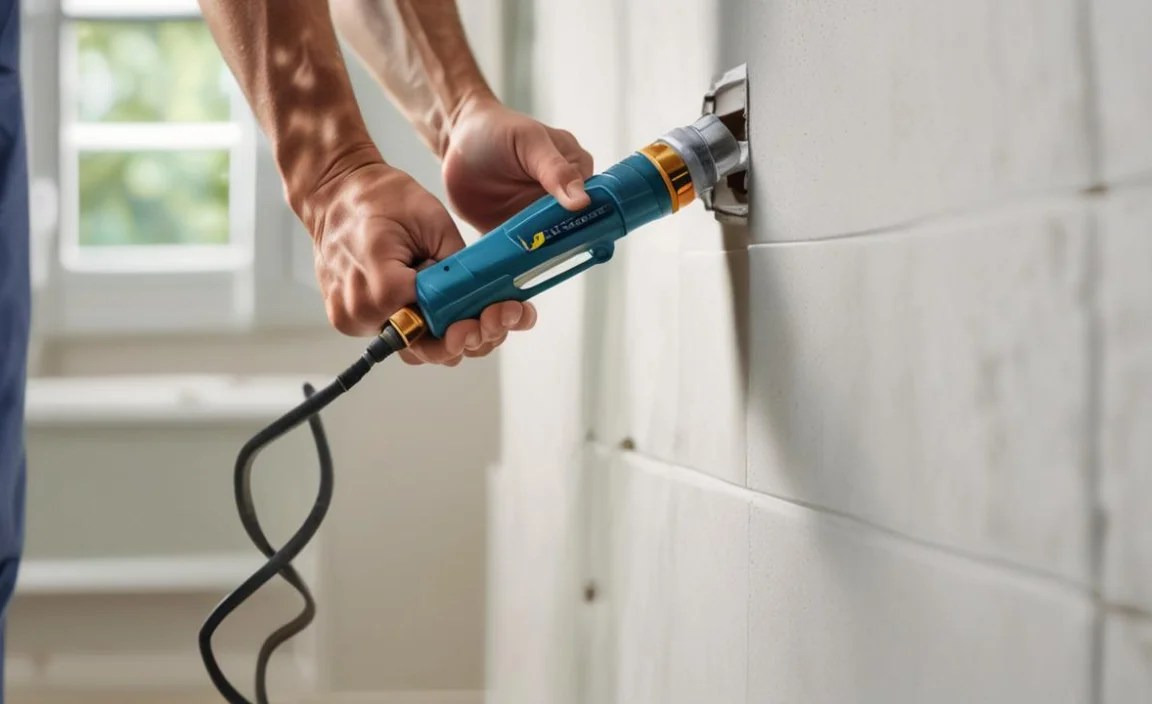
-
Clean the Area Thoroughly
Once all the old caulk is removed, clean the joint and surrounding surfaces. Use a damp rag with water for latex-based caulk residue. For silicone caulk residue, a rag dampened with mineral spirits is often effective. For a really clean surface that ensures good adhesion, wipe the area down with rubbing alcohol. The surface must be completely dry before applying new caulk.

Part 2: Applying New Caulk
Now for the rewarding part – applying the fresh, protective seal!
-
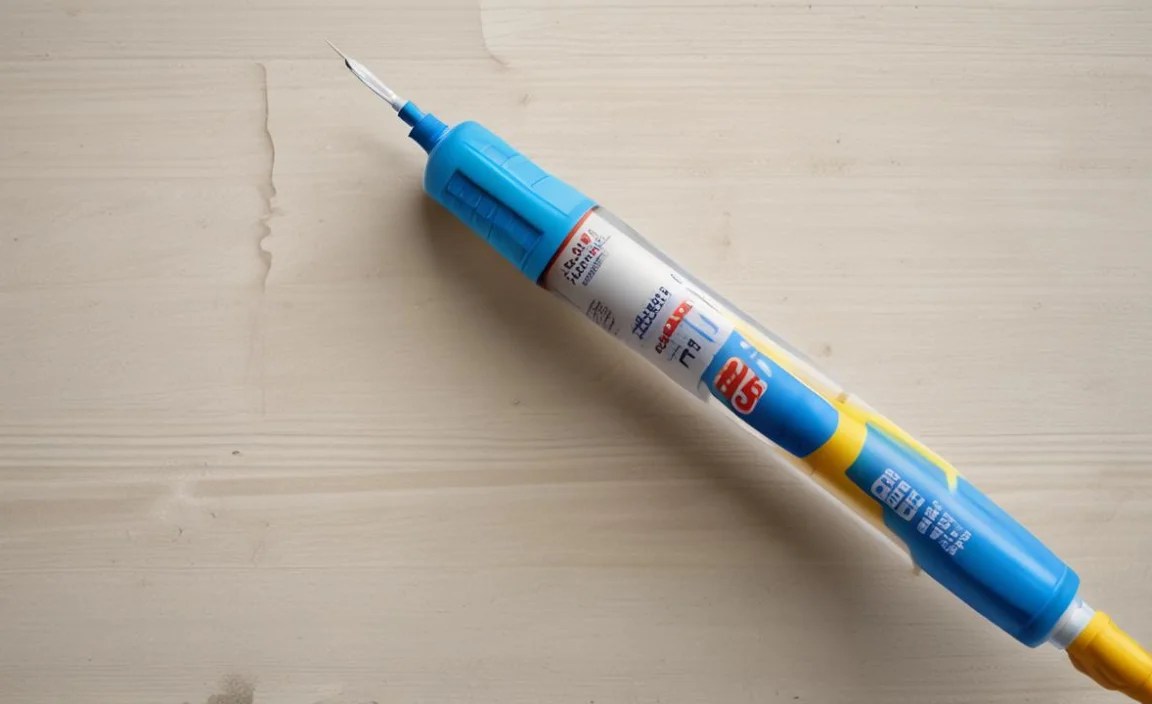
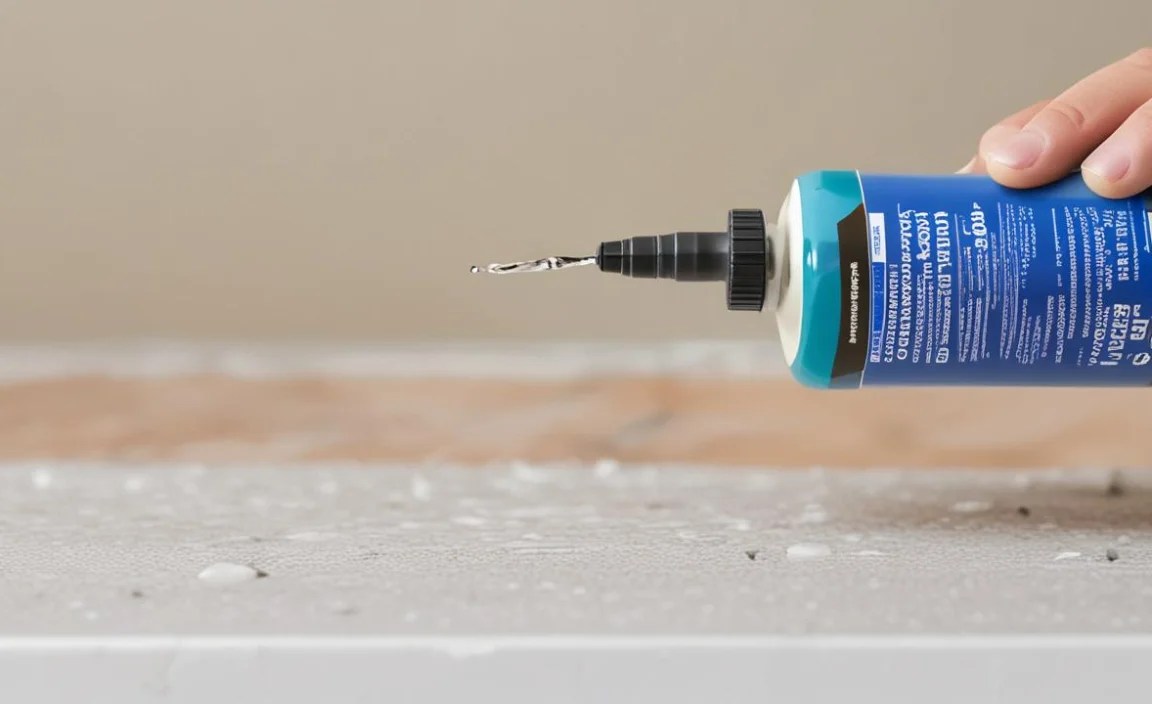
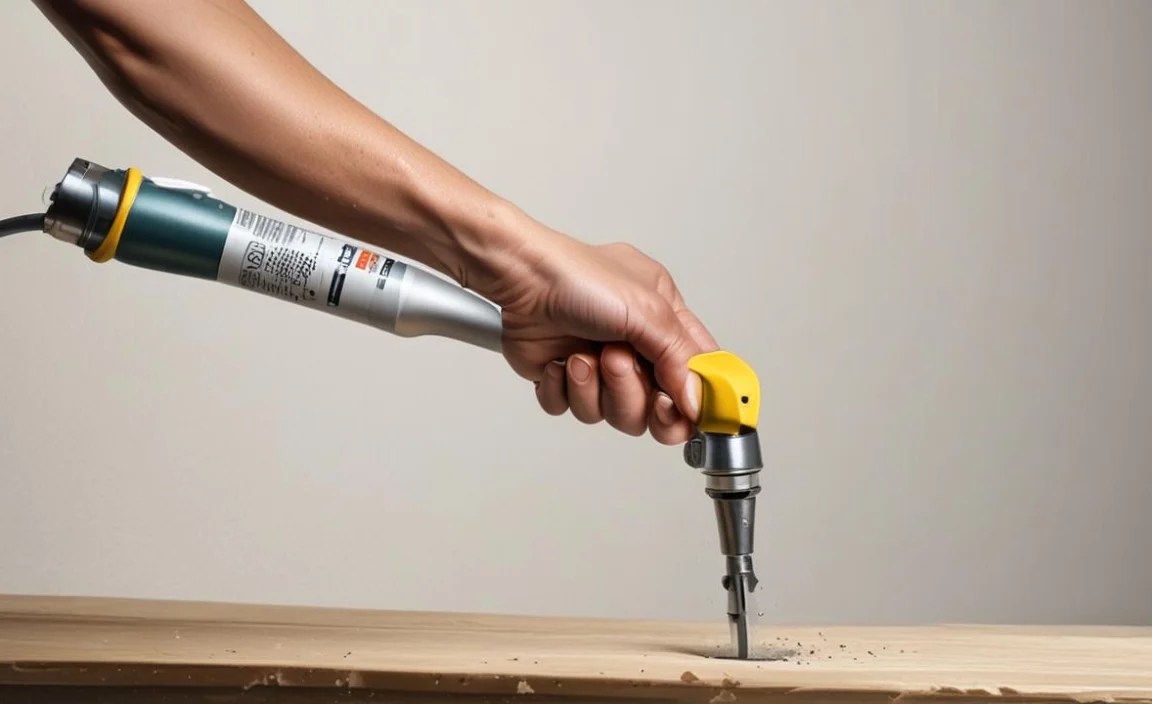
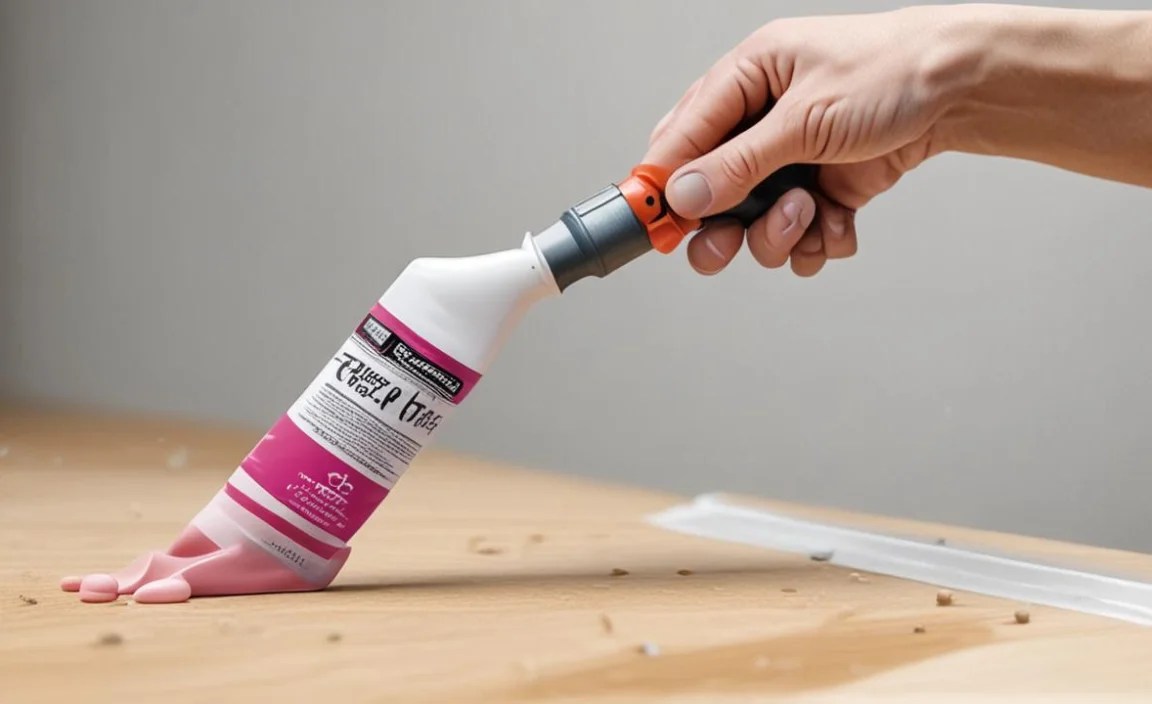
Prepare the Caulk Tube
Take your caulk tube and use the utility knife to cut the tip at a 45-degree angle. Start with a small opening. You can always cut more if needed, but you can’t un-cut it. A smaller opening gives you more control. Most caulk guns have a long metal rod at the back; pull it out and use it to puncture the inner seal of the tube.
-
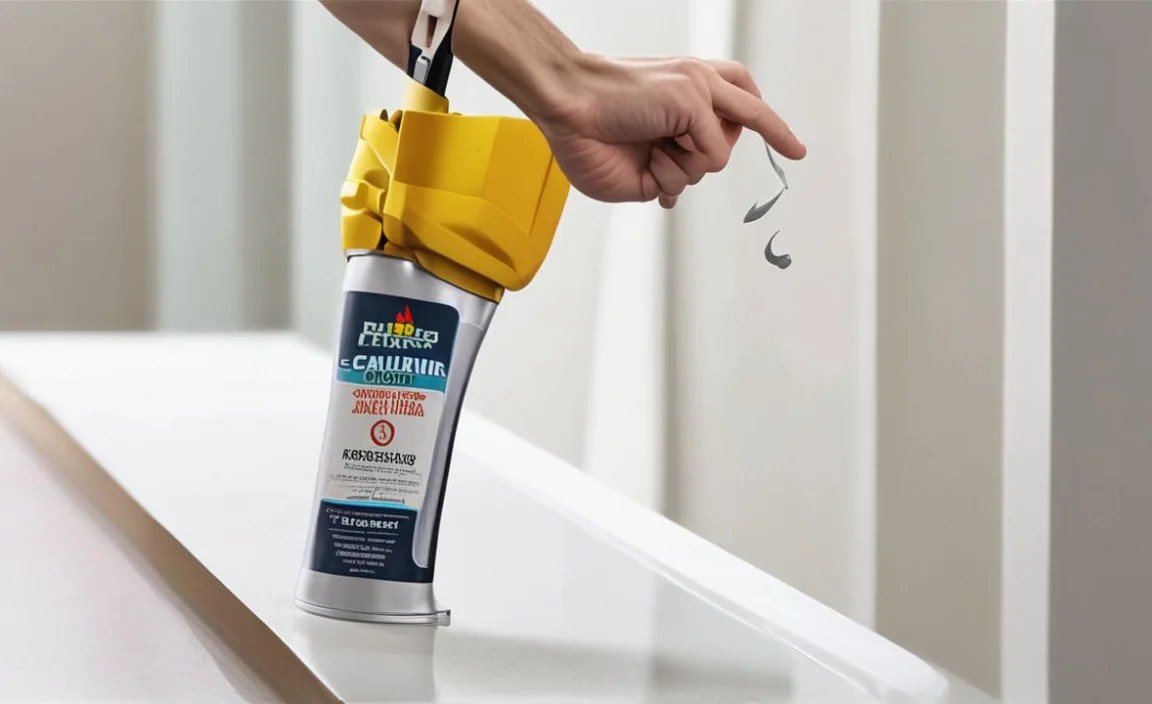
Load the Caulk Gun
Pull back the plunger rod on the caulk gun. Insert the caulk tube nozzle-first into the gun. Push the plunger rod firmly back against the tab on the tube.
-
Apply Painter’s Tape (Optional but Recommended)
For a super-clean line, apply painter’s tape along both edges of the gap, leaving a consistent space between the tape strips that is slightly wider than you want your caulk bead to be. Ensure the tape is pressed down firmly to create a good seal against the caulk trying to seep underneath.
-
Test the Flow
Hold the caulk gun at a 45-degree angle to the joint. Press the trigger to start dispensing caulk. Release the trigger and then push the release lever (usually a small metal tab at the back). This stops the flow and prevents drips.
Tip: Practice on a piece of cardboard or newspaper first to get a feel for the pressure needed and how to create a consistent bead.
-
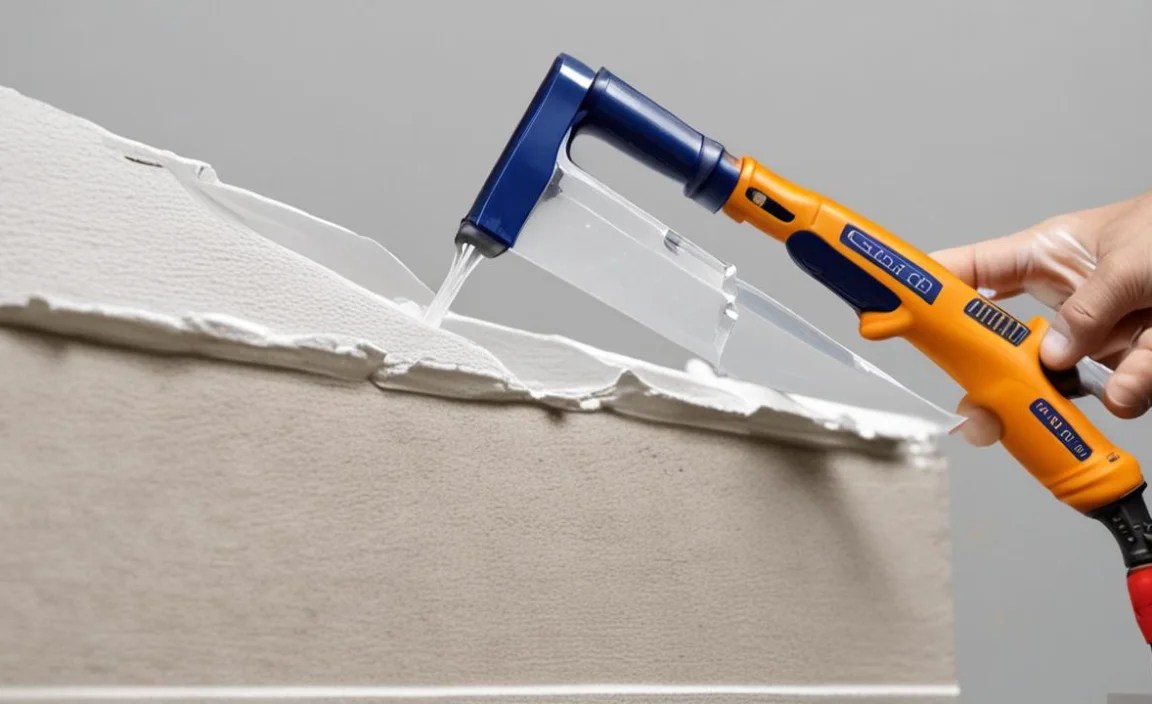
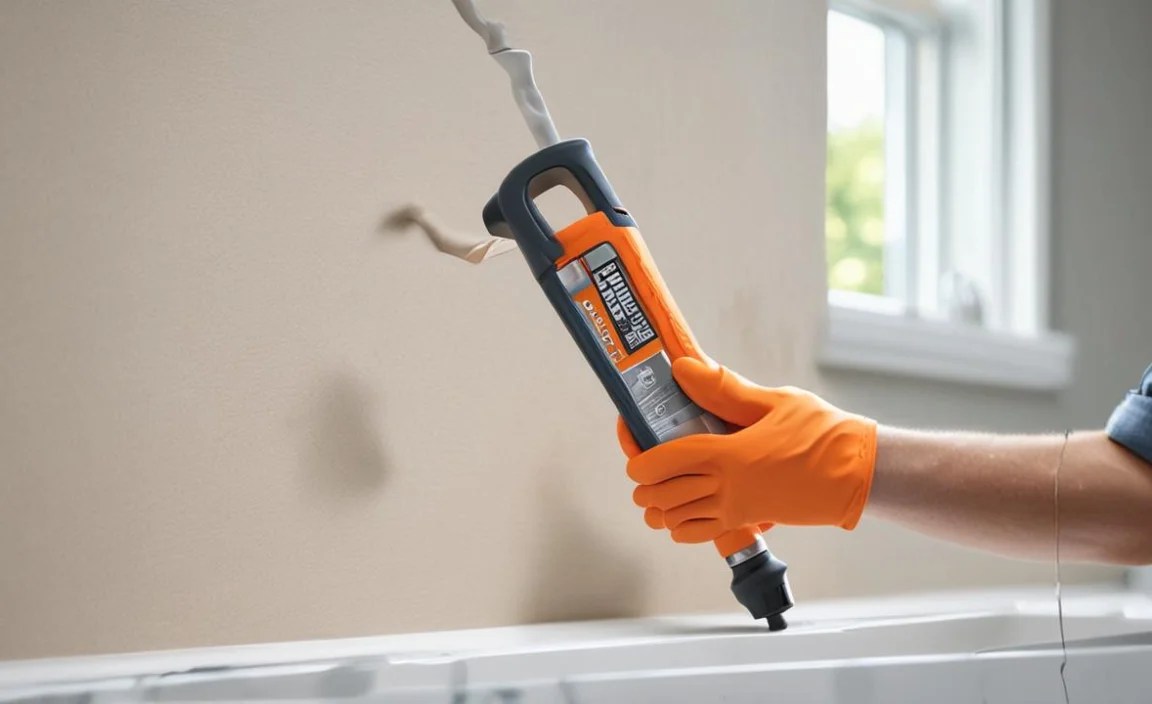
Apply the Caulk Bead
With the tip of the caulk tube angled at about 45 degrees to the joint, apply steady, even pressure to the trigger of the caulk gun. Move the gun smoothly and continuously along the gap. Try to keep the bead consistent in thickness. Aim to apply just enough caulk to fill the gap.
Focus on Smoothness: It’s better to go slowly and steadily than to rush. Overlap your starting and ending points slightly if you have to stop and restart.
-
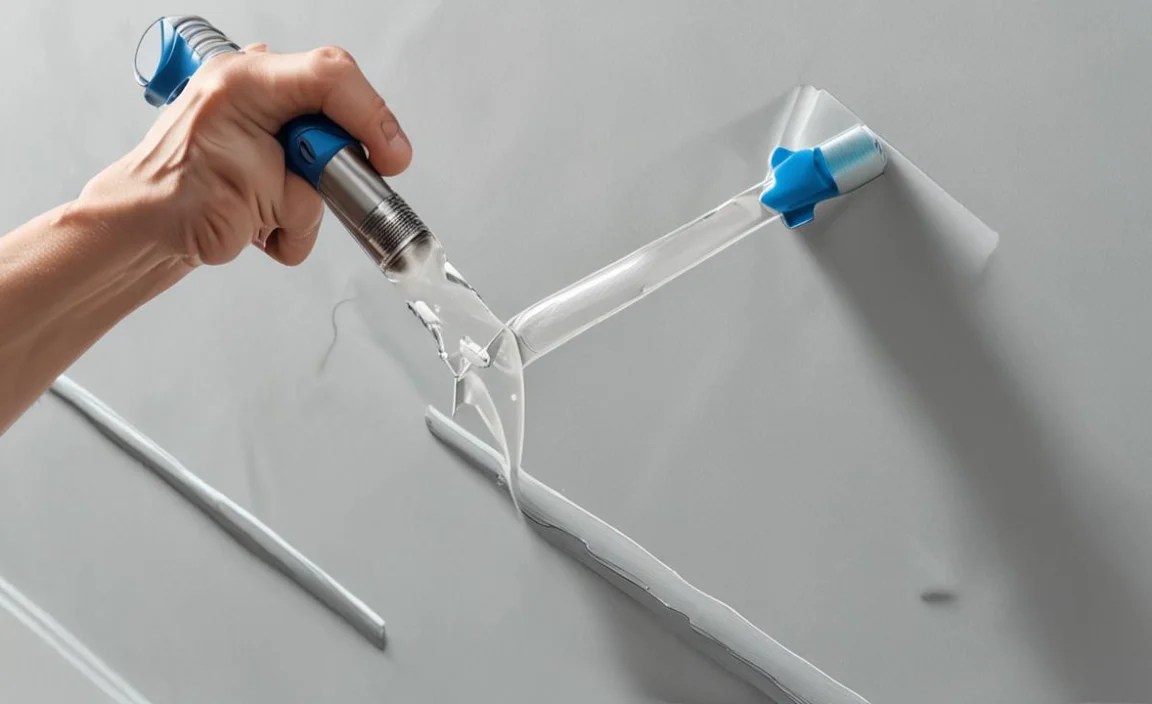
Smooth the Caulk Bead
Immediately after applying a section of caulk (or the entire bead if you’re fast), use a caulk smoothing tool, a damp finger (wear a glove if you’re using silicone!), or a damp spatula. Lightly drag the tool or your finger along the bead of caulk. This pushes the caulk into the gap and creates a smooth, slightly concave surface that looks professional and helps water run off.
Cleanup Tip: If using an acrylic latex caulk, keep a damp rag or a bucket of water handy. For silicone, have mineral spirits ready for cleanup. Wipe away any excess caulk that gets on your smoothing tool or finger.
-
Remove Painter’s Tape
If you used painter’s tape, carefully remove it while the caulk is still wet. Pull the tape away slowly at a 45-degree angle from the caulk bead. Doing this while the caulk is wet prevents the caulk from hardening onto the tape and peeling away with it, which would ruin your clean line.
-
Allow for Curing
Check the caulk tube for drying and curing times. Most acrylic latex caulks are dry to the touch within an hour and fully cure in 24 hours. Silicone caulk often takes longer to fully cure. Avoid exposing the new caulk to water or heavy use until it’s completely cured to ensure a strong, waterproof seal.
Tips for a Professional Finish
Achieving a professional-looking caulk job doesn’t require years of experience. A few simple tricks can make a big difference.
- Work in Shorter Sections: Especially when you’re starting, try caulking a few feet at a time rather than an entire wall or room.
- Maintain Consistent Speed and Pressure: This is key to an even bead. Practice makes perfect here!
- Don’t Overfill: It’s tempting to pack the gap full, but too much caulk is harder to tool and can look messy.
- Clean Your Tools Regularly: Keep those rags handy and wipe your smoothing tool often.
- Caulk in the Right Temperature: Most caulks perform best in moderate temperatures, typically between 40°F and 90°F (4°C to 32°C). Extreme heat or cold can affect application and curing.
- Ventilation is Key: Especially when using silicone or polyurethane, ensure the area is well-ventilated by opening windows or using fans.
Common Caulking Mistakes and How to Avoid Them
Even experienced DIYers can stumble. Here are some common pitfalls and how to steer clear of them.
1. Not Removing All Old Caulk
As we’ve stressed, this is a biggie. New caulk applied over old, loose caulk will only adhere to the old caulk, not the surface. When the old caulk breaks away, the new caulk goes with it.
Solution: Be thorough with your removal. Use scraping tools and solvents if necessary. Make sure the joint is
